
Fires Were Started
Date: 1943
Director: Humphrey Jennings
Production Company: Crown Film Unit
Stars: See 'Additional Information' Section
Location(s): Essex, London
Region(s): London E-G, South East E-L
Storyline:
Filmed in documentary style and using actual firemen rather than professional actors the film shows the lives of firefighters through the Blitz during the Second World War.
Additional Information:
No ‘stars’ appeared in this film, all parts were played by actual members of the fire fighting services. The cast and the parts they played can be viewed by clicking here.
With thanks to Adam Pode for bringing the film to our attention.
We are indebted to Dave W, for his close collaboration and involvement in the extraction of screen captures, provision of supporting text and uncredited location identifications as well as stimulating research sessions along the way. Uploaded by Richard Lovejoy.
Humphrey Jennings’ first cut of the film was titled I Was a Fireman and ran to 74 minutes. This was cut down to 65 minutes and released as Fires Were Started.
External location screen captures omitted, together with some supplementary locations included for the purposes of historical record and enjoyment from Fires Were Started can be viewed in our listing of I Was a Fireman.

As an Amazon Associate, we earn from qualifying purchases.
Can you help:
If you have any information regarding this production, the locations or, even better, some comparison shots please contact us. Images submitted must be in Landscape orientation, as would be seen on the cinema screen, not Portrait.
We are aware that there are films on the site that were added when the criteria for the inclusion of locations was very different from today and, as a result, there may be scenes missing from some productions. Please do not forward additional screen captures to us but bring the detail to our attention, for we do, and are, 're-addressing' these older entries as time allows.
- Capture 1
- 'Now' required
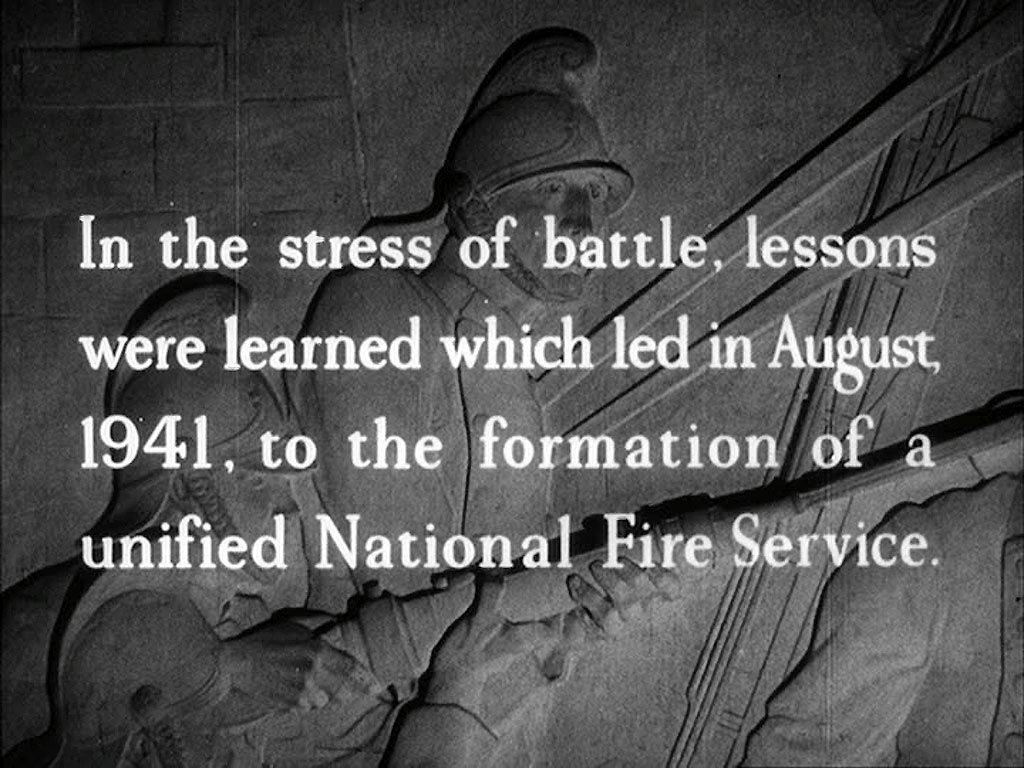
As a backdrop to the film’s introductory text we see Gilbert Bayes’ bas relief sculpture that is displayed in the reception hall of Fire Brigade Headquarters, Lambeth Embankment SE1.
- Capture 2
- 03 Jun 2021
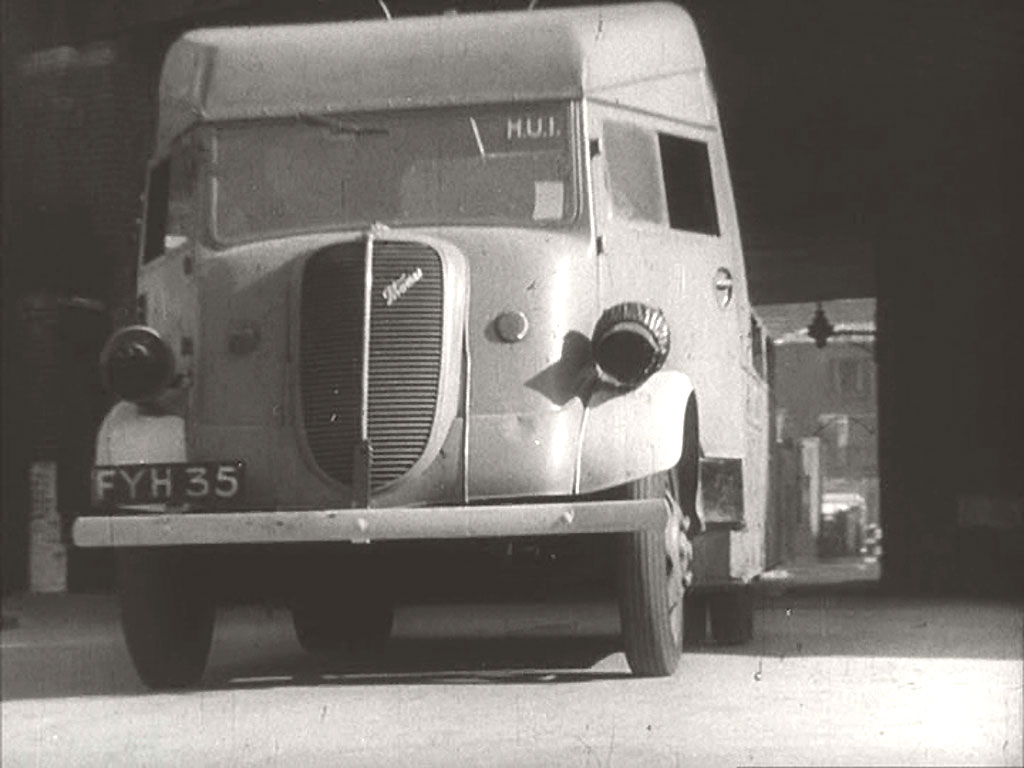
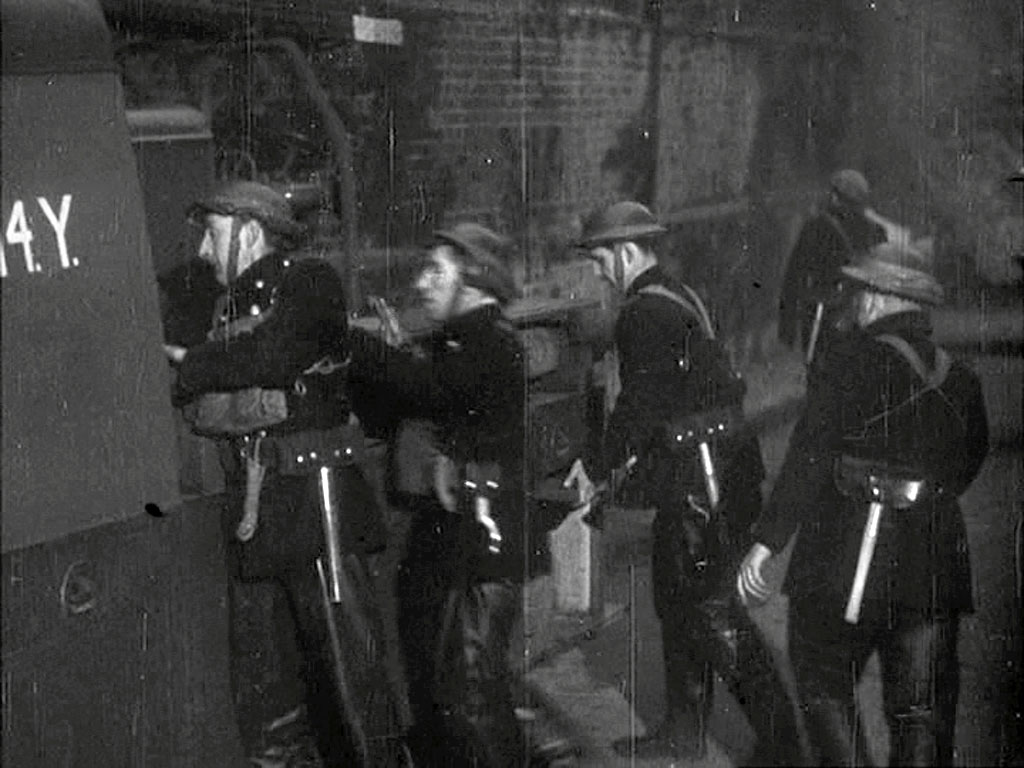
Heavy Unit 1 of the Auxiliary Fire Service is on its way back to base in district 14Y. Exiting from under the railway bridge, America Square EC3, looking south towards Tower Hill Garden through the narrow street named "Crescent", a wider view can be seen in Capture 6.
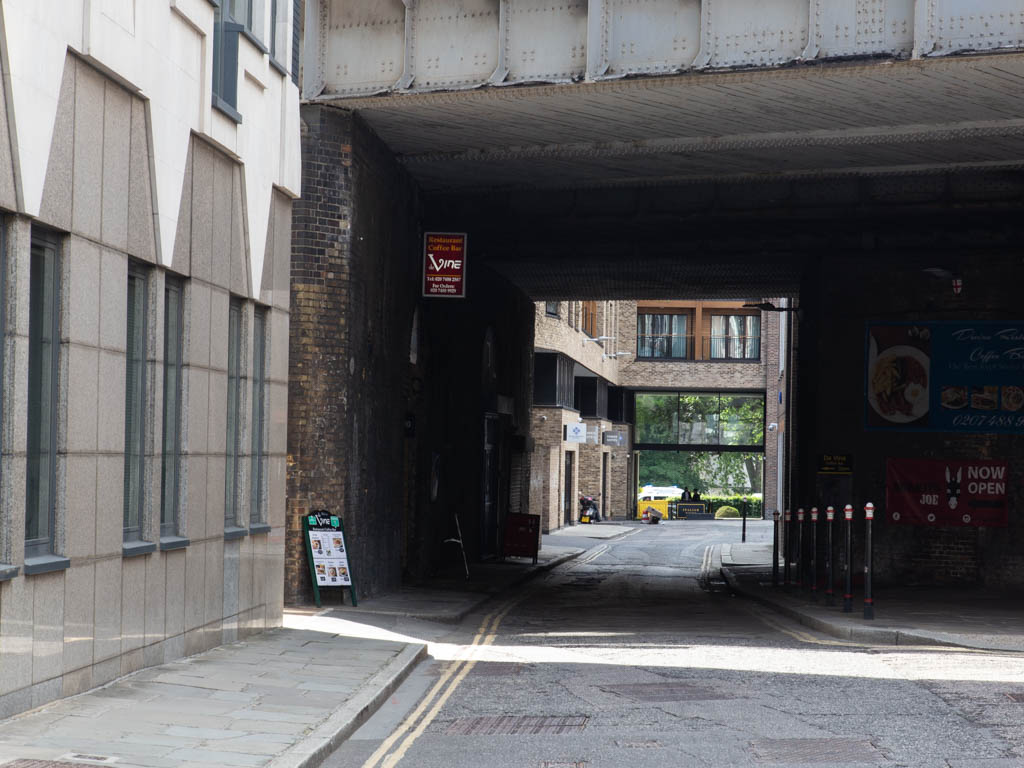
Despite all the surrounding changes the tunnel brickwork remains 'as was'.
- Capture 3
- 07 May 2021
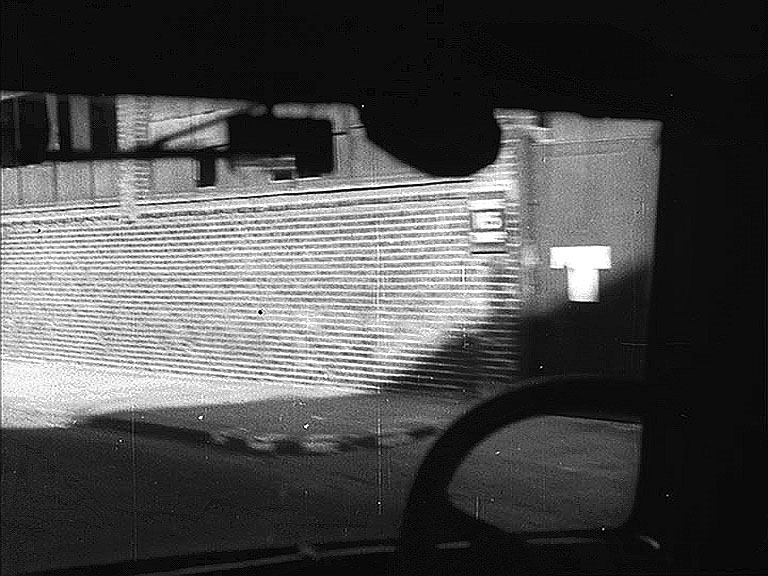
HU1 passes a series of wharf entrances. The sign appears to say Nº 5, or Nº 55 with camera bounce. Circa 139 Grosvenor Road, London SW1
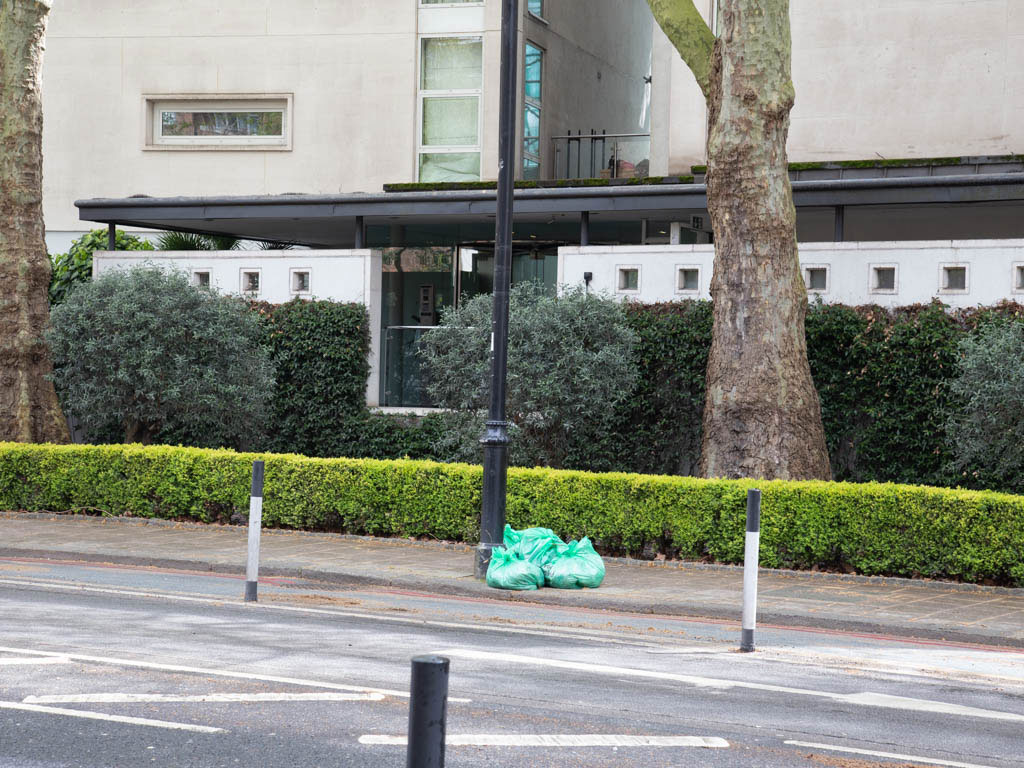
Now re-developed riverside residences, pity about the rubbish.
- Capture 4
- 07 May 2021
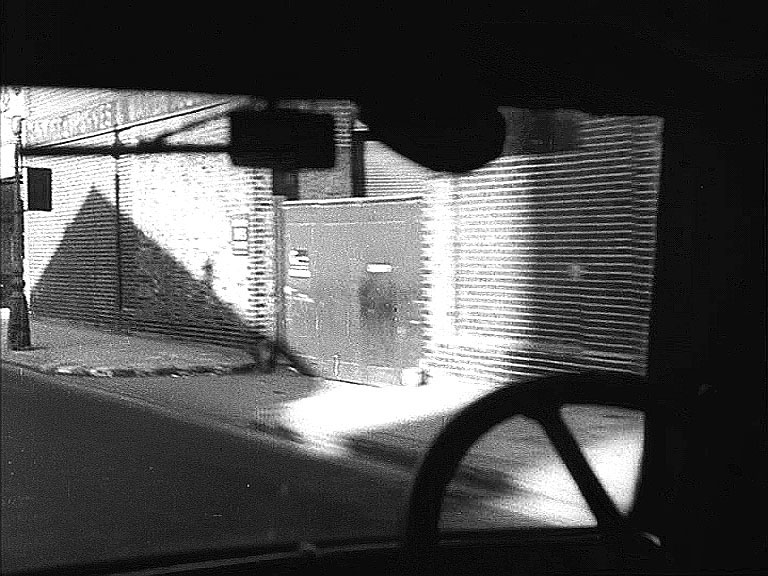
“….ES WHARVES & WAREHOUSES”. 'Thames Wharves & Warehouses Ltd were at 138 to 145 Grosvenor Road, London SW1
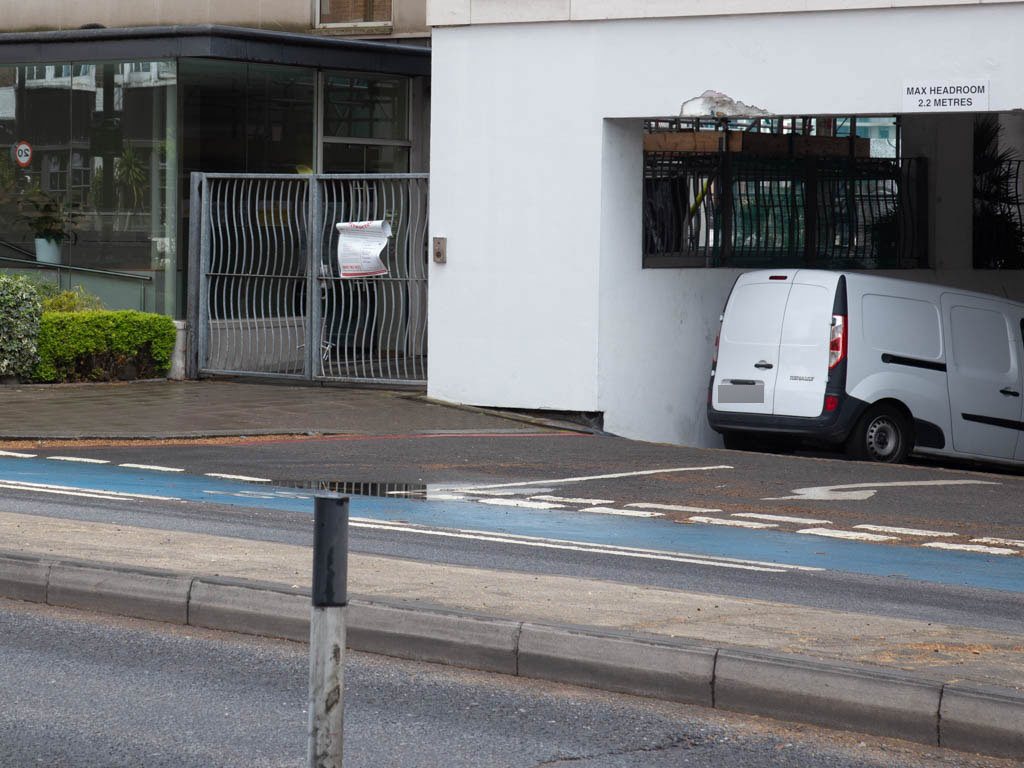
About here, let us assume that the gateway entrance was a re-development factor.
- Capture 5
- 07 May 2021
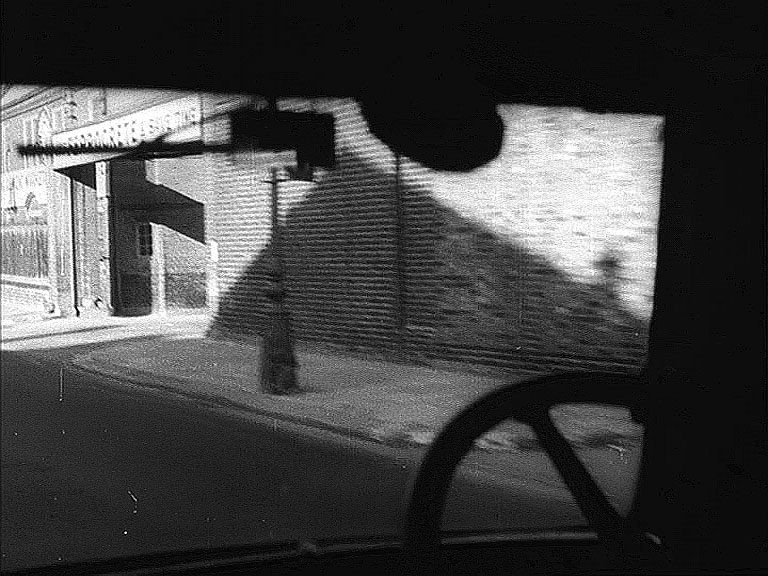
“USE FERROCRETE & SAVE TIME” followed by “...H CEMENT MARKET” 'Associated Portland Cement Manufacturers Ltd (The)' and 'Cement Marketing Co. Ltd' were at 143 Grosvenor Road, London SW1
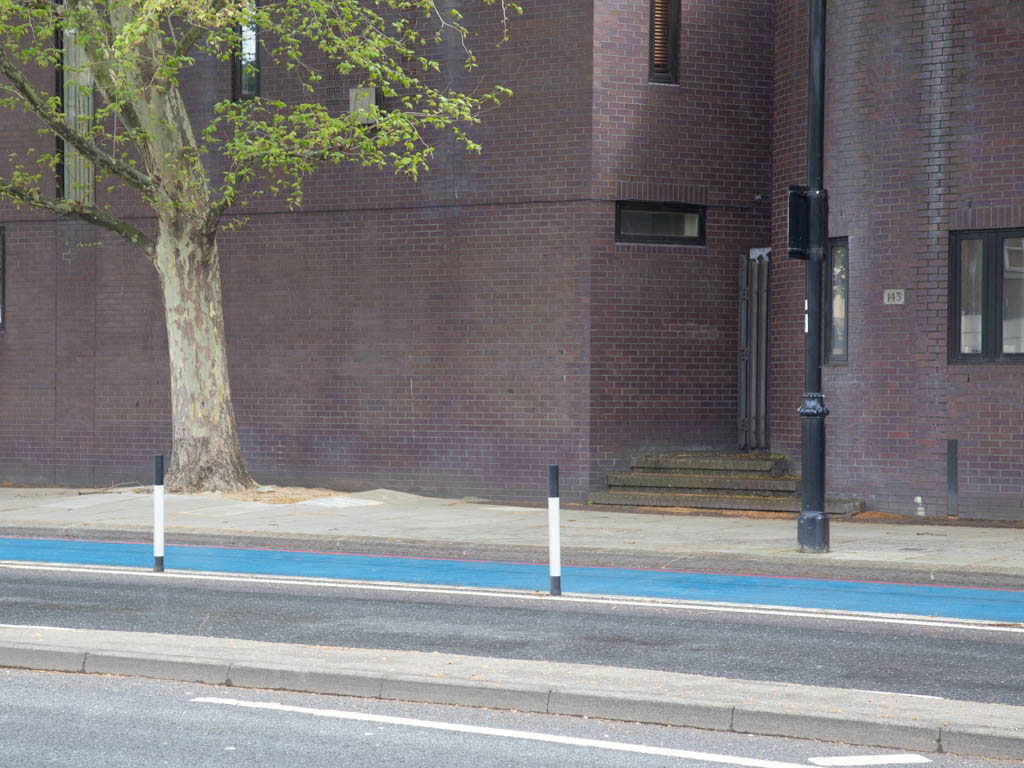
More or less here, but at least it is the modern day 143 Grosvenor Road.
- Capture 6
- 25 Apr 2021
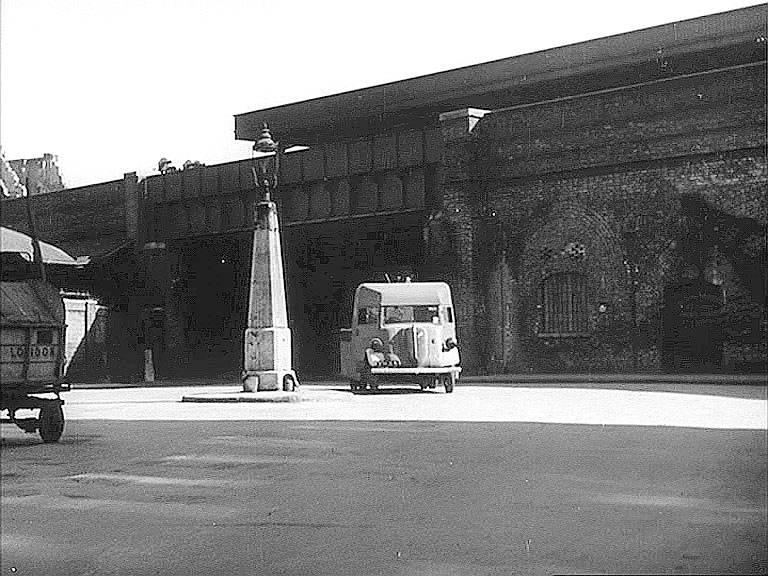
HU1 emerges from under the viaduct of Fenchurch Street Station. America Square EC3, looking south towards Tower Hill Garden through the narrow street named "Crescent". An excellent article covering this location can be read at https://alondoninheritance.com/thebombedcity/america-square/
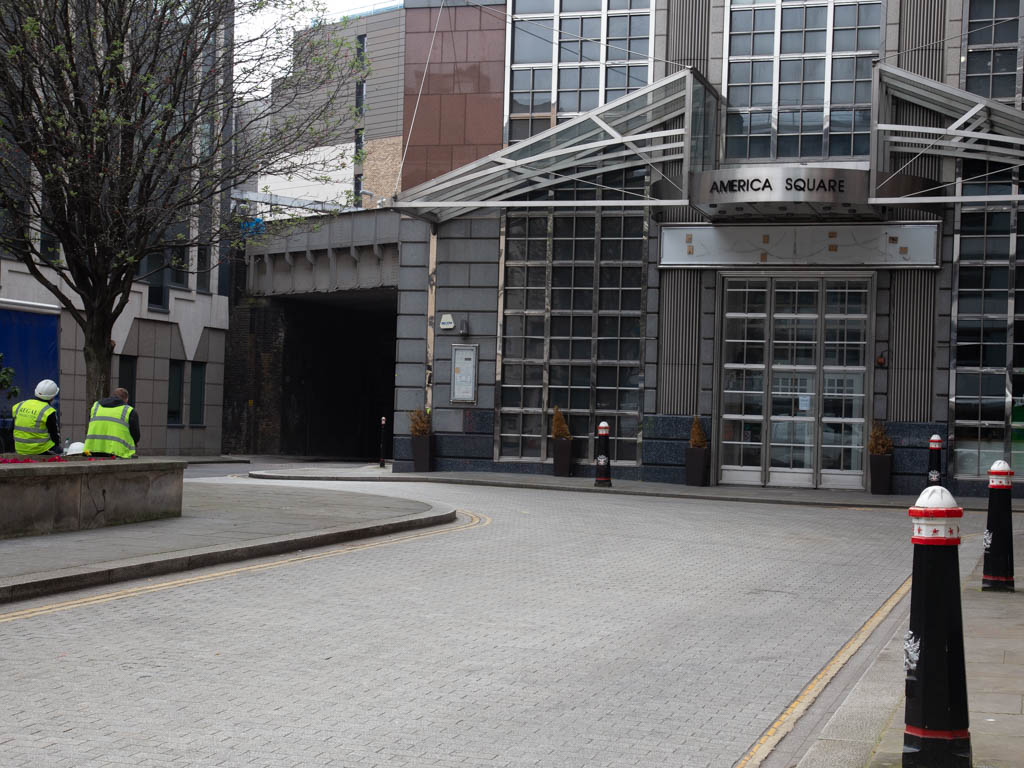
'America Square' remains in name at least.
- Capture 7
- 07 May 2021
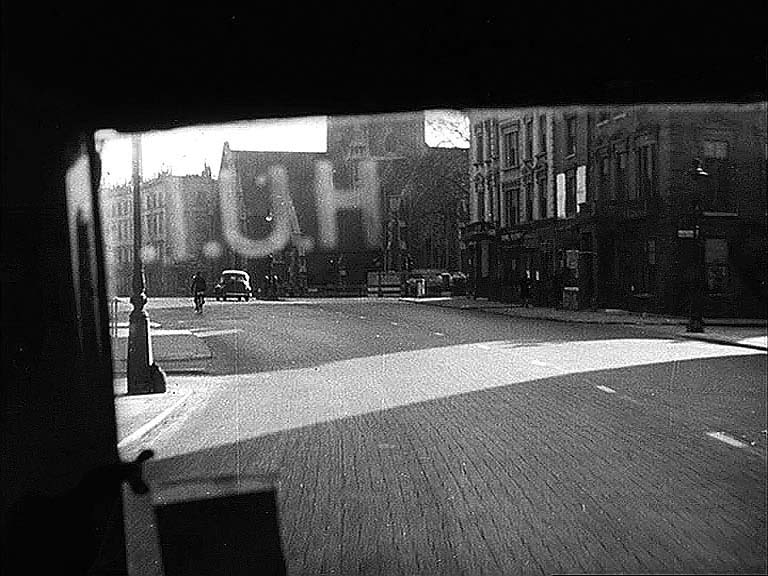
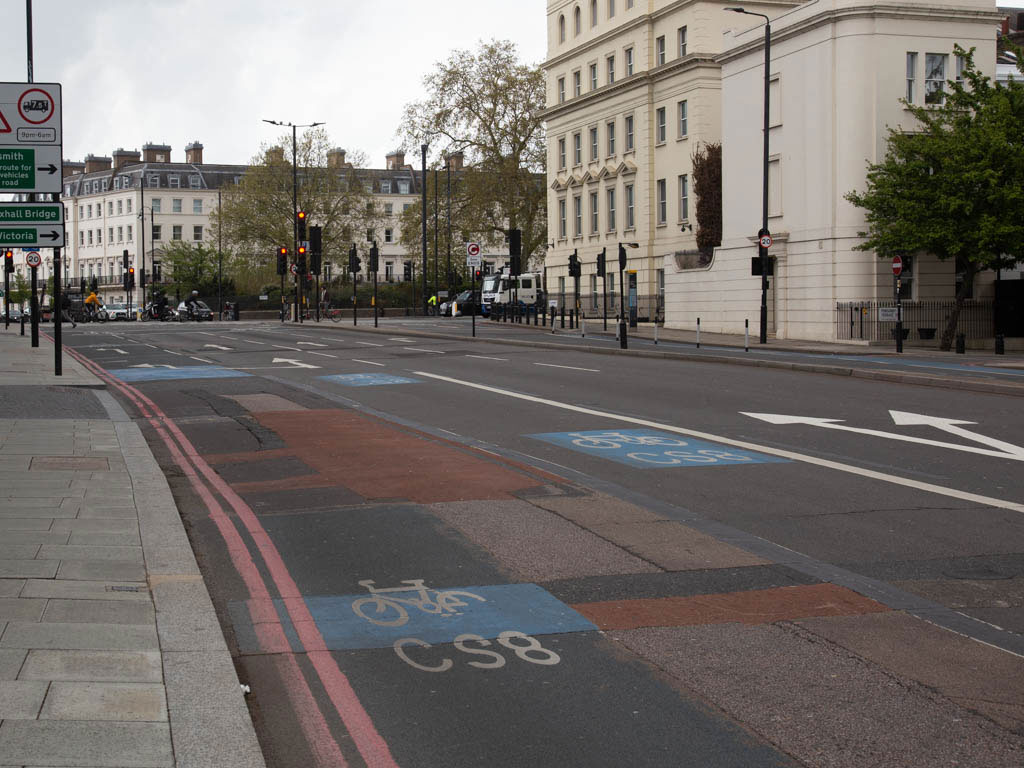
HU1 is on Millbank SW1 approaching the junction with Vauxhall Bridge Road. This would be a less than direct route to Docklands whatever the starting point was.
Holy Trinity Church was demolished in 1953 after being damaged by wartime bombing.
- Capture 8
- 25 Apr 2021
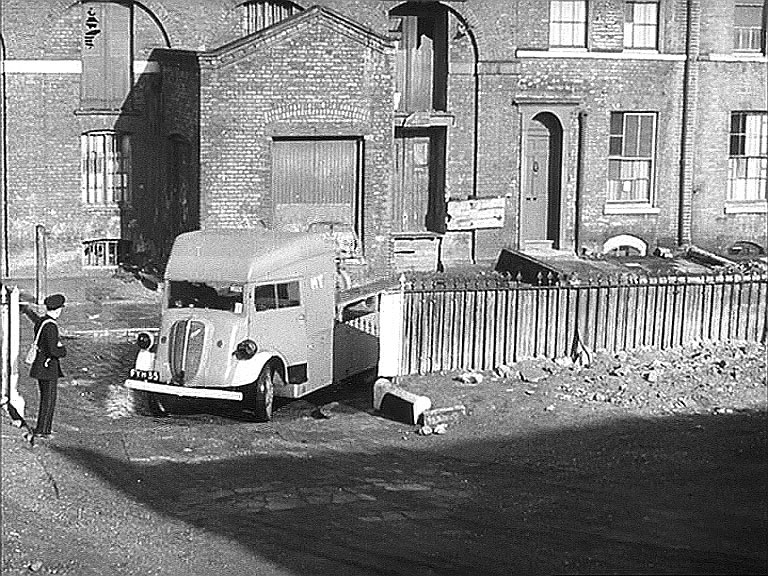
The lorry enters the compound of 14Y base, guided in by Charlie. This is the east side of Wellclose Square E1. The school buildings and grounds in the middle of the square were used as the base’s location.
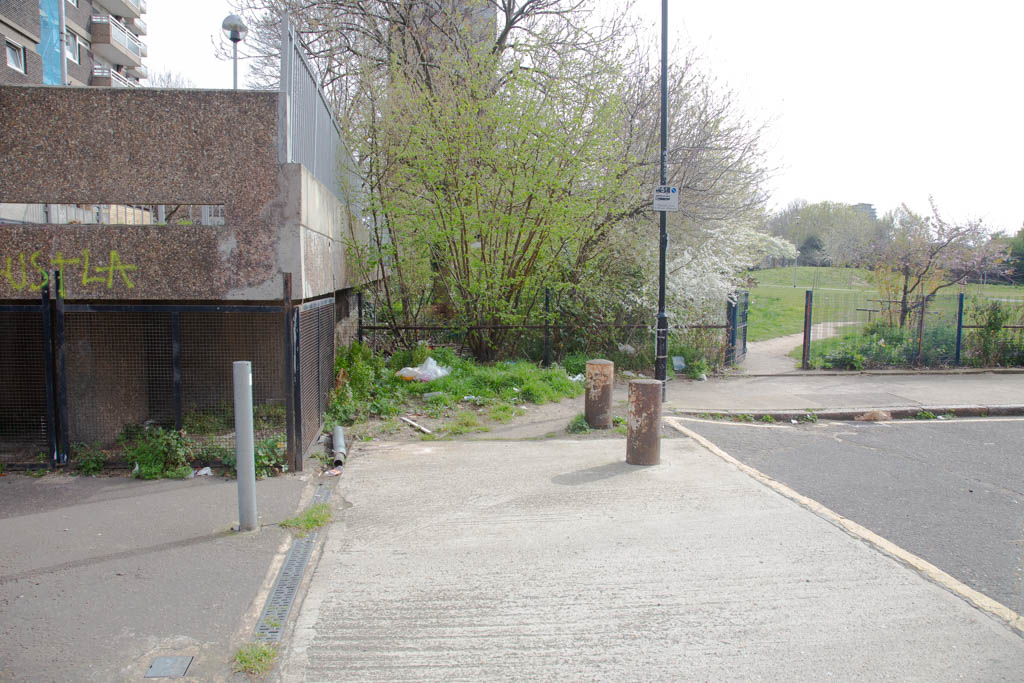
Had I been allowed the other side of the school railings the view would have been the same.
- Capture 9
- 'Now' required
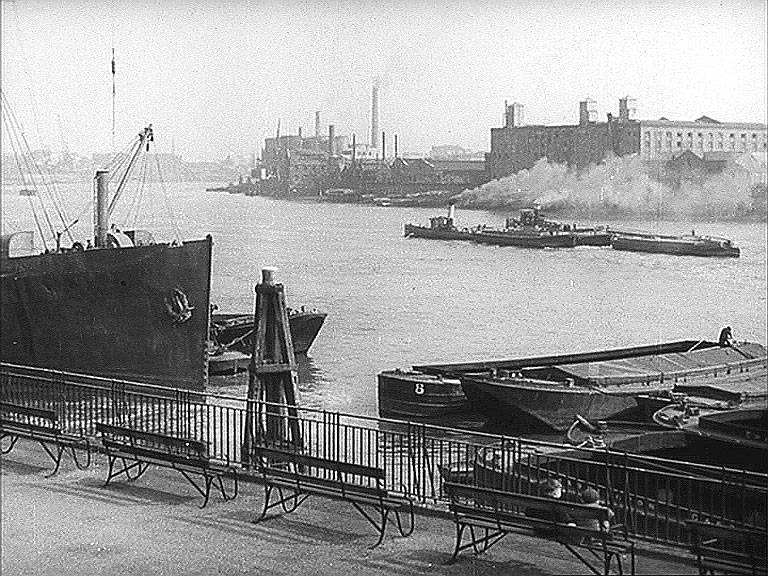
Setting the scene for members of 14Y to make their way to base for the start of duty. We see the Thames from King Edward VII Memorial Park, looking downstream. Globe Wharf stands behind the barges across the river.
- Capture 10
- 'Now' required
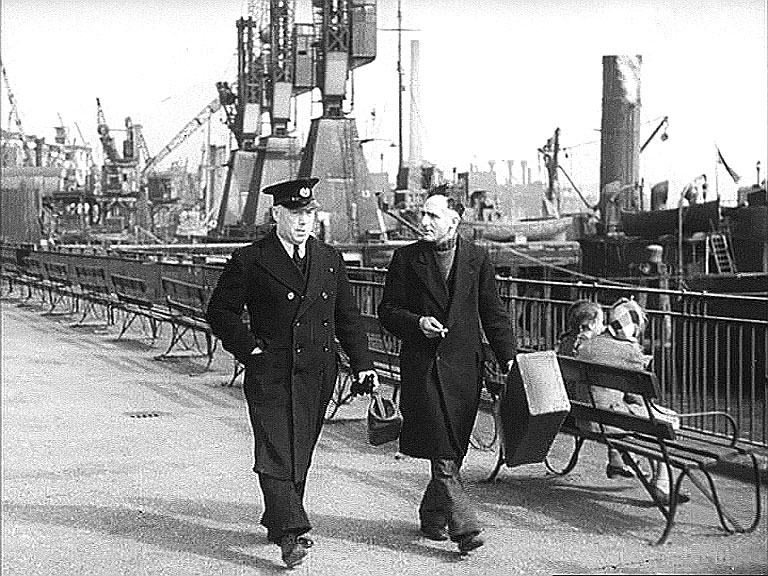
Sub-officer Dykes (Commanding Officer George Gravett) and 'Colonel' (Leading Fireman Fred Griffiths) make their way along the Park’s embankment with the jetty of Charringtons Wharf, and the chimney stacks of Stepney Power Station in the background.
- Capture 11
- 07 May 2021
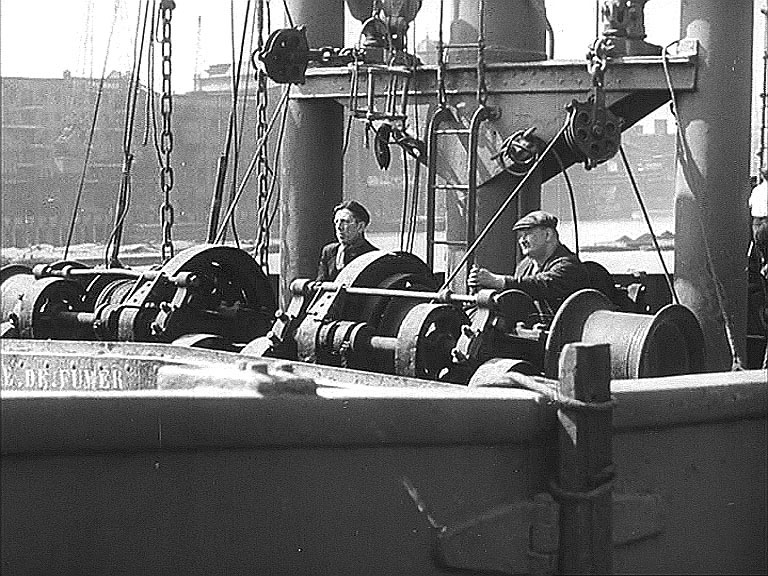
More scene setting as barrels are loaded onto a freighter. The southern suspension arch of Tower Bridge can be seen in the distance with Butlers Wharf hidden behind the vessel.
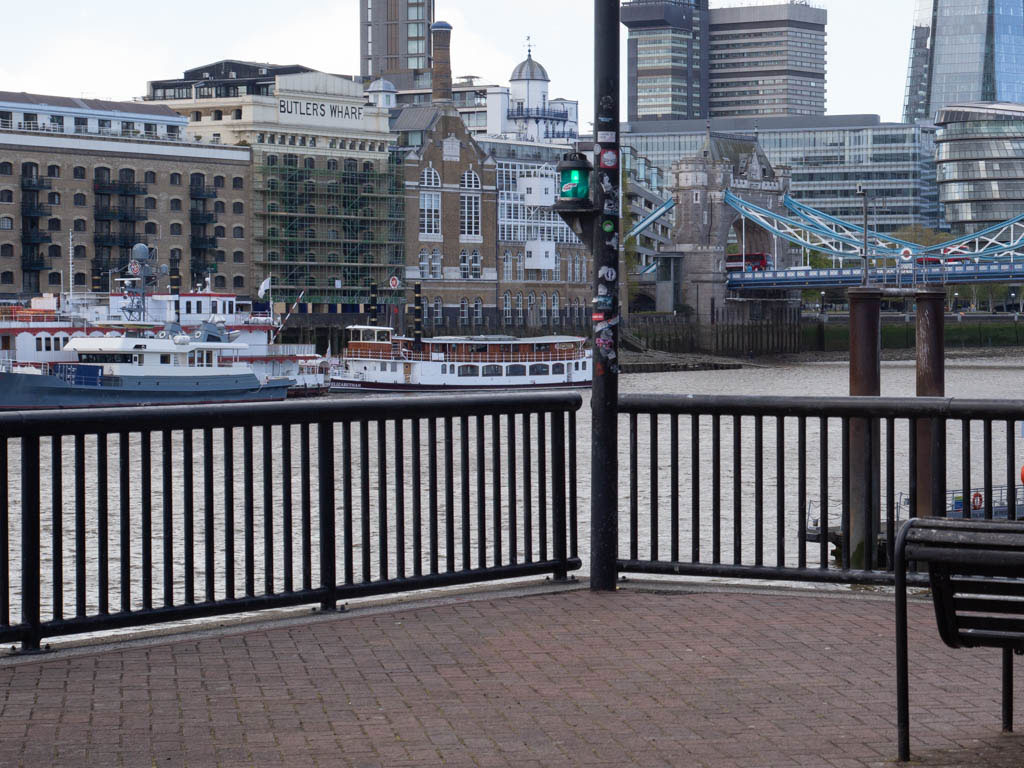
A much changed background and skyline.
- Capture 12
- 25 Apr 2021
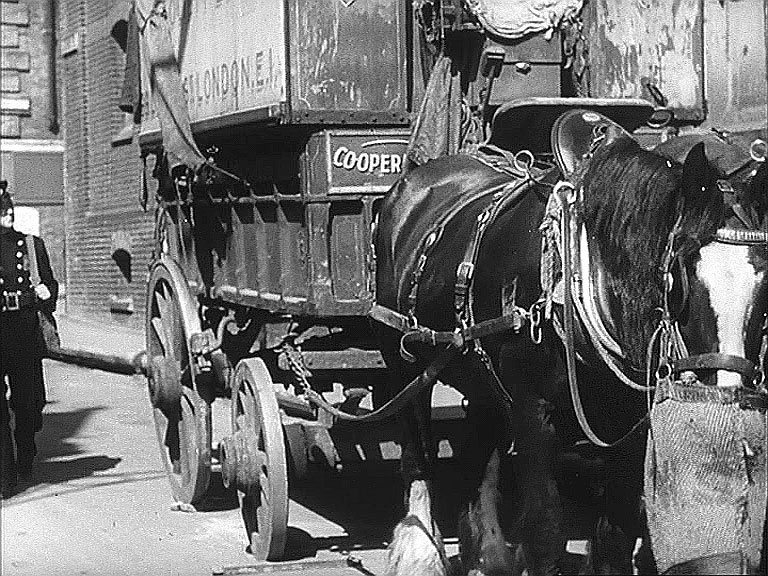
Packing cases are lowered from a warehouse onto a horse-drawn wagon belonging to the Co-operative Society. The 'Metropolitan Bonded Warehouse', Jewry Street, London EC3 with India Street off to the right in the background and the distinctive quoins on the corner of the next building, 31 Jewry Street currently known as that of the Sir John Cass's Foundation.
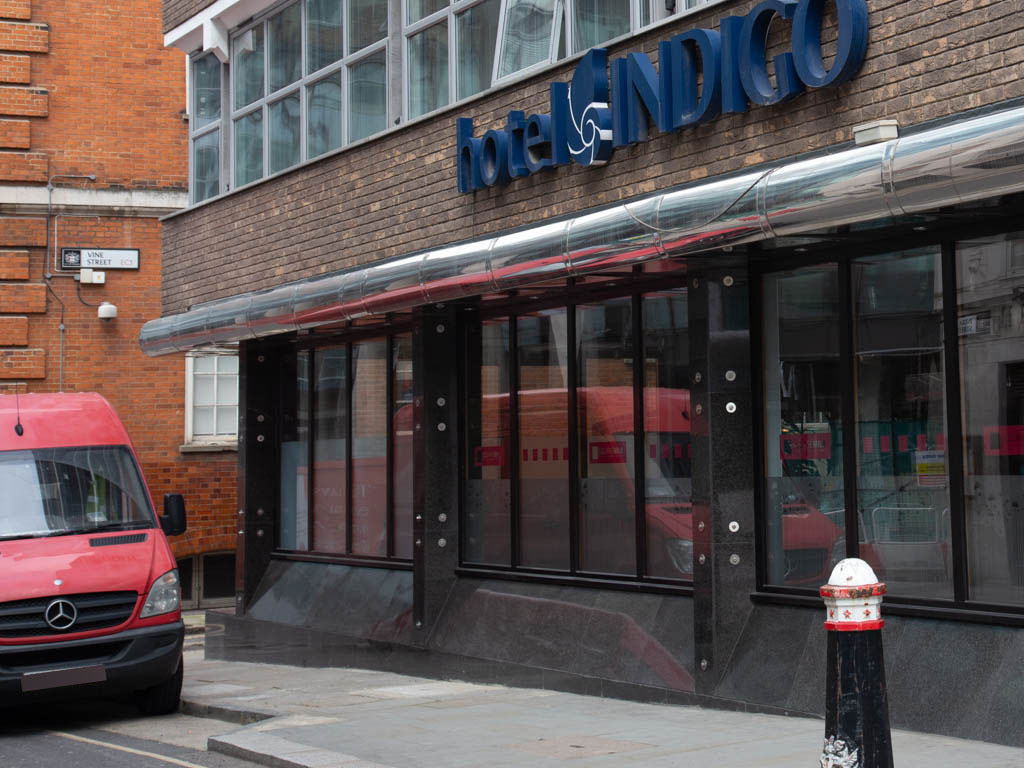
The building and distinctive quoins do indeed remain in the background.
- Capture 13
- 25 Apr 2021
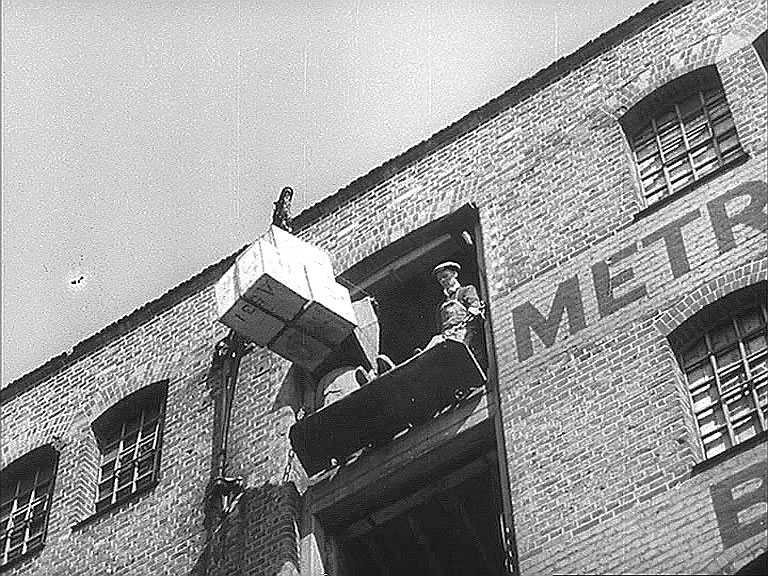
The warehouse’s loading platform is seen high above the wagon. The 'Metropolitan Bonded Warehouse', Jewry Street, London EC3. See also the previous Capture. An excellent wider view of the location, including the lettering can be seen on 'Britain from Above' EAW011146.
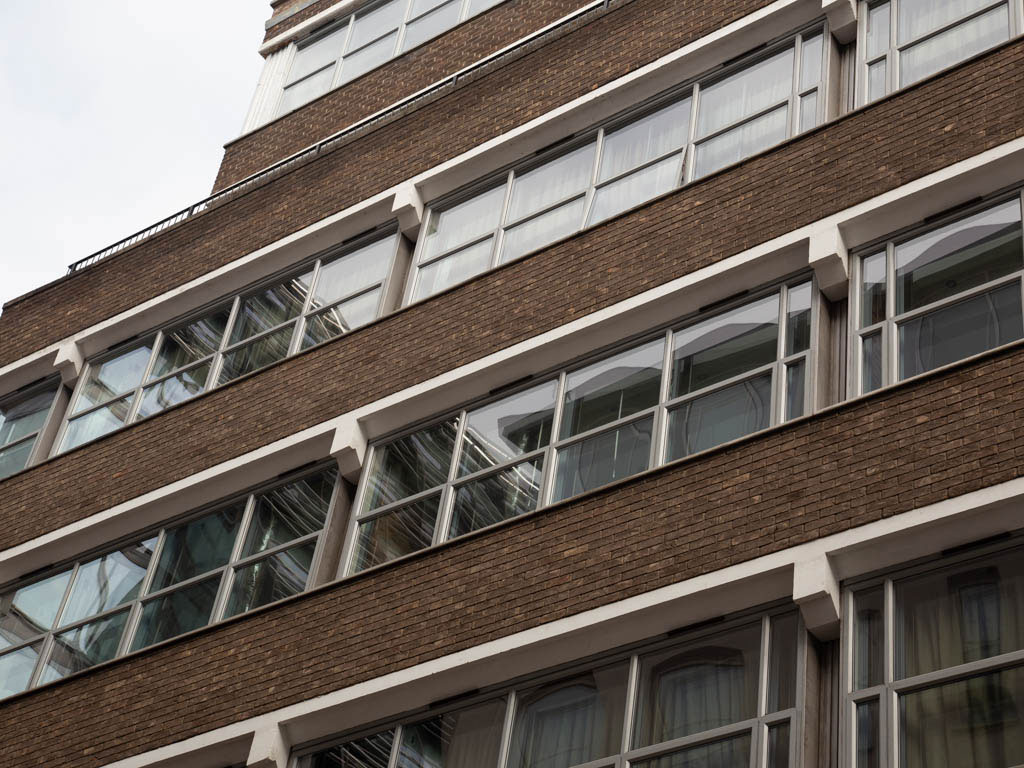
Regrettably, it is the same location.
- Capture 14
- 25 Apr 2021
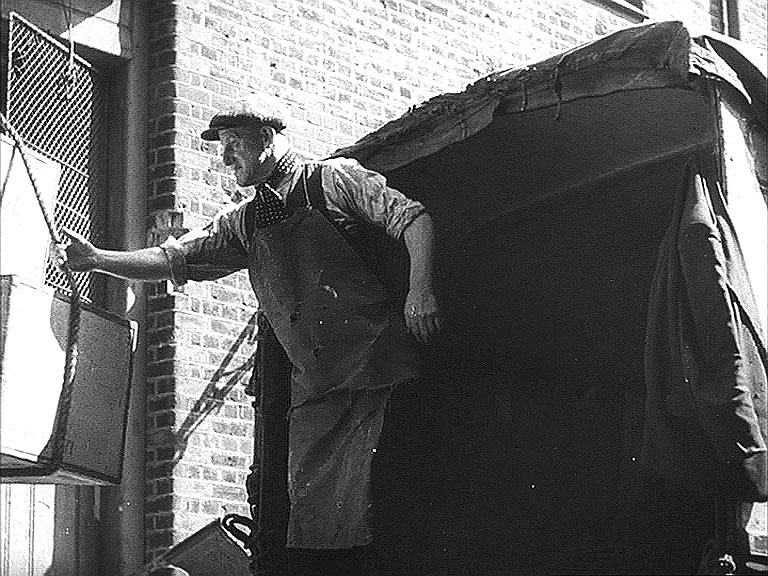
A little more detail of the wagon and the warehouse building. The 'Metropolitan Bonded Warehouse', Jewry Street, London EC3. See also Capture 12.
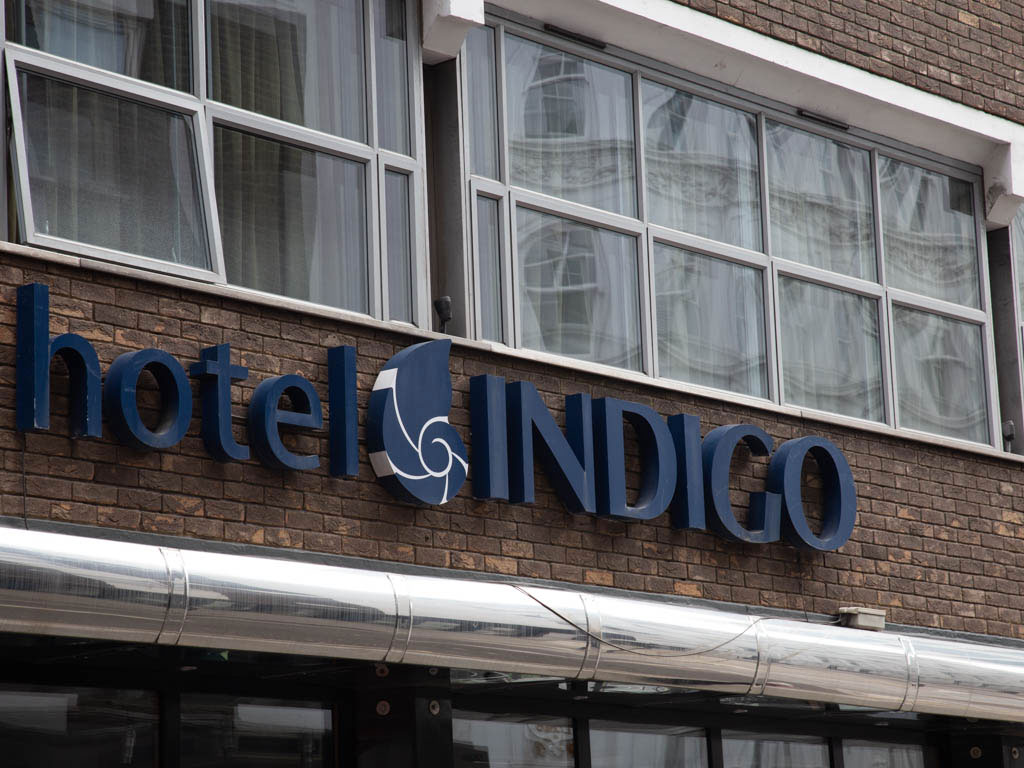
At least one can remain on the Capture to savour life, character and reality.
- Capture 15
- 25 Apr 2021
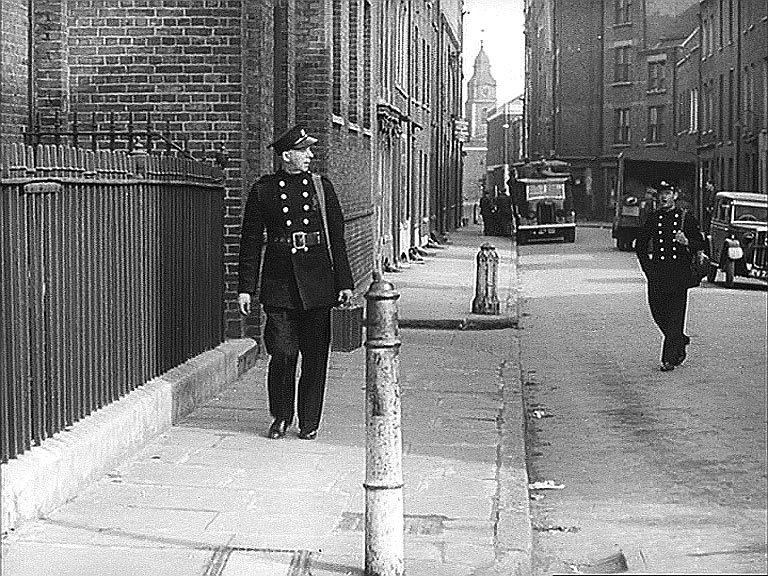
Brown (Fireman T. P. Smith) calls out to Joe Vallance (Fireman John Barker) as they make their way to 14Y base. The tower of St John of Wapping Church is seen directly behind so this must be Hermitage Wall with Hermitage Basin behind us.
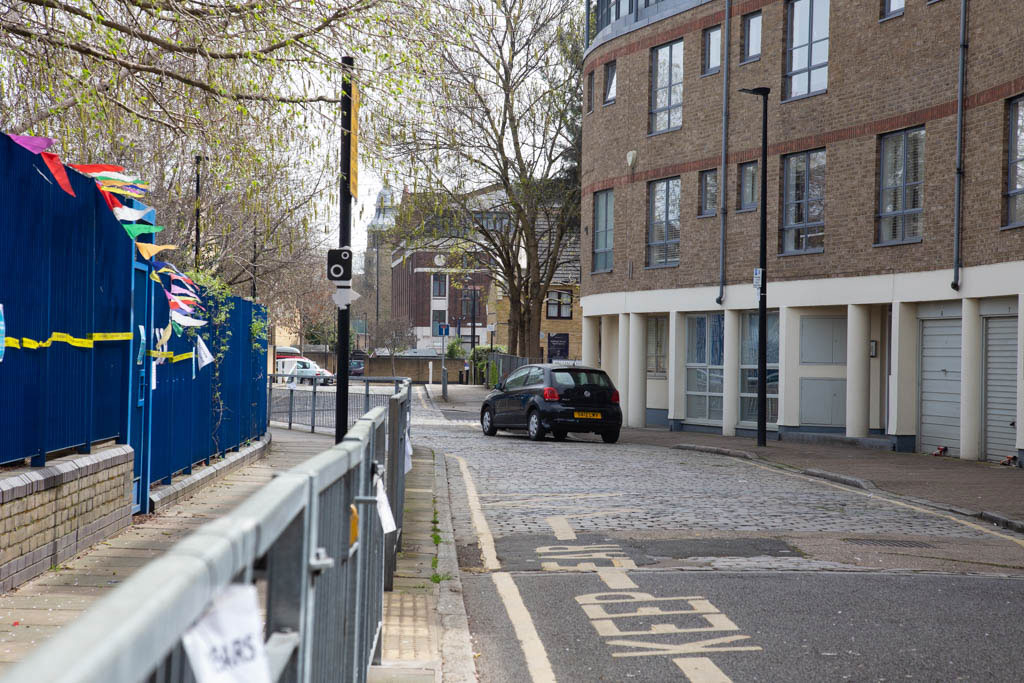
Aspects of the past remain to be seen.
- Capture 16
- 'Now' required
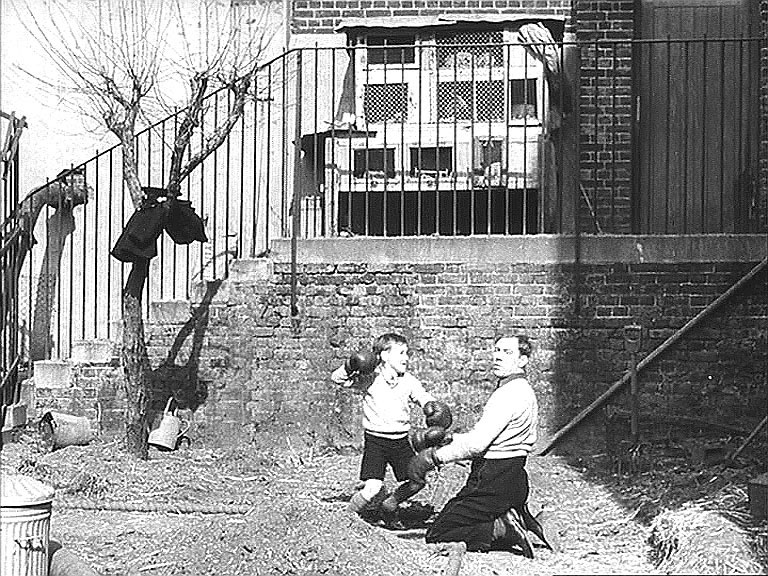
Johnny Daniels’ (Leading Fireman Fred Griffiths) son sees an opportunity to land an uppercut as Johnny is reminded by his wife that it’s time he was on his way. The rabbit hutches suggest that this is Wellclose Square again with the school’s garden and grounds used to portray this domestic scene. Ray Glenister has provided evidence to support his view that this is the south east inner corner where the two main buildings join.
- Capture 17
- 25 Apr 2021
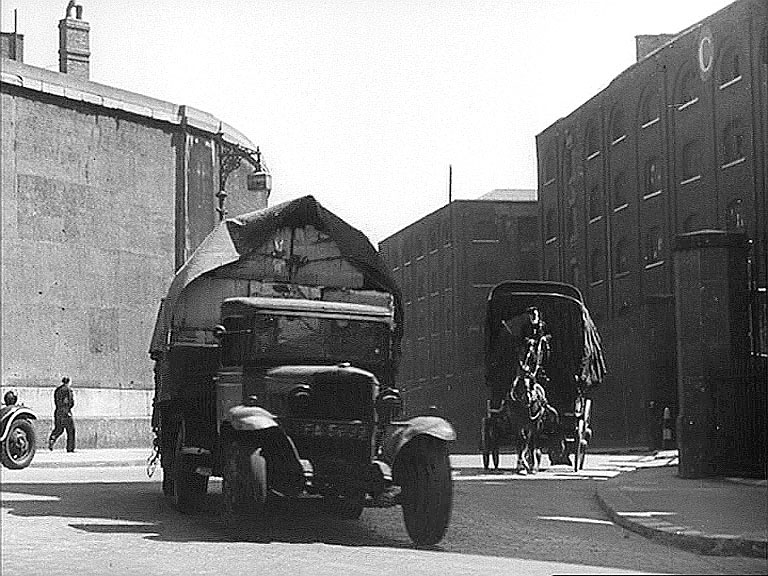
'C' Warehouse of St Katharine Docks with the wall of Royal Mint on the other side of East Smithfield.
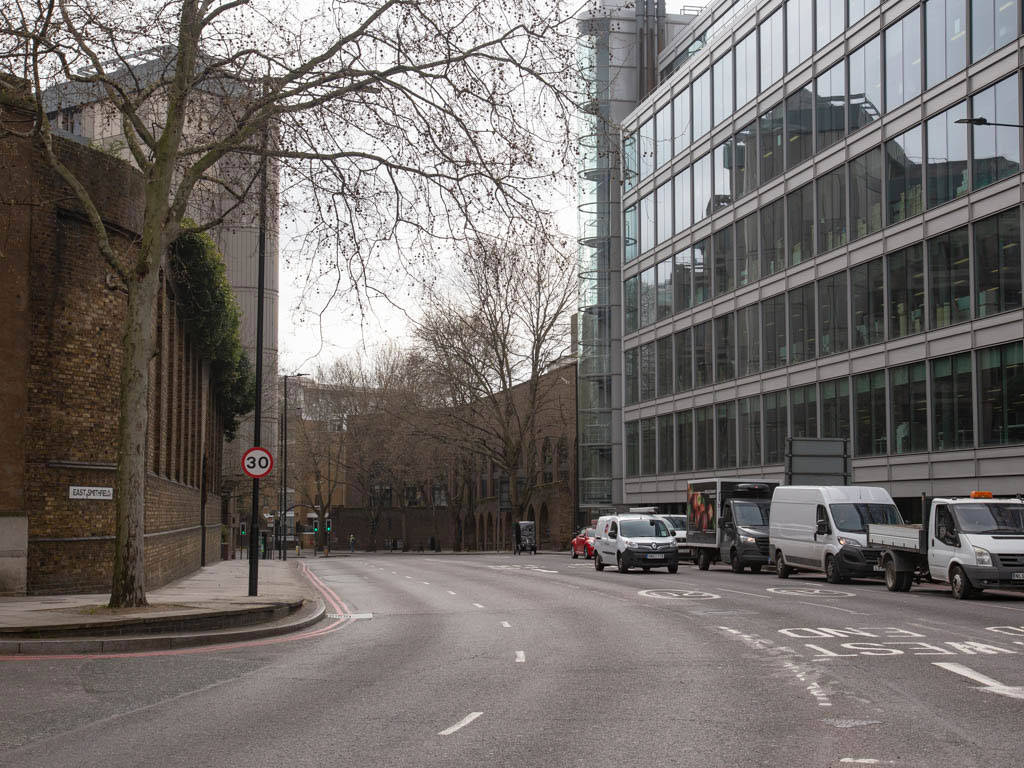
Reflecting the changes that have taken place.
- Capture 18
- 25 Apr 2021
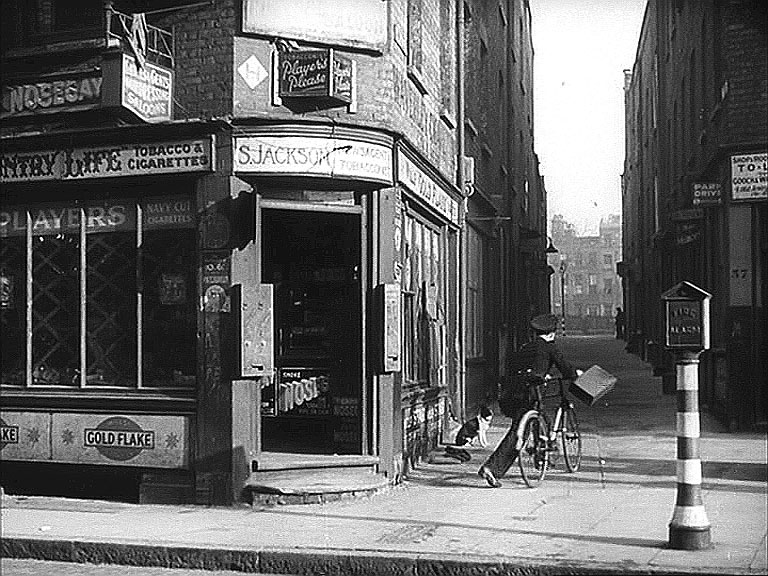
After saying goodbye to his wife in the shop Sid “Jacko” Jackson (Fireman Johnny Houghton) takes a bike ride to work. Hardly worth putting on bicycle clips as Ship Alley runs from The Highway to the south-east corner of the Square. The shop sign “S. Jackson” is a prop cover. Kelly’s Directory 1939 gives A. Balida, Confectioner at number 55 The Highway, London E1.
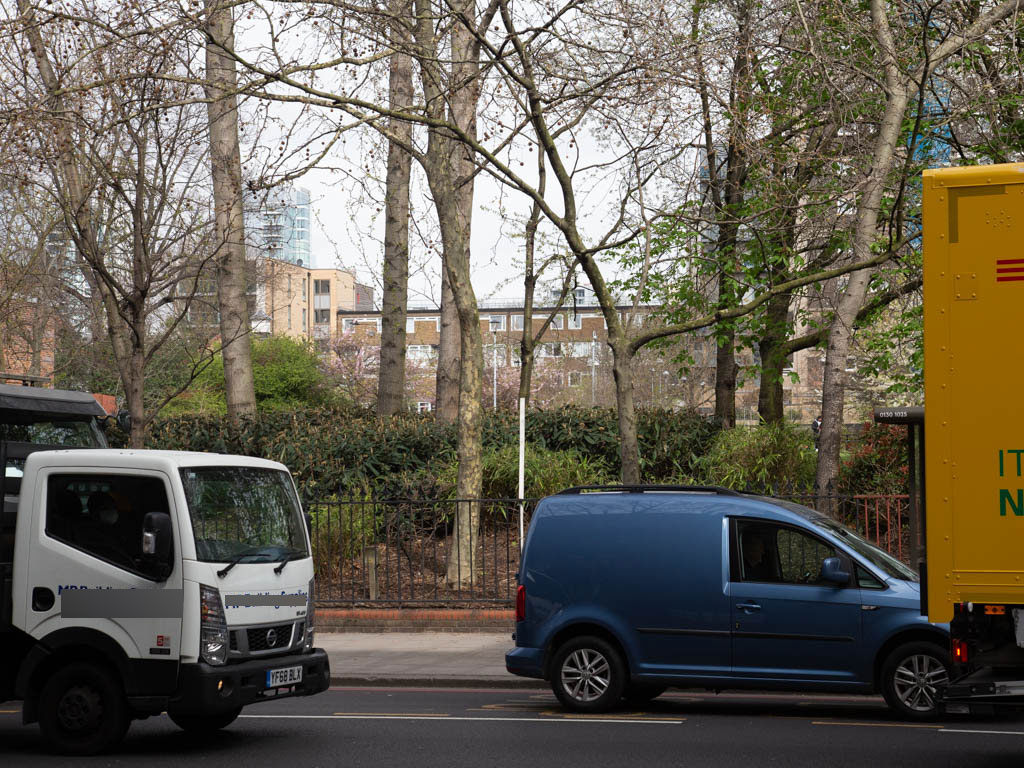
A break in the traffic did eventually materialise.
- Capture 19
- 25 Apr 2021
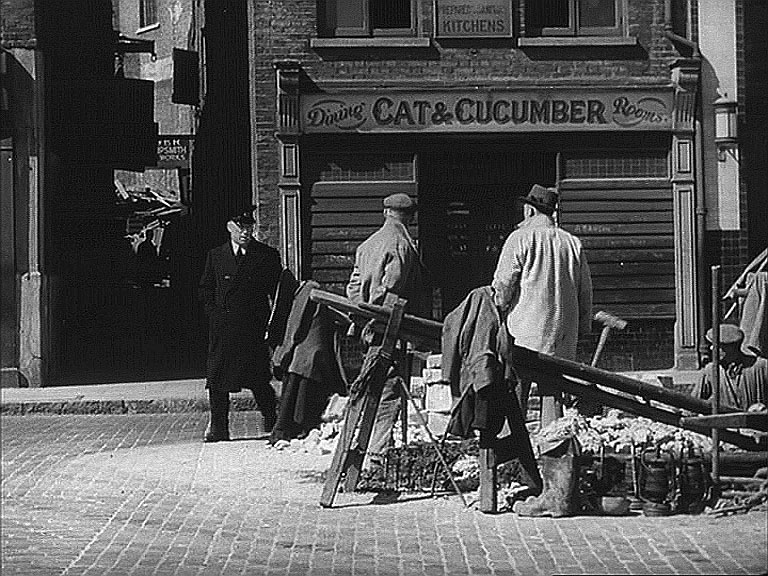
Walking alone, ‘Sub’ passes roadworks outside the “Cat and Cucumber Dining Rooms”. Here, strolling along Upper East Smithfield, London E1, he was at, never previously heard of, Minting Row and number 49 Upper East Smithfield. Kelly's 1939 Street Directory gives Frederick Roland Rush as proprietor of dining rooms. The warehouse building seen at an angle in Minting Row was LNER's East Smithfield Goods Depot. An amazingly fortuitous confirmatory photo can be seen at the foot of http://www.stgitehistory.org.uk/eastsmithfield.html.
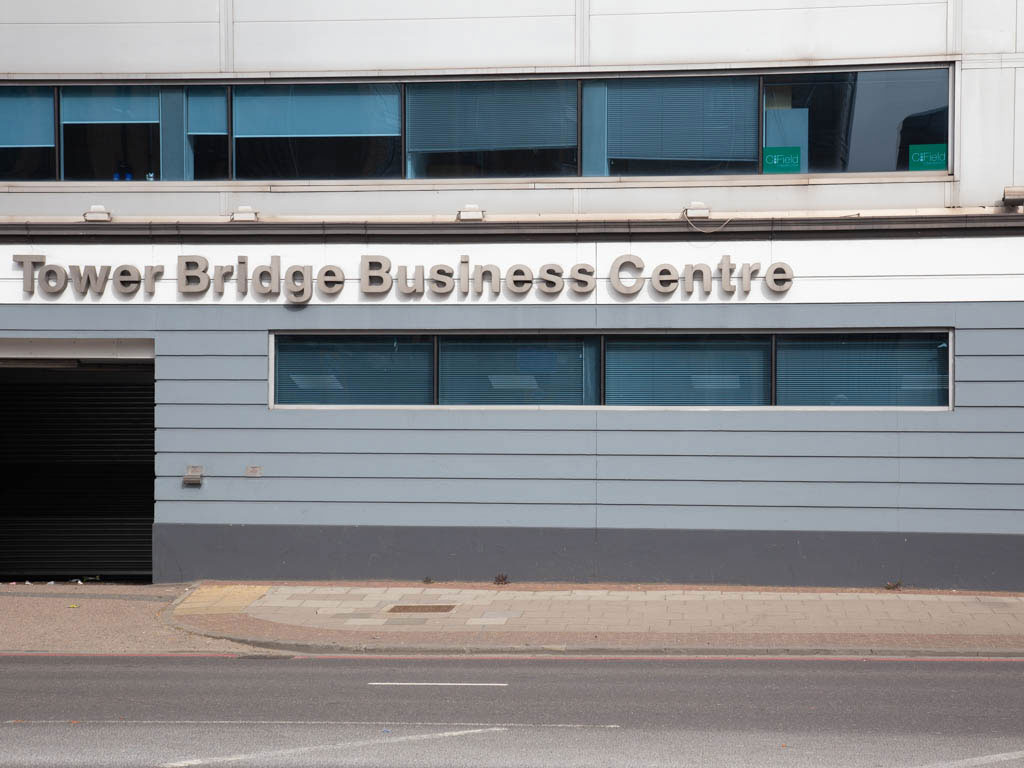
It really is the same place give or take a metre or two.
- Capture 20
- 25 Apr 2021
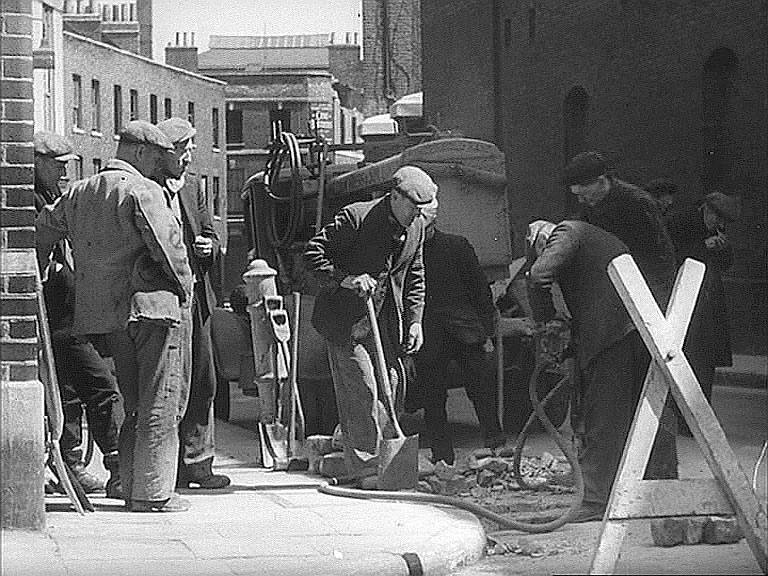
Possibly different roadworks in this capture. False window frames on the right suggest a warehouse building with a capped gatepost pair next to it. East Smithfield where it becomes The Highway, London E1, we are on the corner of Ensign Street and in the shadow of a London Docks warehouse looking east. The distant corner building sign is at Wellclose Street says Cini Brothers, General Produce Merchants, who were on the corner at 37 The Highway.
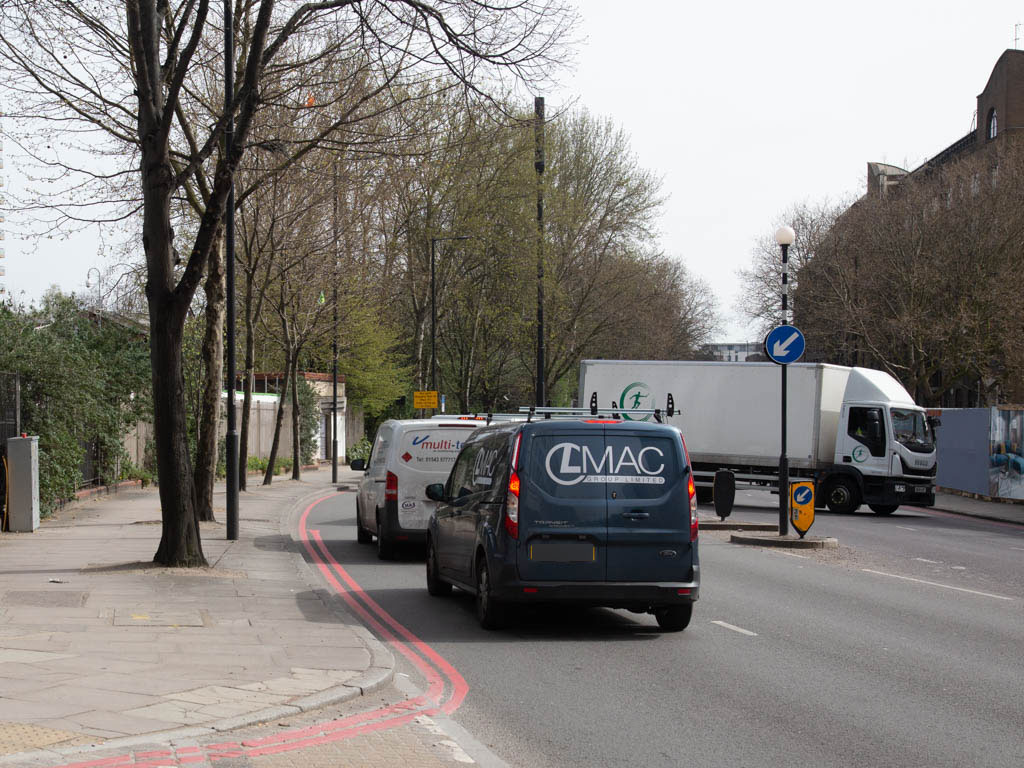
I was not the only one fed up with a slow moving queue.
- Capture 21
- 25 Apr 2021
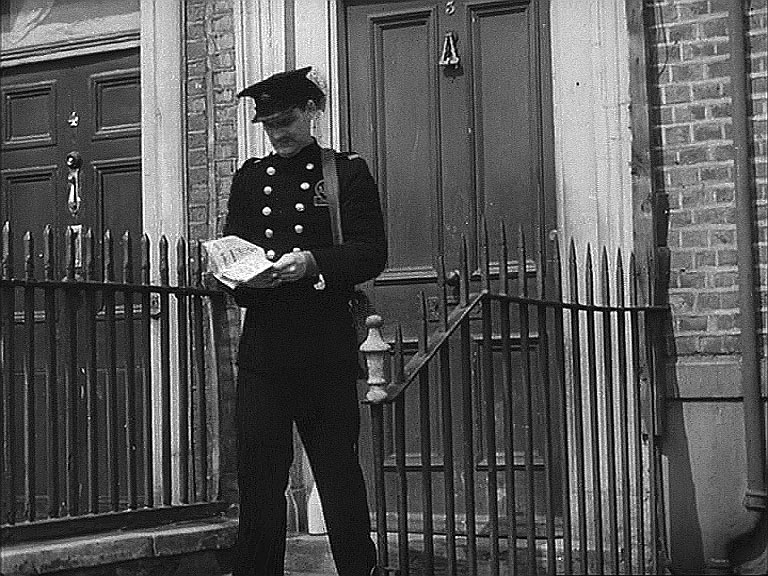
‘Wal’ Walters (Leading Fireman Philip Wilson-Dickson) closes his front door and starts his journey. 3 Wellclose Square, London E1.
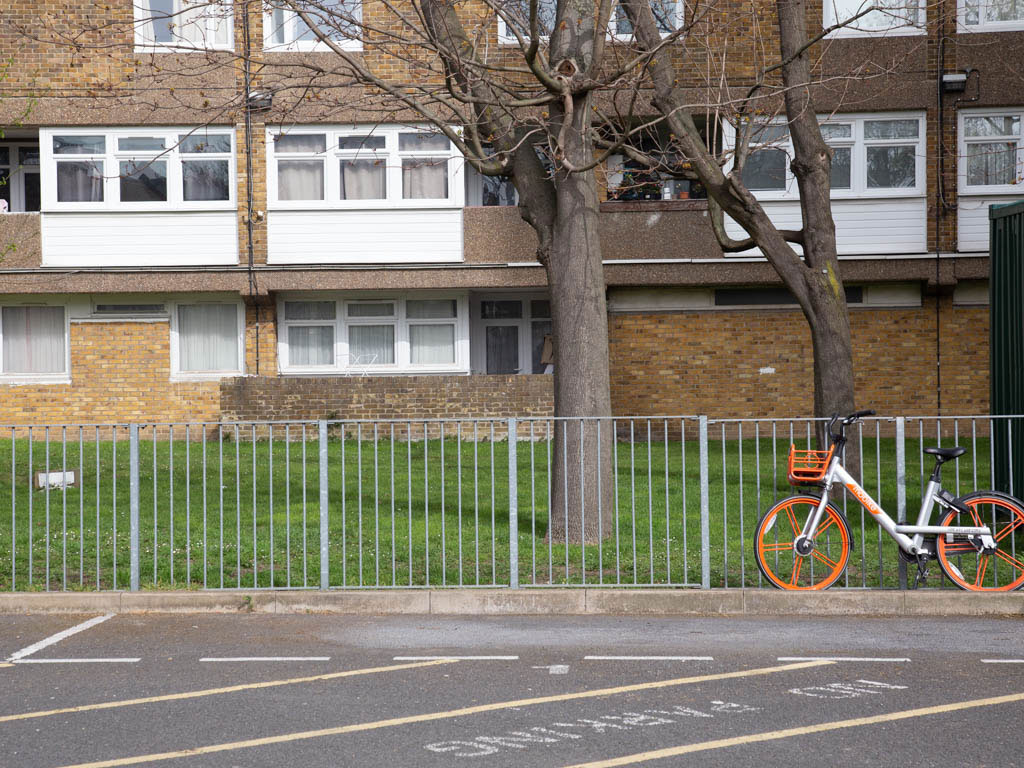
A wider shot to ensure that No3 as was is covered.
- Capture 22
- 25 Apr 2021

The church clock strikes three quarters. The 10am shift will soon begin. St John of Wapping Church, Scandrett Street, London E1.
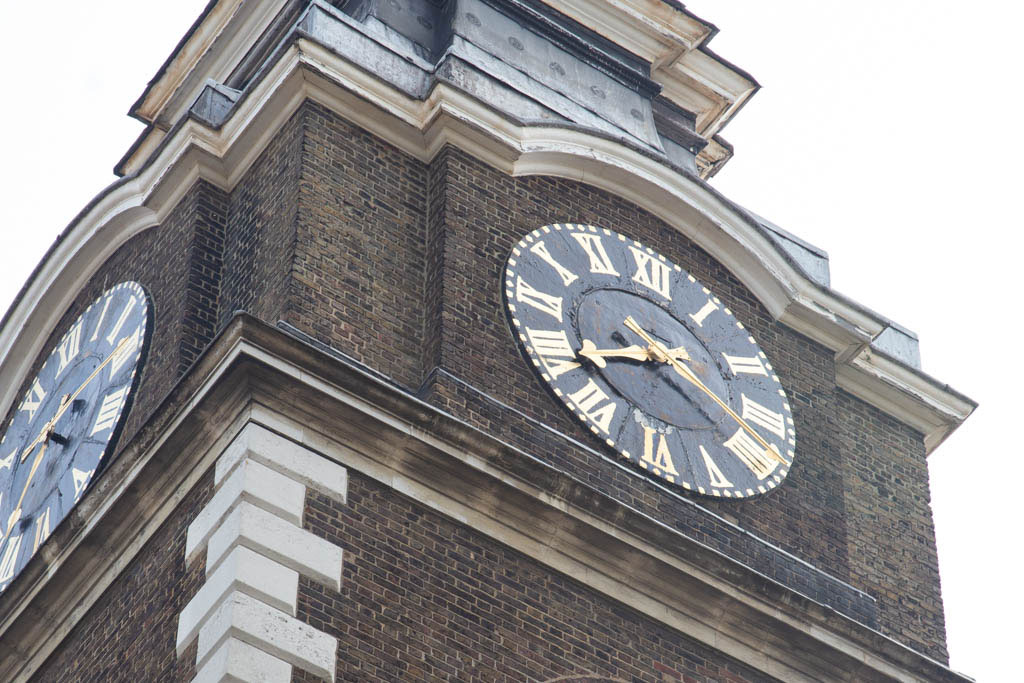
With the benefit of care and attention.
- Capture 23
- 25 Apr 2021
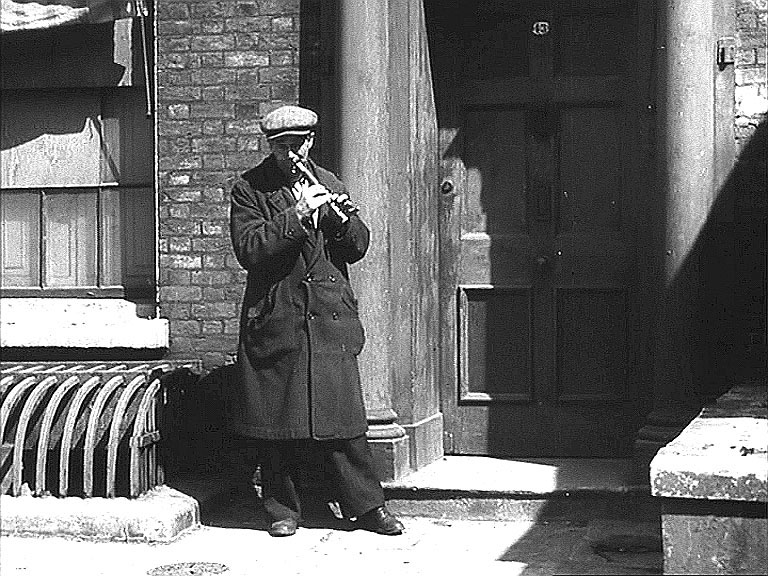
Documentation tells us that the street musician happened to be present when filming took place so he was co-opted into this scene in the doorway of 43 Wellclose Square, east side of the square.
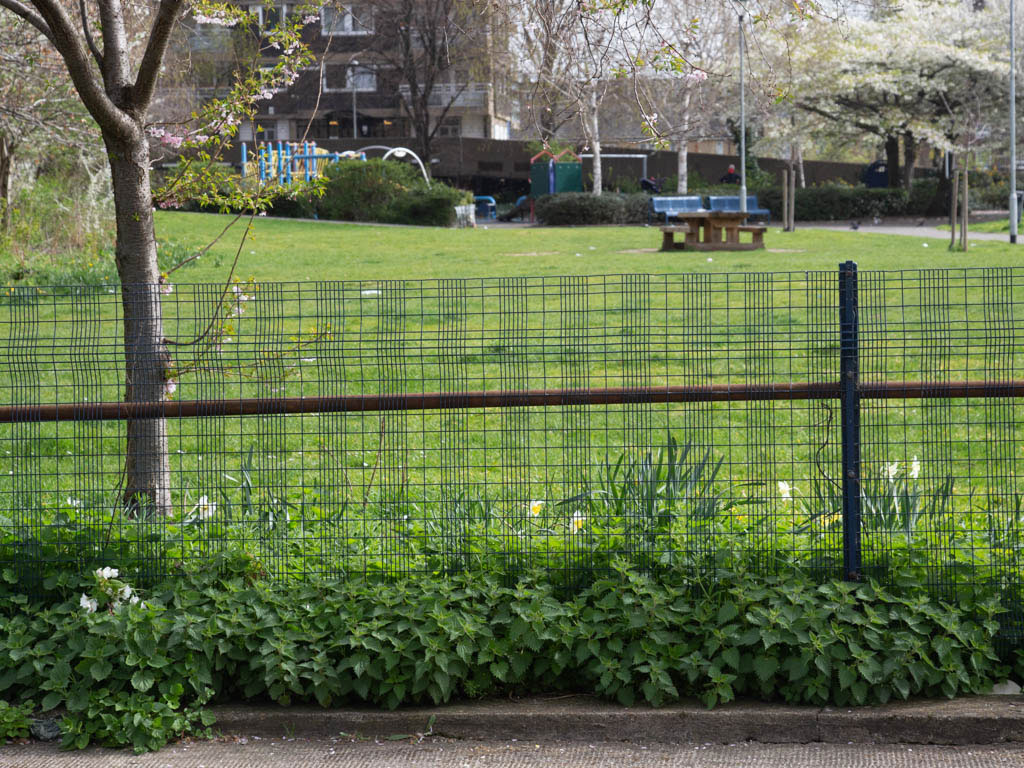
I doubt that this was the rear garden of No 43.
- Capture 24
- 25 Apr 2021
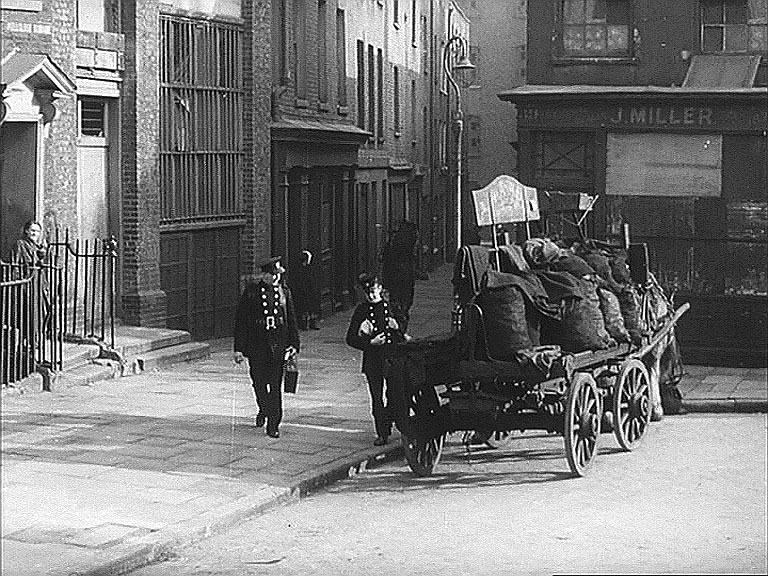
Brown and Jo enter Wellclose Square. A fine historical view of Ship Alley from the Square down to The Highway.
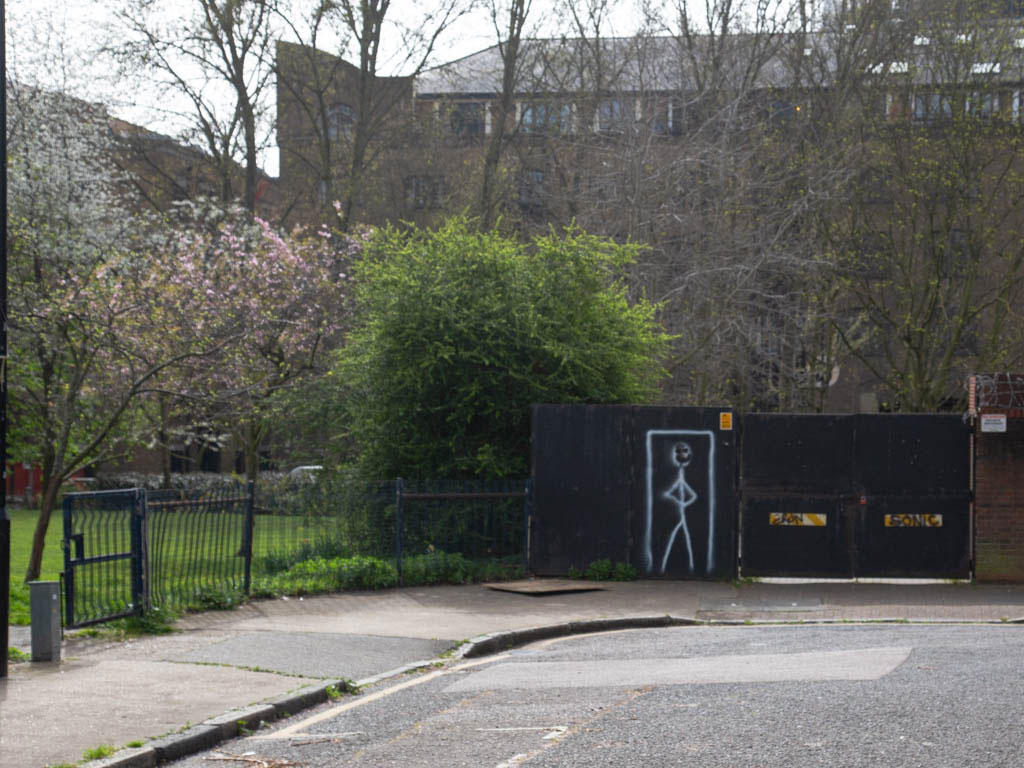
That was 'Ship Alley' that was!
- Capture 25
- 25 Apr 2021
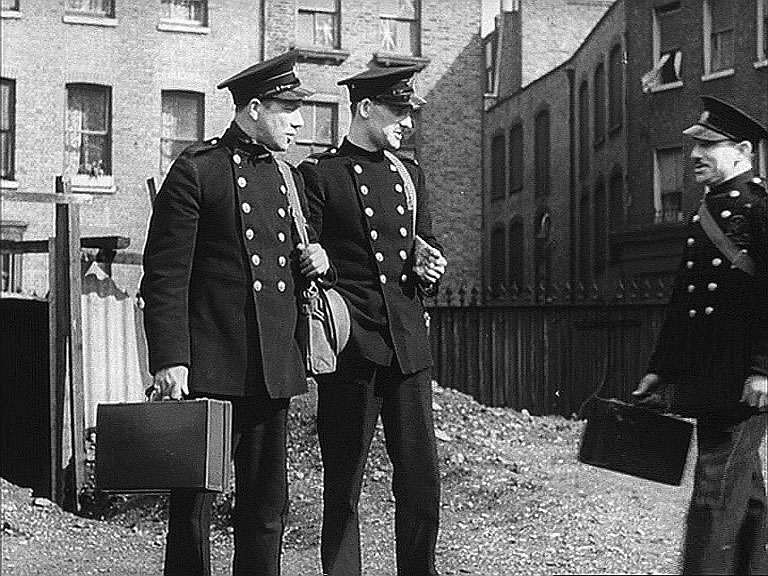
Johnny, Wal and George (or is he called John?) gather in the compound of Y14 base to greet each other. North East Passage running up to Cable Street E1 in the background. Along with Wellclose Square, the long lost passage can also be seen in 'Sparrows Can't Sing'.
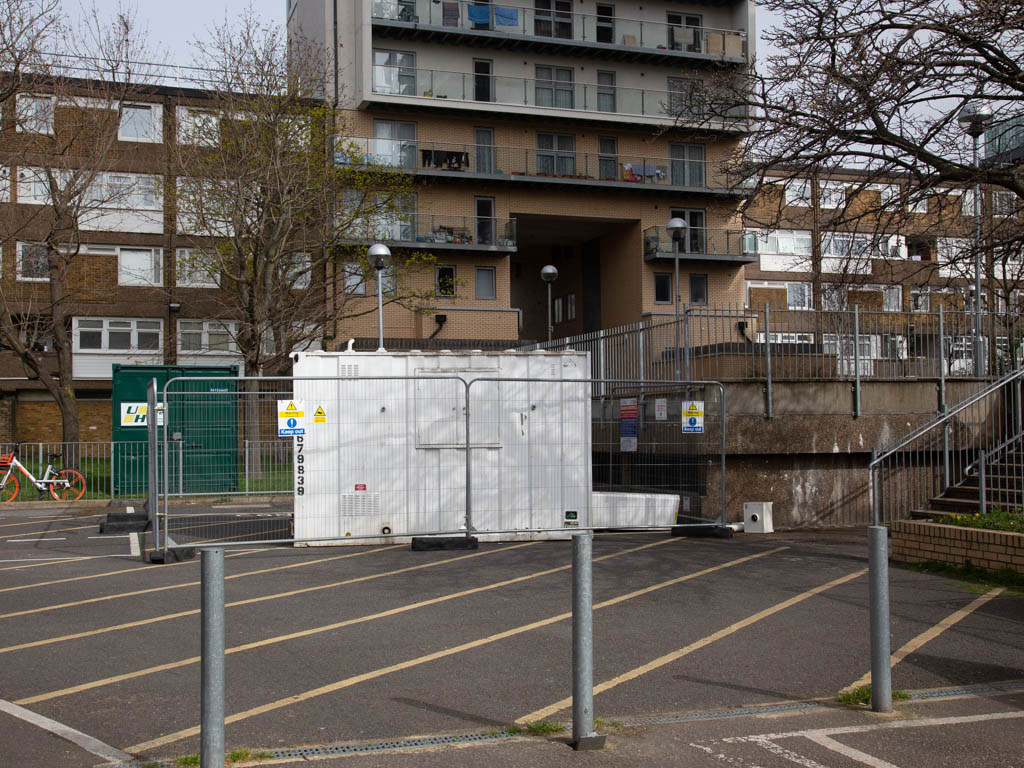
Not taken from within the school railings but the change is quite apparent.
- Capture 26
- 'Now' required
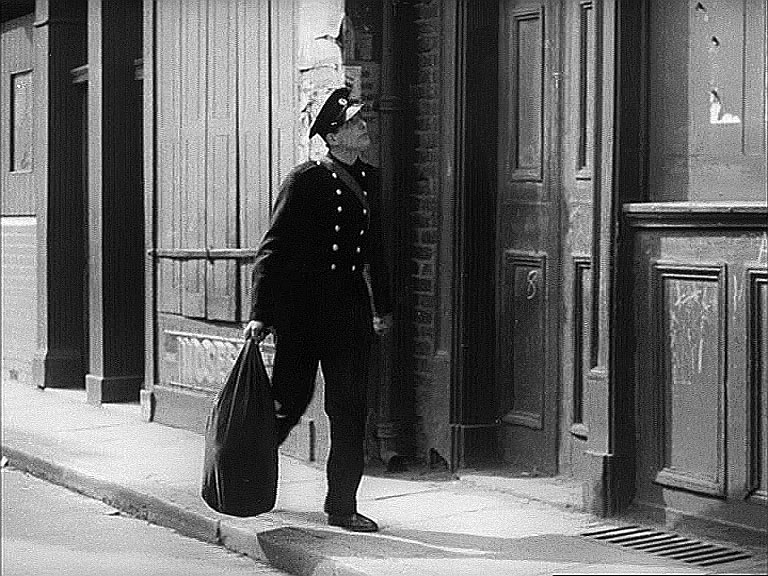
New recruit Barrett (William Sansom) approaches a bystander…....
- Capture 27
- 'Now' required
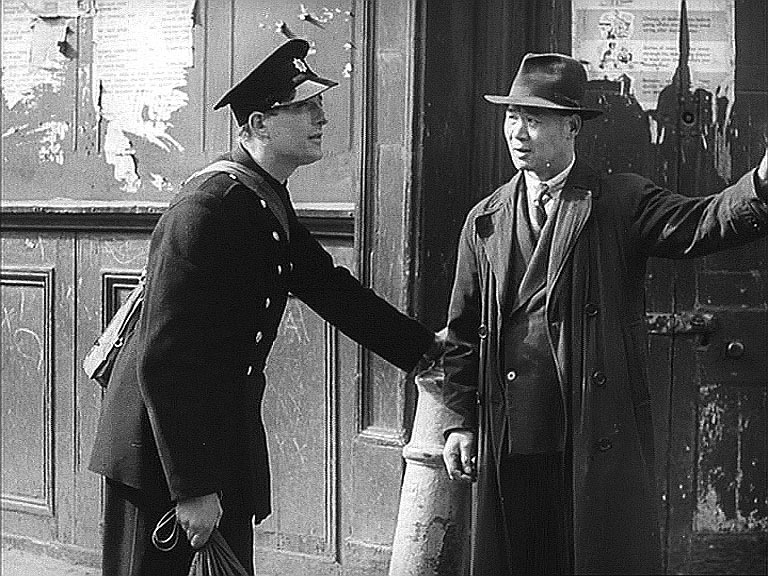
… and asks for directions. “Street corner.”
- Capture 28
- 'Now' required
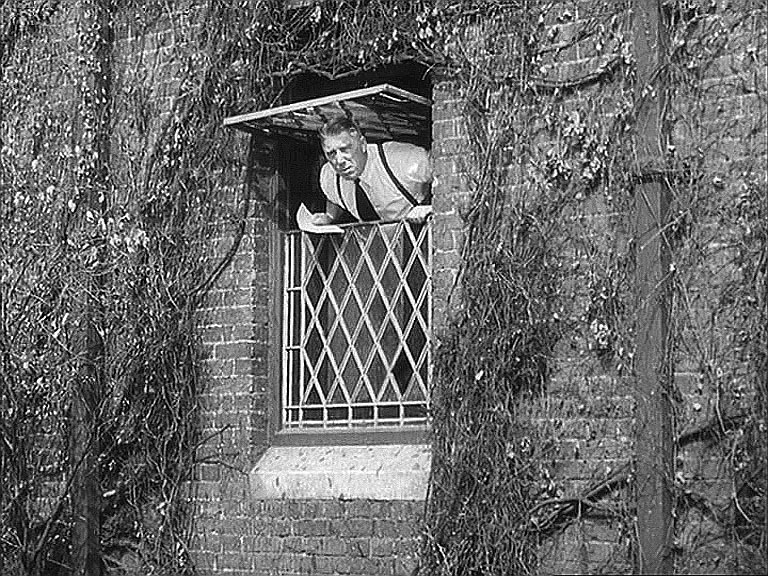
Sub” calls out to a member of the shift. Ray Glenister has found this to be the rear of St. Paul's Mission Room and Infant Nursery, Wellclose Square. This is the second window left of the stepped rear entrance.
- Capture 29
- 'Now' required
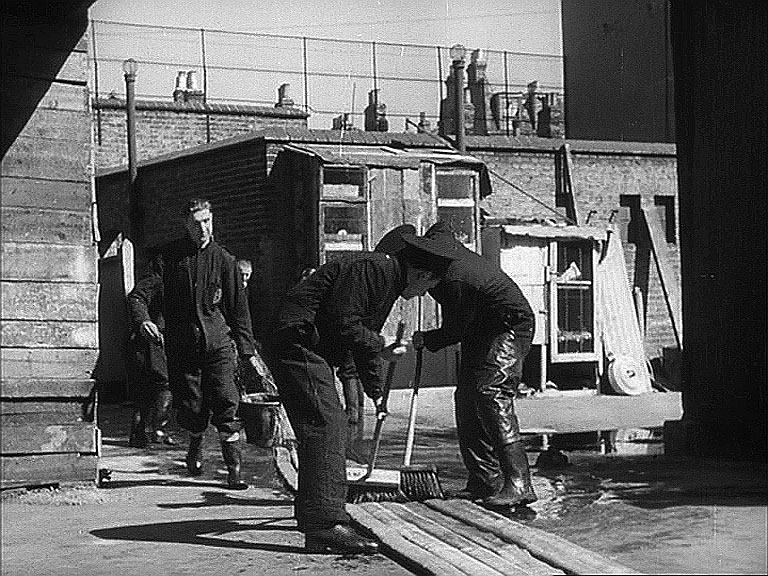
The morning’s tasks and drills include cleaning all equipment in readiness for the night ahead. Ray has found this to be at the central dividing wall looking north toward Sander Street ib the grounds of Harry Gosling Primary School, Fairclough Street, London E1. See next capture.
- Capture 30
- 'Now' required
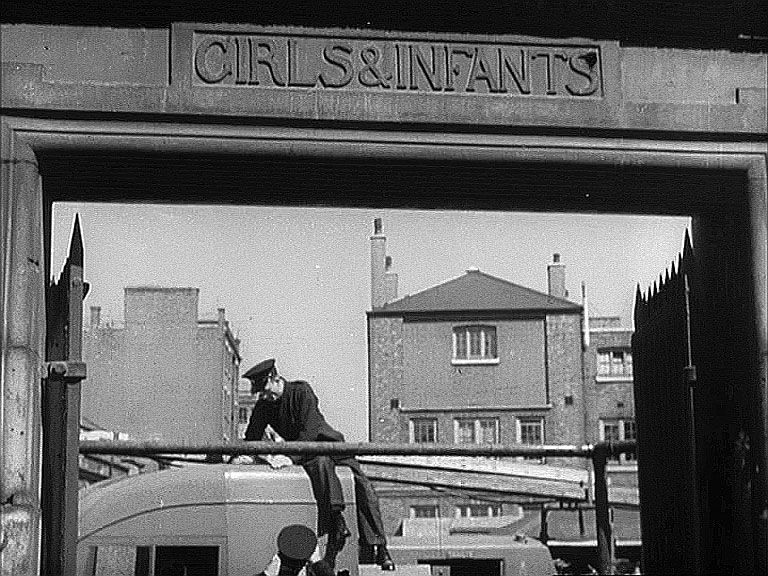
This is not 'HU 1', nor the school in Wellclose Square. Ray has also resolved this one for us, Harry Gosling Primary School, Fairclough Street, London E1. Looking north through the Girls & Infants entrance from Fairclough Street toward Sander Street. The main building seen right of centre remains to this day and can be seen on Back Church Lane.
- Capture 31
- 26 Apr 2021
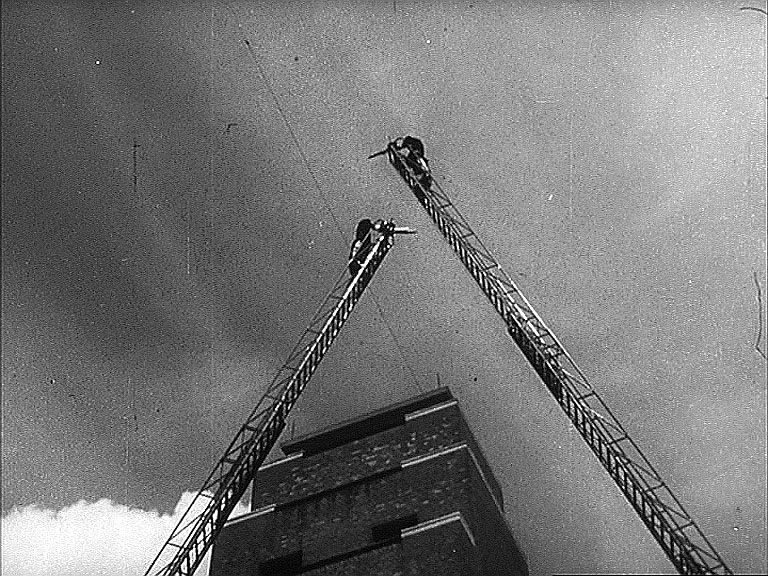
A stock shot is inserted here. Looking like the training tower at Fire Brigade Headquarters in Lambeth High Street SE1.
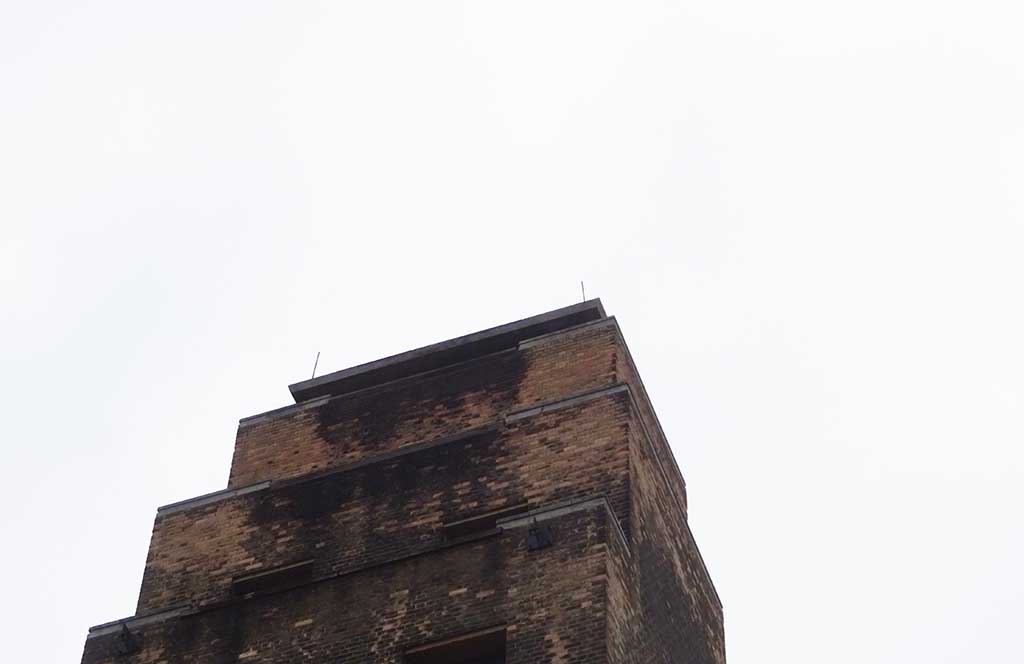
Fortunately the gates on Lambeth High Street were open and I managed the correct angle looking east to confirm SE1. SJ
- Capture 32
- 'Now' required
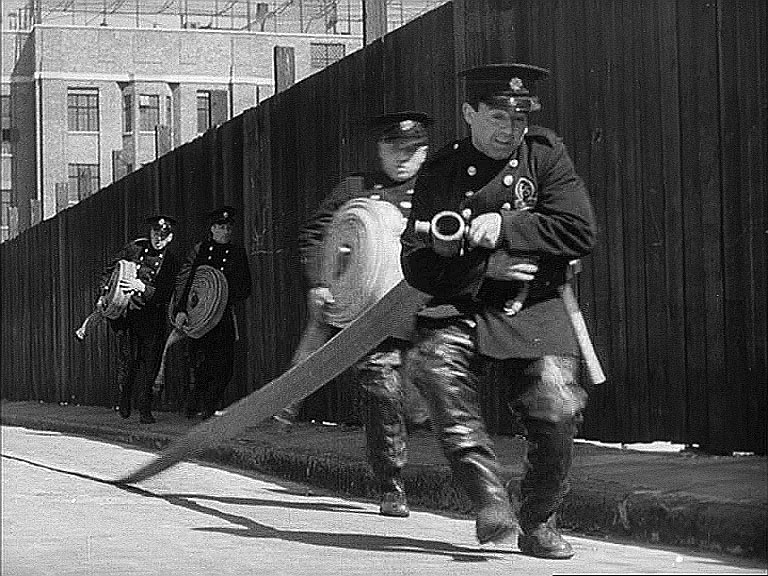
Hot on the heals of Ray's recent finds Dave W has found this to be looking north on Berner Street (now Henriques Street), E1 with the still extant Bernhard Baron St George's Jewish Settlement Building in the background.
- Capture 33
- 25 Apr 2021
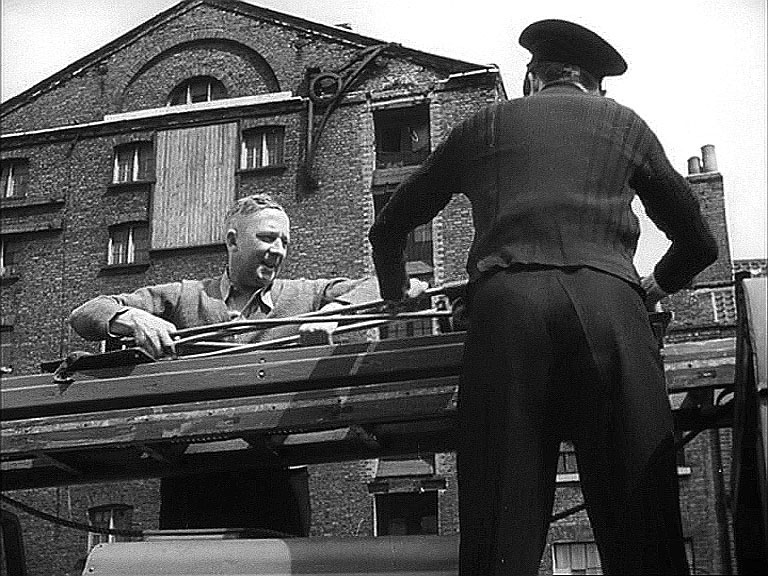
Joe and the Colonel attach equipment to the roof of HU1. The warehouse at 48 – 49, east side of Wellclose Square.
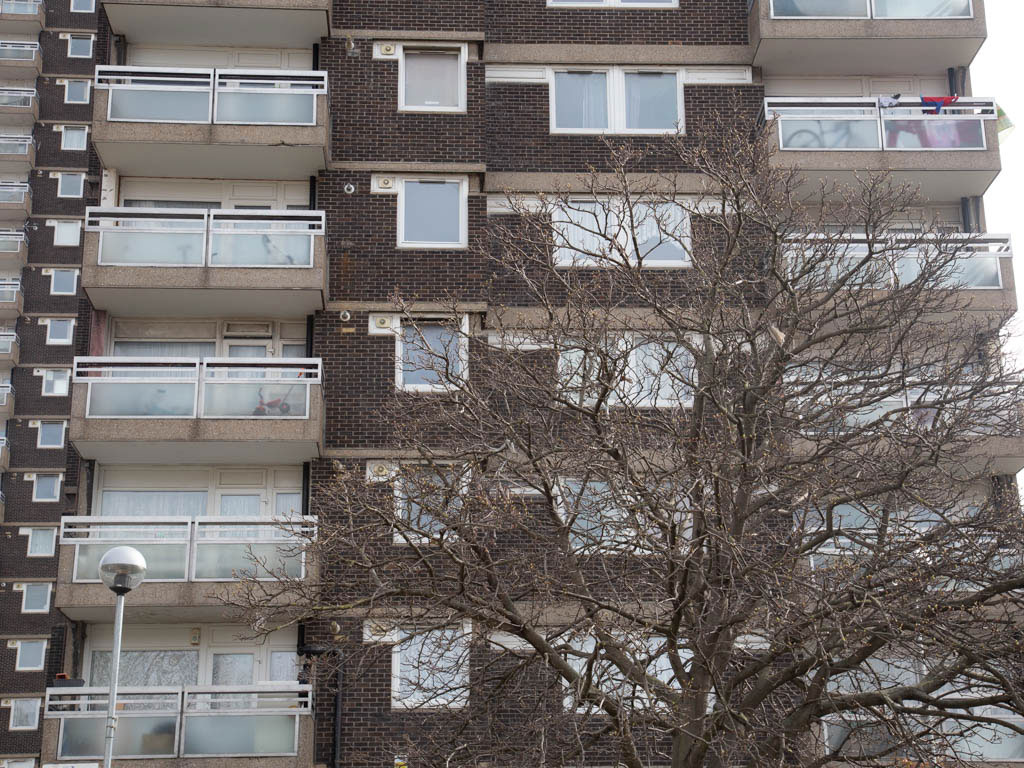
Clearly this accommodates more than the converted warehouse would have, and more affordable!
- Capture 34
- 'Now' required
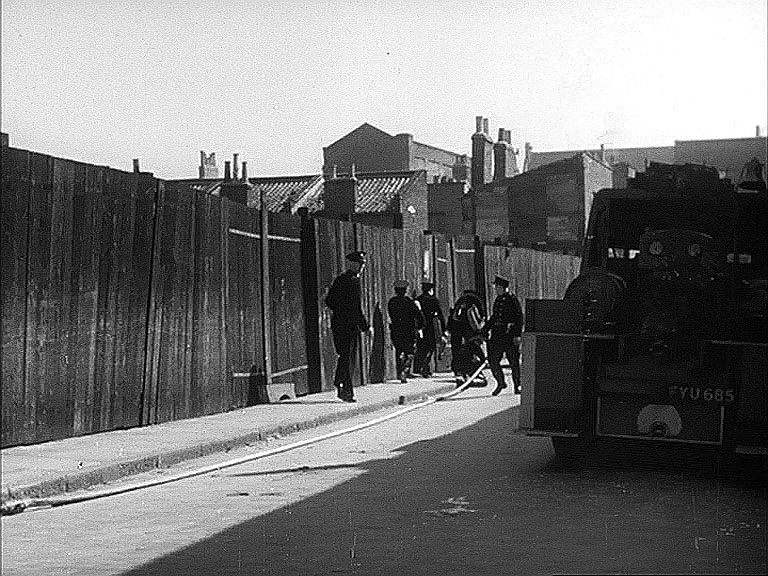
Hose reels are laid and rewound. This is not our Heavy Unit 1. This has the registration FYU 685 and evidence suggests that it might be the same unit as seen in Capture 30. Despite a short break in continuity Dave W finds that the crew have turned the corner from Capture 32 into Ellen Street as we look towards its junction with Christian Street.
- Capture 35
- 25 Apr 2021
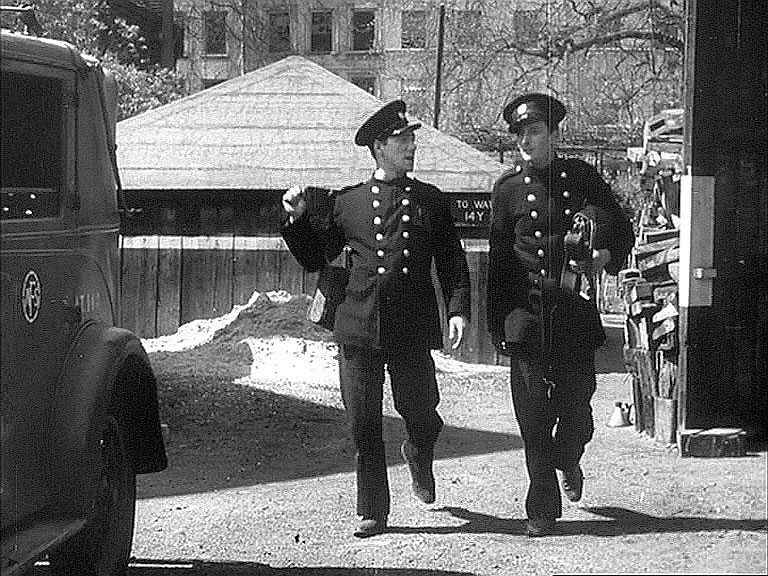
When Sub instructs Johnny to show new recruit Barrett around the district, they leave the compound in a service vehicle. Looking west towards 20-24 Wellclose Square.
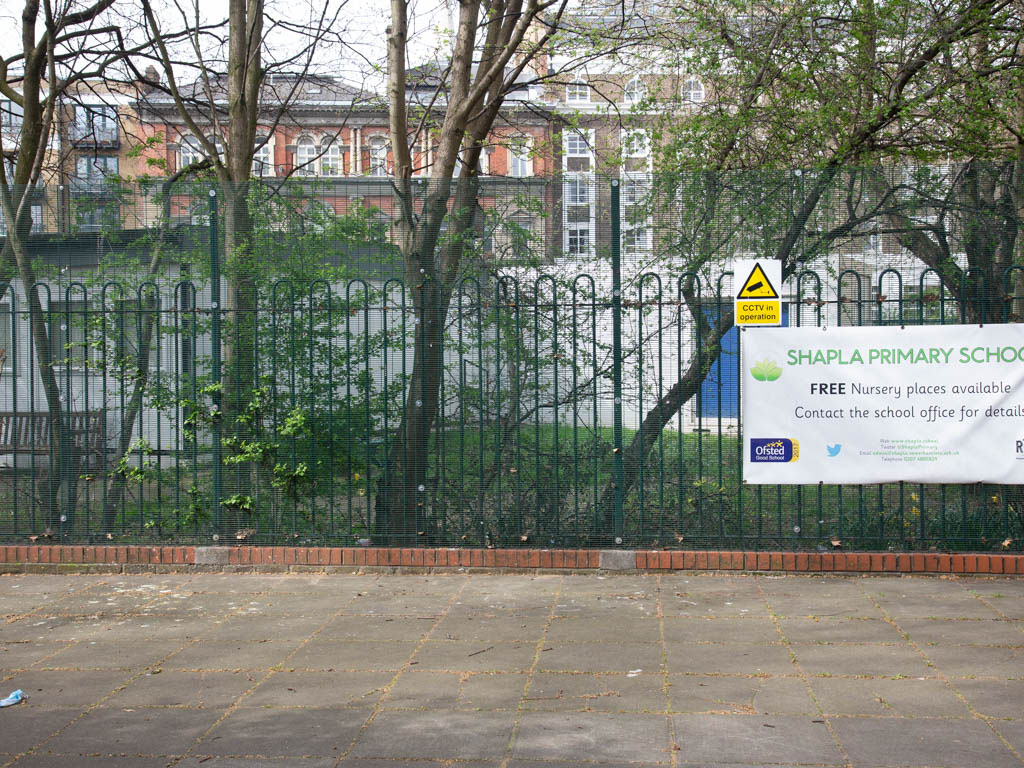
Taken from outside what was the compound.
- Capture 36
- 05 May 2021

They stop in Narrow Street with Stepney Power Station in the background. About to approach the Limehouse Cut Entrance.
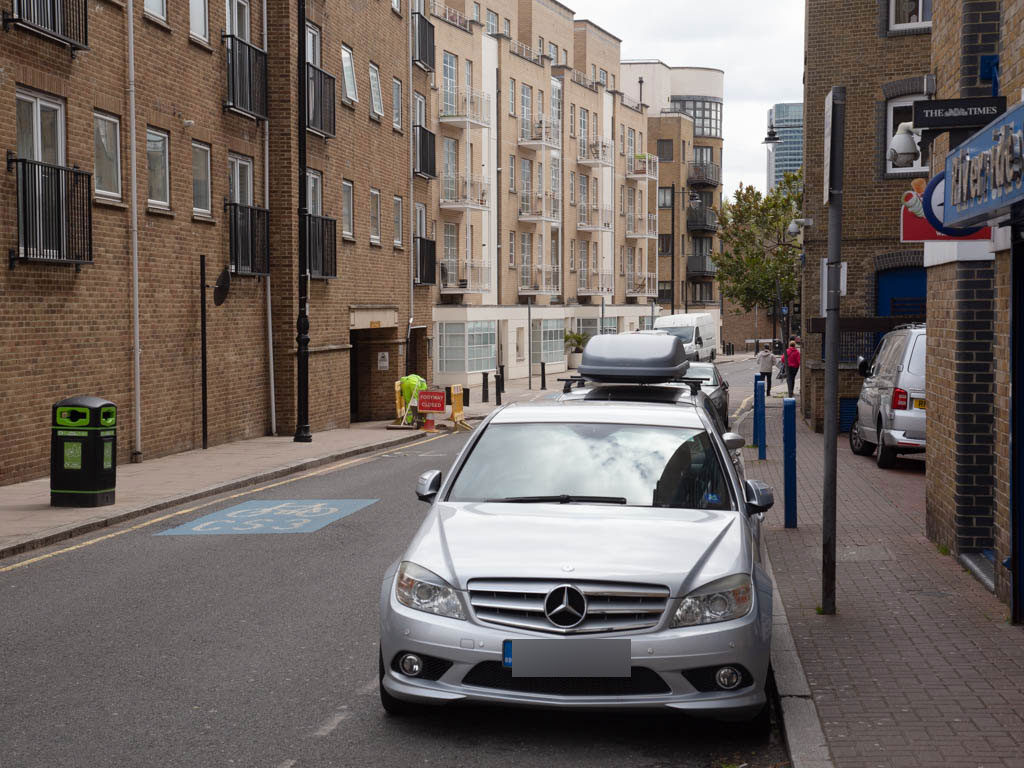
Parking is now a little more regulated.
- Capture 37
- 05 May 2021
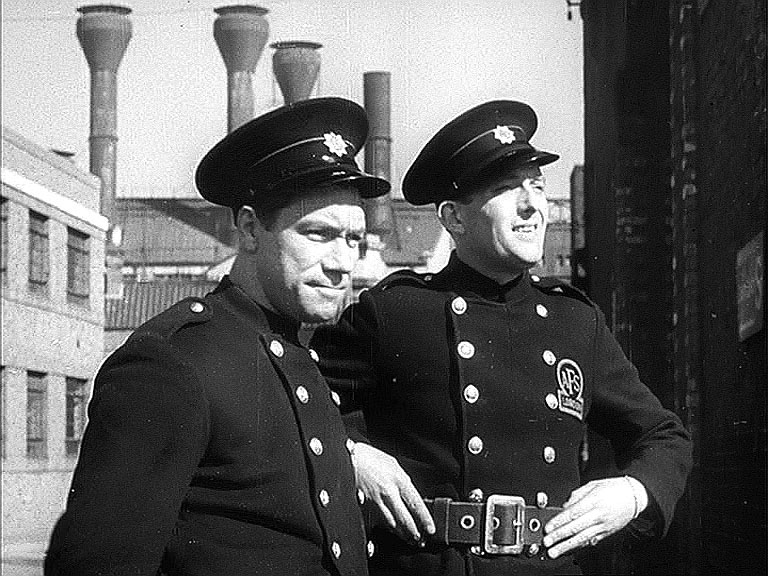
“There she is, high tide” explains Johnny. Their gaze suggests they are standing at the entrance to Limehouse Cut in Narrow Street but we don’t get to share that vista. Stepney Power Station’s short tulip-shaped chimneys had been decommissioned by then in favour a much taller single brick-construction stack, out of shot here. All of the stacks are seen at a distance in an earlier Capture 10.
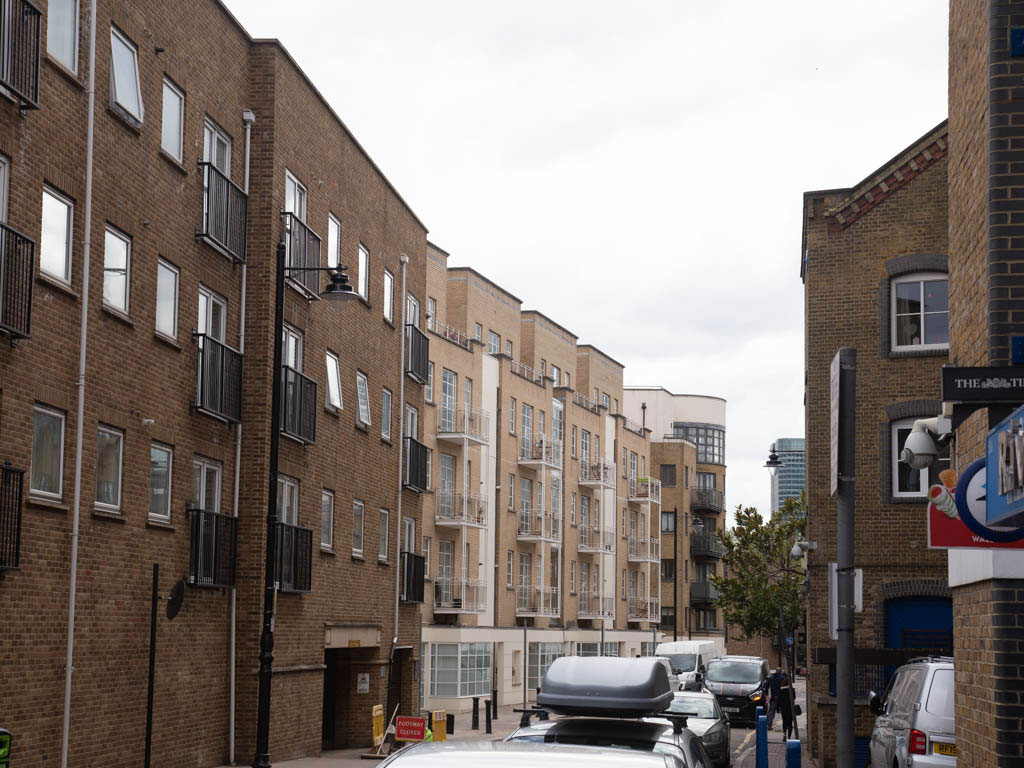
Out with the old and in with the new.
- Capture 38
- 'Now' required
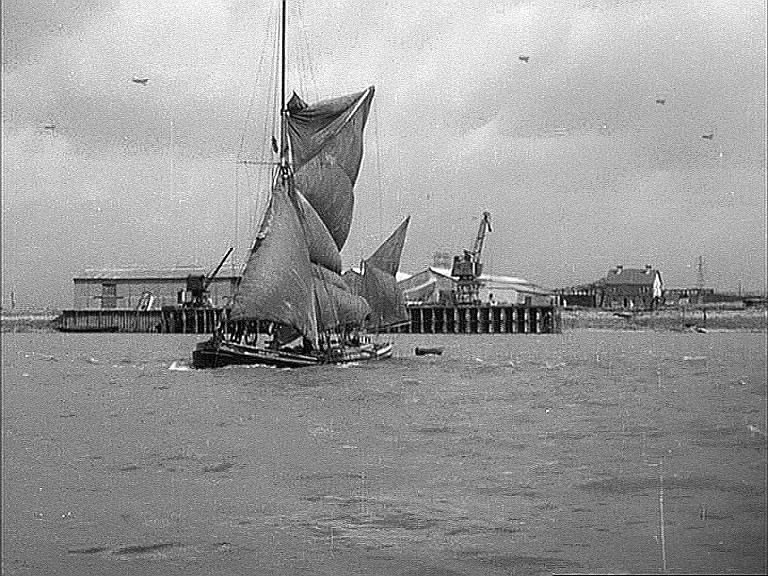
This view of the river is in reality further downstream, nowhere near Stepney or Limehouse Cut. Sailing barge 'Her Majesty', so could this be near the next capture?
- Capture 39
- 'Now' required
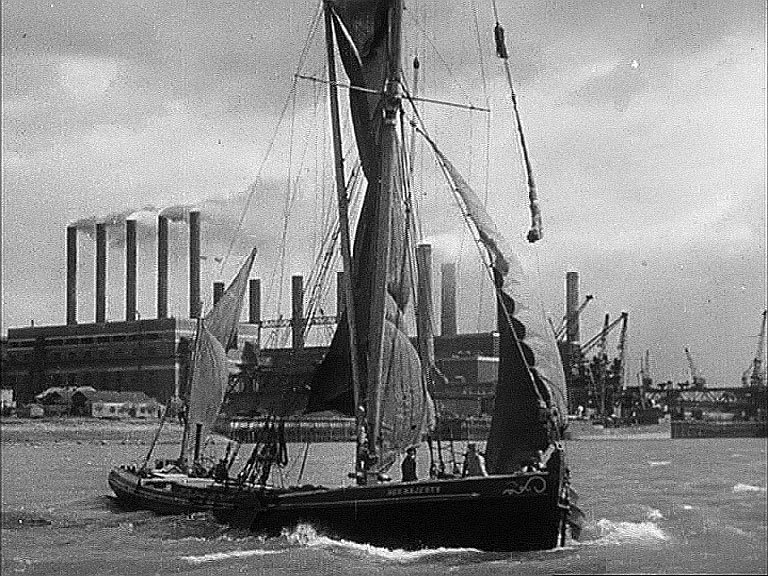
Barking Power Station, Creekmouth, Essex at the time of filming now the London Borough of Barking and Dagenham. Sailing barge 'Her Majesty' again.
- Capture 40
- 05 May 2021
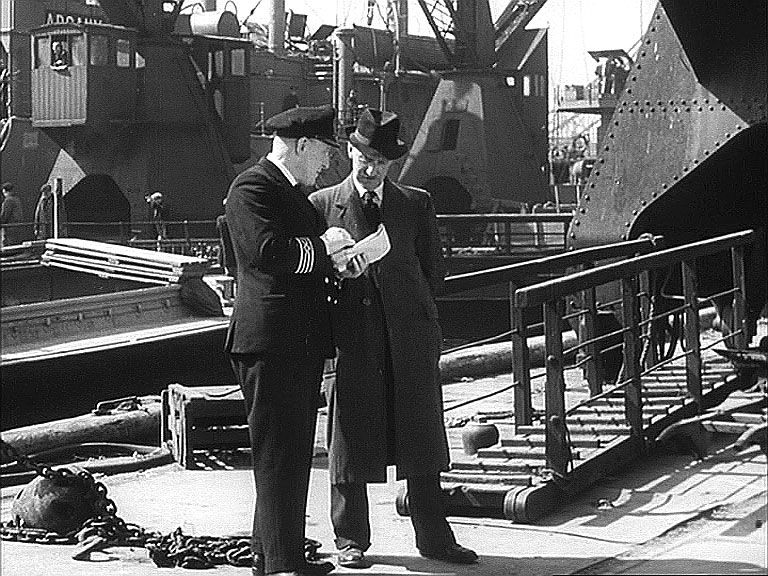
Johnny and Barrett visit “Aldermans Wharf” to see a munitions ship being loaded with arms supplies. Tower Bridge can be spotted in the upriver background as officials discusses logistics. The ship’s name looks like ‘ARGAU...’ with these letters seen again in a later capture. The nearness of Tower Bridge, the jetty and the double row of travelling cranes conspire to point us to Carron Wharf.
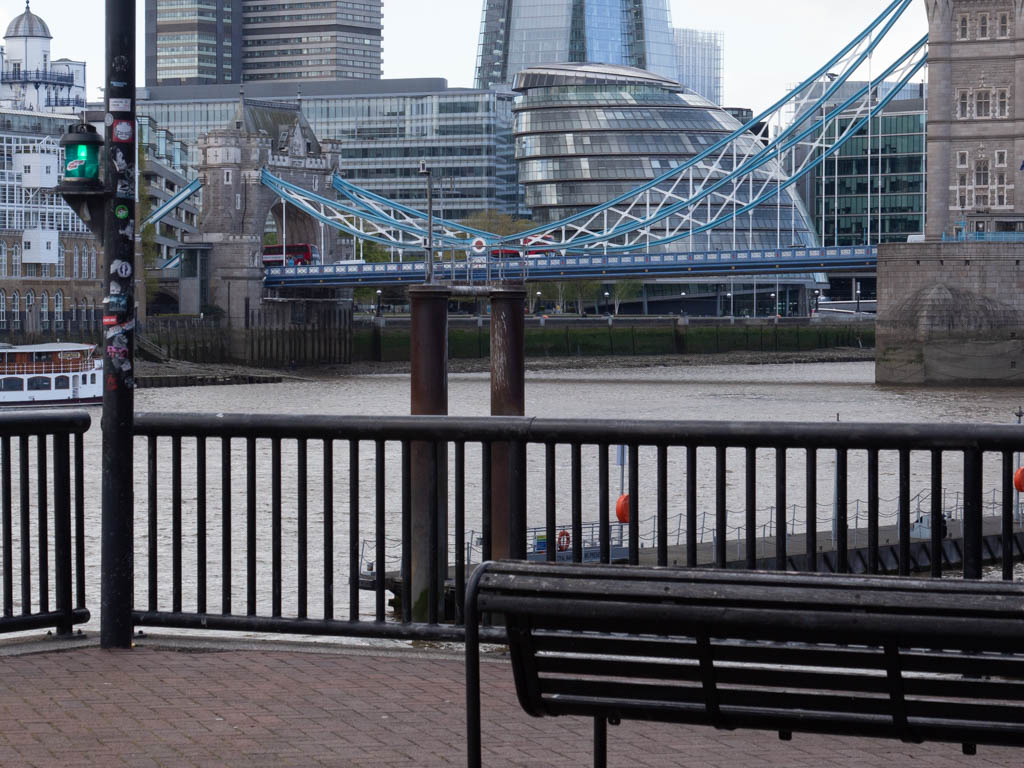
How the area has changed.
- Capture 41
- 05 May 2021
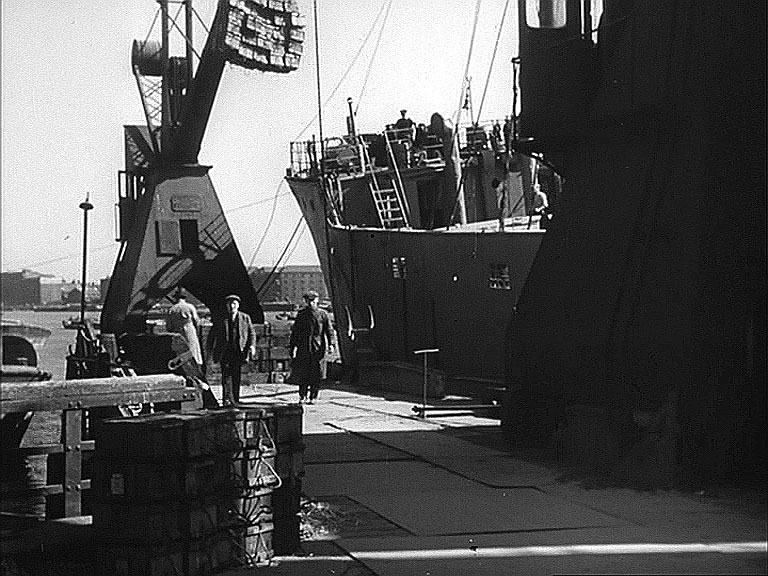
The same jetty (Carron Wharf) seen from a different standpoint and looking downriver.
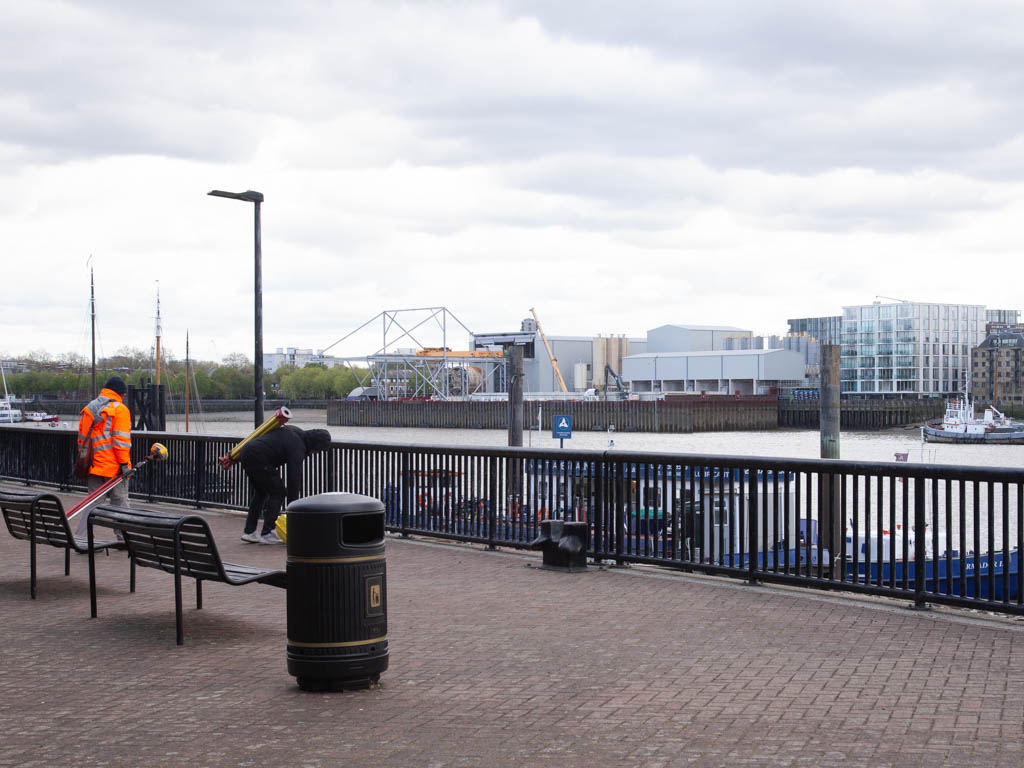
Two token workers to fill the scene.
- Capture 42
- 'Now' required
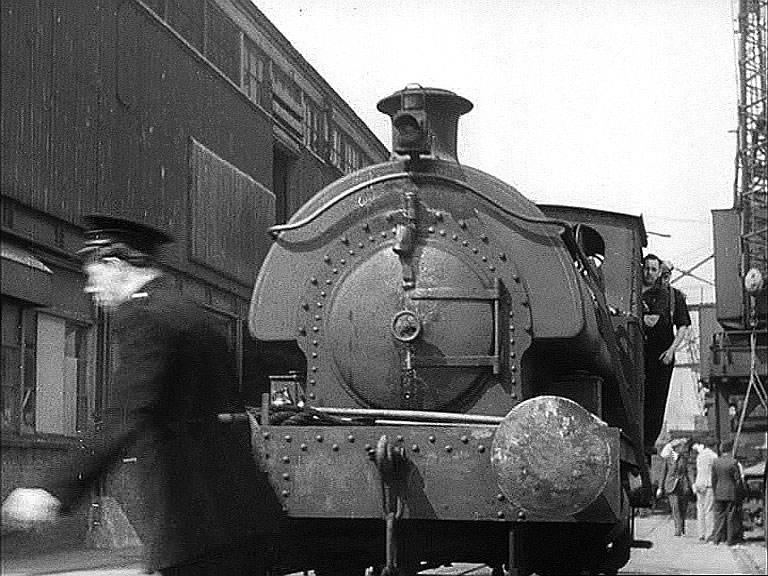
Within the same purported location, suddenly the sun has shifted to the opposite direction and the wharf has sprouted a steam train on its own rails. This is one of the wharves at Woolwich Arsenal where a private railway was constructed to carry goods within the large compound. We believe this to be West Wharf (Ordnance) and a Hawthorn Leslie 0-4-0 saddle tanker, possibly, one with a short name beginning with "L", unfortunately a ladder hides the full name plate. With thanks to the Royal Arsenal History Forum for their confirmation. See also Capture 73.
- Capture 43
- 05 May 2021
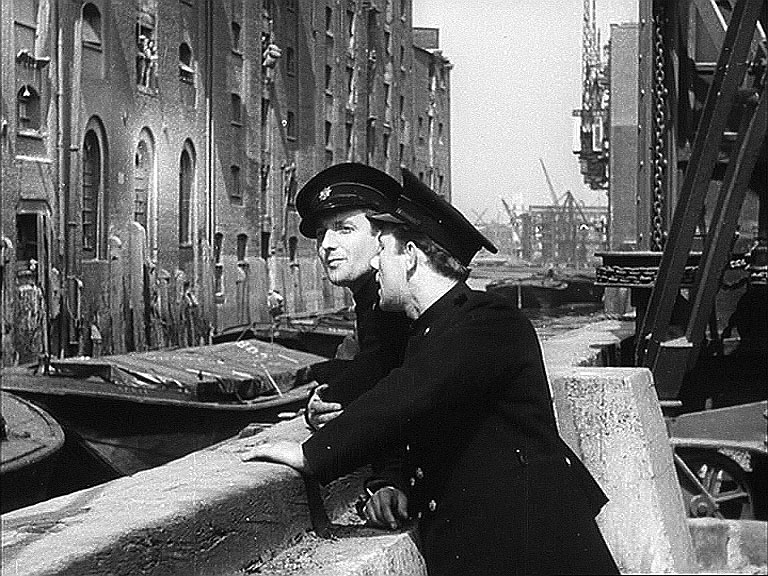
Barrett’s tour guide Johnny points out St Saviour’s Dock SE1 seen from Scott’s Sufferance Wharf.
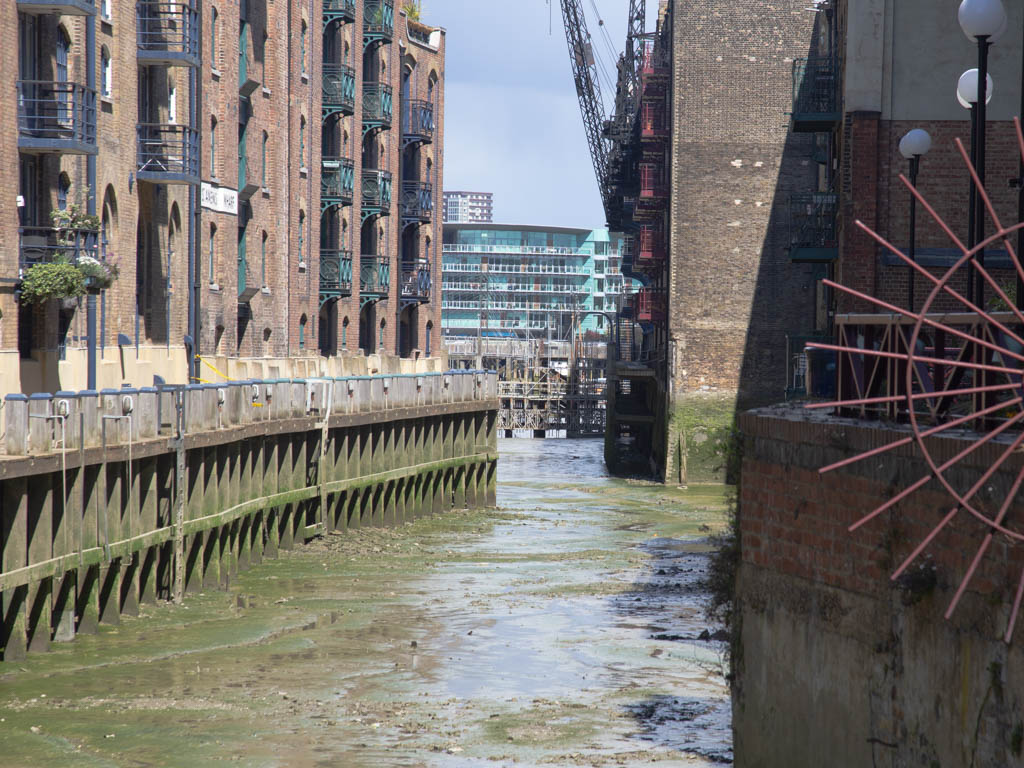
Re-configured land side as will be seen in the next capture but the essential architecture remains.
- Capture 44
- 05 May 2021
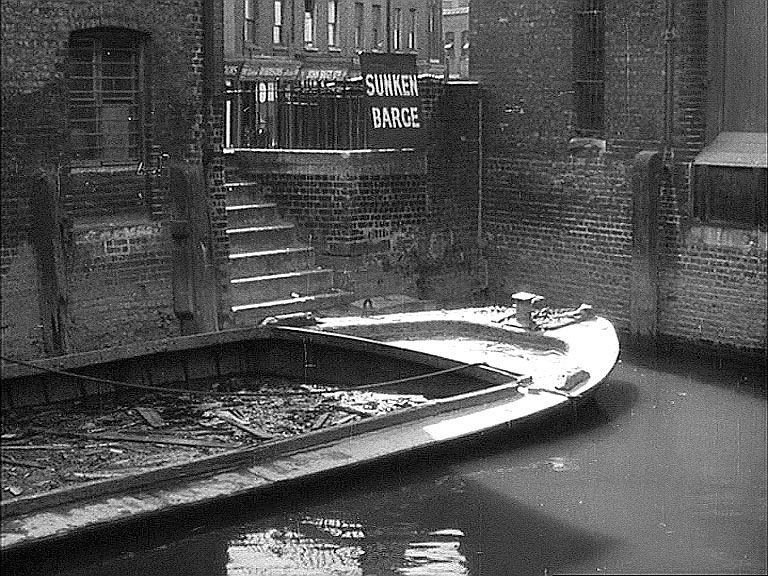
They discuss the sunken barge’s function as a source of water for riverside firefighting at low tide. The terrace of shops can still be found at Tanner Street SE1.
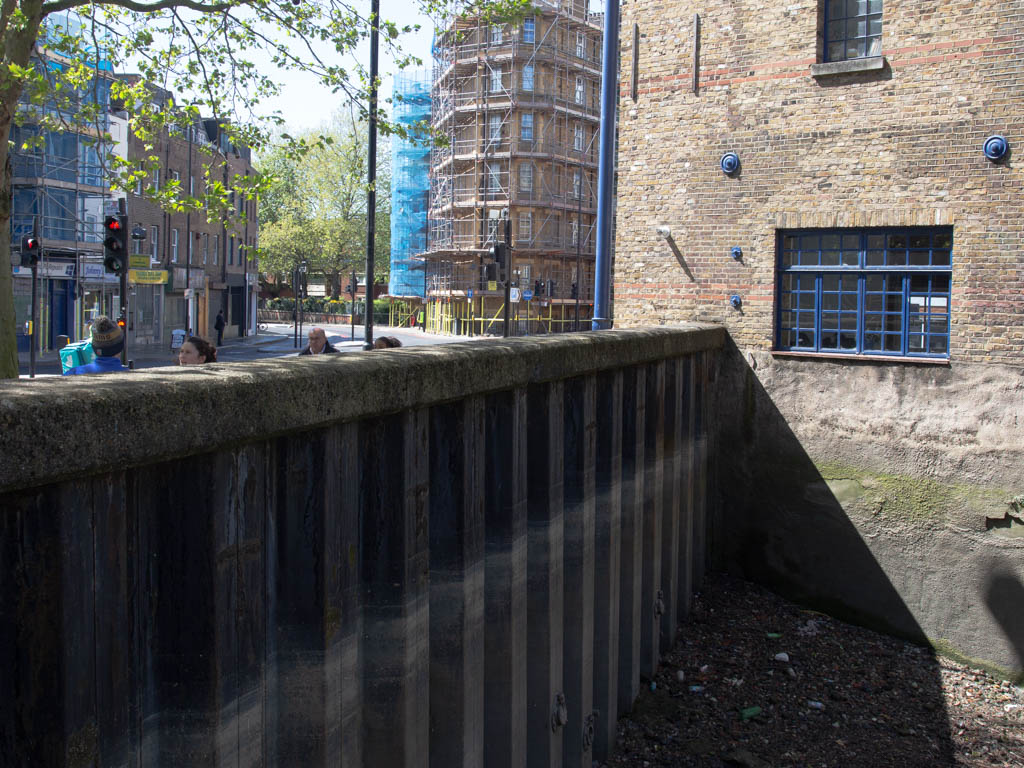
Yes, the terrace shops do indeed remain.
- Capture 45
- 'Now' required
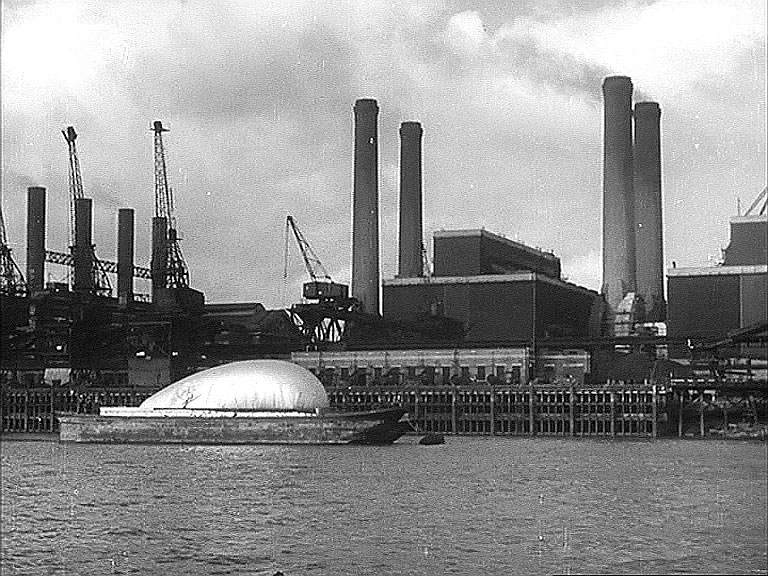
Further scenes downriver. Barking Power Station, Creekmouth, Essex at the time of filming now the London Borough of Barking and Dagenham. Hugh Moules has kindly provided us with this further information. On the left is Barking ‘A’ power station, dating from 1925, while on the right is Barking ‘B’, from 1939. Situated at Creekmouth, they were owned and operated at the time of the film by the County of London Electric Supply Co Ltd. In addition to serving the Company’s own supply area, bulk supplies were made to various other electricity undertakings, including Barking Corporation, the predecessor of the London Borough of Barking and Dagenham.
- Capture 46
- 'Now' required
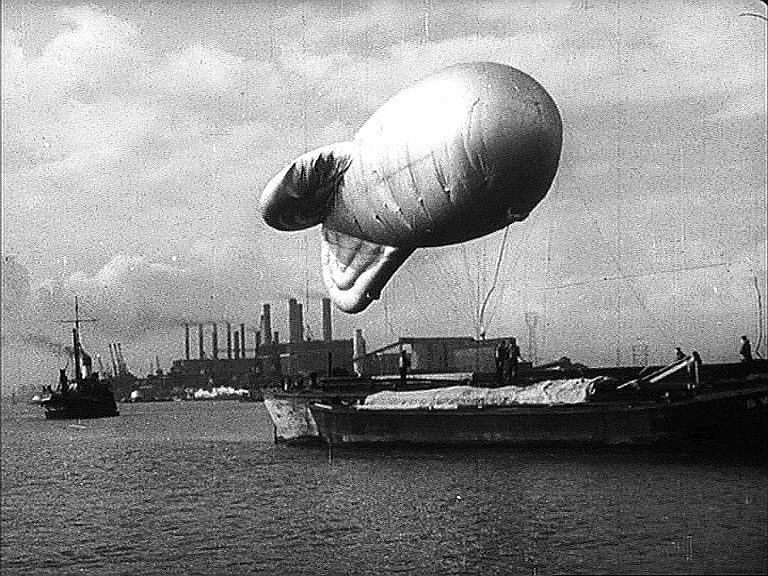
A barrage balloon takes to the air from a barge. Barking Power Stations again in the background, for further detail and information see the above capture.
- Capture 47
- 'Now' required
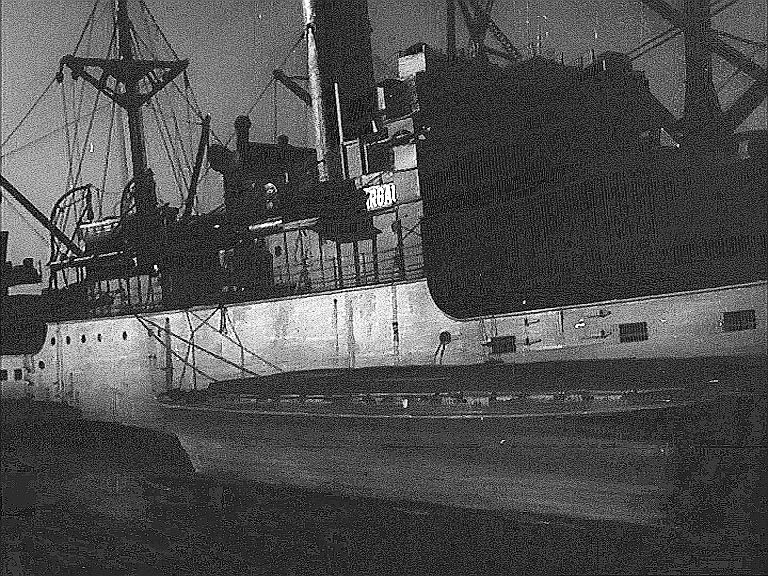
Darkness is falling and several location shots set the mood for the inevitable air raid action to take place later. For now, peace reigns in this riverside shot of the freighter at the Carron Wharf jetty with its precious cargo of arms. The letters “ARGAU...” are again visible.
- Capture 48
- 'Now' required
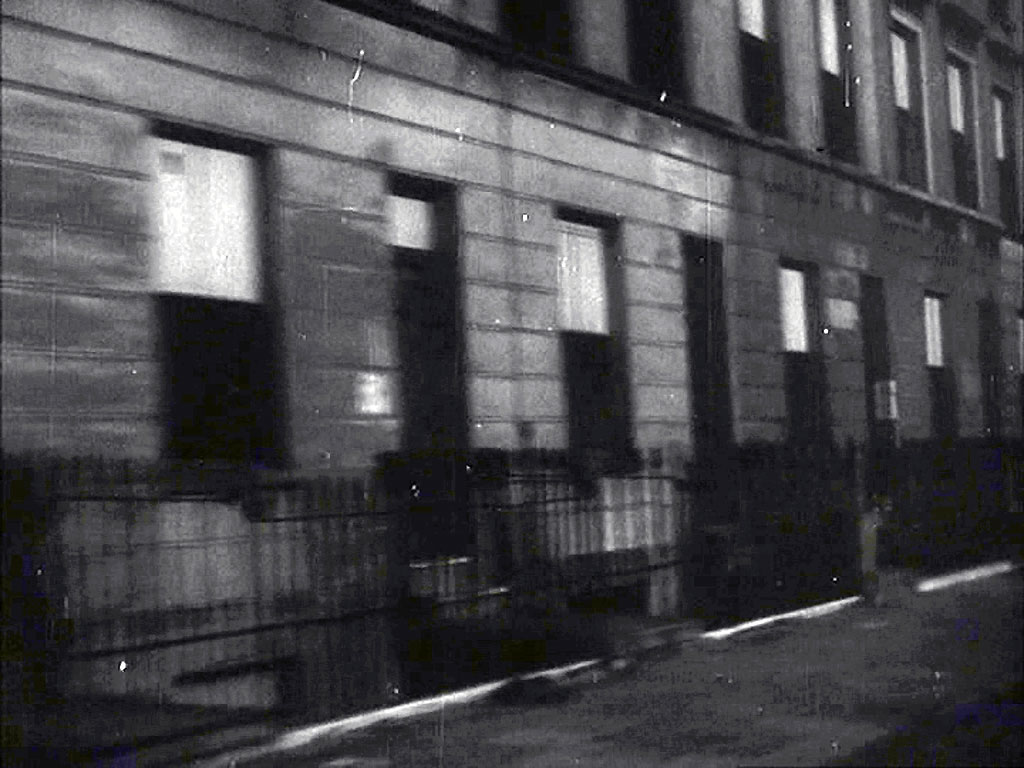
The crew of Heavy Unit 1 are called to a fire caused by incendiary bombs at “Trinidad Street” with the implication that Alderman Wharf and the ship are in danger of explosion. In darkness HU1 passes a terrace of houses at speed, bell ringing. Unidentified location.
- Capture 49
- 05 May 2021
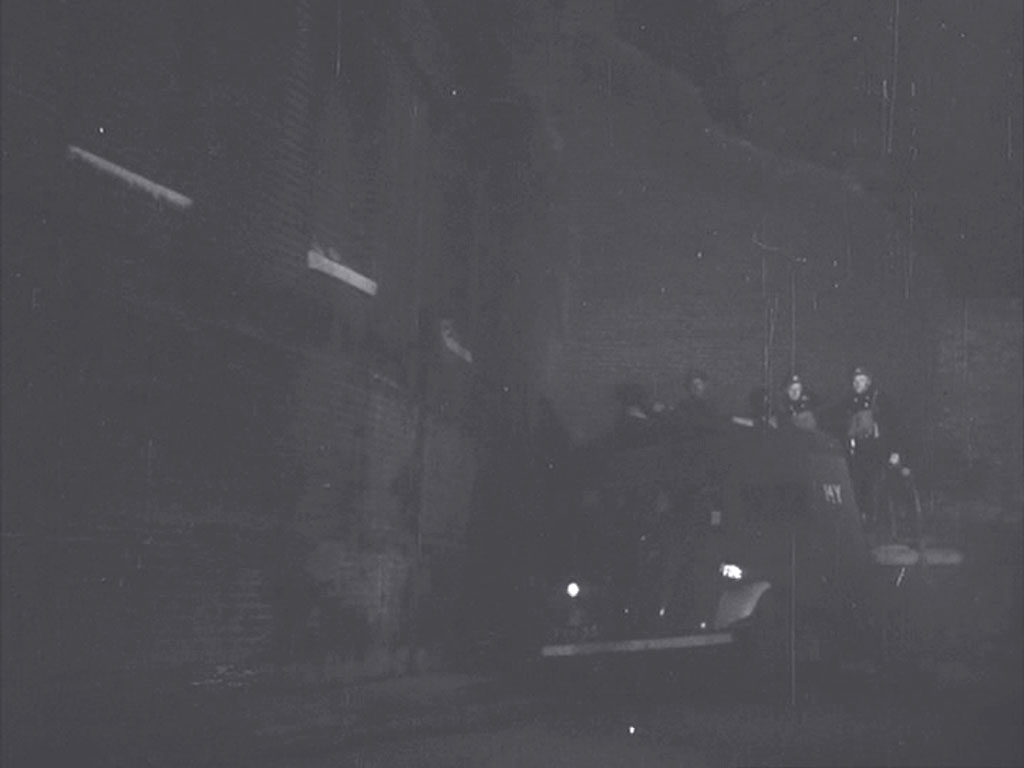
An indistinct capture which is included as it shows the left hand turn which HU1 is about to make before drawing up opposite the burning wharf. Having just come down Virginia Street, they are turning into Pennington Street, London E1
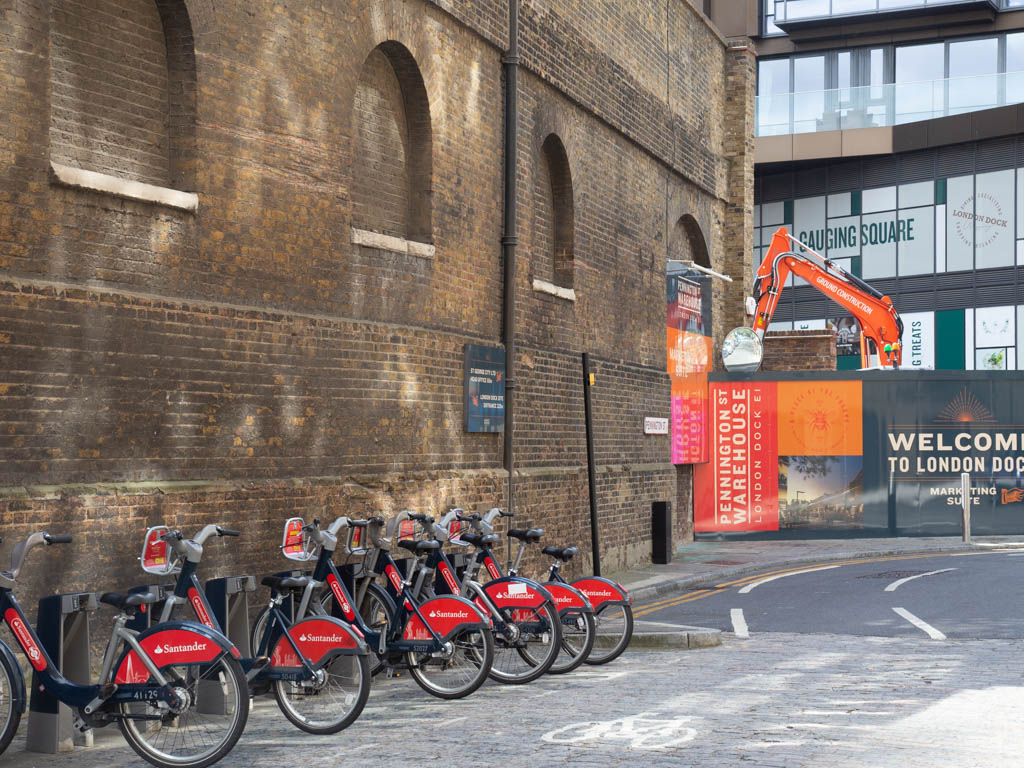
Red bikes are a reasonable substitute for a fire engine.
- Capture 50
- 25 Apr 2021
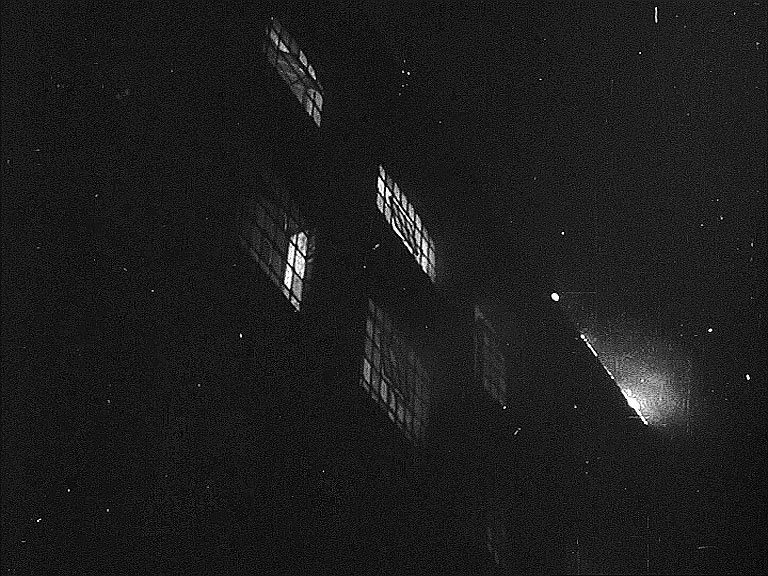
One of several elevation shots of the street frontage of the warehouse in flames. Pennington Street, London E1
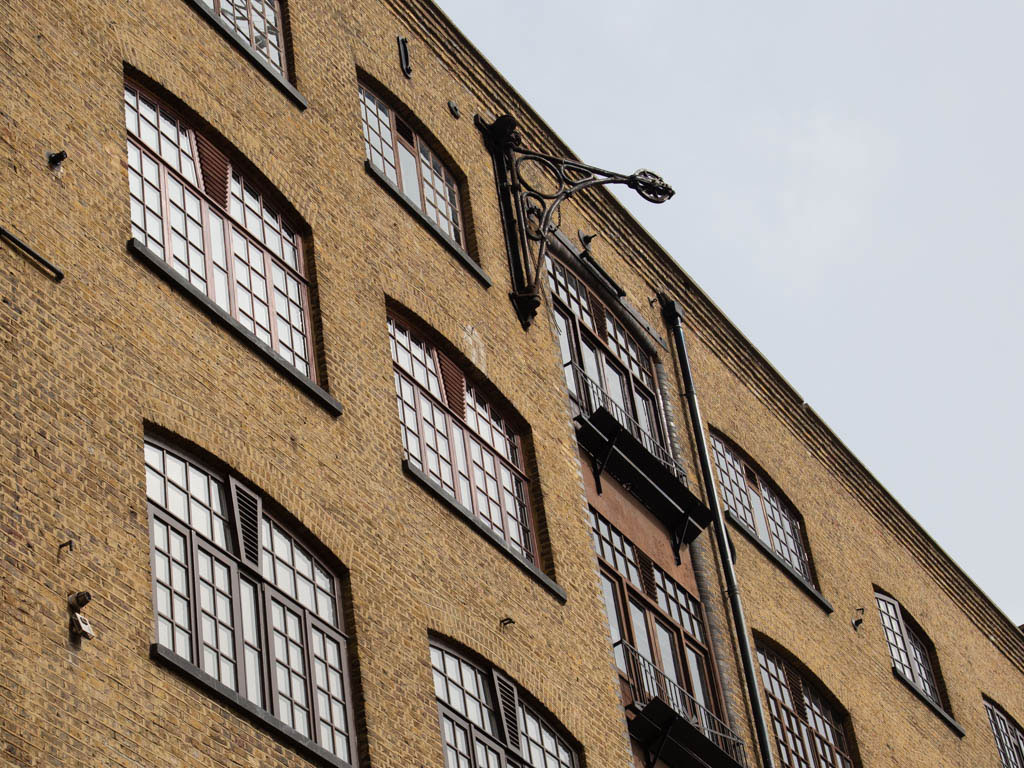
Clearly remedial work had to be done.
- Capture 51
- 25 Apr 2021
An indistinct capture showing where HU1 is parked just after its left turn. The burning warehouse is behind us across the road from HU1. Pennington Street with the pavement curve into Virginia Street evident in the background.
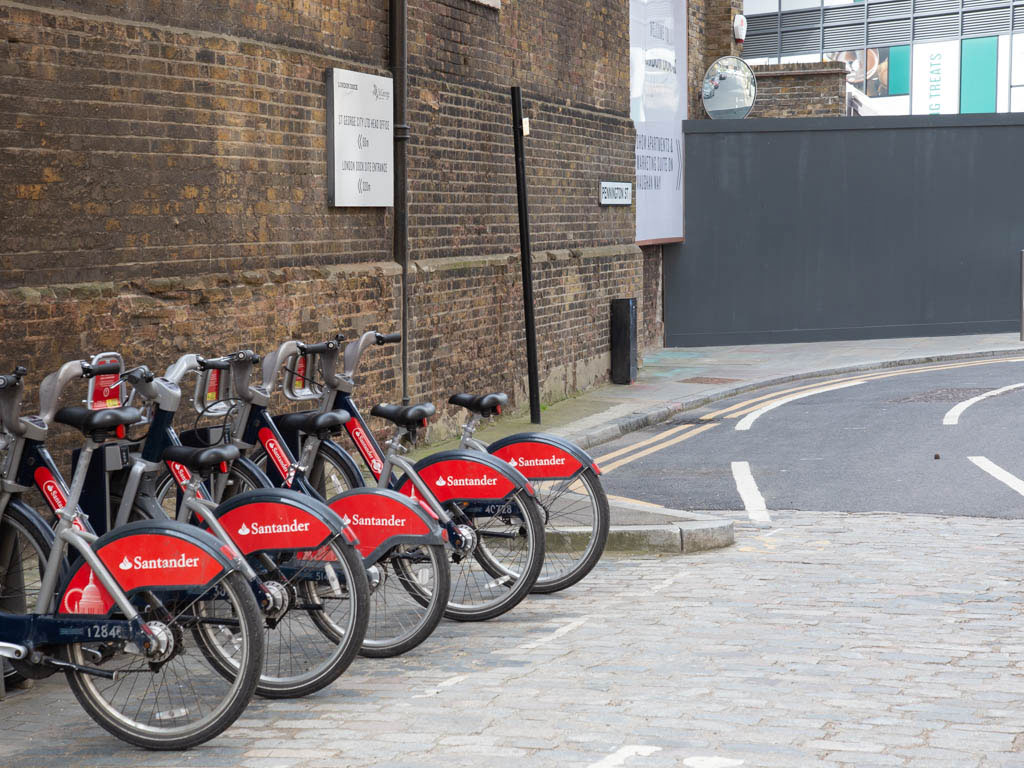
Some changes as a result of substantial development in the area but the road configuration remains.
- Capture 52
- 'Now' required
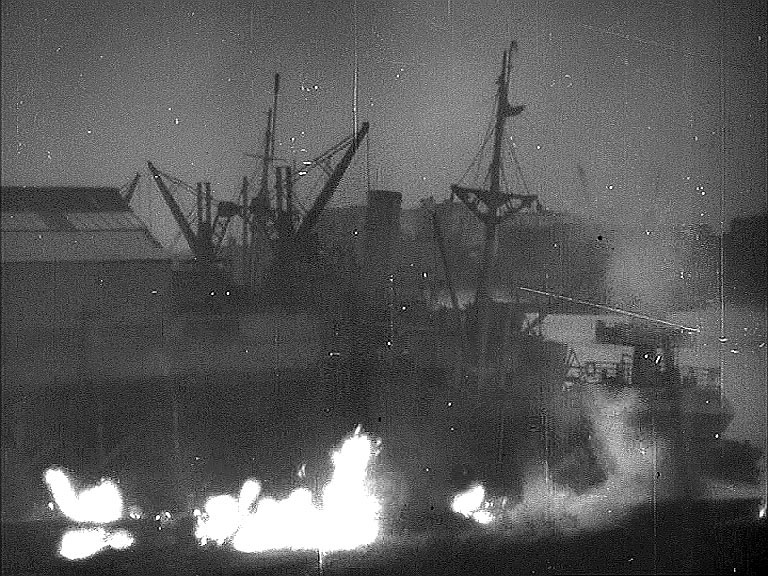
Here the director has place a burning log in the foreground to suggest that the warehouse fire is threatening the loaded freighter moored at the jetty. Carron Wharf again.
- Capture 53
- 'Now' required
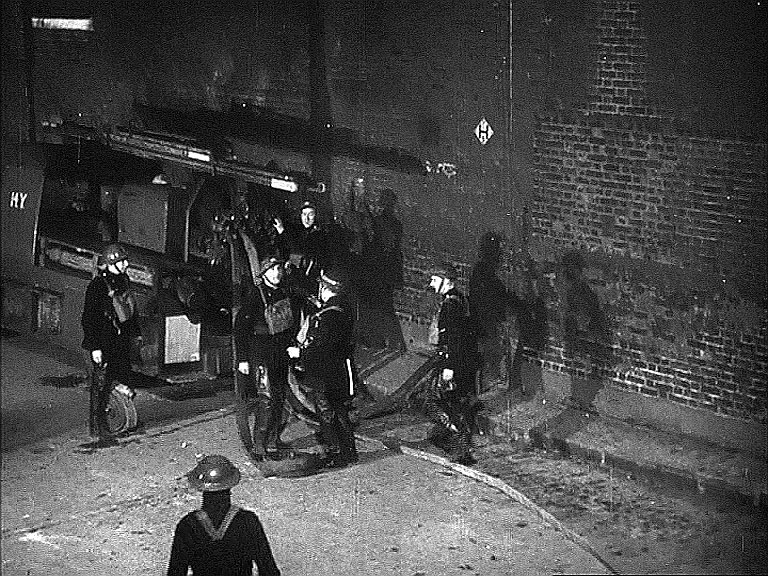
A clearer capture of HU1’s position opposite the burning warehouse. Pennington Street at the foot of Breezers Hill to use the hydrant point that remains to this day.
- Capture 54
- 'Now' required
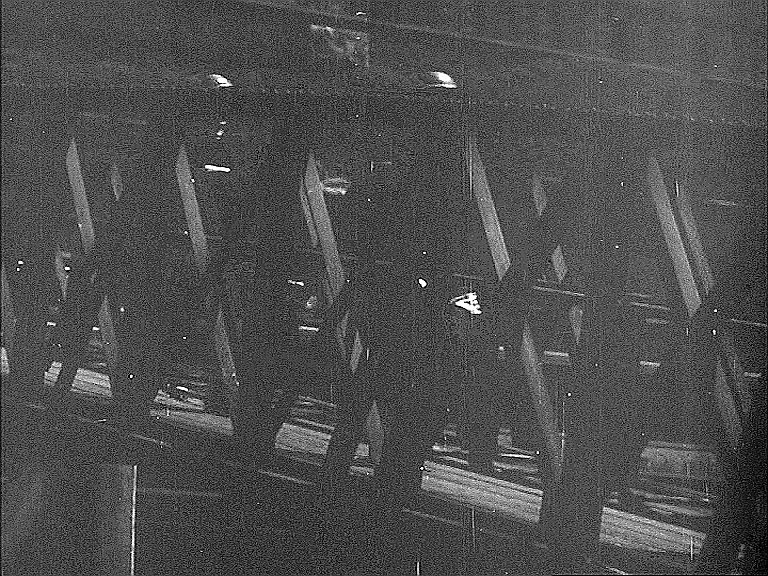
As the fire takes hold, a riverboat of the fire service is requested. The boat’s crew run down the jetty pier to their boat opposite Fire Brigade HQ at Albert Embankment.
- Capture 55
- 'Now' required
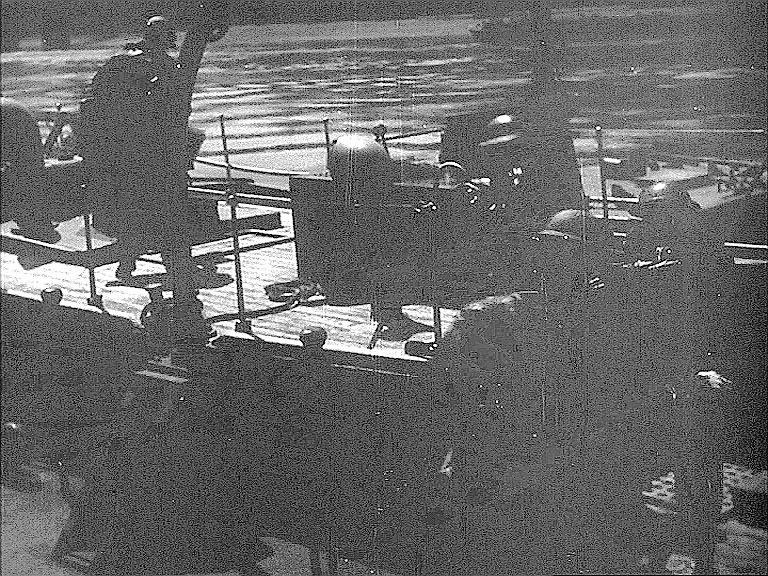
The riverboat leaves its jetty.
- Capture 56
- 'Now' required
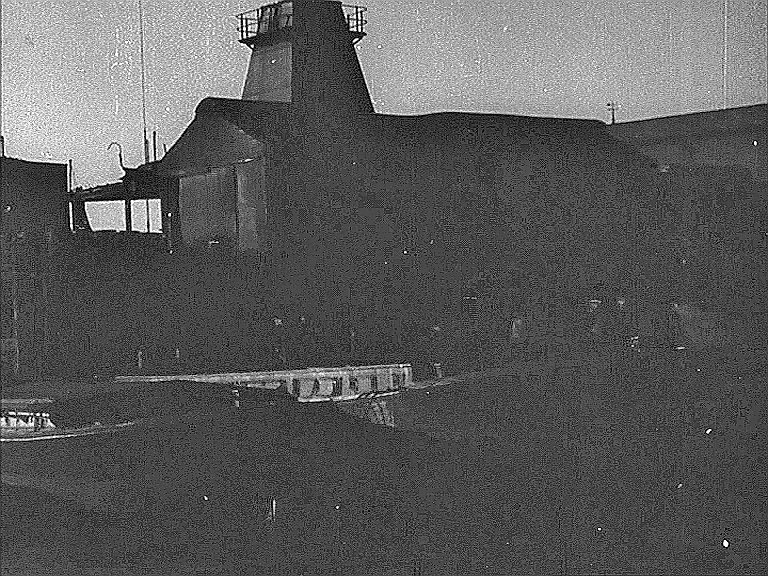
The riverboat passes the shore. On the right the roofline includes the top of a distant steeple with weather vane.
- Capture 57
- 05 May 2021
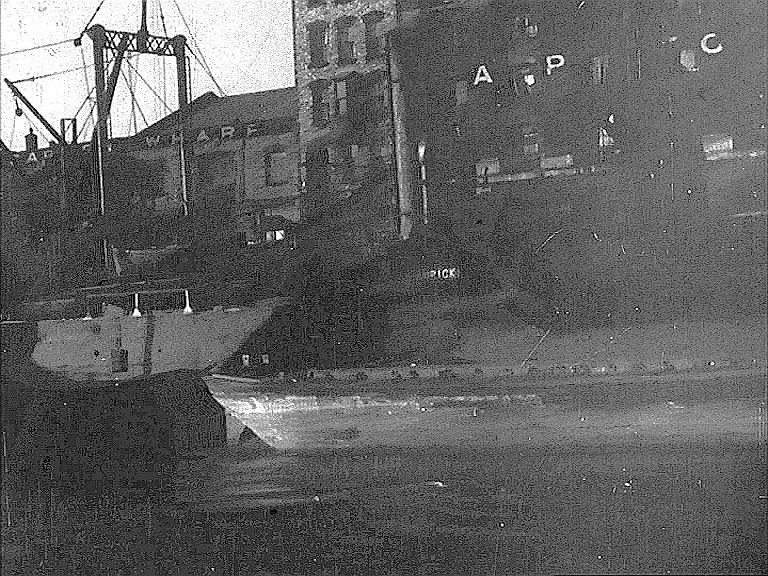
The riverboat approaches the shore side of the blazing warehouse, though we don’t see any fire in this shot, at fictional 'Alderman Wharf'. As the boat moves along, letters are revealed showing CARRON WHARF and CARRON [COMPANY], confirmed in Britain from Above EPW056989 and identified earlier as one of the two locations for the loading exercise. On the land side Carron Wharf is found on Wapping High Street E1.
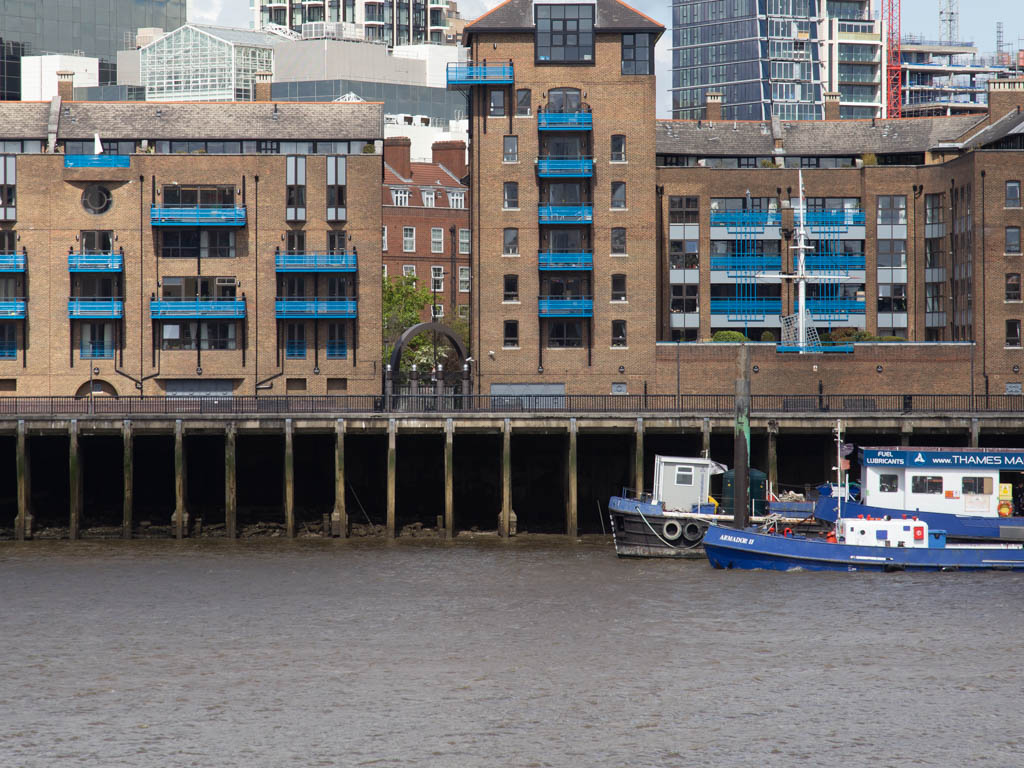
Better research before I left home would have shown I needed to be a little further to the right.
- Capture 58
- 'Now' required
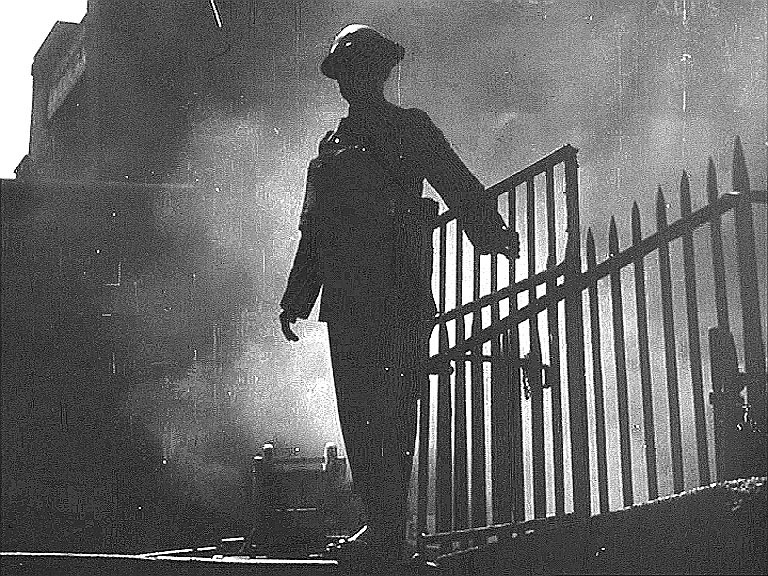
When the water main fails due to the continuing air raid, the sunken barge is pressed into use as a source of water. St Saviour’s Dock again, described in the dialogue as “just down that alley”.
- Capture 59
- 'Now' required
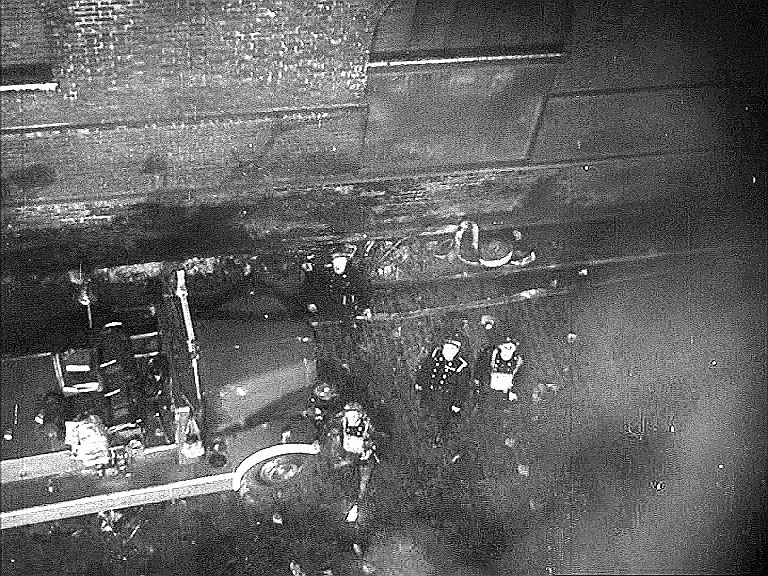
A turntable ladder has arrived to rescue firefighters trapped on the warehouse roof. An aerial shot of the ladder unit parked back to back with HU1; it has arrived from the opposite direction taken by HU1. Pennington Street, London E1
- Capture 60
- 'Now' required
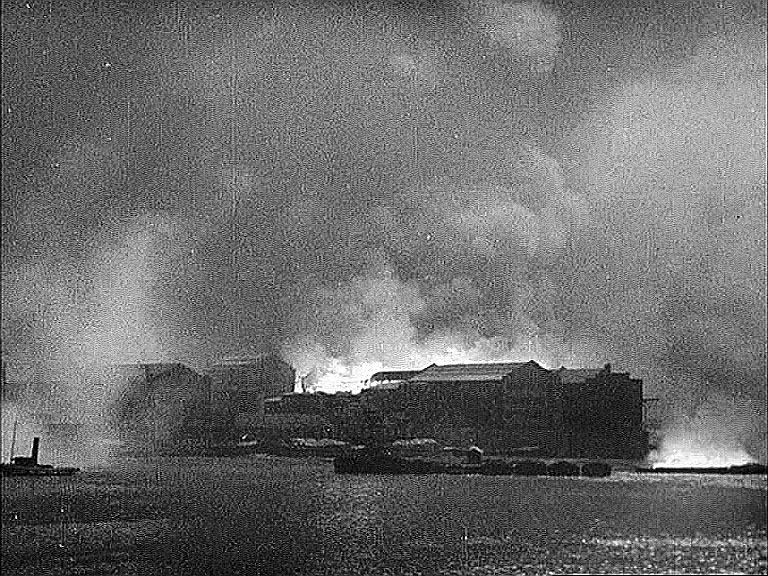
A shot from across the river showing how the fire has spread with explosions taking place. In reality, likely to be a stock shot from the Blitz period of the war.
- Capture 61
- 05 May 2021
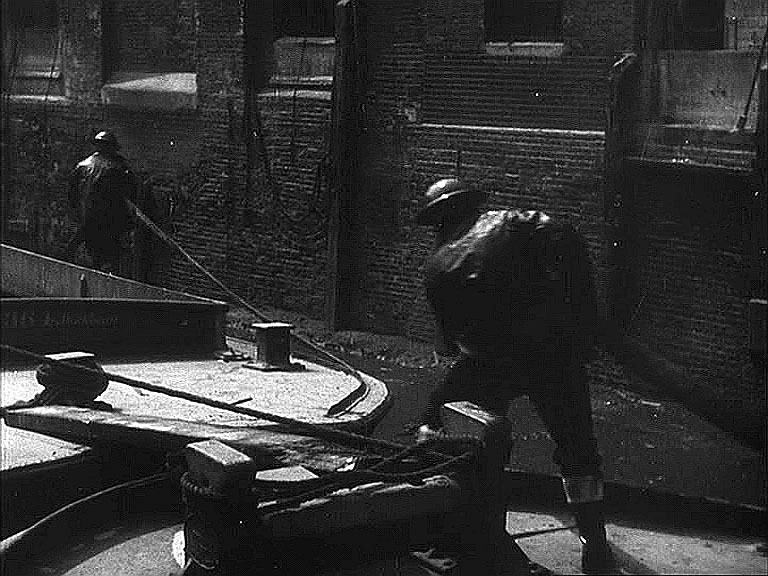
The riverboat crew lay hoses from the river which is now at low tide. Another view of St Saviour’s Dock.
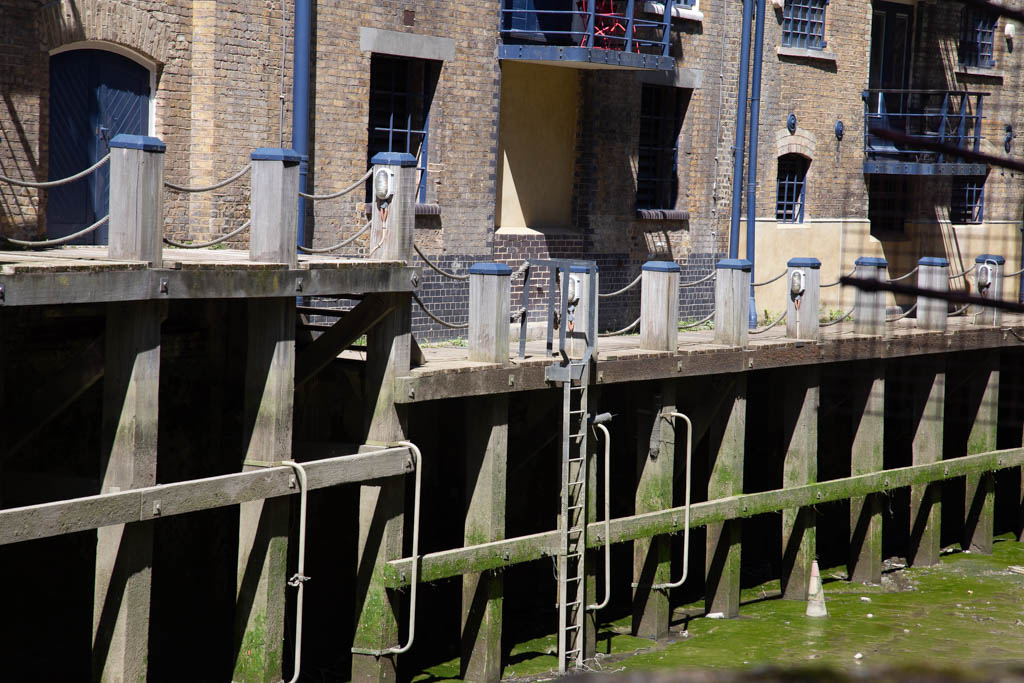
With very restricted access and whilst a 'token' comparative shot I believe I may have the correct spot albeit from the wrong angle.
- Capture 62
- 'Now' required
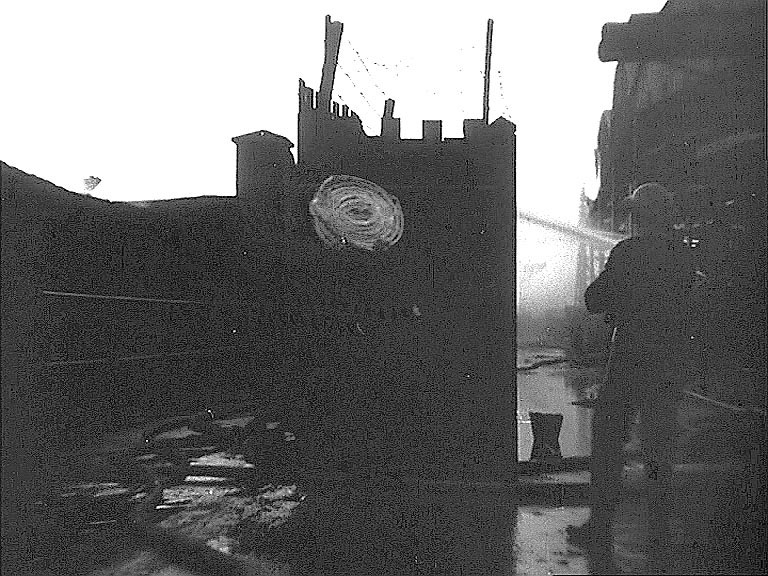
An indistinct silhouette view depicting the carrying of a hose reel, marking a turning point in the story as the fire begins to come under control. Hard to tell if this is a stock shot but there may be enough features in it to allow an identification.
- Capture 63
- 'Now' required
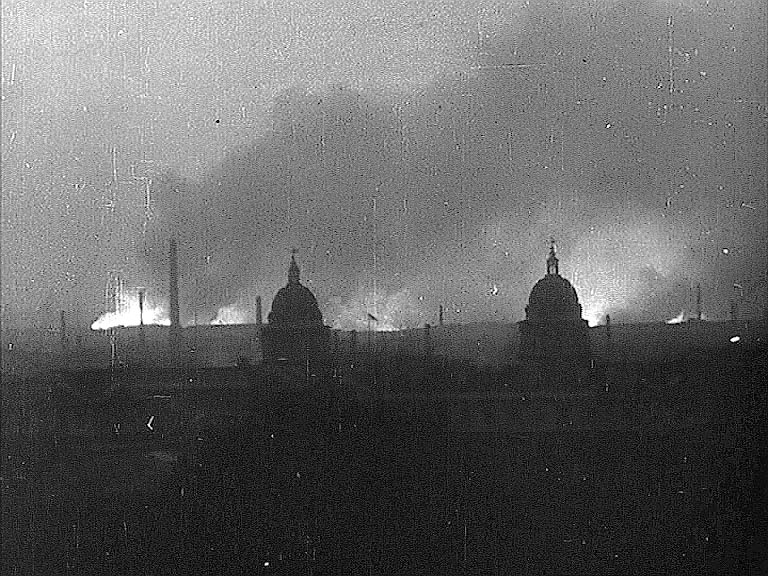
A stock shot inserted to indicate the extent of overnight fires. The Isle of Dogs seen from Greenwich Hill.
- Capture 64
- 'Now' required
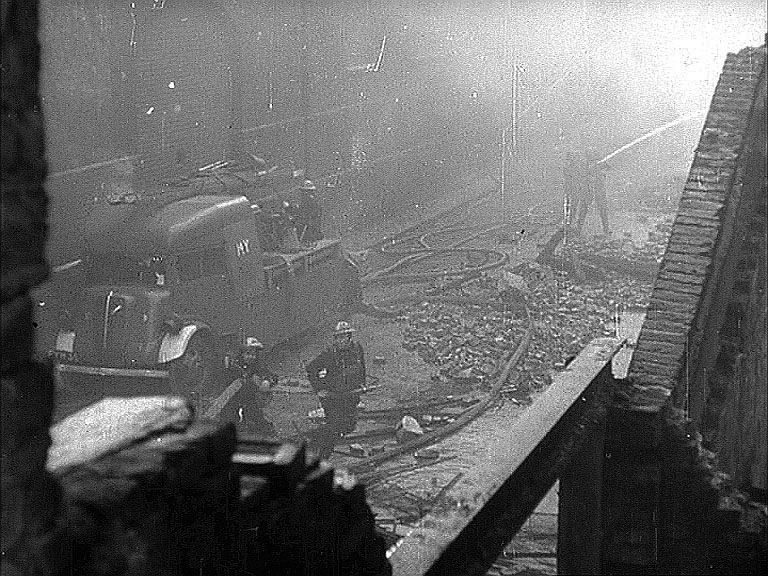
The fire continues but there is a sense that the worst has past. This dawn scene gives us a clearer view of the warehouse across the street from the blaze. The rear of the turntable ladder unit can just be made out further along from the rear of HU1. Pennington Street.
- Capture 65
- 'Now' required
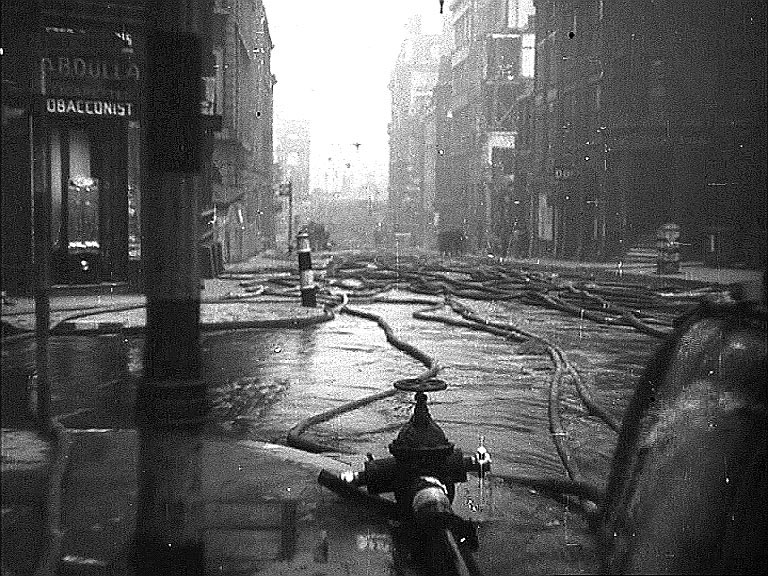
The morning after. A stock WWII shot of Queen Street EC4 looking towards Southwark Bridge with Cannon Street on the left. A location also seen in 'Supersonic Saucer'.
- Capture 66
- 25 Apr 2021
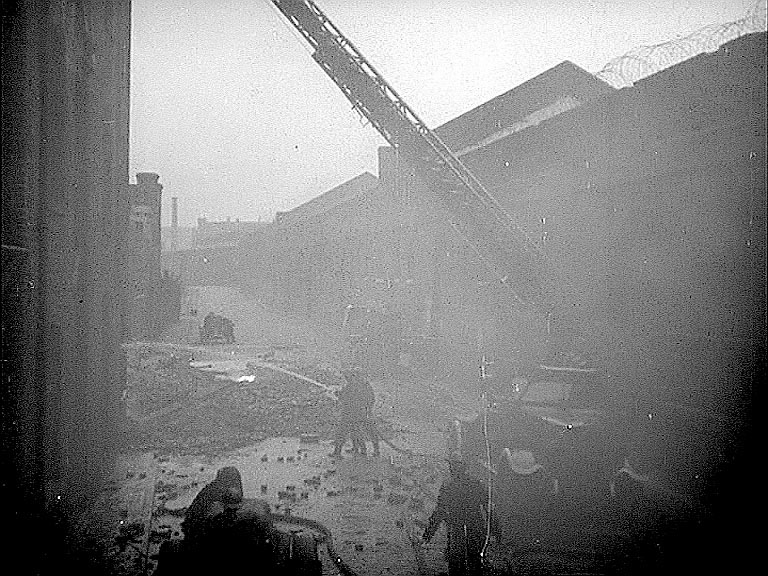
A mobile canteen is set to provide much needed refreshment. Pennington Street, London E1 looking east with Breezer's Hill off to the left. The chimney would appear to be that of the 'Jam Factory' at the top of Wapping Lane.
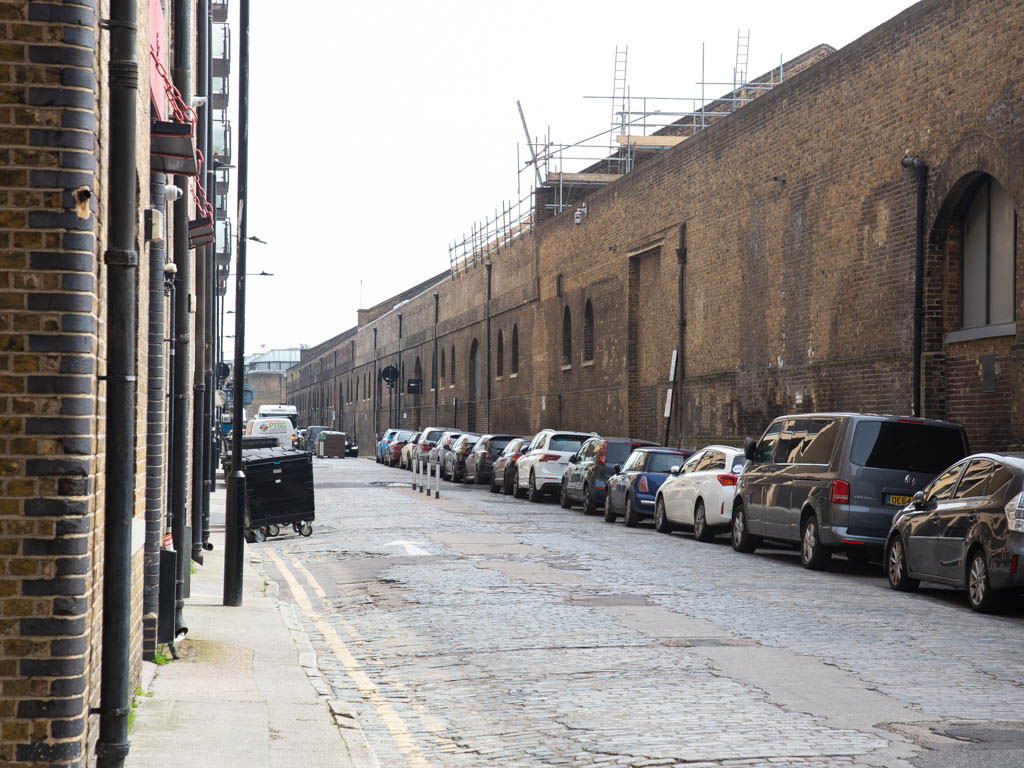
It may have been jam yesterday but no evidence of jam today.
- Capture 67
- 25 Apr 2021
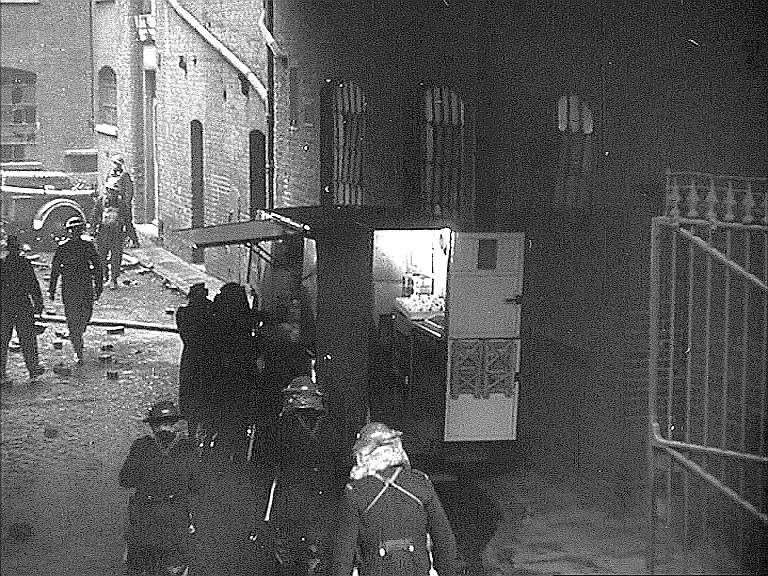
A mobile canteen is set to to provide much needed refreshment. The mood is sombre after the fate of one of HU1’s crew members is pondered. The courtyard of the warehouse now known as Telford's Yard, The Highway, London E1 as viewed from The Highway. The gates today would appear to be the same as those shown in the capture.
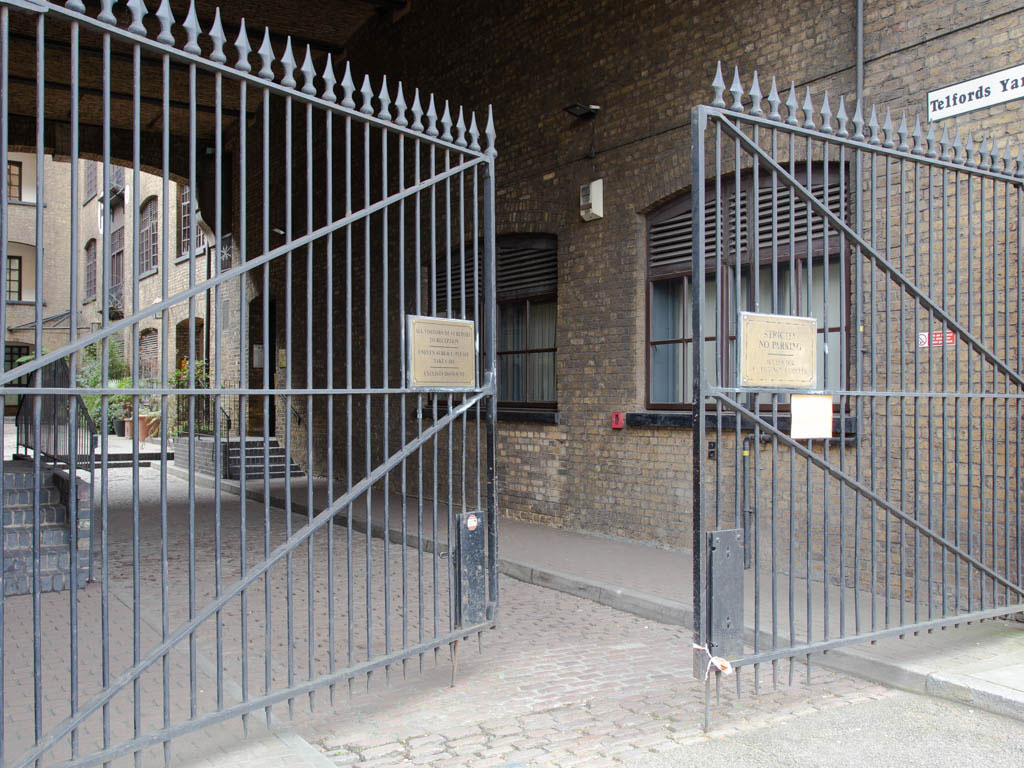
How thoughtful of someone to leave the gate open for me.
- Capture 68
- 'Now' required
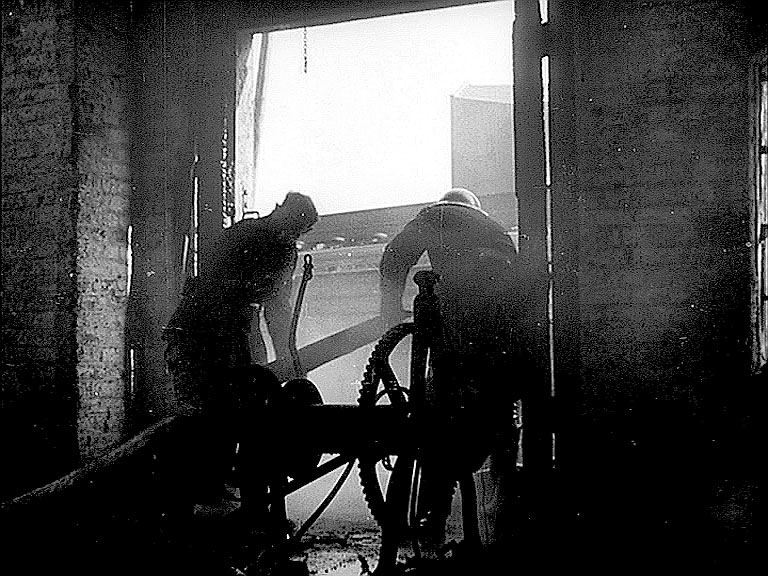
Firefighting equipment is put away. We see a railway viaduct with a platform canopy and a train slowly passing. The angular corner of the building on the other side of the Fenchurch Street platform. Thus we are in one of the ruined buildings on one or other side of Crosswall.
- Capture 69
- 05 May 2021
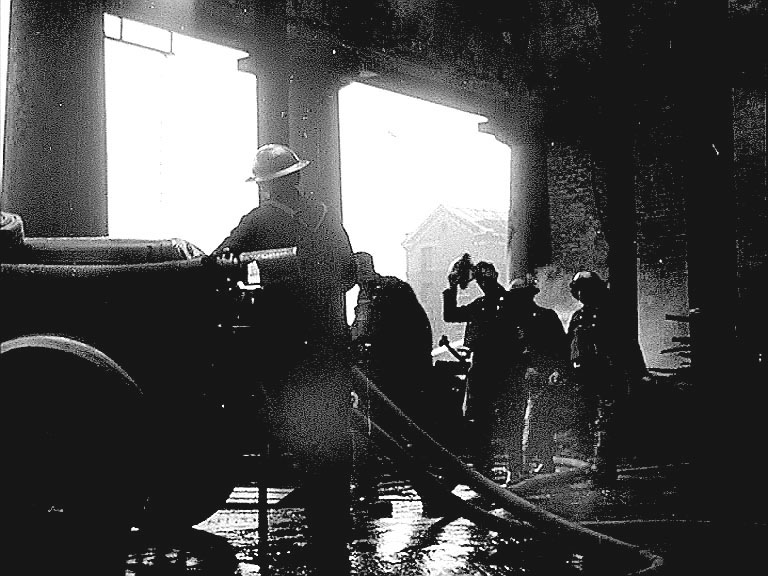
Further shots portray the setting down and putting away of equipment. St Katharine Dock. According to OS 1896 the only location with the combination of elements is the north end of Warehouse E (we can see the internal brickwork of its end wall on the right) looking across to the eastern gable end of Warehouse I (Ivory House).
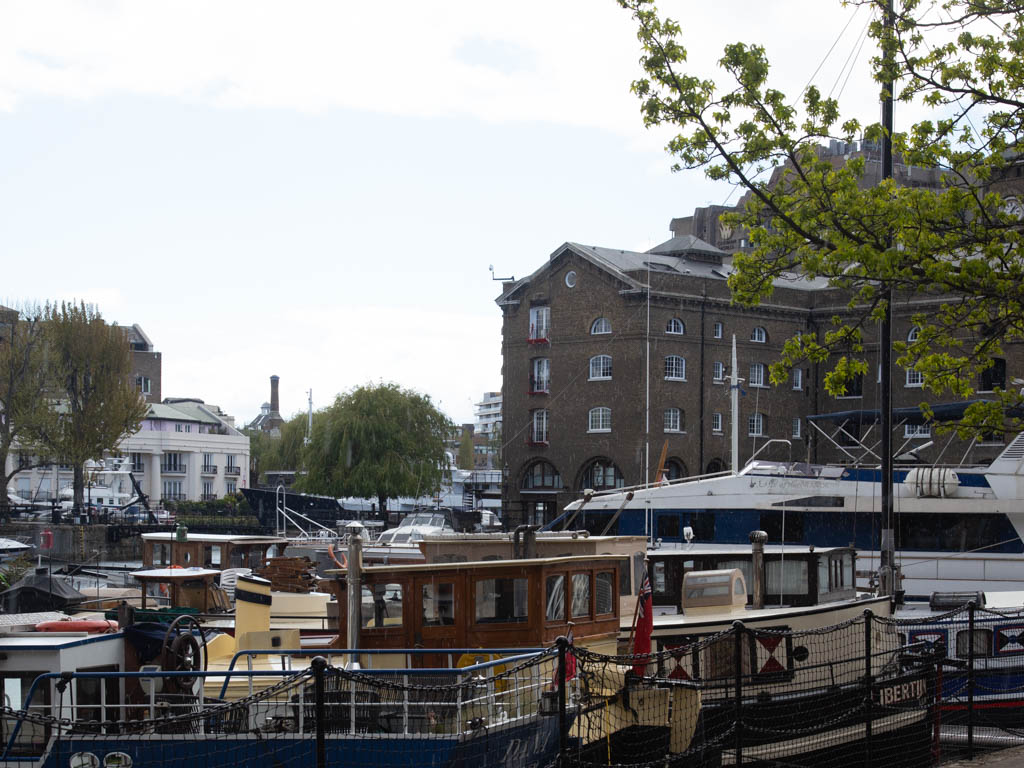
The warehouses were demolished and re-built as apartments and everything being camera is nor 'PRIVATE'.
- Capture 70
- 25 Apr 2021
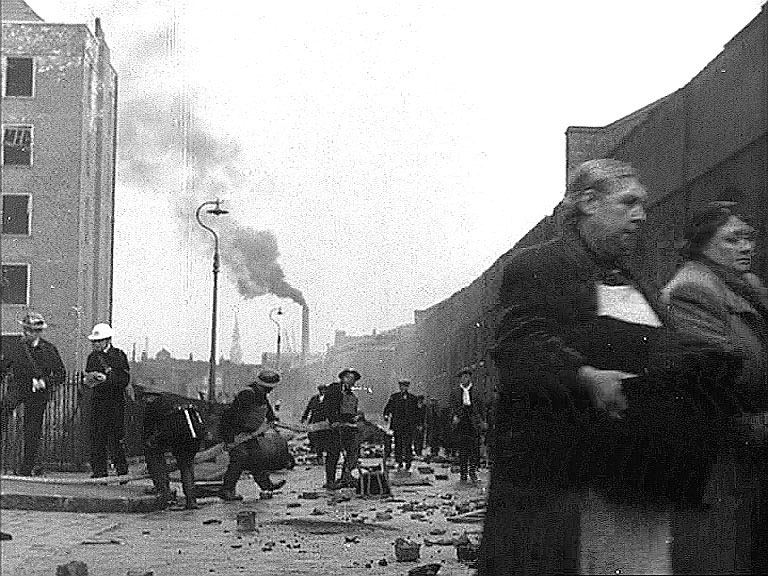
The two-storey warehouse opposite the fire’s location is seen again a little further along. Looking East along Pennington Street, London E1 with Artichoke Hill off the left. The distant chimney is now active, and a church steeple of St. Paul's, Shadwell.
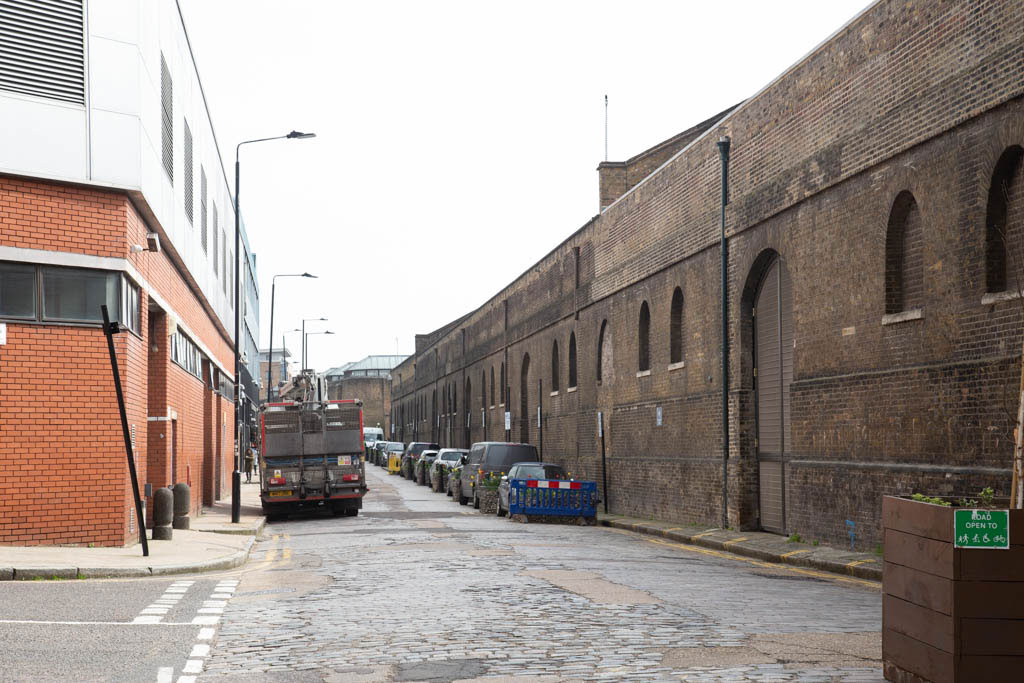
I am sure that lorry parked there on purpose.
- Capture 71
- 'Now' required
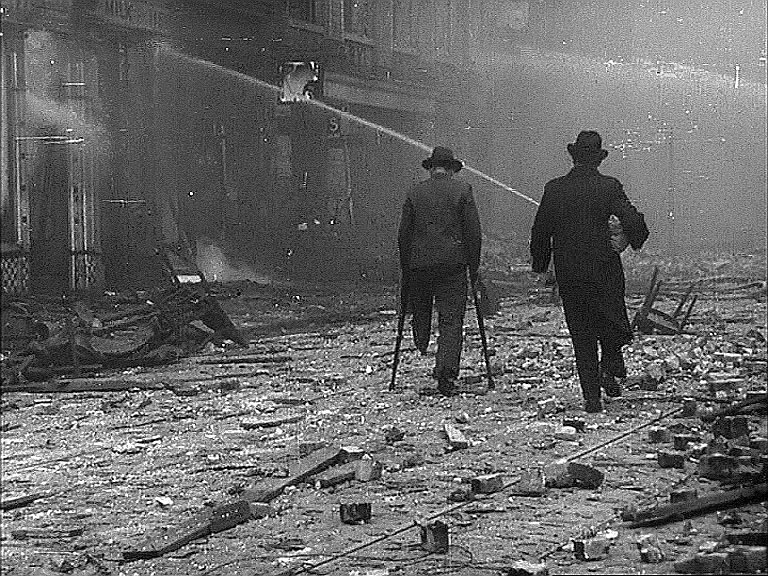
Another stock shot showing the aftermath of a night raid. On the left a shop sign is partially readable as ‘MILK HE.....’. The road carries two tram tracks.
- Capture 72
- 25 Apr 2021
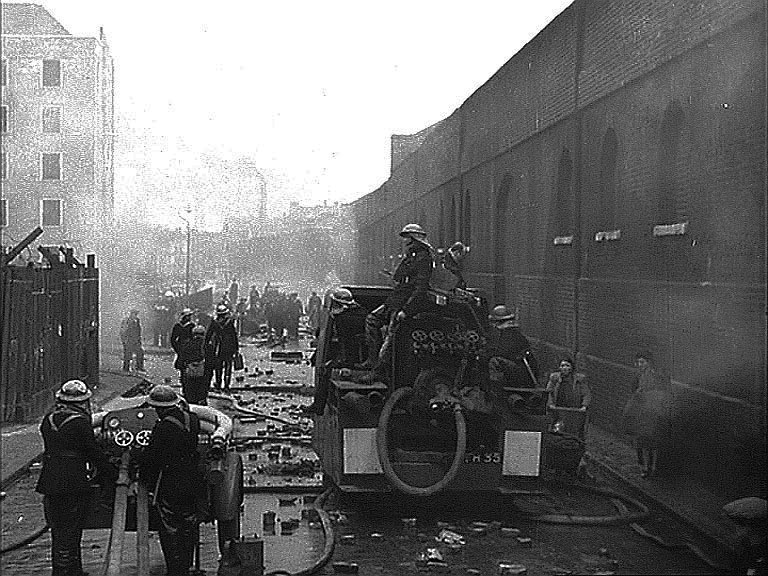
Heavy Unit 1 is about to turn left as it leaves the scene to return to base. Pennington Street looking east with Artichoke Hill off to the left. A wing of 'Cuttle Close' can be seen on the far corner.
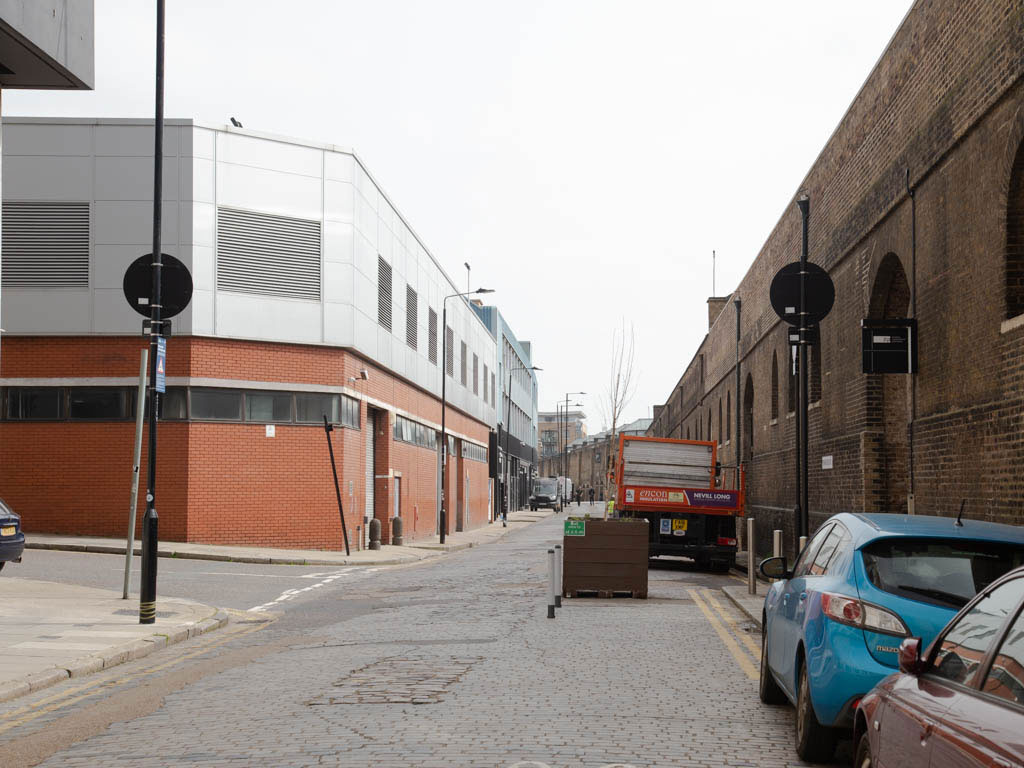
Swap one lorry for another.
- Capture 73
- 'Now' required
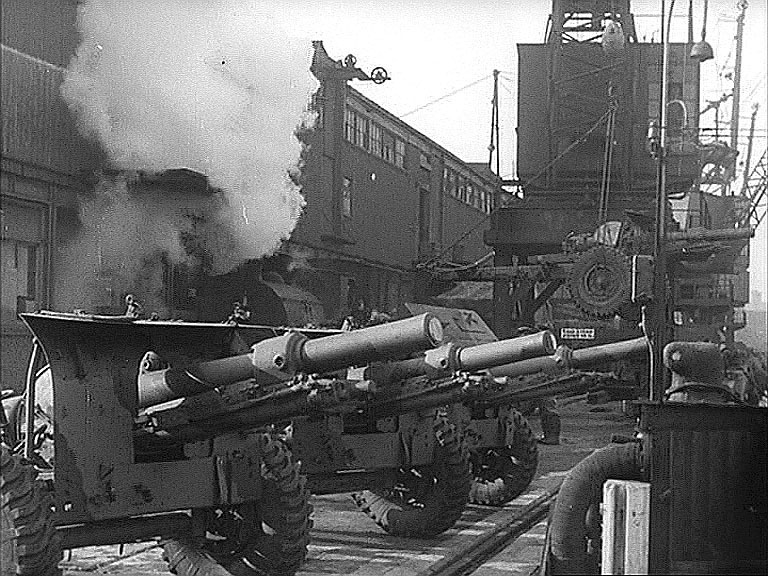
Despite the severity of the overnight blaze, the jetty, the ship and armaments still to be loaded have been left unscathed due to the dedication, skill and sacrifice of the fire crews. In reality we are back at Woolwich Arsenal as the presence of the steam train again tells us. See also Capture 42. With sincere thanks to the Royal Arsenal History Forum and Steve Paterson (Admin) for referencing us to the rare video footage on YouTube showing a tour of the Arsenal in 1994 before demolition took place. This can be viewed at https://www.youtube.com/watch?v=qbJ7EMUFy9o&t=1062s and at circa 8':55" this very 'shipping shed' can be seen.
- Capture 74
- 'Now' required
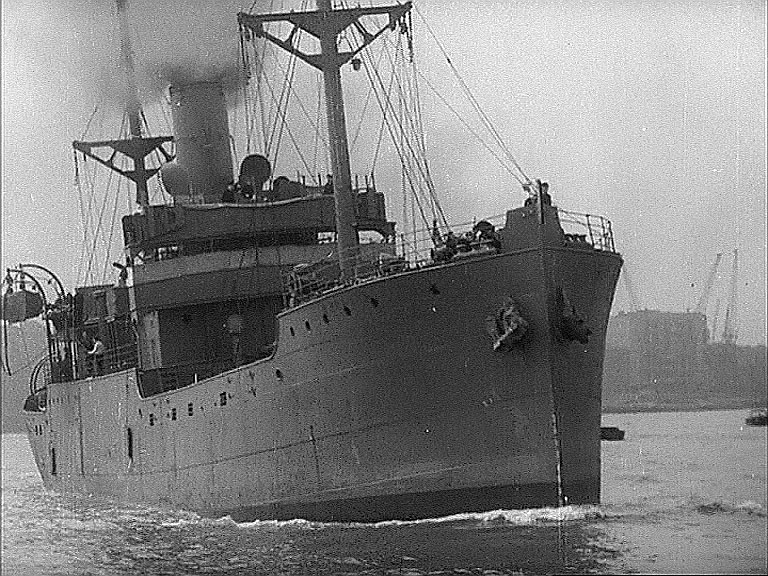
Fully and successfully loaded, the ship’s voyage to an undeclared destination is underway.
- Capture 75
- 25 Apr 2021
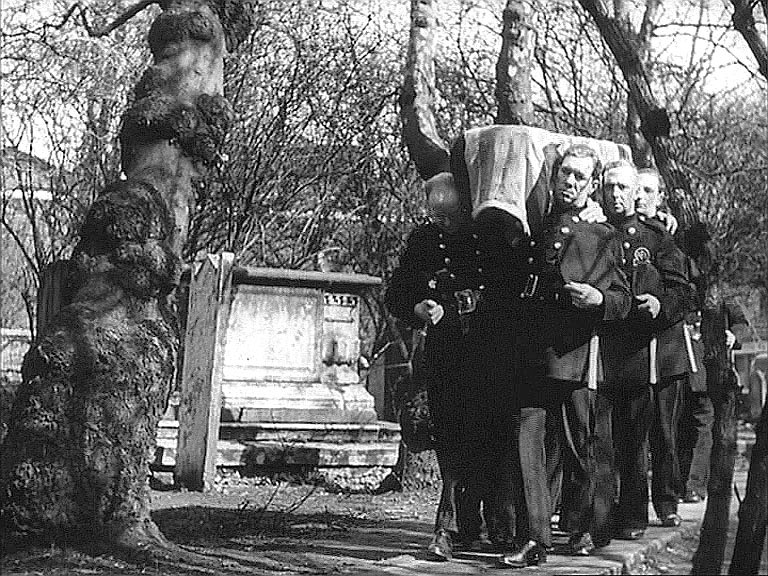
The crew of Heavy Unit 1 have lost a member of staff as a result of the warehouse fire. The cemetery/graveyard on the corner of Scandrett Street, and Wapping High Street, London E1. A few frames on and the corner of 'The Turk's Head' public house, on the corner with Green Bank, can be seen giving further confirmation of the location
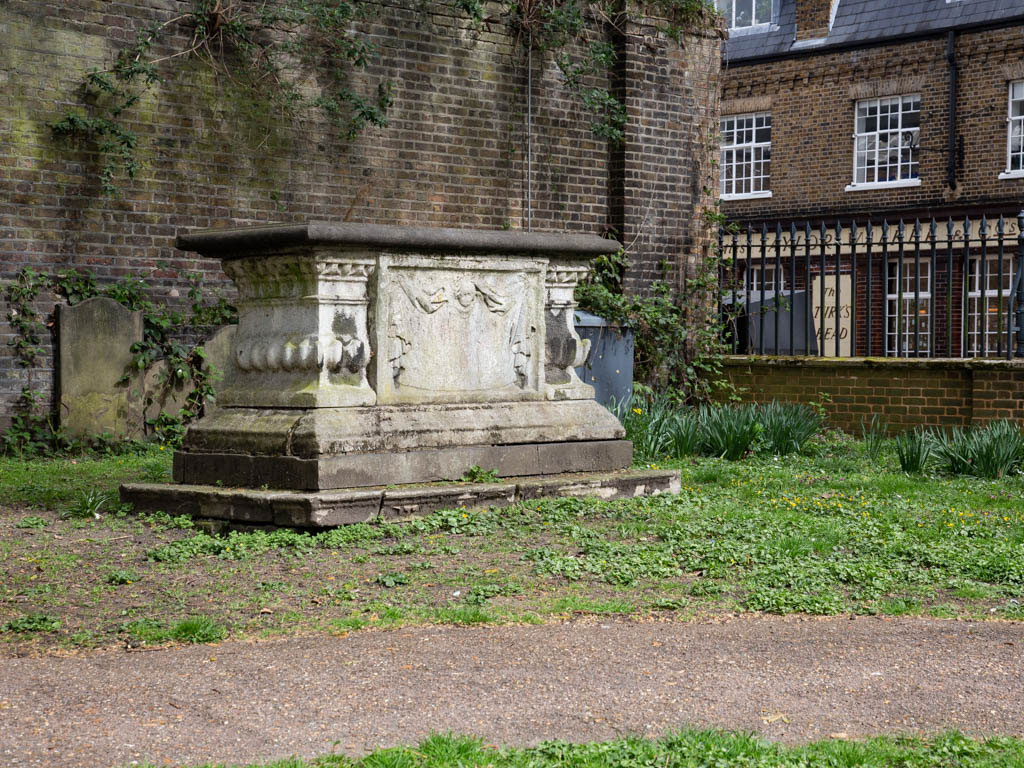
Changes to the wall and perhaps entry as Ian Stewart mentions but 'The Turks Head' remains.
- Capture 76
- 25 Apr 2021
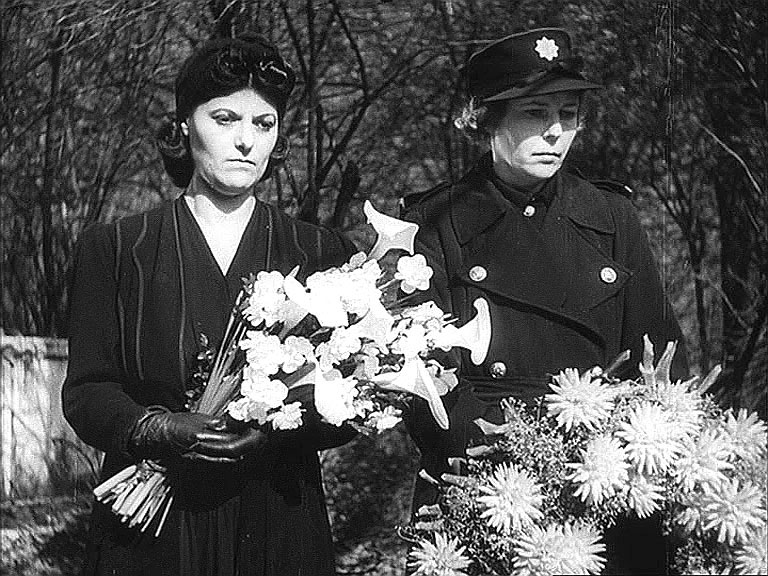
The wife of the deceased firefighter stands in sadness as the funeral procession moves towards the grave.
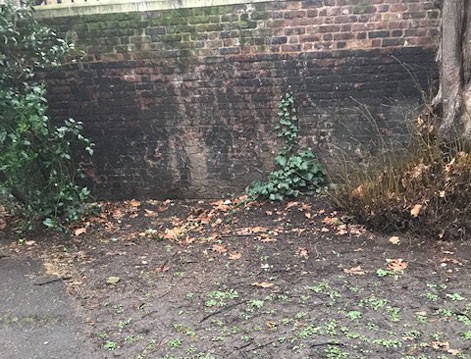
Ian Stewart remembers the 'original colour' as seen in the screen capture from when he was a child and provides this photograph of the location now.
- Capture 77
- 25 Apr 2021
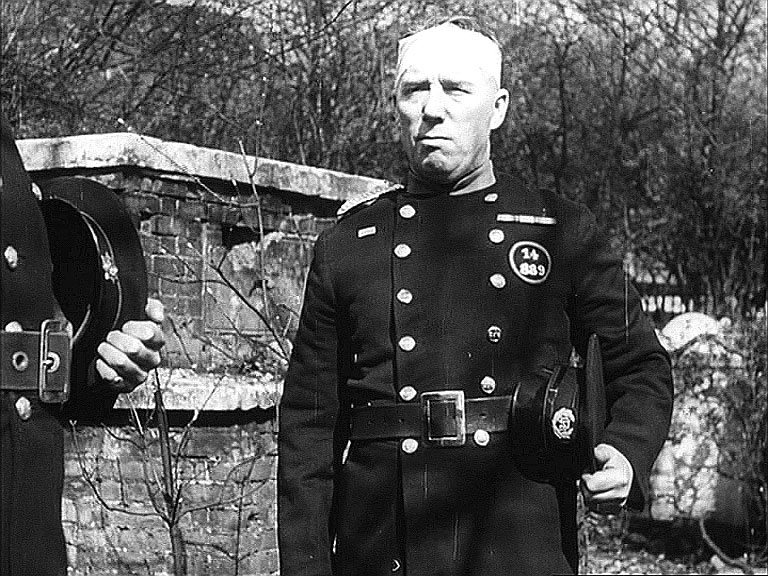
Sub-officer Dykes stands to attention as the coffin (out of sight) is lowered.
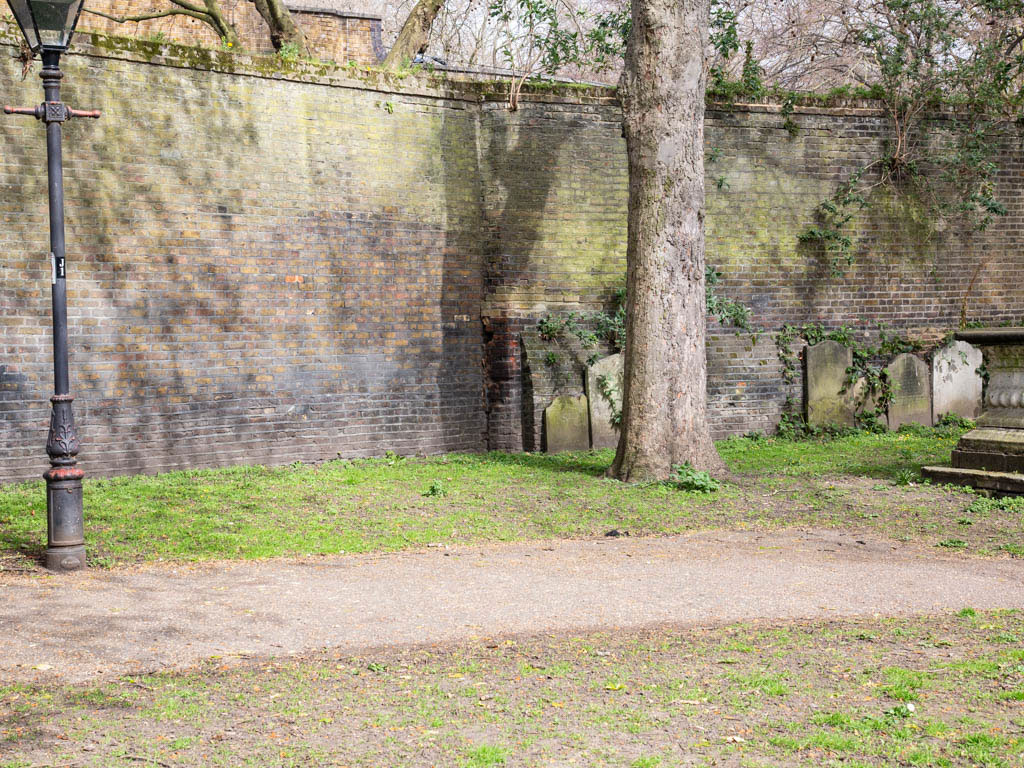
More or less the correct angle. Ian Stewart confirms that the wall was higher and indeed had capping advising that the building behind is now a sports center.
- Capture 78
- 25 Apr 2021
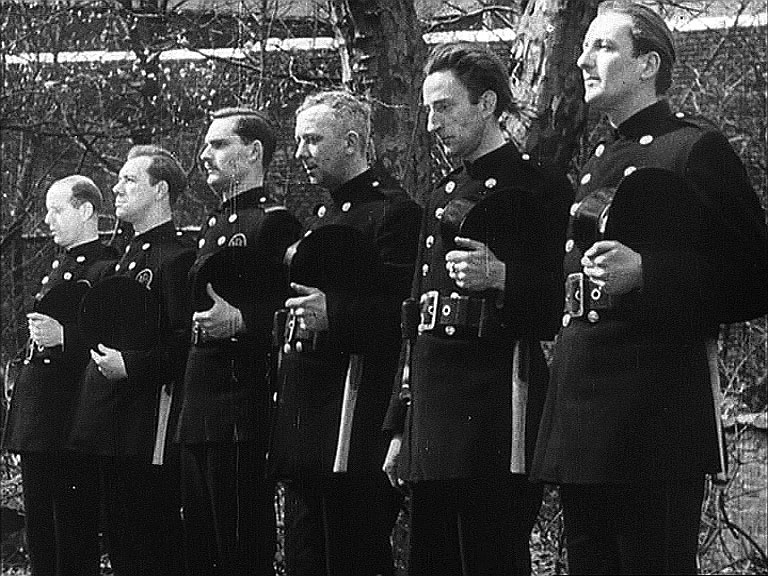
The other crew members stand shoulder to shoulder as the coffin lowered.
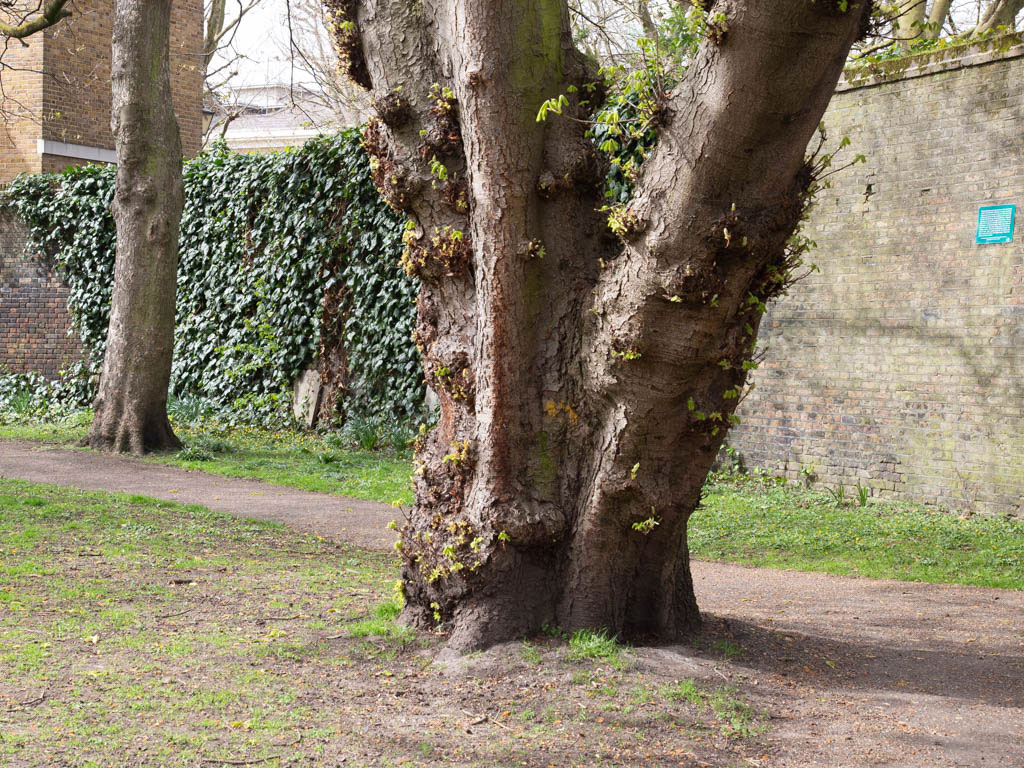
It certainly looks as though it is the same tree nearly 80 years on.
- Capture 79
- 'Now' required
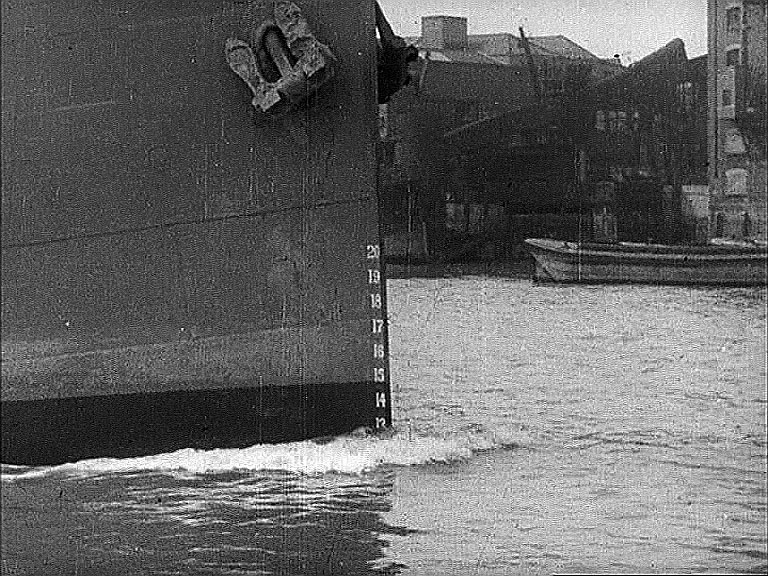
Perhaps enough detail here to tell us where the ship is passing. Is there a crane and its cabin attached to the wall of the warehouse?