
Diamonds on Wheels
Date: 1973
Director: Jerome Courtland
Production Company: Walt Disney Productions
Stars: Peter Firth, Patrick Allen, George Sewell, Derek Newark, George Woodbridge, Barry Jackson
Location(s): Berkshire, Buckinghamshire, Hampshire, London, Oxfordshire
Region(s): London C-D, South East A-D
Storyline:
During a 24-hour road rally, thieves try to recover stolen diamonds hidden in the driving seat of a car.
Additional Information:
Page compiled by Phil Wilkinson
Can you help:
If you have any information regarding this production, the locations or, even better, some comparison shots please contact us. Images submitted must be in Landscape orientation, as would be seen on the cinema screen, not Portrait.
We are aware that there are films on the site that were added when the criteria for the inclusion of locations was very different from today and, as a result, there may be scenes missing from some productions. Please do not forward additional screen captures to us but bring the detail to our attention, for we do, and are, 're-addressing' these older entries as time allows.
- Capture 1
- 07 May 2024
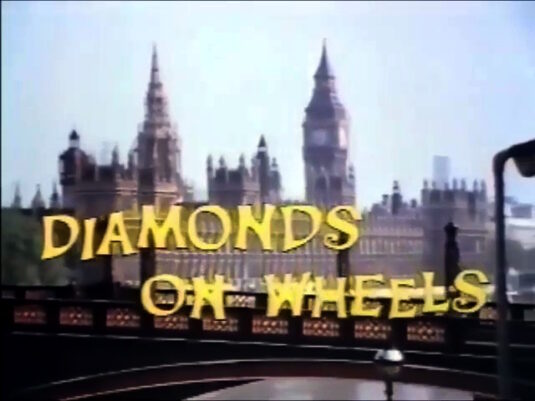
It's a bright morning as Big Ben chimes 7 o'clock. Looking from Albert Embankment, outside Bridge House, towards the Houses of Parliament with Lambeth Bridge in the foreground.
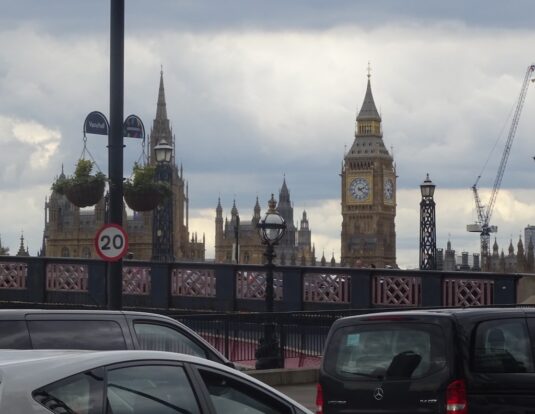
With added speed restriction and crane. SJ
- Capture 2
- 07 May 2024
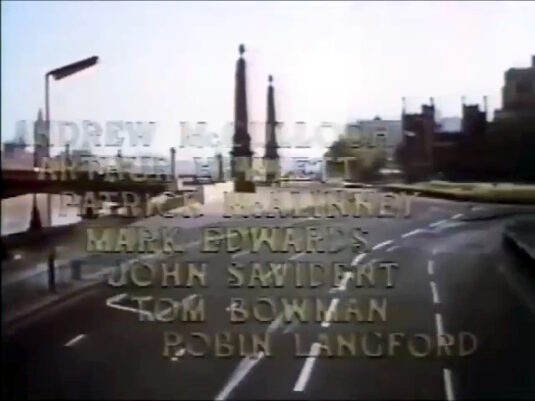
The camera moves across a quiet cityscape. Facing north on Albert Embankment towards Lambeth Palace Road with Lambeth Bridge on the left and Moreton's Gateway to the right.
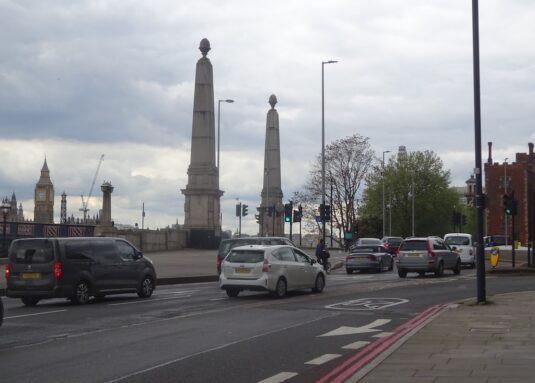
Not quite so quiet. SJ
- Capture 3
- 07 May 2024
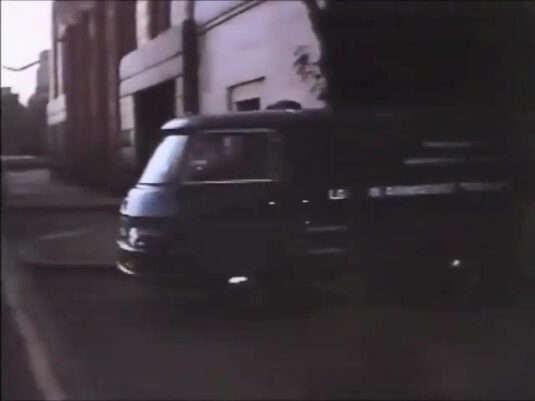
Doors open and a security van appears from the premises of London Armoured Transit. Outside Bridge House on Albert Embankment SE1.
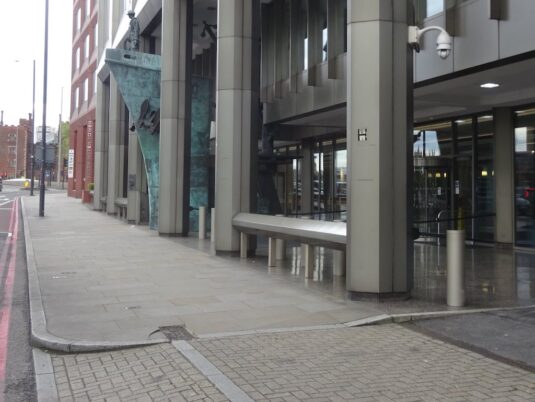
Bridge House was demolished in the late 90s. SJ
- Capture 4
- 07 May 2024
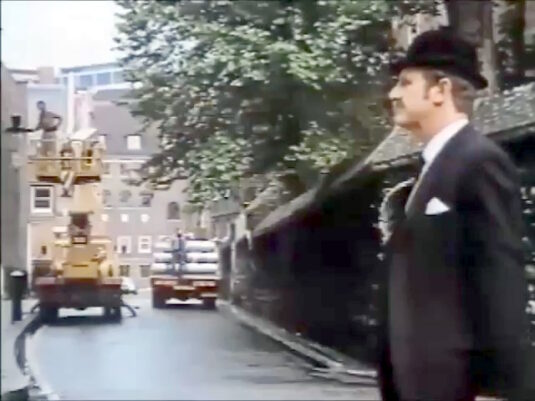
Putting his pocket watch away, John Mercer (Derek Newark) crosses the street where Jock (Christopher Malcolm) cleans a street lamp from a hydraulic platform. Great College Street in SW1.
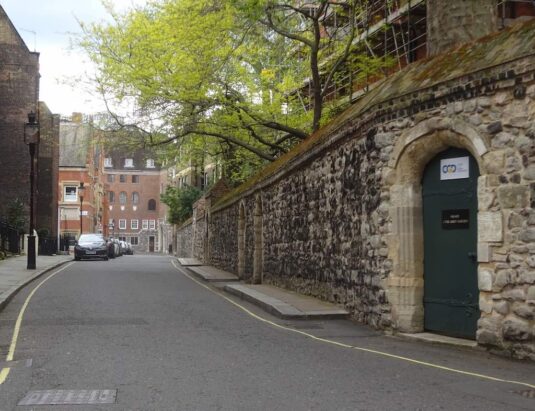
Looking west. SJ
- Capture 5
- 07 May 2024
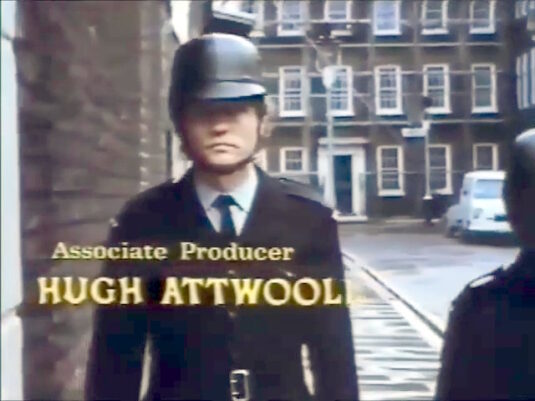
Dressed in a security guard's uniform around a corner stands Finch (Dudley Sutton). Looking south on Barton Street SW1.
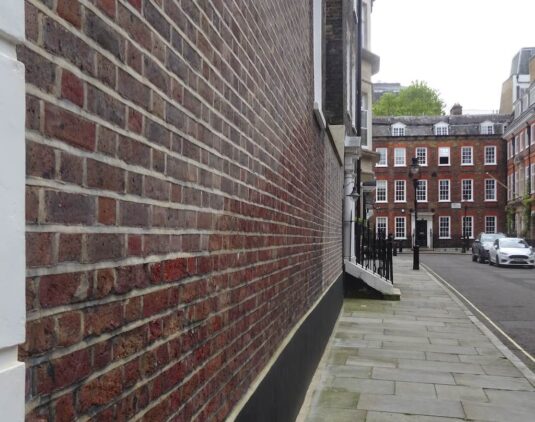
Barton Street, along with Cowley Street round the corner, was also seen in "Without a Clue," "The Pickwick Papers," "Sabotage Agent" and Murder by Decree." SJ
- Capture 6
- 19 Jul 2024
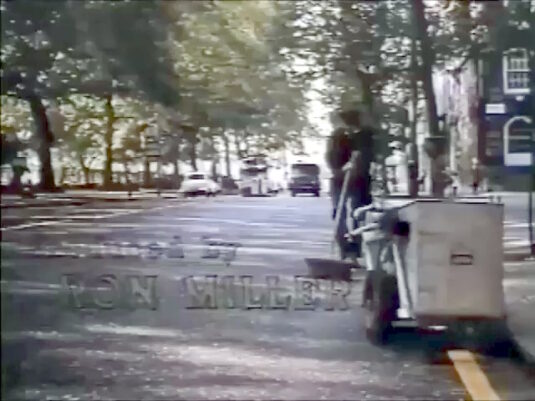
A Road-Sweeper starts work as the empty London Armoured Transit van approaches. The corner of Millbank and Great College Street.
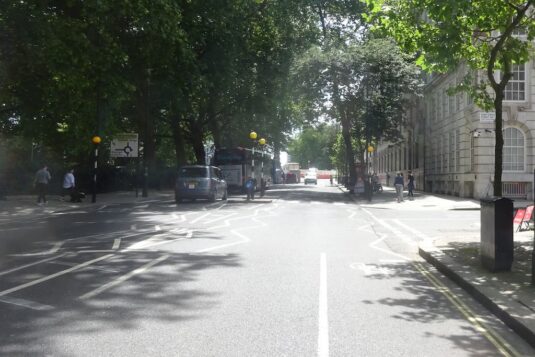
This replaces my May shot, which was not good enough. Millbank with the corner of Dean Bradley Street. SJ
- Capture 7
- 'Now' required
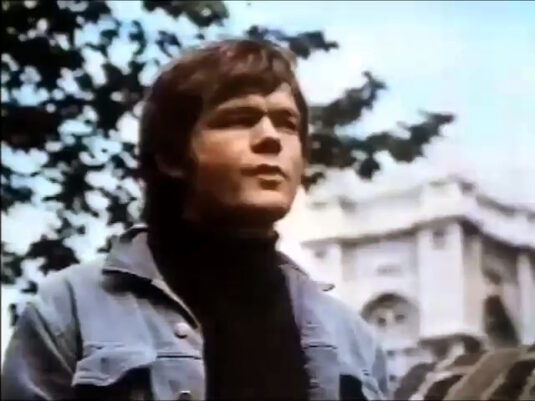
Billy (Andrew McCulloch) stands ready.
- Capture 8
- 07 May 2024
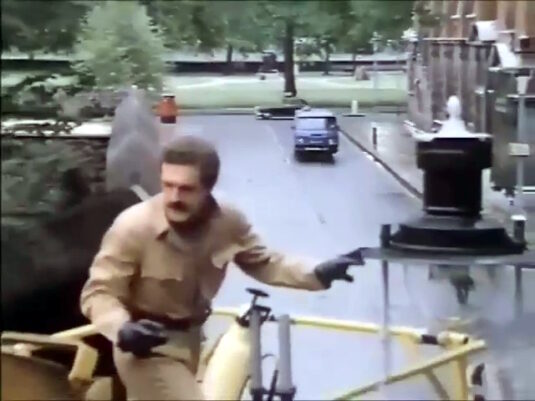
Jock turns and signals the others when the security van turns into the road where they are waiting. Facing east on Great College Street with Victoria Tower Gardens in the background.
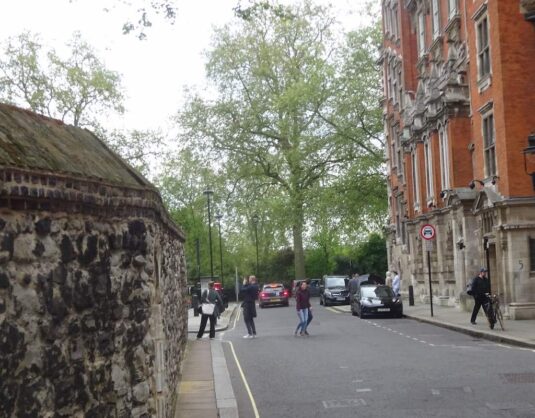
Beset one can do without the elevation. SJ
- Capture 9
- 07 May 2024
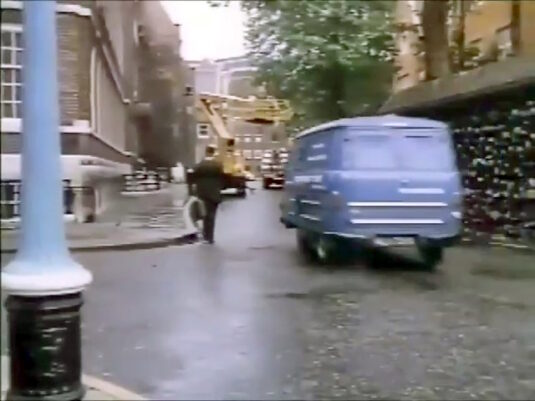
Mercer moves into action as the Commer van heads towards a stationary brewery dray. The corner of Great College Street and Little College Street.
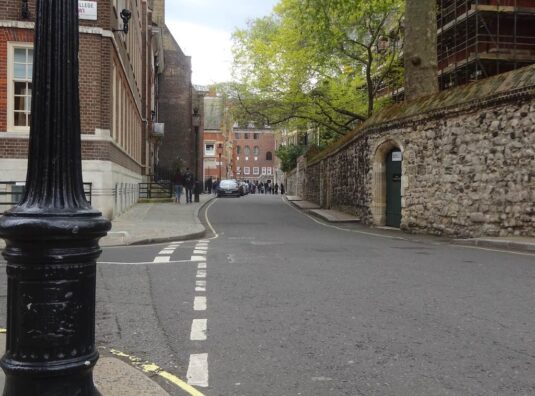
I rather liked the blue painted lampposts. SJ
- Capture 10
- 07 May 2024
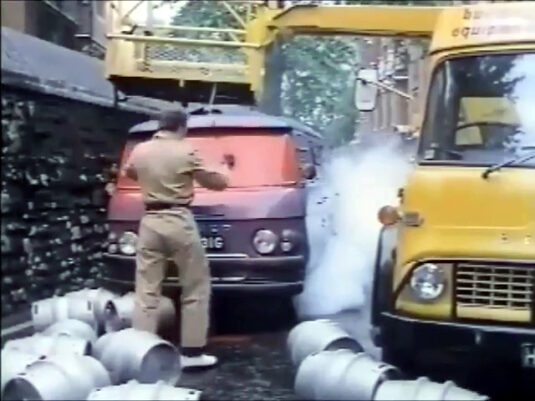
The security van is halted by fallen barrels and the windscreen is sprayed with paint. Great College Street with the wall of the currently named College Garden on the left.
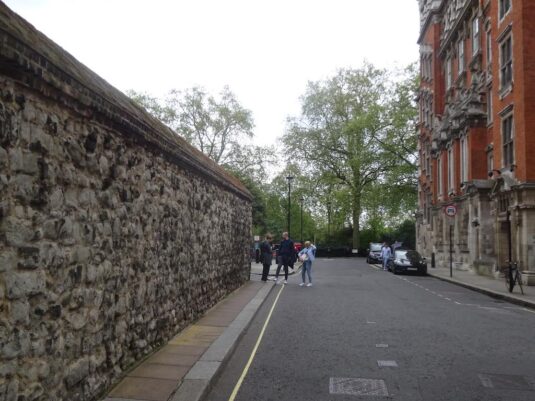
A fairly empty scene now. SJ
- Capture 11
- 07 May 2024
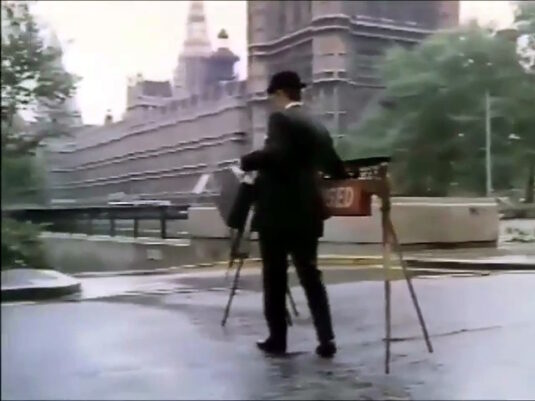
Mercer places a road block across the street. Great College Street at the top of the entrance to Abingdon Street Car Park, formerly College Mews. The street and car park entrance can also be seen in 'Johnny English'.
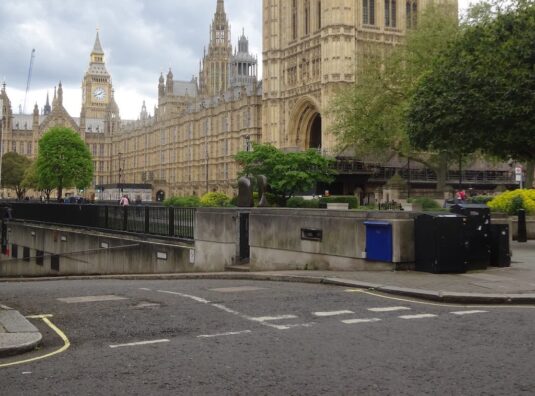
A cut down tree has revealed more of the Elizabeth Tower on the left. SJ
- Capture 12
- 07 May 2024
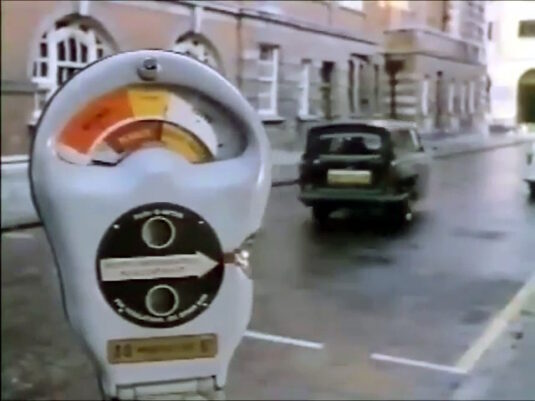
Having played their part in the hold up, Jock and Billy jump into a Reliant Regal and drive away. Little College Street with Great Peter Street visible in the right distance.
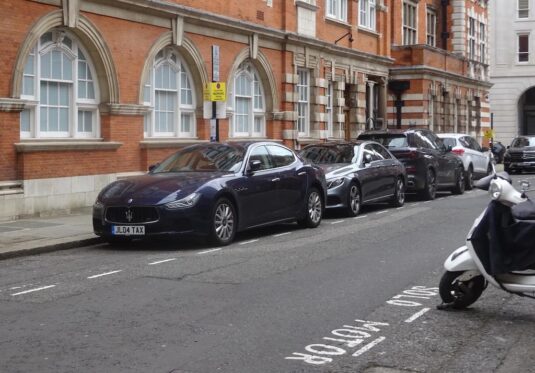
The parking meter has yielded to a motorcycle bay. SJ
- Capture 13
- 07 May 2024
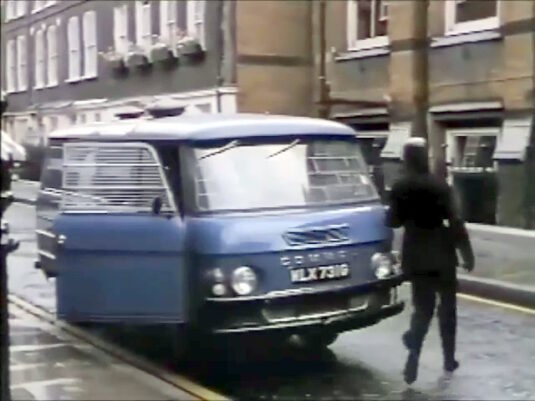
Around the corner, Wheeler and Finch get into an identical security van. Barton Street at the corner with Great College Street.
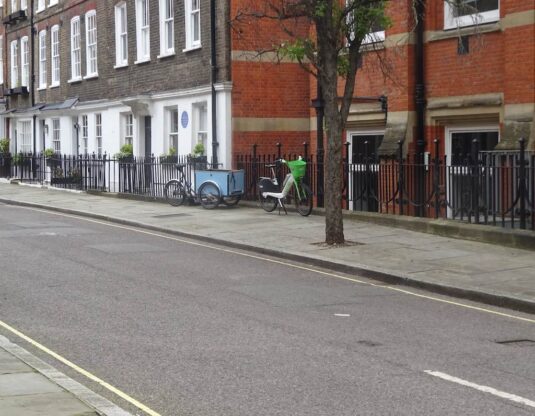
Now with a tree. SJ
- Capture 14
- 07 May 2024
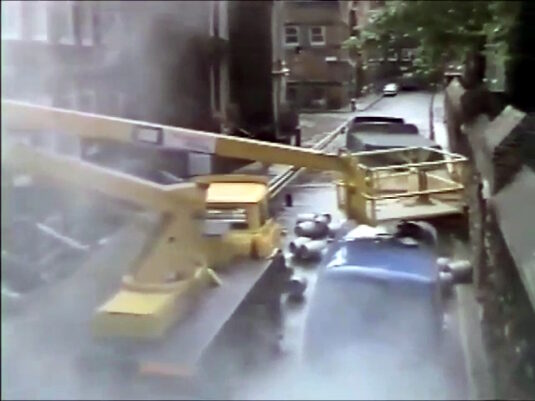
Wheeler drives the Gang's Commer away leaving the original van behind. Looking west along Great College Street with the corner of Barton Street to the centre.
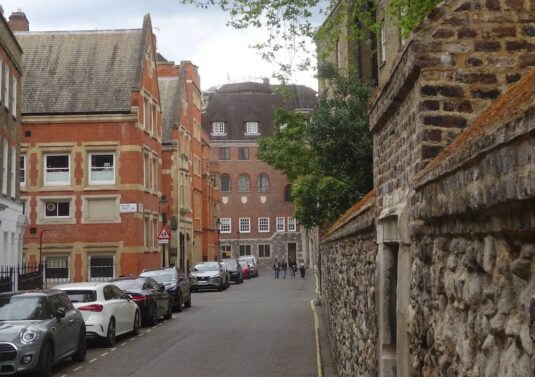
Not a particularly accurate effort without a crane. SJ
- Capture 15
- 04 Oct 2024
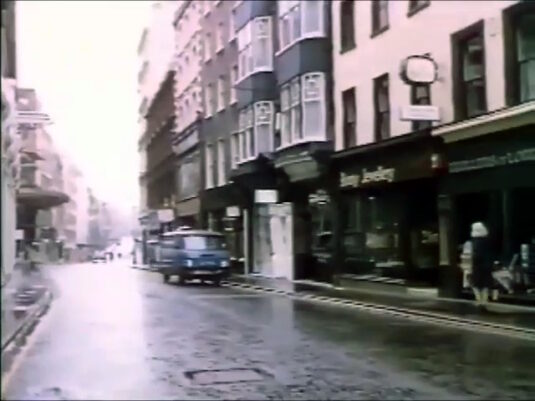
It's still early when the Gang's van arrives on Bond Street. New Bond Street in W1, facing north-west towards Clifford Street located by Danny Baker.
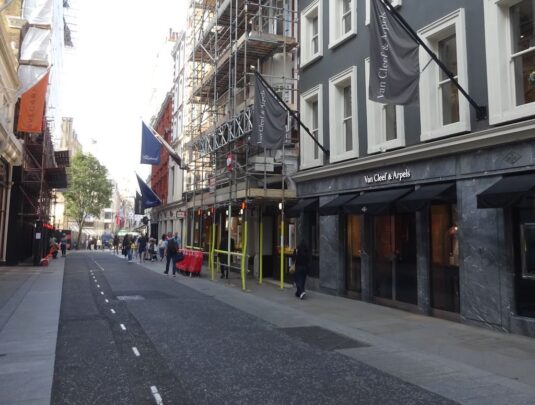
With scaffolding of course. SJ
- Capture 16
- 04 Oct 2024
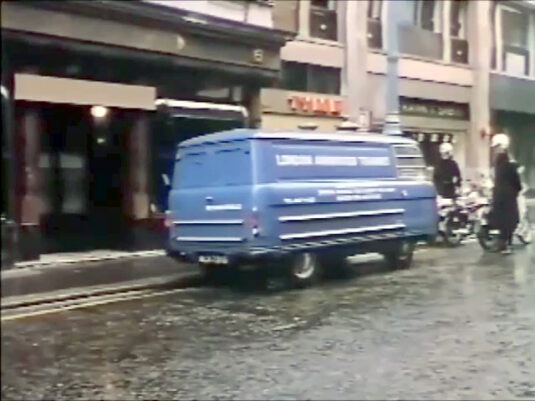
The van is brought to a stand outside Winston Jewellers where two Motorcycle Escorts are waiting. Danny Baker identifies New Bond Street with number 6 on the left.
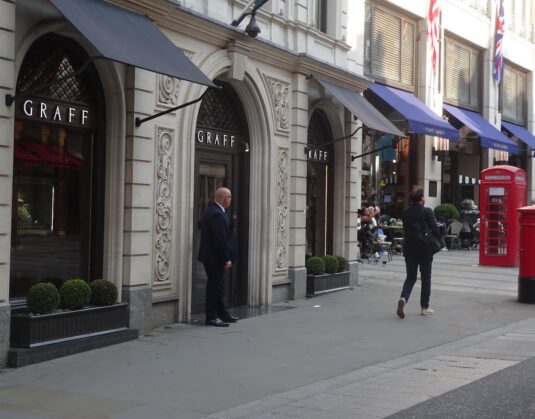
Graff at no6 has changed its frontage and unusually "red things" have been seemingly added rather than taken away. Actually the telephone kiosk has moved north from the corner at Burlington Gardens and maybe the post box is just out of shot. SJ
- Capture 17
- 04 Oct 2024
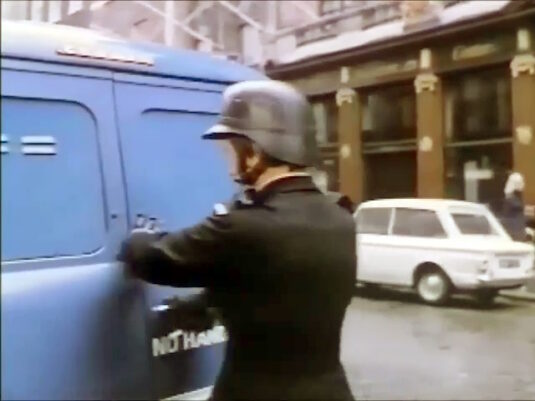
After a box is loaded into the back of the van, Wheeler (Barry Jackson) secures the door. Danny Baker found New Bond Street with the Cartier store in the right background.
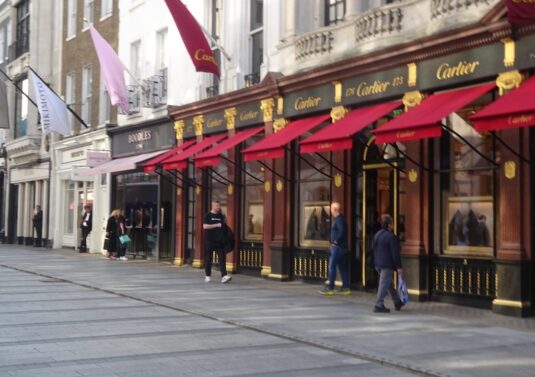
The Cartier store still thrives with its Noir St Laurent limestone façade. SJ
- Capture 18
- 04 Oct 2024
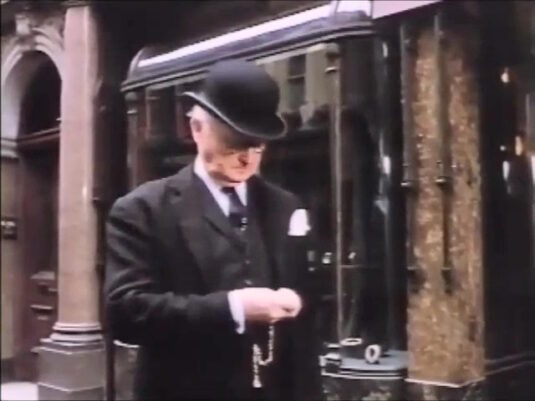
The Manager of the jewellers checks the time as the van pulls away. Facing 6 New Bond Street, recognised by Danny Baker.
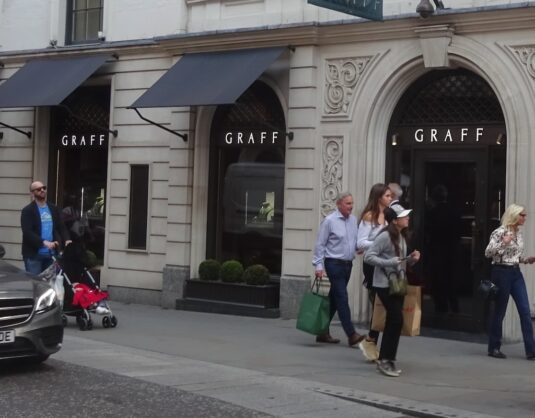
The relatively recently installed façade makes this comparison fairly futile. Scene of a real robbery in 2009. SJ
- Capture 19
- 04 Oct 2024
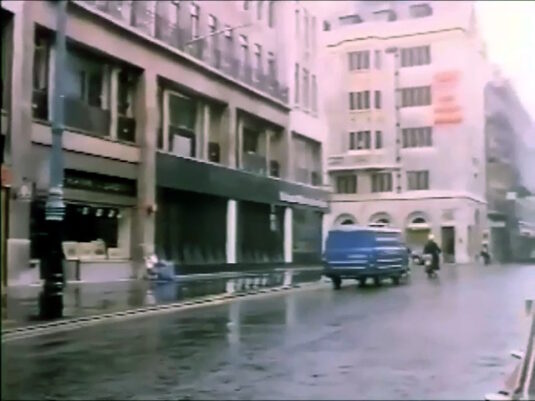
Wheeler follows the Motorcycle Escort from the street. Looking towards the junction of New Bond Street, Burlington Gardens and Old Bond Street W1, located by Danny Baker.
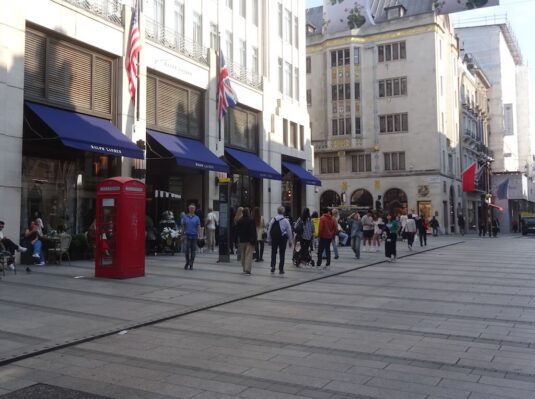
Looking south-east. SJ
- Capture 20
- 19 Jul 2024
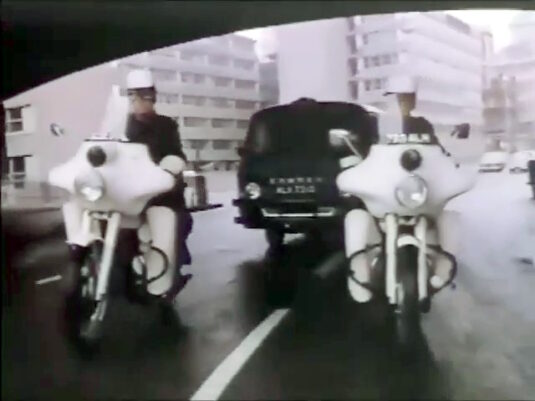
The Escorts ride ahead of the security van as it passes beneath a bridge. Queen Victoria Street EC4 with the Times and Observer offices at the corner of Black Friars Lane in the background.
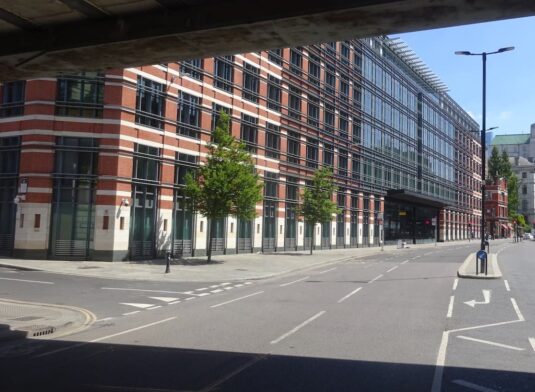
The same view but the redesigned bridge no longer curves. SJ
- Capture 21
- 07 May 2024
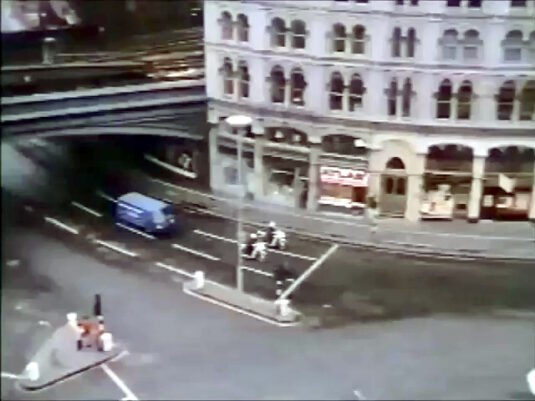
This is the junction of New Bridge Street, Blackfriars Court, Queen Victoria Street and Victoria Embankment.
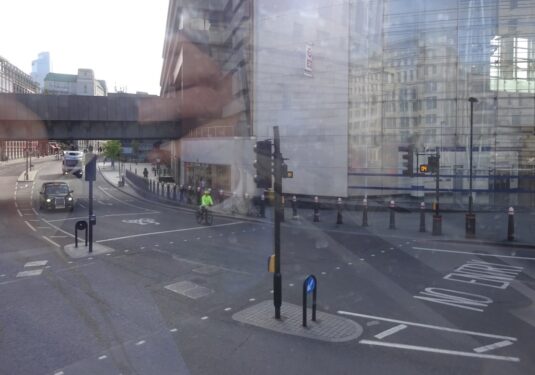
Without access to a top floor of Unilever House, I plumped for the top of a no63 bus to gain some height. SJ
- Capture 22
- 07 May 2024
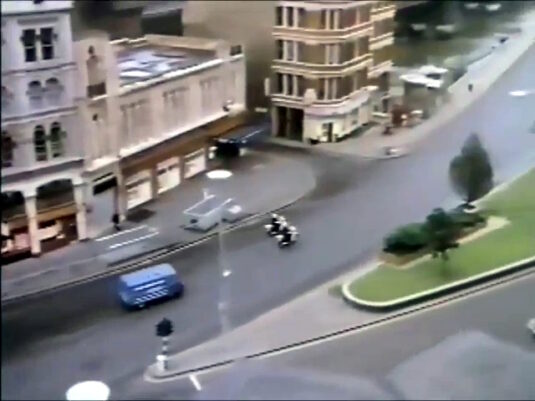
The approach to Blackfriars Bridge with Blackfriars Passage and the entrance to Blackfriars underground station in the centre. The location also features in '23 Paces to Baker Street', 'Pool of London', 'Stranger in the City' and 'Loophole'.
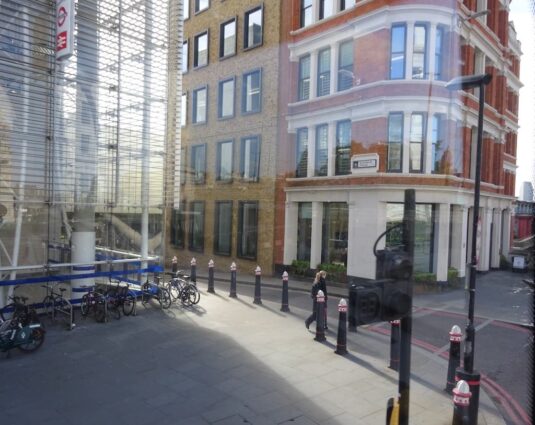
More of a detail from the top of a bus. Perhaps a return journey on the other side of the street would reveal more. SJ
- Capture 23
- 07 May 2024
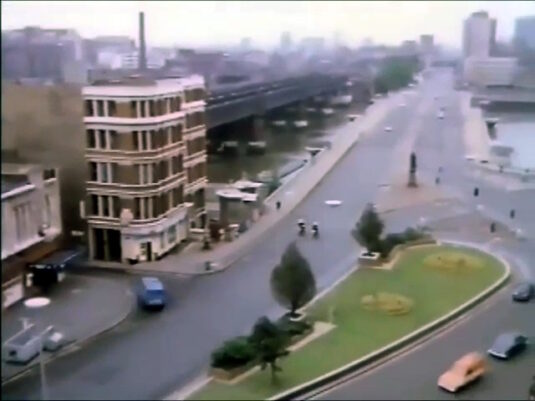
As the Escort rides on, the security van turns off the main road. Looking towards Blackfriars Bridge with Bridge House to the left and the eastern end of Victoria Embankment on the extreme right.
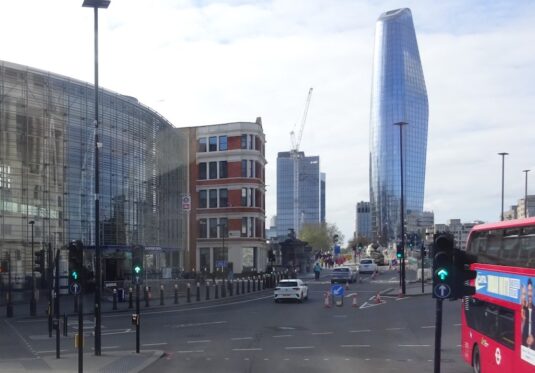
Again, the best one can do from the bus rather than Unilever House, but this shot does show the changes on both sides of the Thames, as well as the retention of the corner block and Blackfriars Fountain in the centre. SJ
- Capture 24
- 11 Jun 2024
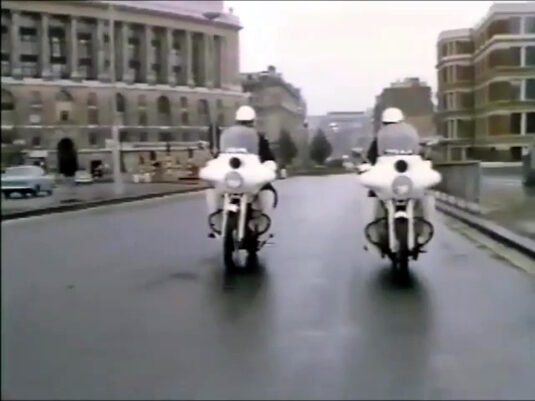
Realising that the van is no longer following, the two Riders bring their motorcycles to a halt. Facing north on Blackfriars Bridge with Unilever House to the left and Bridge House on the right.
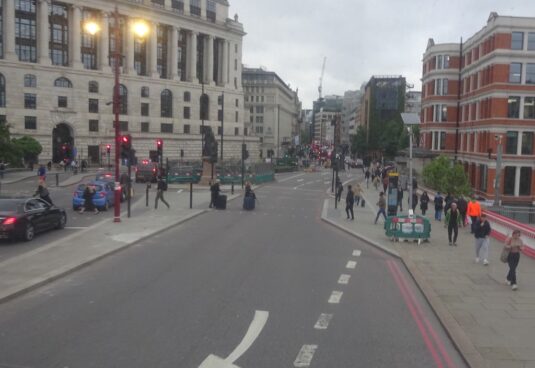
Taken on an equally gloomy day but from a 63 bus rather than the middle of the road. SJ
- Capture 25
- 'Now' required
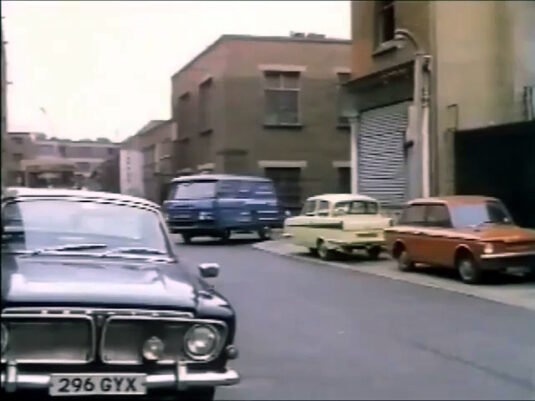
Wheeler negotiates back streets as Finch transfers the diamonds from the box to a small bag.
- Capture 26
- 'Now' required
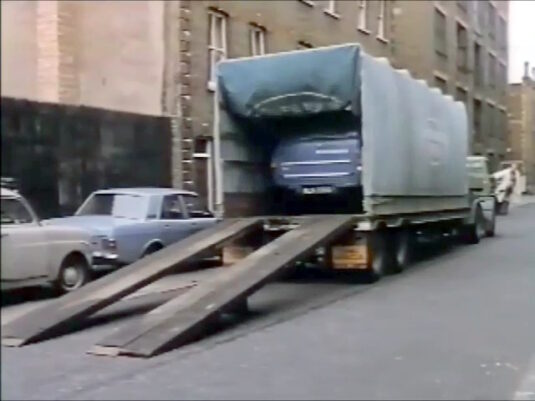
Jock watches as the van drives into the trailer of an articulated lorry.
- Capture 27
- 'Now' required
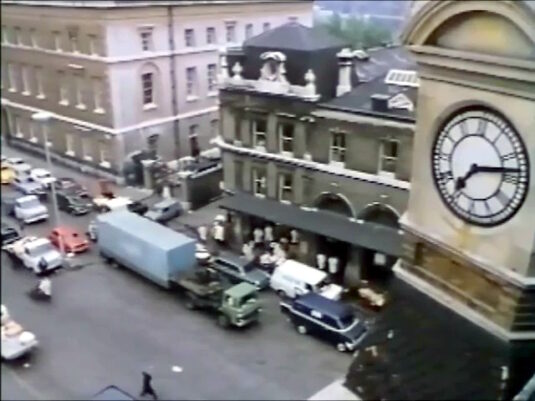
The lorry arrives outside Billingsgate Market. Lower Thames Street EC3 outside Billingsgate Market with the Billingsgate Christian Mission and Dispensary Clock above the corner of St. Mary at Hill to the right.
- Capture 28
- 31 Aug 2024
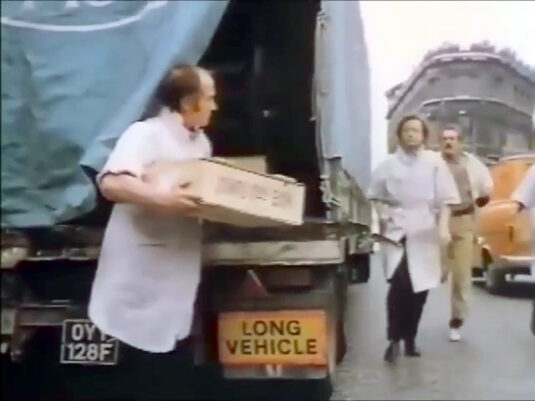
Now concealed in a box, the diamonds are transferred from the lorry. Lower Thames Street with the junction of Monument Street in the right background.
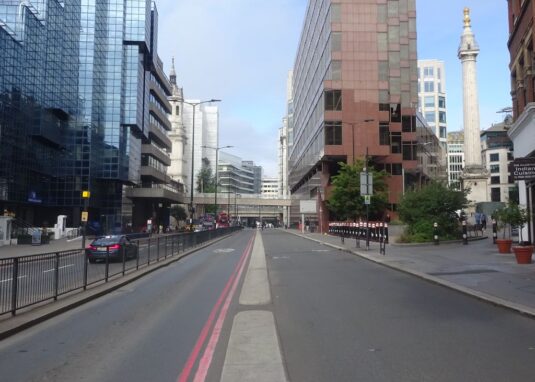
Slightly wider to show Monument on the right. SJ
- Capture 29
- 31 Aug 2024
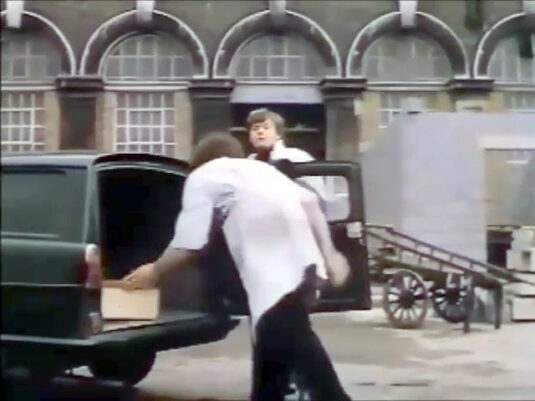
Billy watches Finch place the box in the back of the Reliant. Facing the rear of Billingsgate Market on Lower Thames Street.
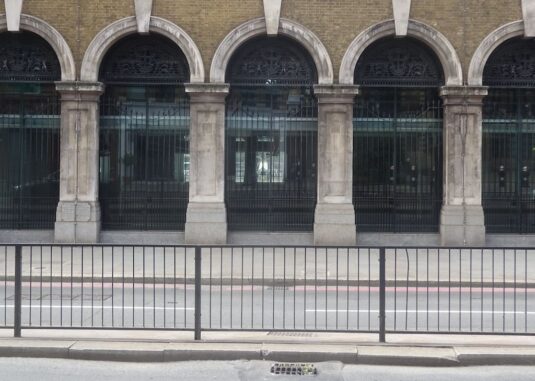
Closed as a market in 1982 but not demolished, grade II listed, and used for events. SJ
- Capture 30
- 'Now' required
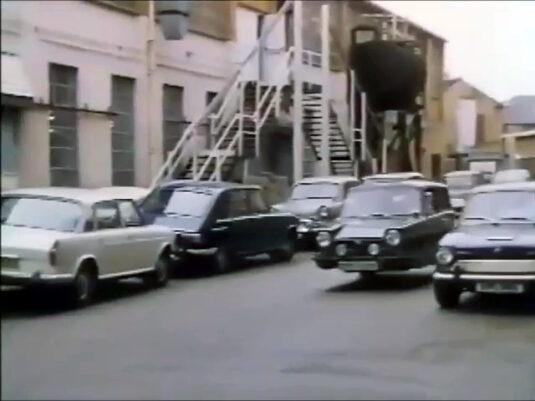
Billy and Finch make their way from the fish market.
- Capture 31
- 'Now' required
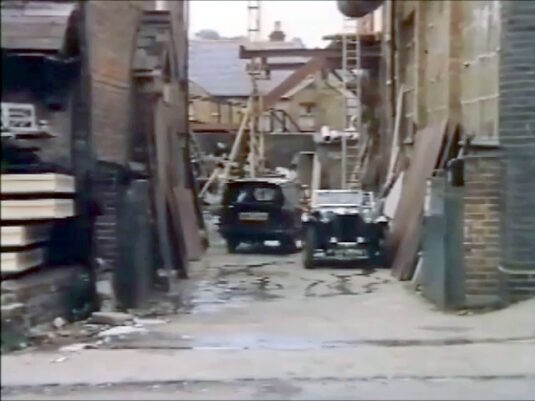
The three-wheeler turns into a yard where Billy tells Finch that they've been double-crossed.
- Capture 32
- 'Now' required
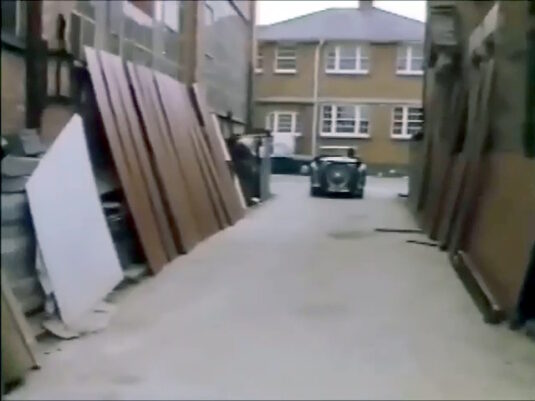
After being hit over the head, Finch recovers to see Billy driving away in an MG TC with the diamonds.
- Capture 33
- 'Now' required
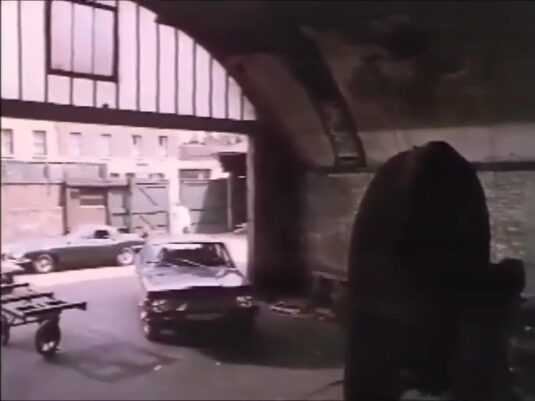
Mercer, Wheeler and Jock drive to their railway arch hideout where they change out of their fish porter's coats before Finch telephones to explain what's happened.
- Capture 34
- 13 Aug 2024
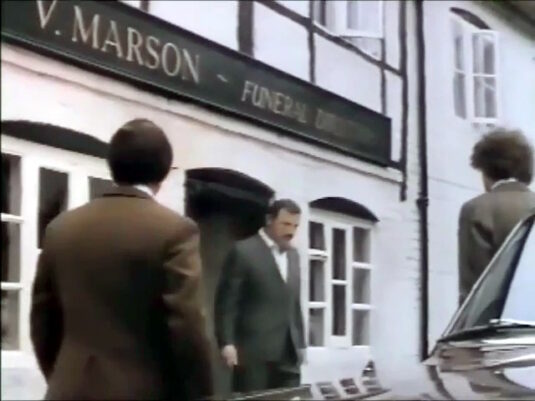
After Billy is killed in a crash on a country road, Mercer leaves the village Funeral Directors where his body has been taken. Outside Dormer Cottage on Church Lane in Bray, Berkshire.
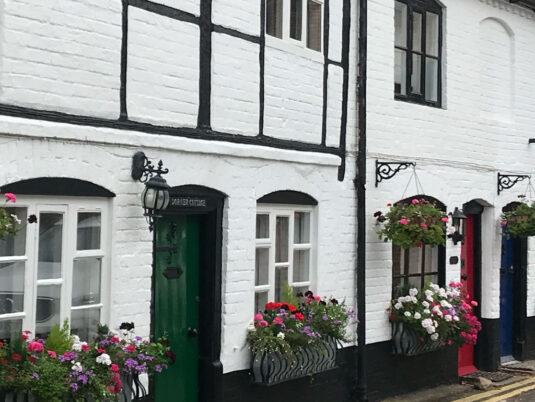
Phil Richards provides a colourful comparison shot over 50 years on. (RL)
- Capture 35
- 28 May 2024
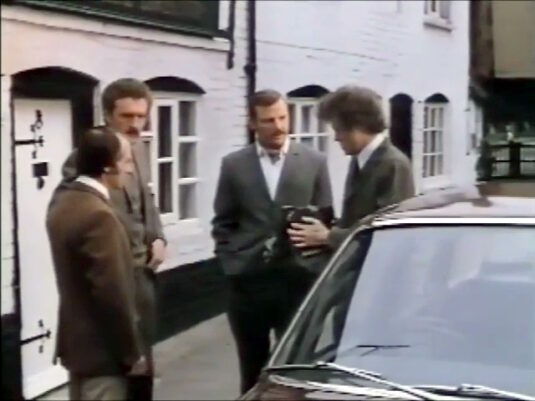
Hearing that the diamonds weren't on him, Finch suggests that he had hidden them in the car. Church Lane, Bray.
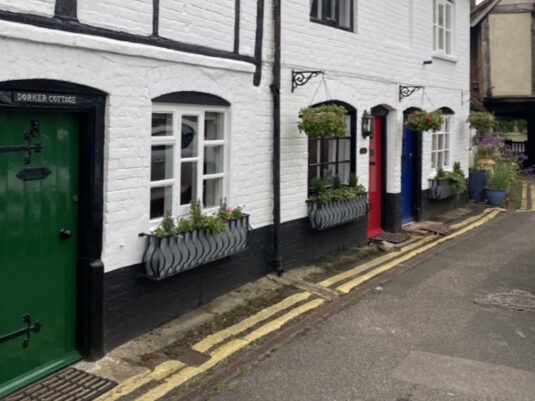
Antony Blair returned to the Berkshire village.
- Capture 36
- 'Now' required
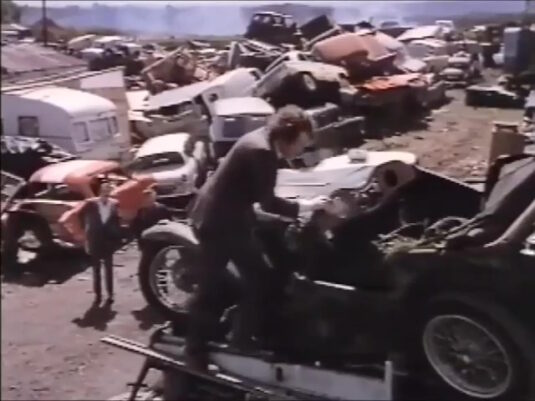
Finch looks over the wreckage of the MG at Williams' (Patrick McAlliney) scrap yard to discover it has been stripped of seats, dashboard and door handles.
- Capture 37
- 28 May 2024
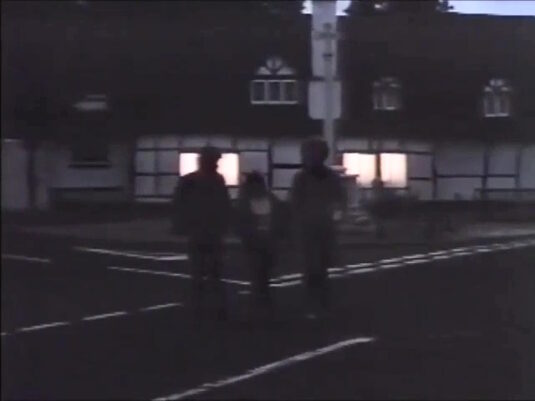
After recovering the parts from the wrecked MG, Robert "Bobby" Stewart (Peter Firth), his sister Susan (Cynthia Lund) and Charlie Todd (Spencer Banks) make their through the village to the lock up where they hear an intruder inside. Facing the War Memorial at the junction on Ferry Road and High Street in Bray.
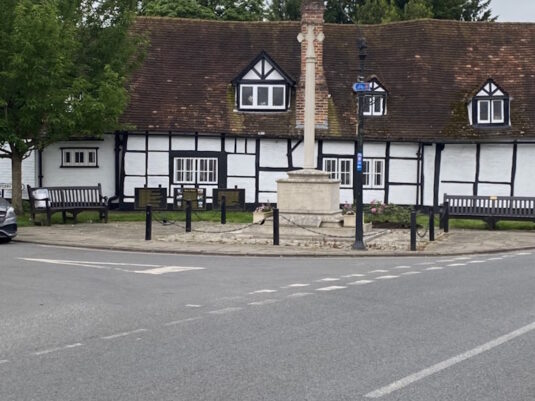
A much clearer view from Antony Blair.
- Capture 38
- 13 Jun 2024
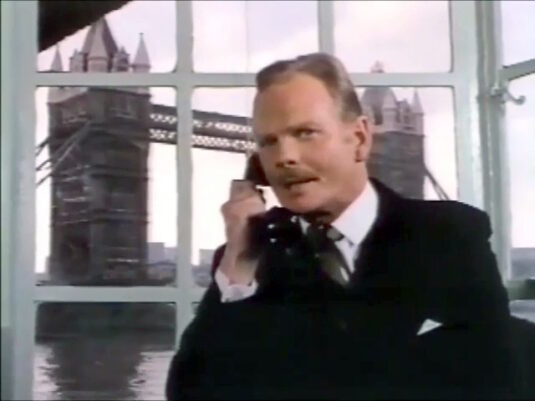
Gus Ashley (Allan Cuthbertson) phones Mercer to ask if he's got the goods. Looking out from Butler's Wharf SE1 onto the River Thames and Tower Bridge.
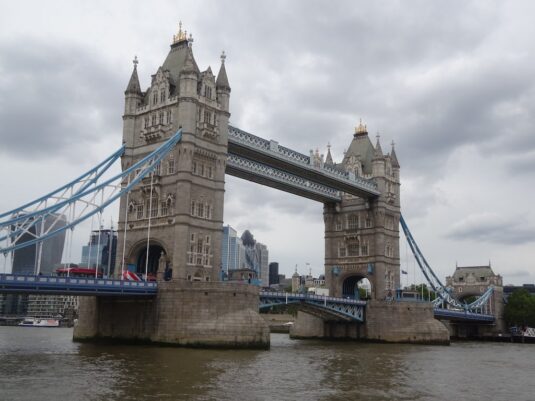
This is taken from the corner of Maggie Blake's Cause and the western end of Butler's Wharf. Looking up, there's no window of similar design so perhaps it was lost in refurbishment or it is a back projection. The exact same angle was seen in "Conspirator." SJ
- Capture 39
- 'Now' required
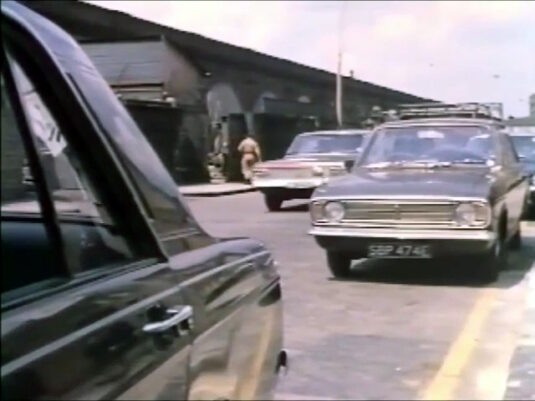
Leaving the railway arch, Wheeler and Finch set off to kidnap Bobby Stewart.
- Capture 40
- 28 May 2024
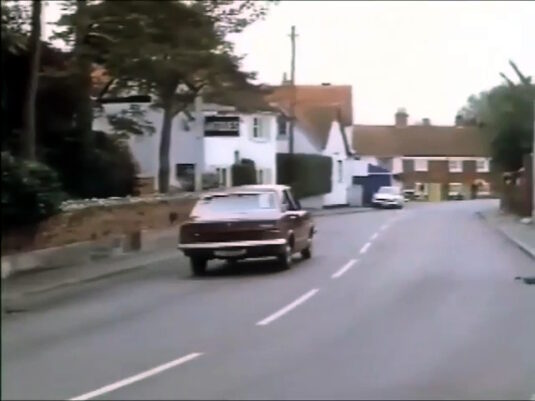
Receiving a tip-off, Inspector Cook and Inspector Timothy follow the crooks back to the village. Looking south east along High Street in Bray.
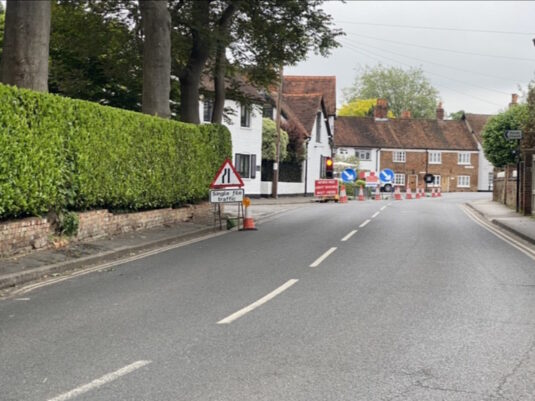
Antony Blair found that road works would have held up the police today.
- Capture 41
- 13 Aug 2024
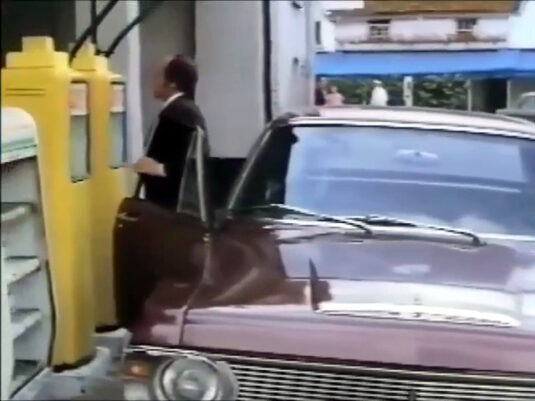
Stopping at a garage, Wheeler and Finch get out of the car. High Street, Bray with the Hind's Head public house in the background. The buildings either side of Bray Garage can be seen in 'The Quatermass Xperiment' but the premises have since been replaced by a residential property.
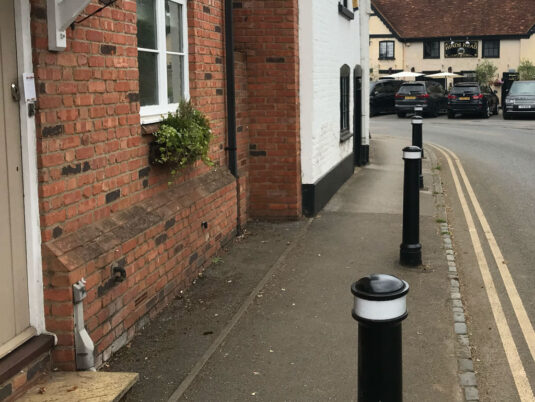
Phil found that the garage has indeed been replaced by a house but the house next door and 'Hind's Head' remain much the same. (RL)
- Capture 42
- 28 May 2024
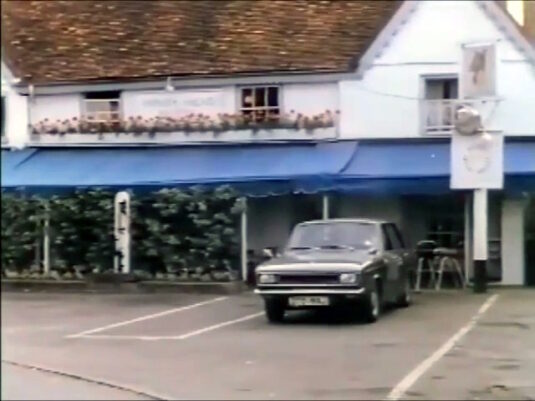
The Police Inspectors park up across the road from the garage. The Hind's Head at the corner of High Street and Church Lane.
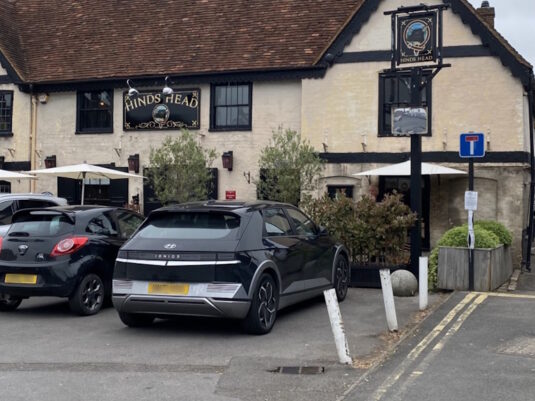
Still trading in Antony Blair's shot and looking better without the canopy.
- Capture 43
- 13 Aug 2024
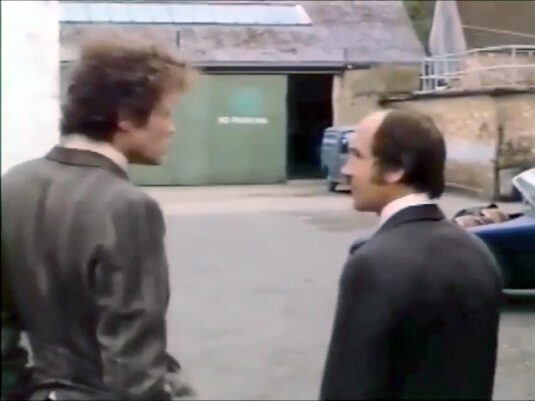
Finch and Wheeler pause before entering Henry Stewart's lock up. This is possibly the yard next to Bray Garage, now West Court.
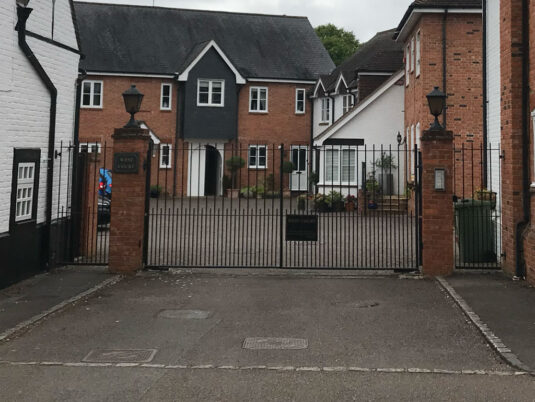
This shot from Phil shows that the rear garage buildings have been redeveloped as described, but the house to the left remains. (RL)
- Capture 44
- 28 May 2024
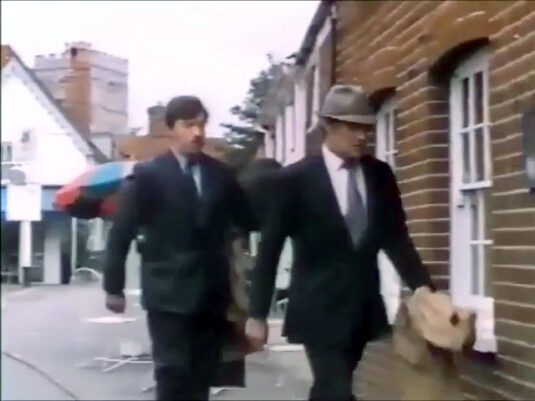
Inspector Cook (Patrick Allen) leads Inspector Timothy (George Innes) to the village pub where they keep watch through a window. Outside the Ringers public house on High Street, looking towards Church Lane with the tower of St. Michael's church to the top left.
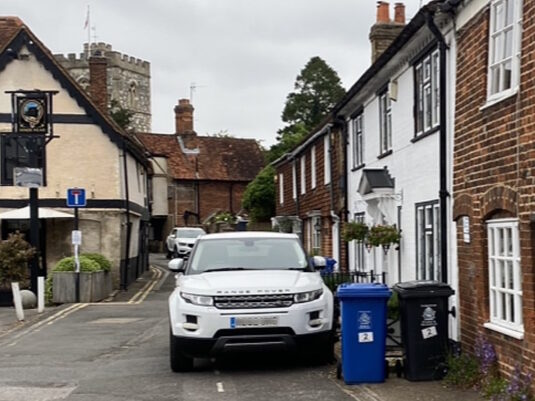
Antony Blair provides the comparison.
- Capture 45
- 13 Aug 2024
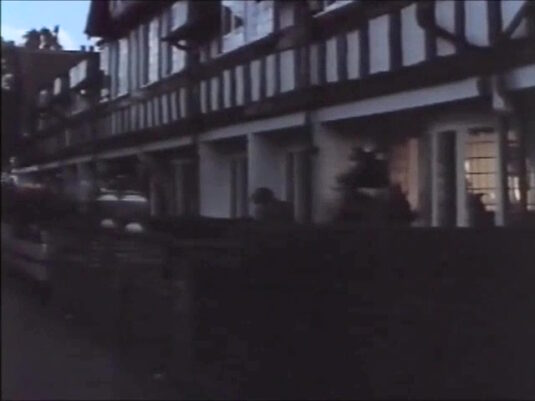
That evening Susan wonders why two salesmen would be sitting in a pub all day as she and the Boys walk through the village. Bettoney Vere in Bray.
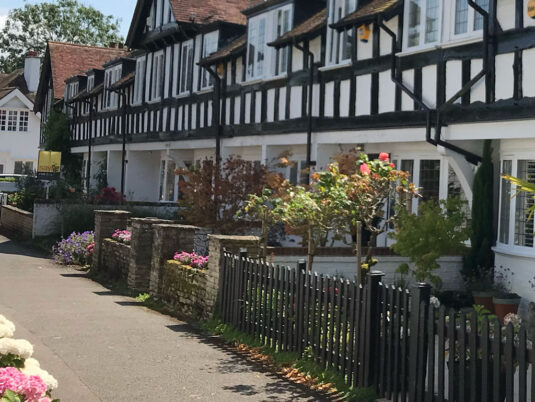
Visiting Bettoney Vere, Phil Richards captured a much more distinct view for us. (RL)
- Capture 46
- 13 Aug 2024
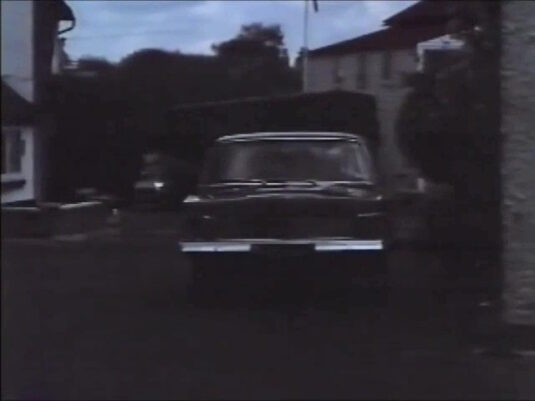
The three teenagers are observed by Wheeler and Finch from their Ford Zephyr.
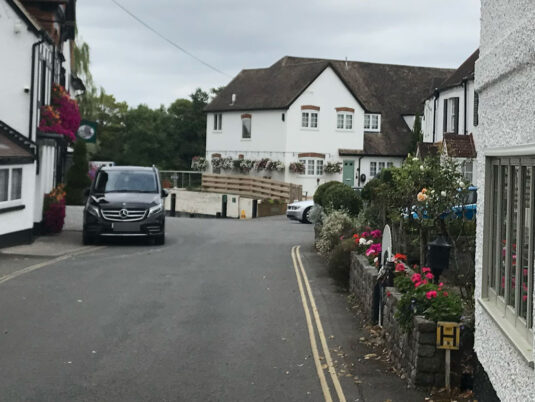
The river end of Ferry Road says Phil who took this shot for us. (RL)
- Capture 47
- 13 Aug 2024
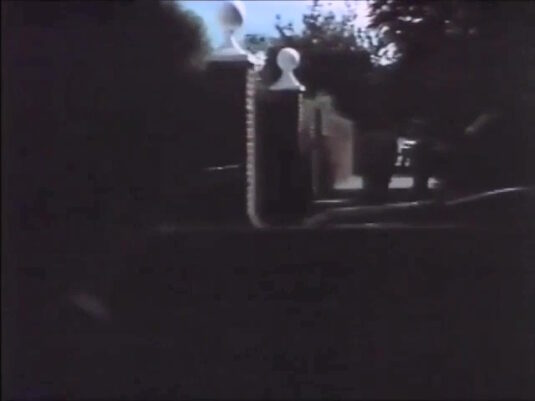
Wheeler and Finch follow Bobby, Susan and Charlie along the dark road as they break into a run. Phil Richards identifies this as Ferry Road, Bray, immediately outside the house featured in Capture 16 of the 1957 film 'Danger List'. (RL)
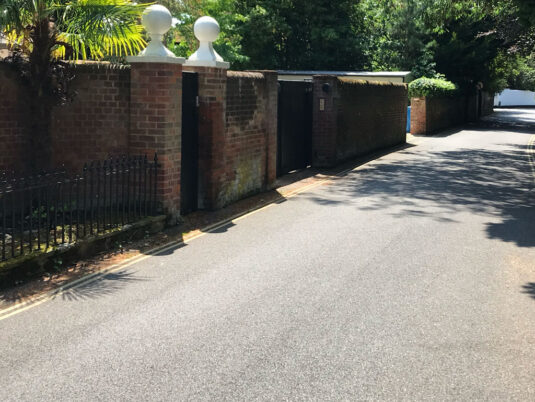
Supporting his identification Phil provides this comparative shot for us. (RL)
- Capture 48
- 13 Aug 2024
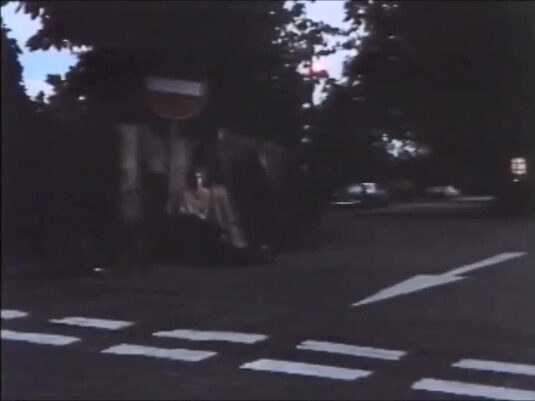
The Kids rest after the Crooks drive away when they see another car approaching. The junction of Ferry Road and Old Mill Lane.
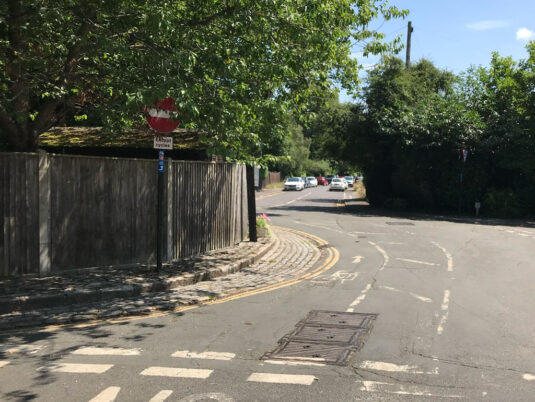
Phil confirms the location with his up to date shot. (RL)
- Capture 49
- 13 Aug 2024
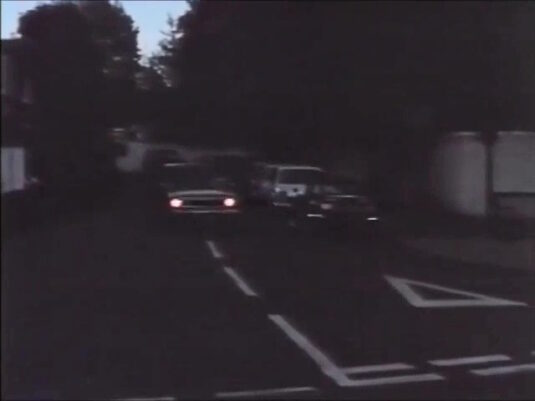
In their Ford Cortina, Inspectors Cook and Timothy follow the Zephyr. The corner of Ferry Road and High Street.
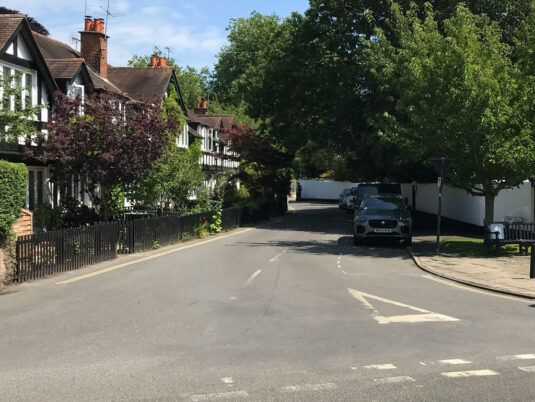
Nothing appears to have changed with regard to parking it would appear from this current view from Phil Richards. (RL)
- Capture 50
- 28 May 2024
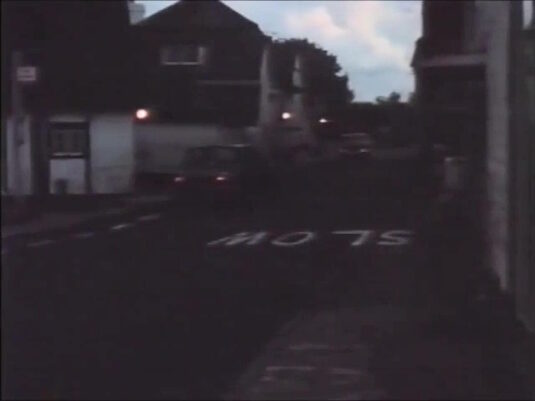
Slowing to a halt, the Policemen allow the Crooks to drive away. Facing southward from the corner of Ferry Road and High Street, Bray.
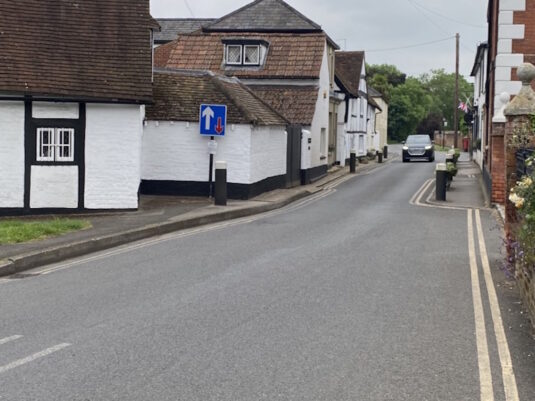
A daylight view by Antony Blair.
- Capture 51
- 'Now' required
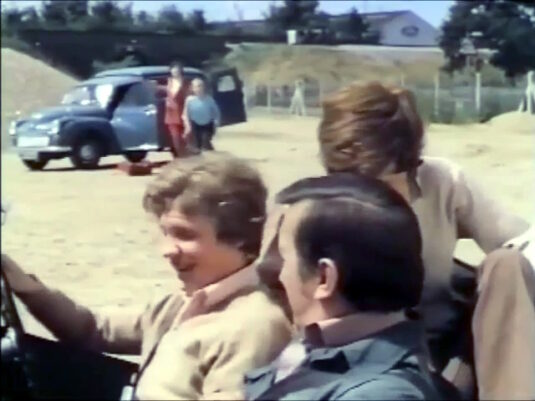
Henry Stewart (George Sewell) tells his son Bobby that he'll get the feel of it after a misjudged skid brings their race ready MG to a stand.
- Capture 52
- 'Now' required
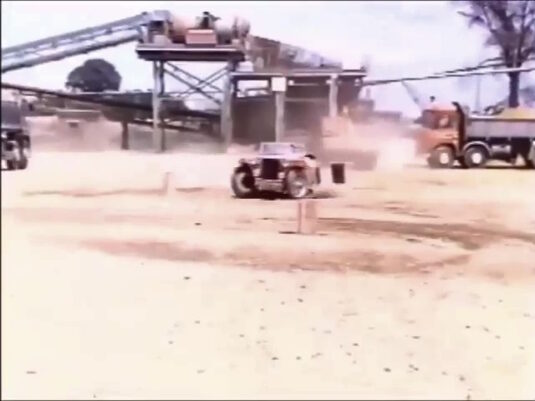
Taking his Father's advice, Bobby drives off around the practice circuit again.
- Capture 53
- 'Now' required
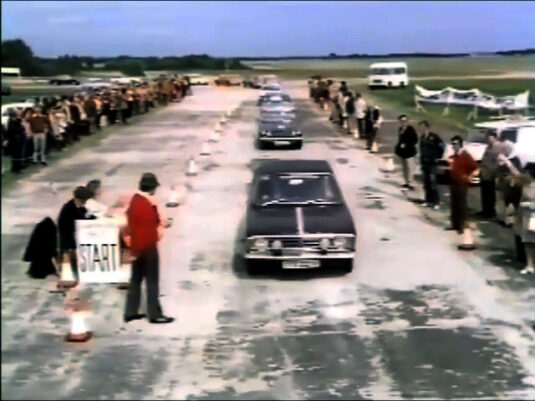
At Goodtown Fields, Competitors line up to start as the annual Hampshire 24 Hour Rally gets under way.
- Capture 54
- 'Now' required
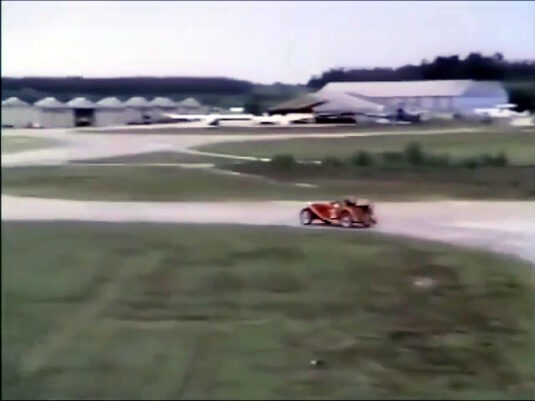
Carrying number 20, Bobby, Charlie and Susan set off in their MG TC.
- Capture 55
- 06 Jun 2024
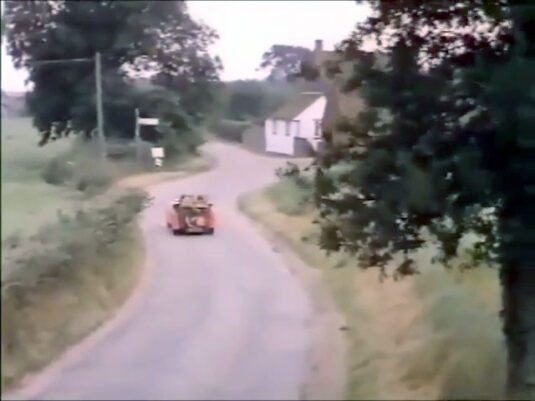
As Inspector Cook starts to think that the missing diamonds may be hidden in the red MG, the Teenagers head for the first checkpoint. Michael B. identifies this as facing Russells Farm on the corner of Rockwell Hill End and Parmoor Lane at Rockwell End, Buckinghamshire, around 1 1/2 miles from Hambleden.
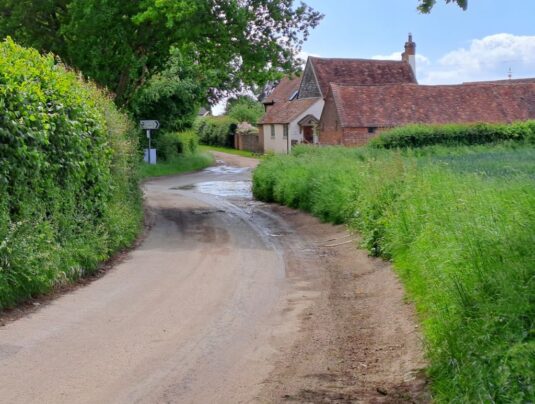
A rather wet lane today. (SR)
- Capture 56
- 06 Jun 2024
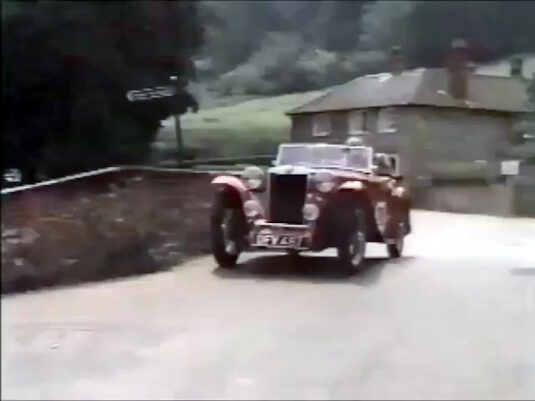
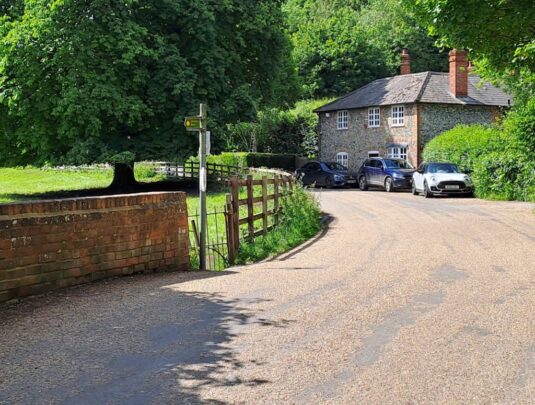
Using Charlie's navigation skills, the three enter the village of Woodfield Junction. In reality, Hambleden in Buckinghamshire.
The view today. (SR)
- Capture 57
- 06 Jun 2024
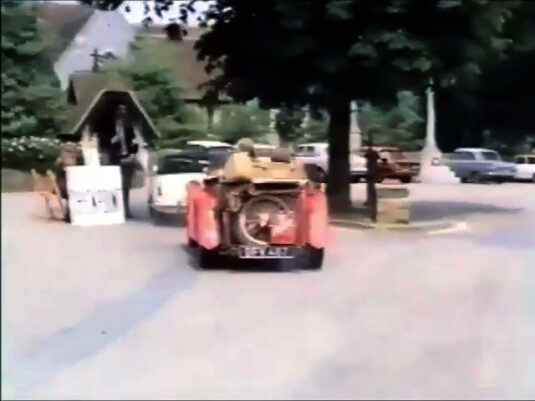
The MG arrives at the checkpoint behind car 15. Hambleden appears in many other productions including 'Chitty Chitty Bang Bang', 'The Avengers', 'Child's Play', 'The Christmas Tree', 'Murder is Easy', ‘The Blue Geranium’, ‘Hampstead’, ‘The Legacy’, ‘Death on the Nile’ and 'The Witches'.
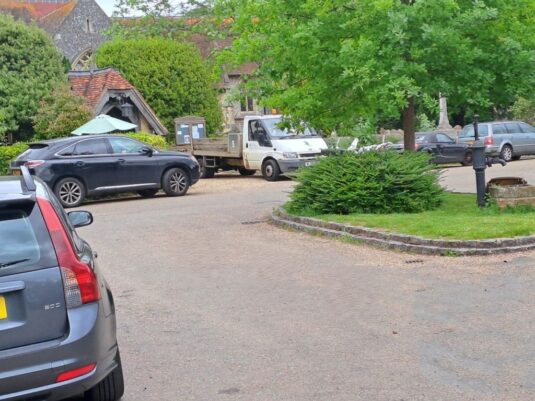
The centre of Hambleden chock-a-block with vehicles. (SR)
- Capture 58
- 06 Jun 2024
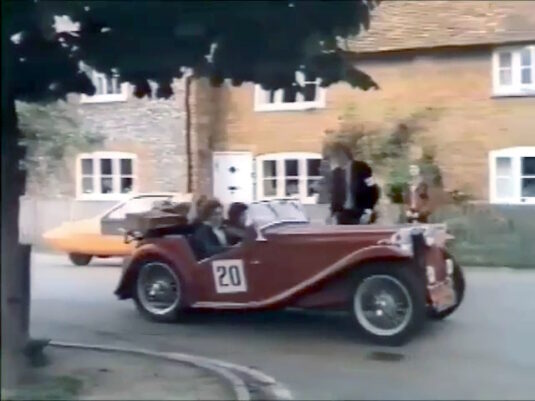
Instructions are issued to help find the next checkpoint. Hambleden in Buckinghamshire.
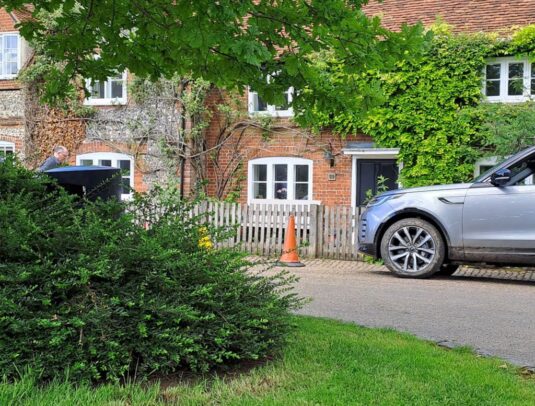
Traffic cones thankfully enable a clearer view of the house. (SR)
- Capture 59
- 06 Jun 2024
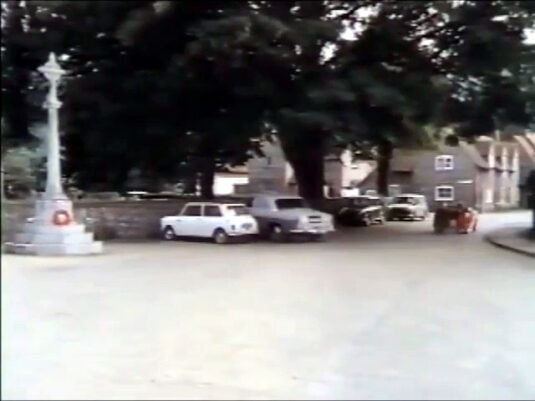
Running on schedule. number 20 departs. The often seen village of Hambleden.
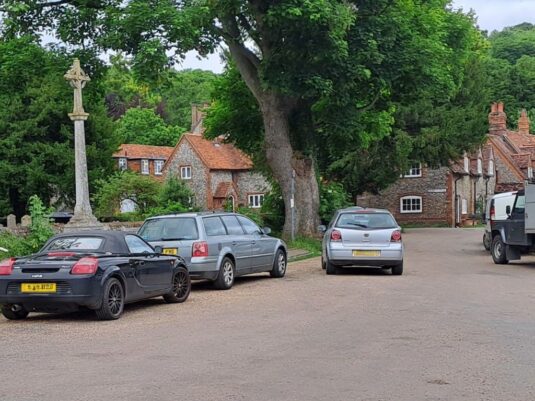
A similar scene today. (SR)
- Capture 60
- 06 Jun 2024
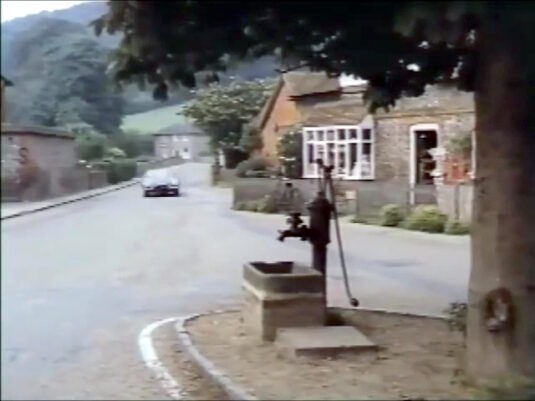
Entered into the rally by Mercer to follow the MG, Wheeler and Finch approach the checkpoint in their E-Type Jaguar. Looking past the village pump in Hambleden towards the bridge crossing Hambleden Brook.
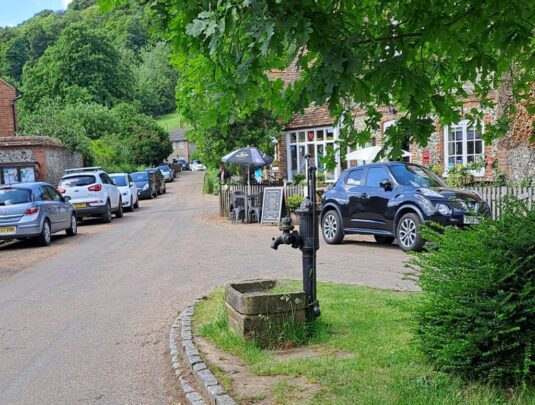
The village pump still stands. (SR)
- Capture 61
- 06 Jun 2024
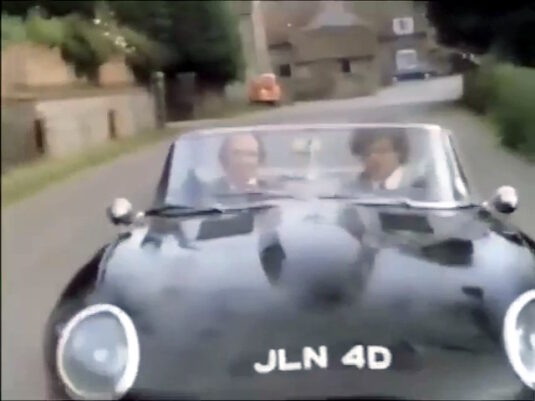
Speeding away from the checkpoint without getting their card signed, the Crooks race after the red MG.
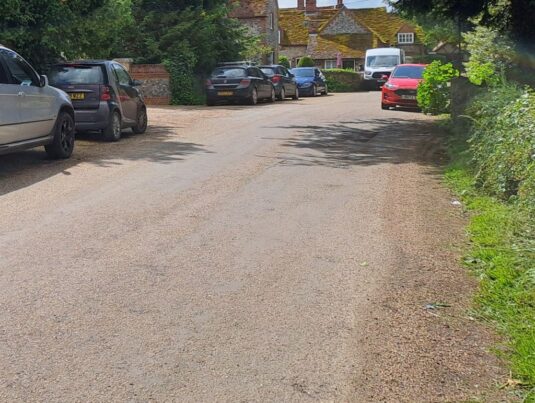
The view from Pheasant's Hill. (SR)
- Capture 62
- 06 Jun 2024
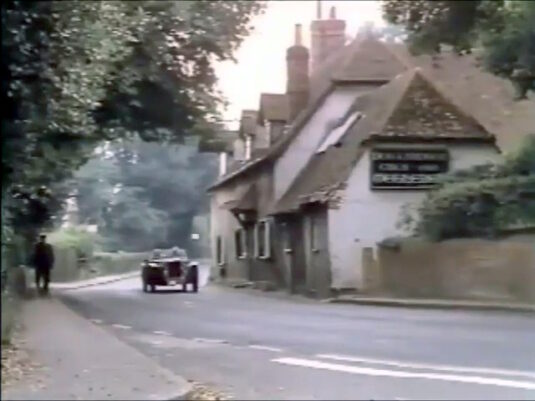
Deciphering the puzzle in the instructions, Bobby, Charlie and Susan head onward. The Dog & Badger public house on the A4155 at Medmenham, Buckinghamshire identified by Michael B.
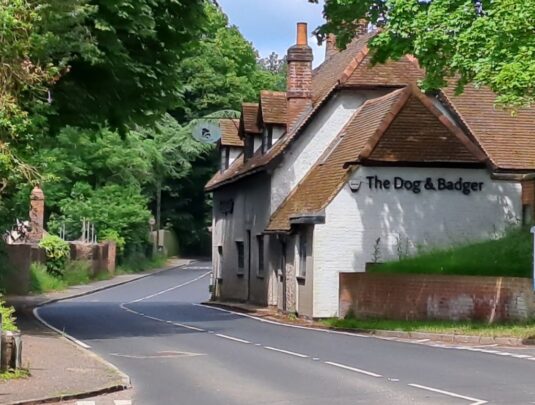
Temporarily closed due to a hole in the car park. Structural engineers are looking into it. (SR)
- Capture 63
- 06 Jun 2024
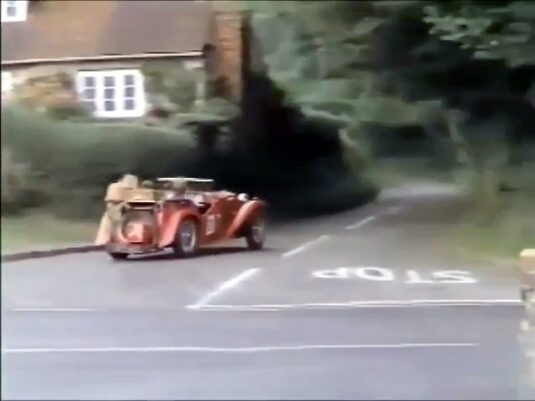
The camera pans with the car. Michael B. locates this as the junction of Bockmer Lane with the A4155 next to the Dog & Badger at Medmenham.
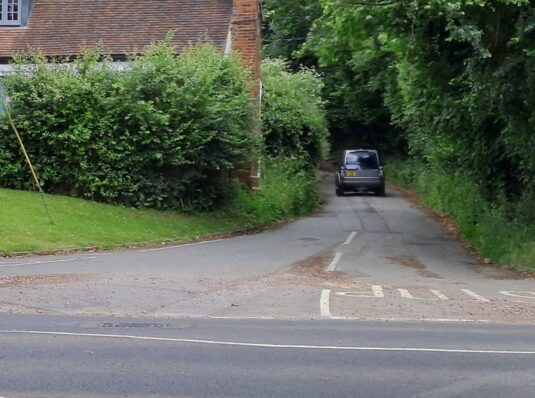
A tall hedge now at the corner. (SR)
- Capture 64
- 05 Jun 2024
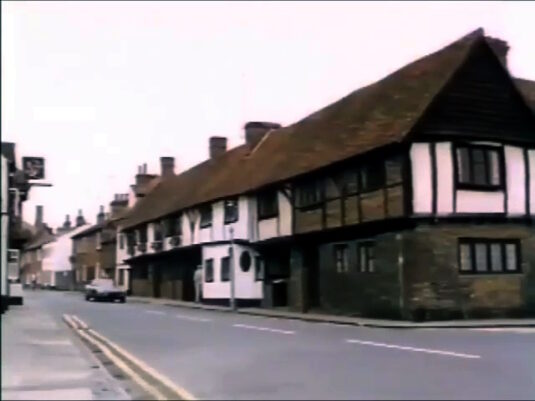
Unable to fathom out the instructions, Wheeler and Finch drive the wrong way. Looking along Friday Street from the junction with Thames Side in Henley on Thames in Oxfordshire.
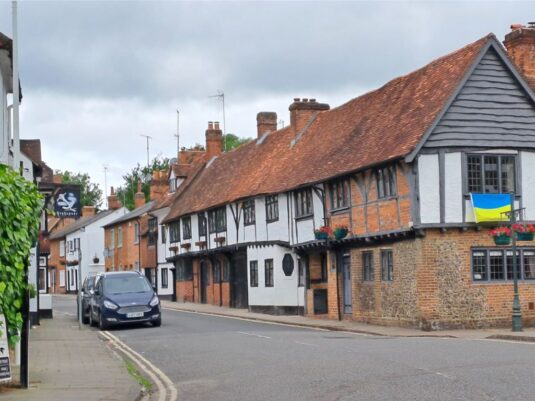
Remarkably unchanged in 51 years. (SR)
- Capture 65
- 05 Jun 2024
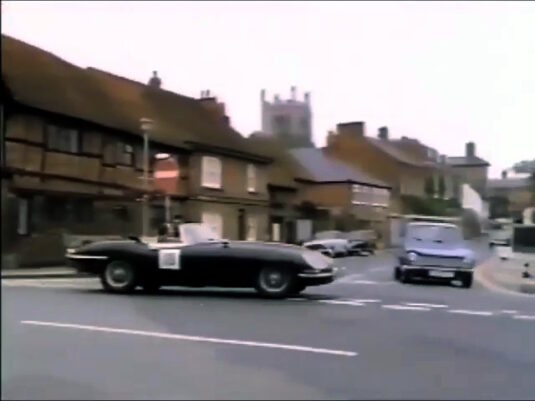
Thames Side, Henley on Thames with the tower of St. Mary the Virgin church in the centre background.
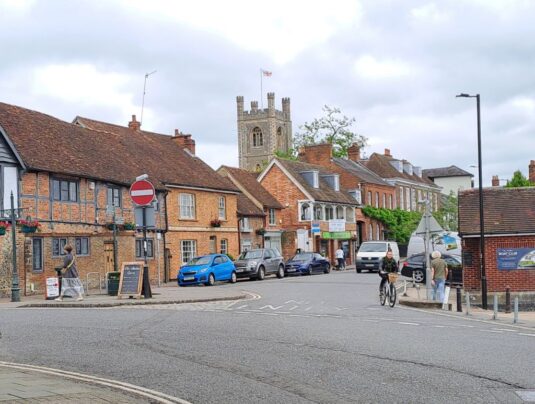
Some rebuilding has occurred in front of the church here. (SR)
- Capture 66
- 05 Jun 2024
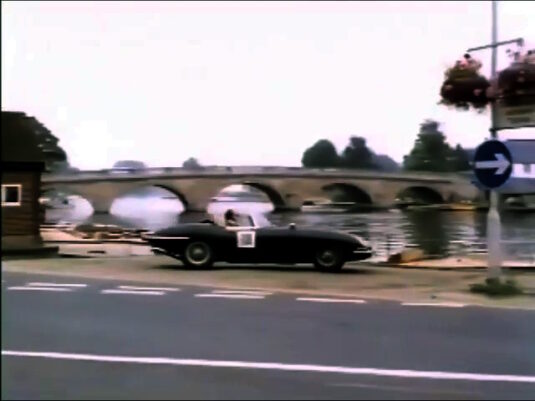
Reaching a river, Wheeler brings the car to a stand. Thames Side with Henley Bridge crossing the River Thames in the background. The bridge also features in 'The Killing of Sister George', 'Half a Sixpence' and 1956's 'Three Men in a Boat'.
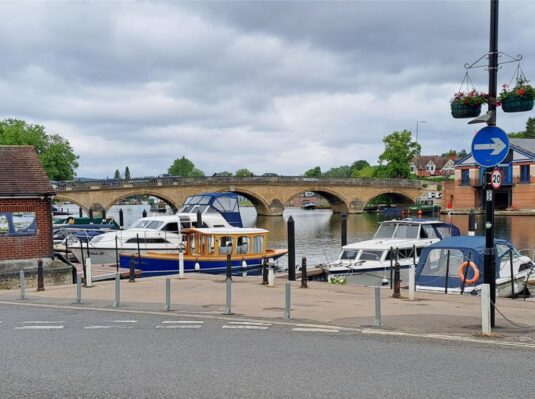
The E-type Jag gives way to riverboats for this comparison shot. (SR)
- Capture 67
- 05 Jun 2024
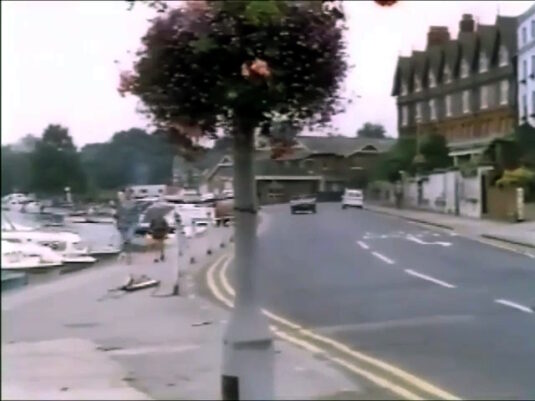
Working out an alternative route, the Criminals set off for Bracken Castle. Facing southwards on Thames Side in Henley on Thames.
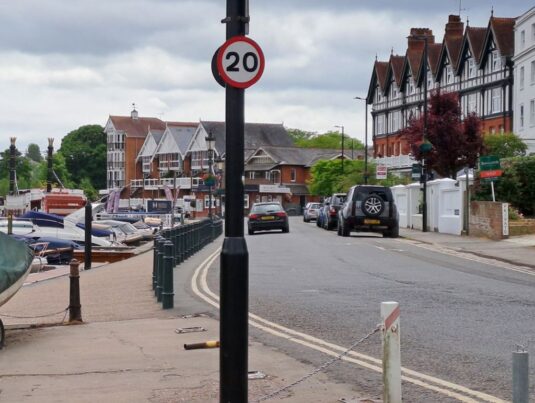
A newer lamppost and newer speed restrictions today. Looming large in the background is the Boathouse Reach development of 1990. (SR)
- Capture 68
- 14 May 2025
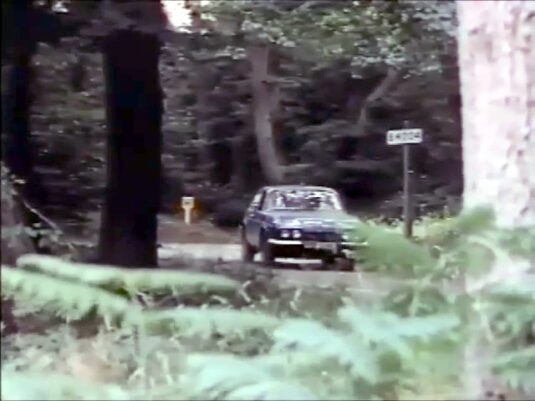
Watching from the trees, Wheeler and Finch see Sir Hilary Stanton, one of the rally officials, mark the route to be taken at a junction. Ignore the sign, the B4004 no longer exists. Until 1935 in ran through Wiltshire and the number was briefly used for roads in Cirencester and Newport, Monmouthshire. Michael B. wasn't fooled and recognised the junction of Park Lane and Curriers Lane at Burnham Beeches in Buckinghamshire.
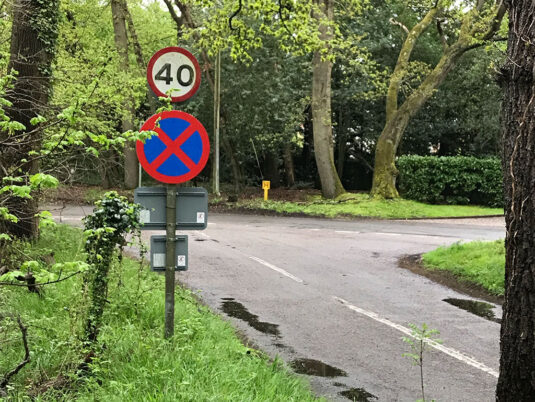
Confirming Michael B's identification of the junction of Park Lane and Curriers Lane Phil Richards sent us this shot revealing that nothing has changed. Maybe the growth of road signage. (RL)
- Capture 69
- 'Now' required
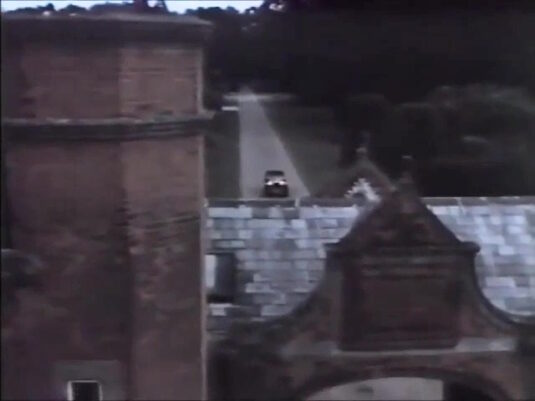
Delayed after being diverted off course by Wheeler and Finch, Bobby, Charlie and Susan approach Brackton Castle as the light fades. Minley Manor on the A327 Minley Road near Blackwater in Hampshire GU17 9JT found by Michael B. There is a short aerial film of The Manor on the image at the start you can see the entrance arch in capture 69 and the trapezoidal roof to right of the entrance that is in capture 71, at 1 minute you can see a building on the left with semicircular rooftop features on each side that is in capture 73.
- Capture 70
- 'Now' required
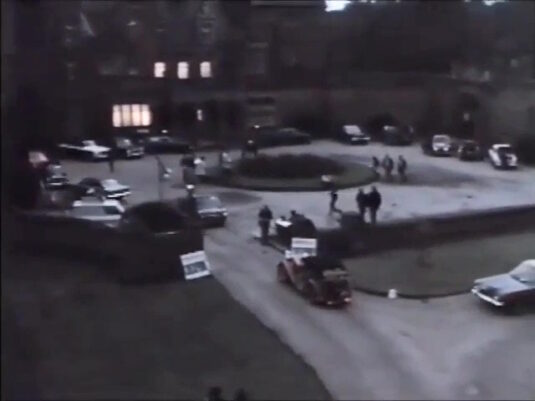
The car is checked in as Susan asks if there's a Policeman around. Michael B. identifies Minley Manor near Blackwater.
- Capture 71
- 'Now' required
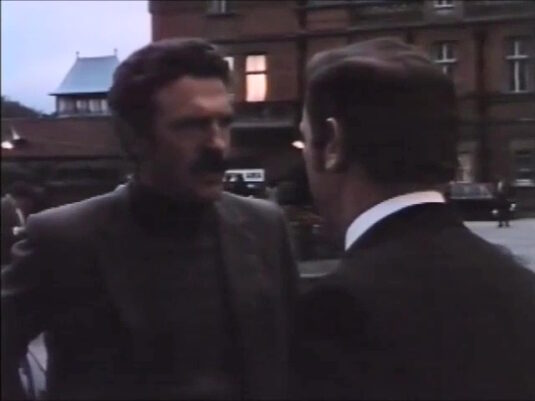
Seeing the Teenagers park up, Jock tells Mercer that Wheeler and Finch must have got lost. Minley Manor on Minley Road near Blackwater located by Michael B.
- Capture 72
- 'Now' required
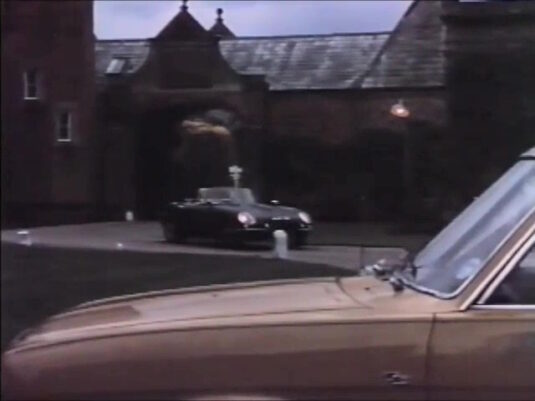
After Mercer knocks out Charlie and recovers the diamonds from the MG, the back E-Type arrives at the castle. Michael B. discovered Minley Manor between Farnborough and Yateley in Hampshire.
- Capture 73
- 'Now' required
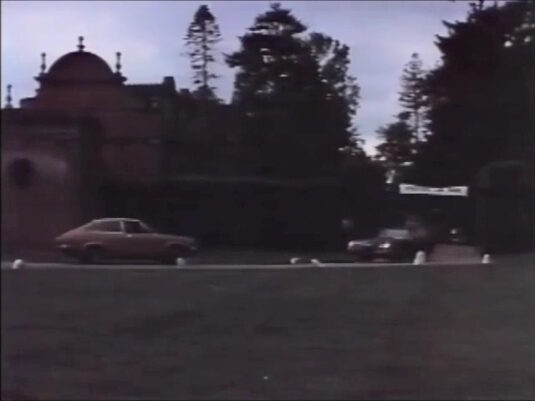
When they learn that Mercer has taken Charlie with him to London to make delivery, Wheeler, Finch and Jock follow in the Jaguar. The Grade II* listed Minley Manor on the A327 Minley Road near Blackwater identified by Michael B.
- Capture 74
- 'Now' required
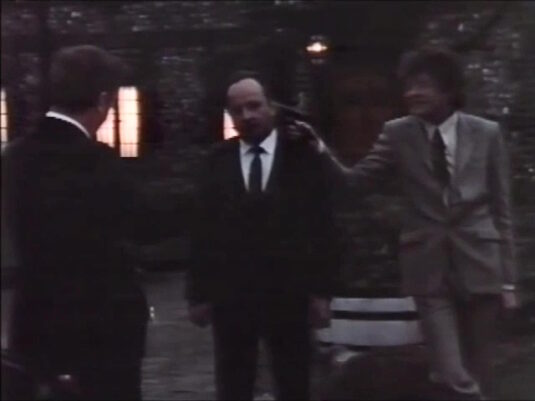
After Ashley's Henchman (Tom Bowman) explains to Mercer that the deal is off, Finch appears with a gun.
- Capture 75
- 'Now' required
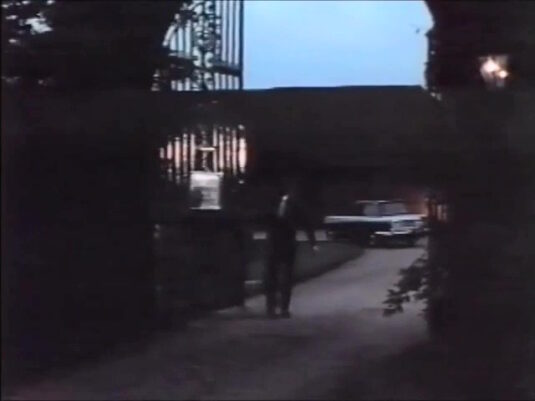
Telling them that Ashley is at his warehouse, the Henchman closes the gates after the Thieves depart.
- Capture 76
- 'Now' required
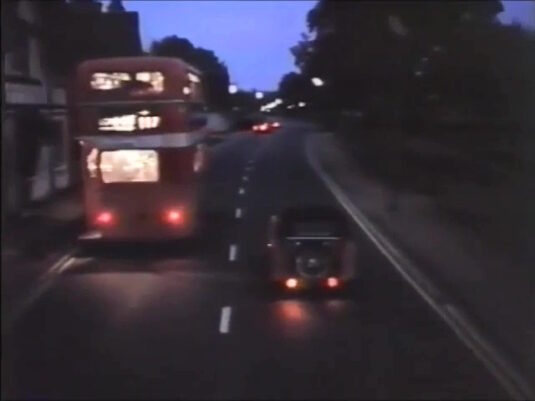
Bobby and Susan follow the Crooks as they drive towards London with Charlie.
- Capture 77
- 'Now' required
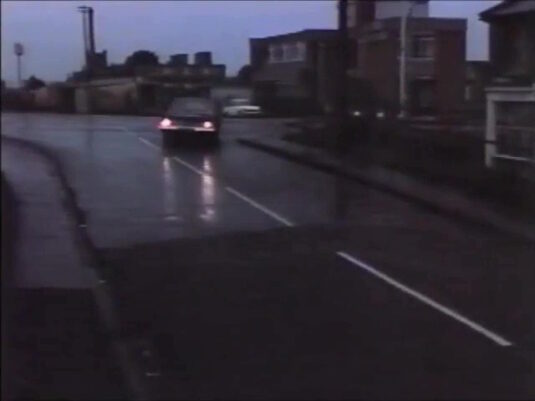
Mercer and Jock turn off the main road. Railway Terrace in Slough, Buckinghamshire with William Street crossing the background.
- Capture 78
- 'Now' required
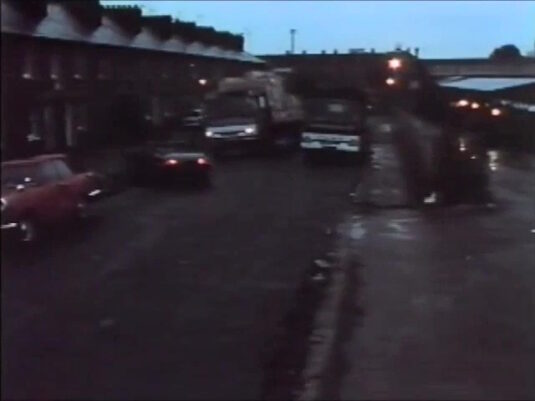
Having fallen behind the Zephyr, Wheeler and Finch are prevented from following when a lorry coming in the opposite direction blocks the road. Facing east on Railway Terrace with Slough railway station to the right.
- Capture 79
- 'Now' required
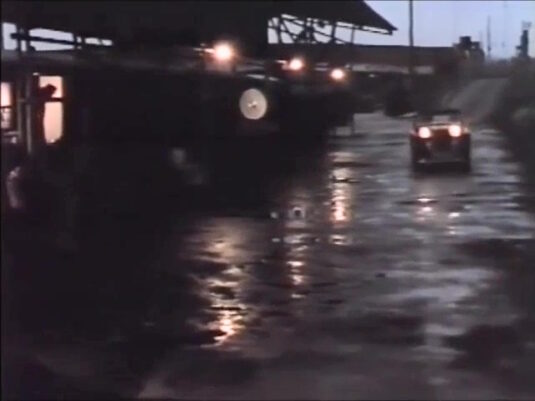
Heading straight for the back of the E-Type, Bobby swerves into a railway yard. Slough station with the bridge carrying William Street over the railway in the background.
- Capture 80
- 'Now' required
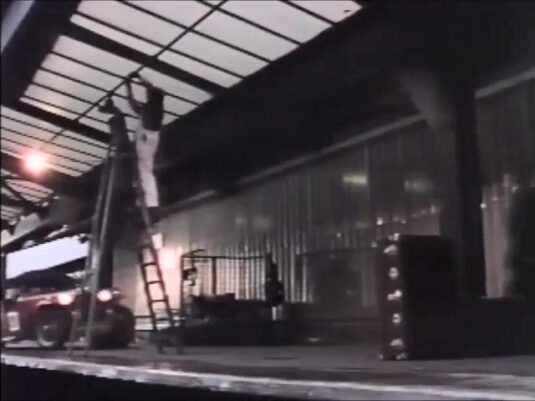
The MG avoids obstructions as Bobby drives along the platform. The platform is at Slough railway station in Buckinghamshire.
- Capture 81
- 'Now' required
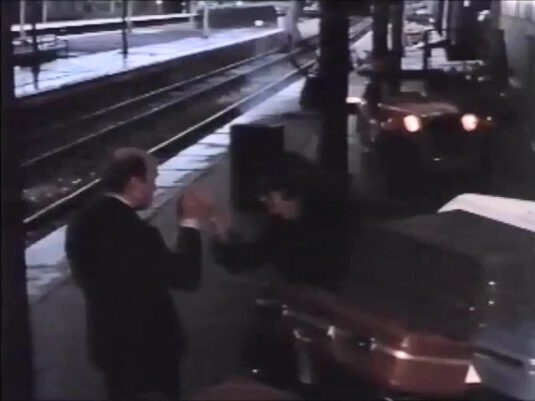
Other views of Slough railway station feature in 'The Wildcats of St. Trinian’s', 'The Last Journey', 'Take a Girl Like You' and 'Watch It, Sailor!'.
- Capture 82
- 'Now' required
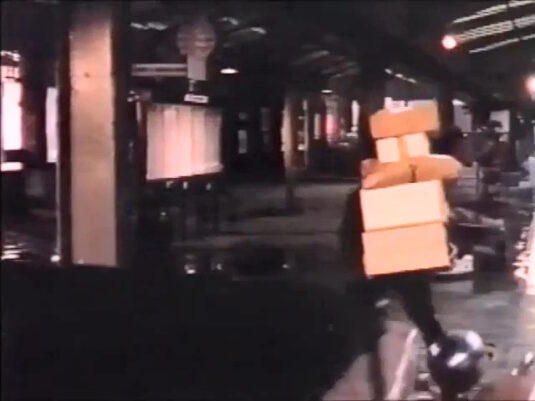
Parcels are scattered in all directions. Slough railway station in Slough, a town that was moved into Berkshire from 1974.
- Capture 83
- 'Now' required
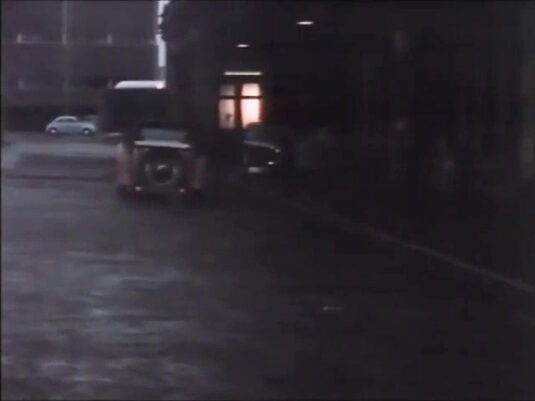
Bobby drives from the station and regains the road to London. The northern side of Slough station on Railway Terrace in Slough.
- Capture 84
- 13 Jun 2024
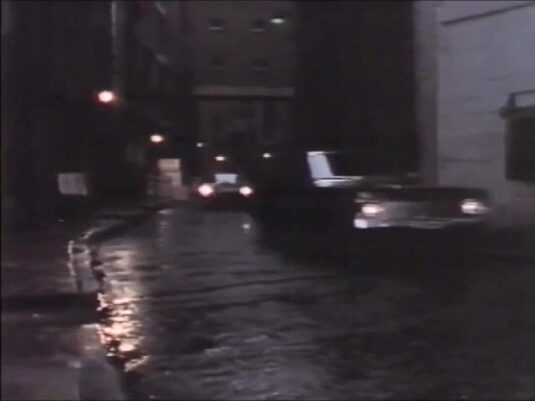
The Crooks' cars near Ashley's warehouse followed by Bobby and Susan. Facing south-east on Shad Thames in SE1.
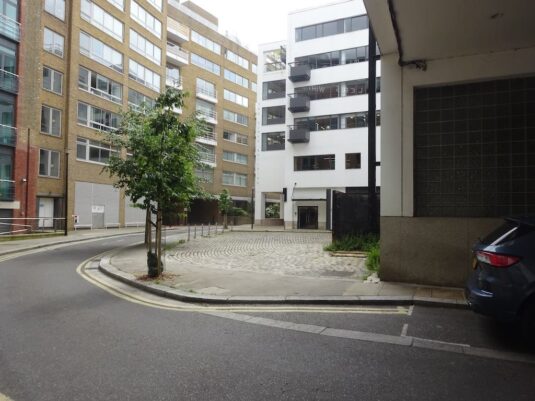
Hmmm, now that I've loaded this I'm not convinced I'm in quite the right place or the angle is off. Feel free to replace. SJ
- Capture 85
- 13 Jun 2024
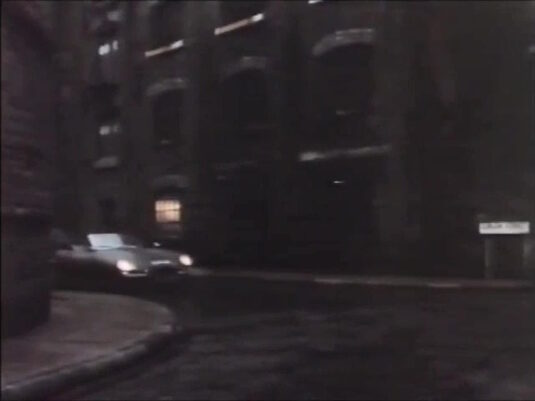
The Jaguar follows the Ford through streets of towering warehouses before turning left at a junction. Looking into Curlew Street from Shad Thames.
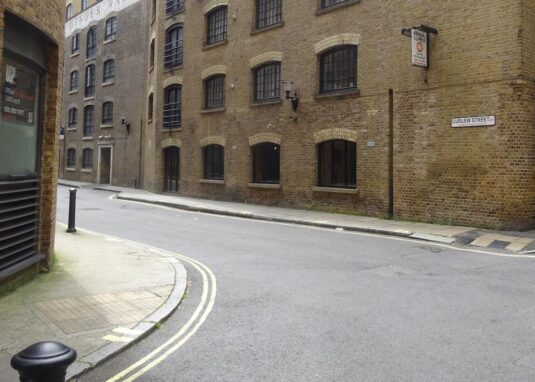
The camera is pointed west here at this corner. SJ
- Capture 86
- 13 Jun 2024
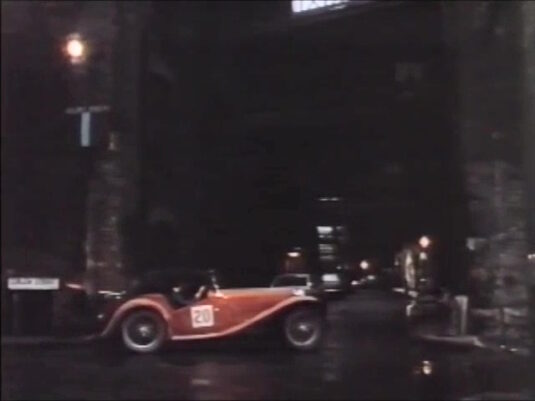
Stuttering to a halt at the junction, Bobby tells Susan that the MG is out of petrol. The corner of Curlew Street and Shad Thames.
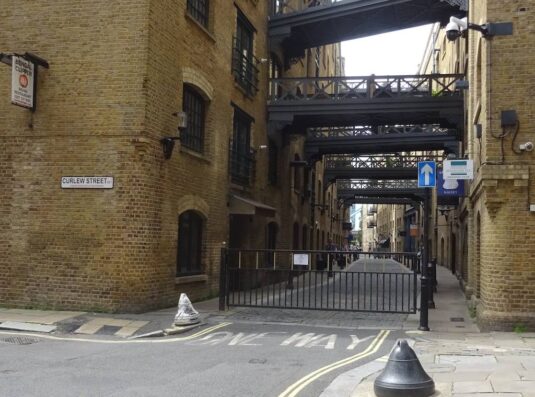
It's a lot clearer in daylight. SJ
- Capture 87
- 13 Jun 2024
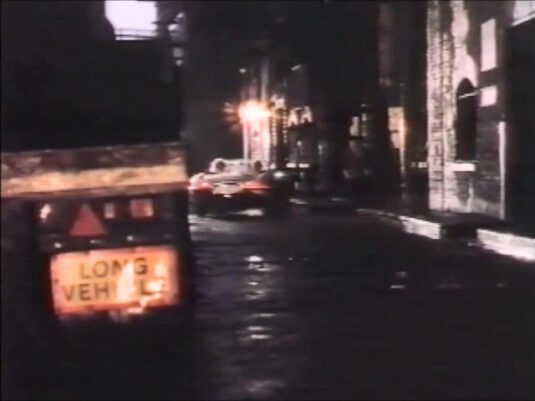
Just along the street, Susan spots the cars entering one of the warehouses. Shad Thames in SE1.
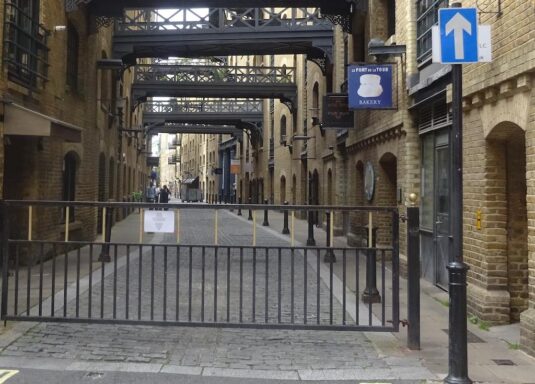
Finding anything to match is challenging. SJ
- Capture 88
- 13 Jun 2024
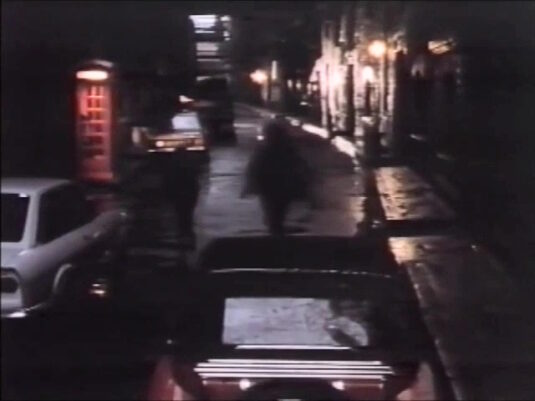
Leaving the empty MG, Bobby and Susan continue on foot. Facing north-west along Shad Thames from the corner of Curlew Street.
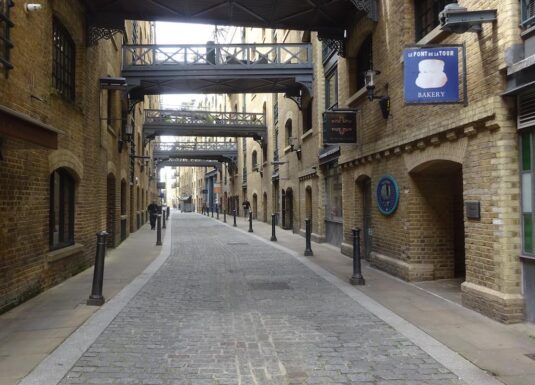
Looking in the same direction from the same corner. SJ
- Capture 89
- 13 Jun 2024
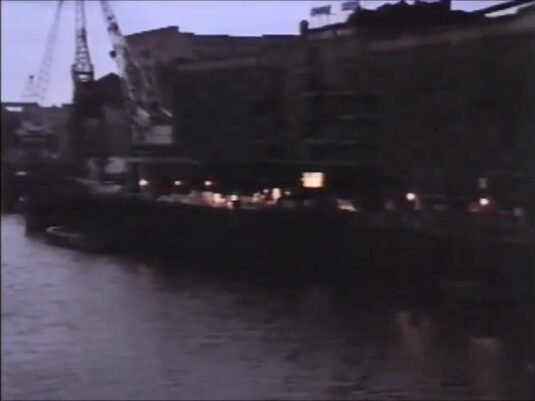
Ashley sends two of his Men to meet Mercer. Butler's Wharf on the Thames in SE1.
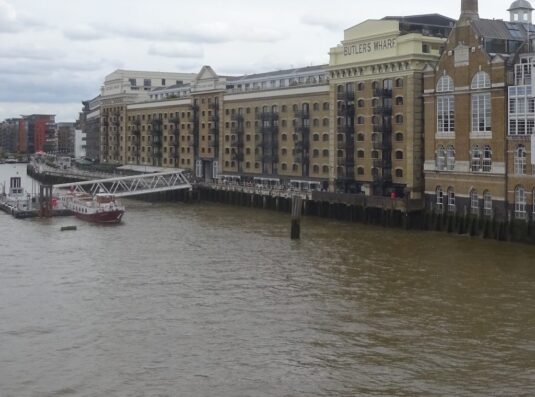
This was taken from Tower Bridge. SJ
- Capture 90
- 13 Jun 2024
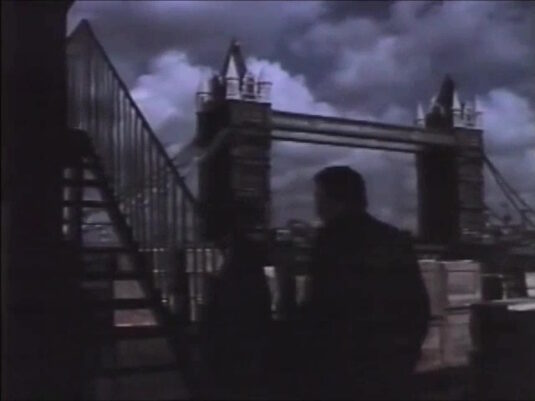
Mercer demands that Ashley is brought to him. Looking from Butler's Wharf towards Tower Bridge.
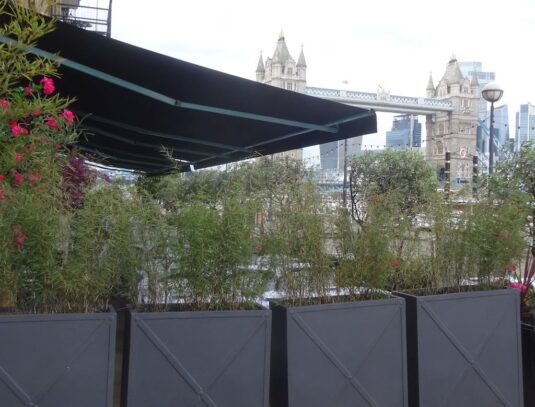
The stairway has long gone from this corner of the riverside walk and the unnamed passageway though it may be the top of Curlew Street. SJ
- Capture 91
- 13 Jun 2024
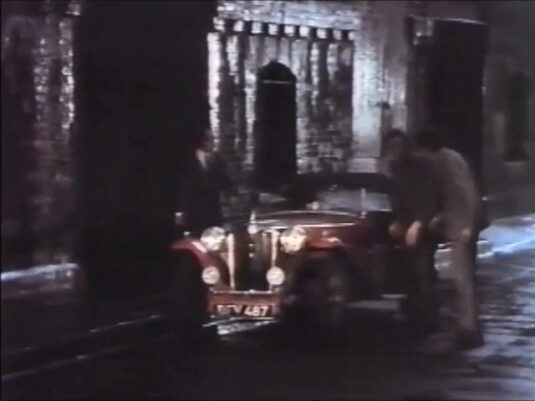
While Mercer argues with Ashley, Jock, Finch and Wheeler find the MG on the street outside the warehouse as Bobby is telephoning the police. Shad Thames, between the warehouses of Butler's Wharf.
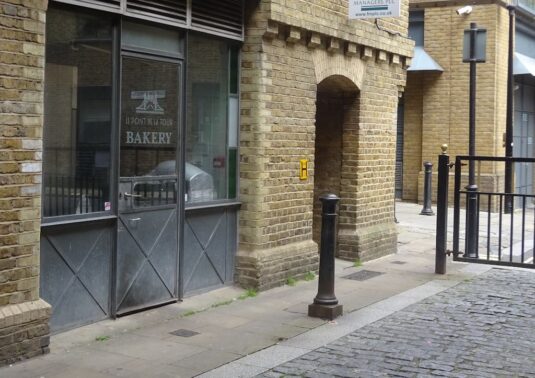
That brickwork (top middle) looks encouraging. SJ
- Capture 92
- 13 Jun 2024
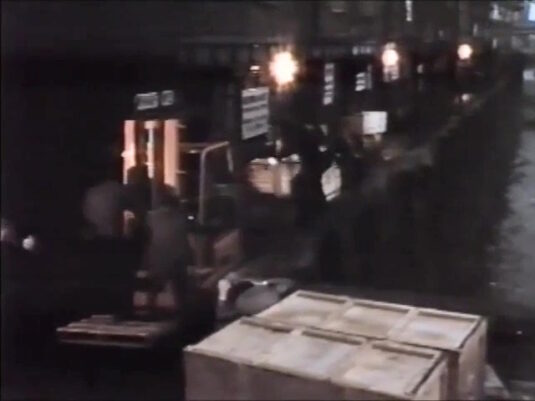
After Ashley reluctantly agrees to pay Mercer, Bobby and Susan make a break for it with Charlie during a scuffle. Facing Butler's Wharf West, fronting the River Thames in London SE1.
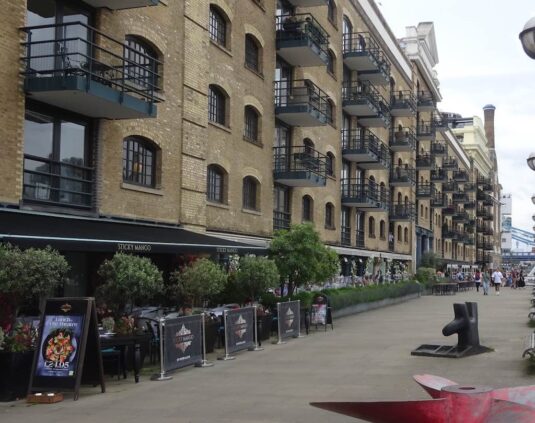
Restaurants and apartments now. SJ
- Capture 93
- 'Now' required
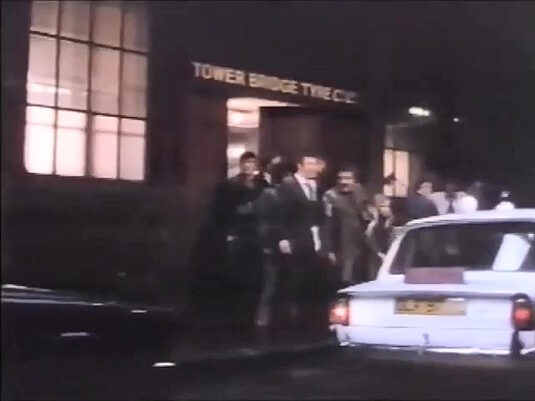
Ashley, Mercer and the Gang are taken away by Police Officers led by Inspector Cook and Inspector Timothy.