
Hammer the Toff
Date: 1952
Director: Maclean Rogers
Production Company: Nettlefold Films
Stars: John Bentley, Patricia Dainton
Location(s): Hampshire, London, Surrey
Region(s): London H-L, South East E-L
Storyline:
An upper-class sleuth investigates sinister characters who are keen to get their hands on a secret formula.
Additional Information:
Screen captures by Phil Wilkinson
Also known as ‘Brighthaven Express’ (US Title)
This feature was filmed back to back with ‘Salute the Toff’


As an Amazon Associate, we earn from qualifying purchases.
Can you help:
If you have any information regarding this production, the locations or, even better, some comparison shots please contact us. Images submitted must be in Landscape orientation, as would be seen on the cinema screen, not Portrait.
We are aware that there are films on the site that were added when the criteria for the inclusion of locations was very different from today and, as a result, there may be scenes missing from some productions. Please do not forward additional screen captures to us but bring the detail to our attention, for we do, and are, 're-addressing' these older entries as time allows.
- Capture 1
- 26 Oct 2021

The title sequence, shared with 'Salute the Toff', features the Dorchester Hotel on Park Lane, London W1.

Equally, Paul Lincoln shared his comparative shot. (RL)
- Capture 2
- 26 Oct 2021

Stepping from the hotel, the Honourable Richard Rollinson (John Bentley) appears. Mayfair's Dorchester Hotel, which can be seen in many other productions.

Another shared shot from Paul. (RL)
- Capture 3
- 'Now' required

The train to the seaside resort of Brighthaven speeds towards the camera.
- Capture 4
- 'Now' required

A platform comes into view as the camera pans with the express carrying Richard Rollinson and Susan Lancaster to the coast.
- Capture 5
- 'Now' required

The express hurries onward as Morgan drives away from a telephone box after making a call. Looking south-west along the line towards Weybridge from the Signal Box at Walton-on-Thames station in Surrey.
- Capture 6
- 'Now' required

High on an embankment, Morgan parks up and climbs over the railway's boundary fence. Queens Road in Walton-on-Thames with Sir Richard’s Bridge carrying Ashley Road visible through the trees to the left.
- Capture 7
- 'Now' required

With the train fast approaching, Morgan makes his way towards his Accomplice. The view from Sir Richard’s Bridge towards Walton-on-Thames station.
- Capture 8
- 'Now' required

Shots are fired at the train, shattering the window of the compartment in which Richard and Susan are travelling. This appears to be the embankment to the west of Sir Richard’s Bridge.
- Capture 9
- 14 Feb 2023

In Brighthaven, a steamer approaches the pier. South Parade Pier stretching into the Solent off Southsea in Portsmouth, Hampshire. John Wilkinson advises that the vessel is a British Railways steamer, most likely MV 'Shanklin'.

John provides this view of the pier.
- Capture 10
- 14 Feb 2023
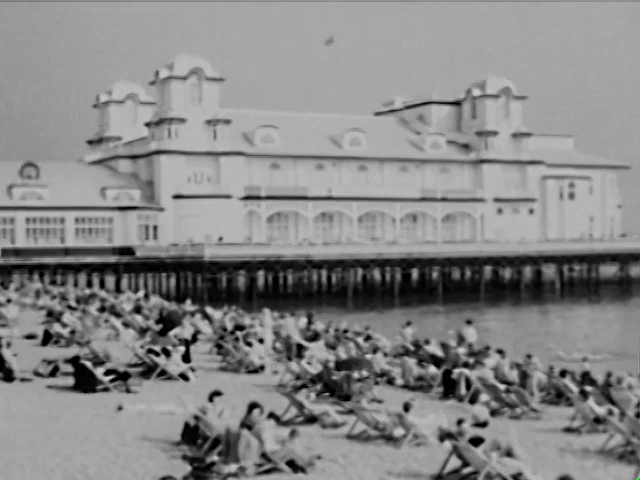
The shot moves along the length of the pier. Southsea’s South Parade Pier also appears in ‘Tommy’ . . . on fire!!

Although rebuilt, the styling of the original buildings have been incorporated, as John Wilkinson's view shows.
- Capture 11
- 14 Feb 2023
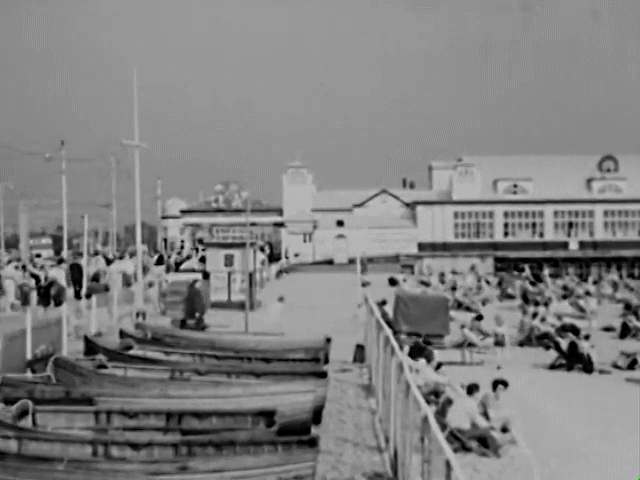
The pan ends at the promenade. South Parade Pier in Southsea with South Parade to the left.

John Wilkinson returned to the location 71 years later.
- Capture 12
- 20 Feb 2023
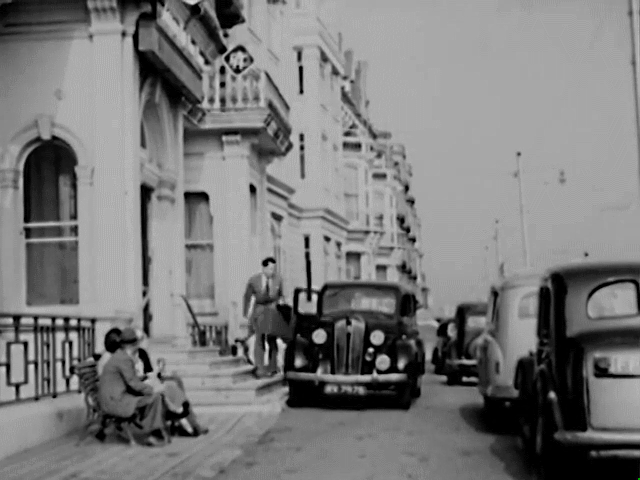
A car brings The Honourable Richard Rollinson (John Bentley) to the resort’s Lorne Court Hotel. Outside the Royal Beach Hotel at the divergence of St. Helen’s Parade and the Esplanade in Southsea.

John Wilkinson found scaffolding spoiling the shot when he arrived at the hotel.
- Capture 13
- 'Now' required
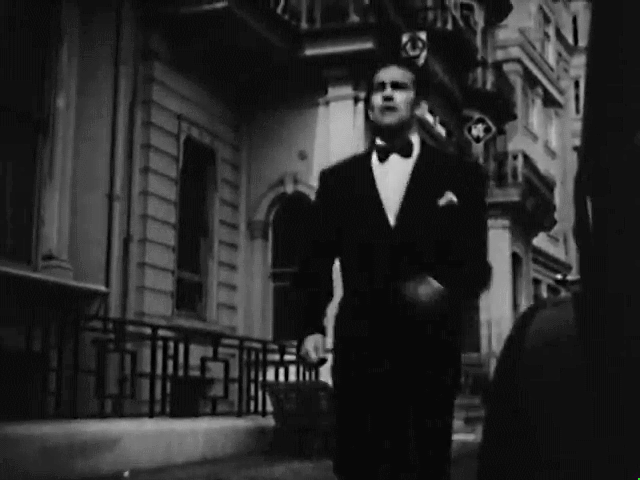
That night, the Toff runs from the hotel in pursuit of two Men who attempted to ransack Susan's room. In front of the Royal Beach Hotel at the corner of Alhambra Road and St. Helen’s Parade.
- Capture 14
- 20 Feb 2023

An establishing shot of the pier to set the following morning's scene. South Parade Pier, Southsea.

A close up of the detail taken by John Wilkinson.
- Capture 15
- 'Now' required
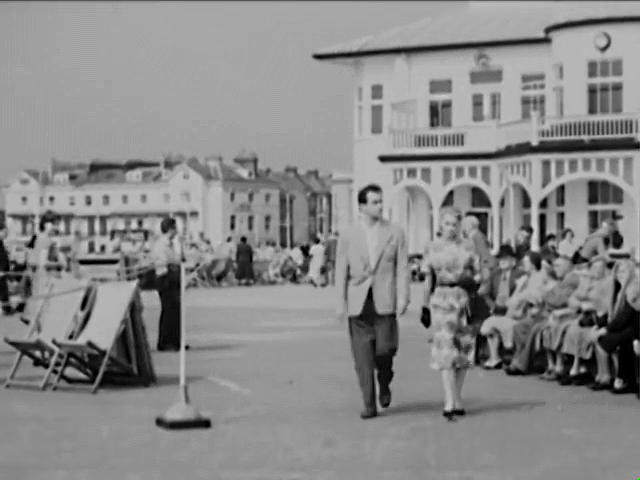
Rollinson and Susan walk along the pier to meet her Uncle off the early ferry from the Isle of Wight . South Parade Pier, Southsea with the corner of South Parade and Clarendon Road in the left distance.
- Capture 16
- 'Now' required

The pair move towards the steps from the landing stage after the Doctor's steamer arrives. The seaward end of South Parade Pier.
- Capture 17
- 20 Feb 2023
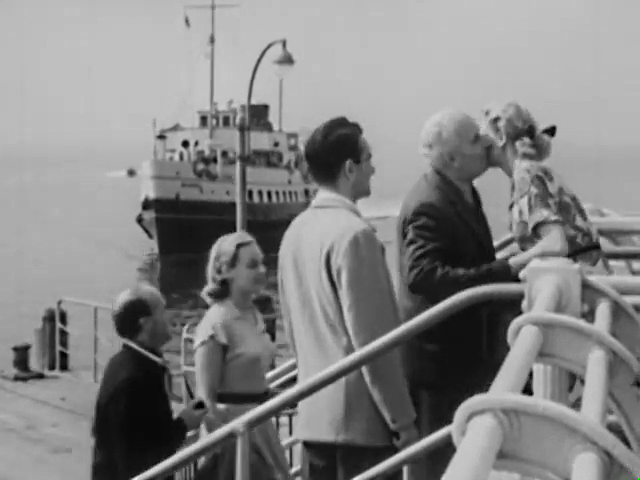
Dr. Lancaster (Ian Fleming) kisses his daughter moments before he falls to the ground, dead. South Parade Pier in Southsea, Portsmouth with the Landing Stage visible to the bottom left. John Wilkinson identifies the background vessel as MV 'Balmoral' operated by 'Red Funnel Steamers'.

John Wilkinson took this wider view on the pier which gives better context.
- Capture 18
- 'Now' required

At Scotland Yard, Rollinson and Inspector Grice discuss Dr. Lancaster's death by the hypodermic injection of barbiturates and the connection with a gang leader known as "The Hammer". Seen from Victoria Embankment, this is Derby Gate SW1 with New Scotland Yard to the right.
- Capture 19
- 'Now' required
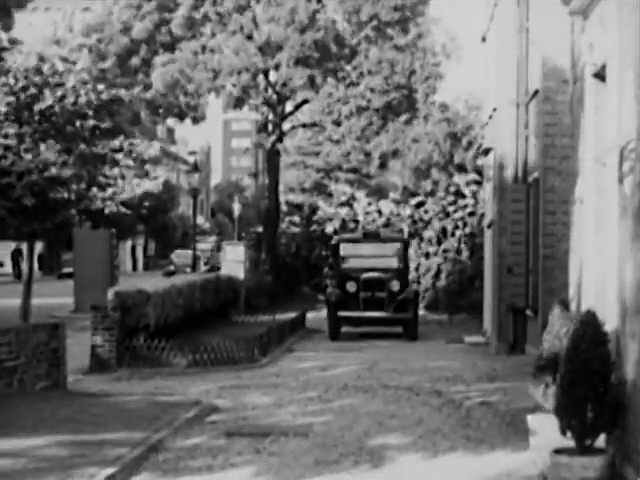
A taxi brings the Toff to Susan's house where he learns that someone had broken in during the night. The same location appears during 'Salute the Toff' and Dave W locates this as 4A Abercorn Place, London NW8. (RL)
- Capture 20
- 15 Oct 2021
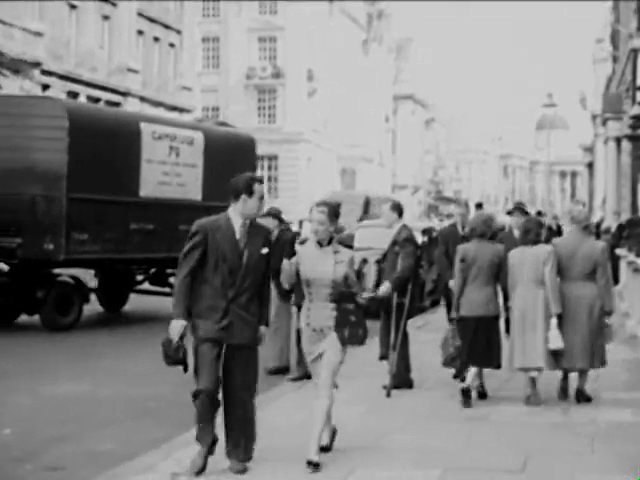
Following lunch at La Cigale, Rollinson and Susan head to his apartment. Pall Mall in London SW1 with the dome of the National Gallery on Trafalgar Square in the right distance.

Leafier. SJ
- Capture 21
- 15 Oct 2021
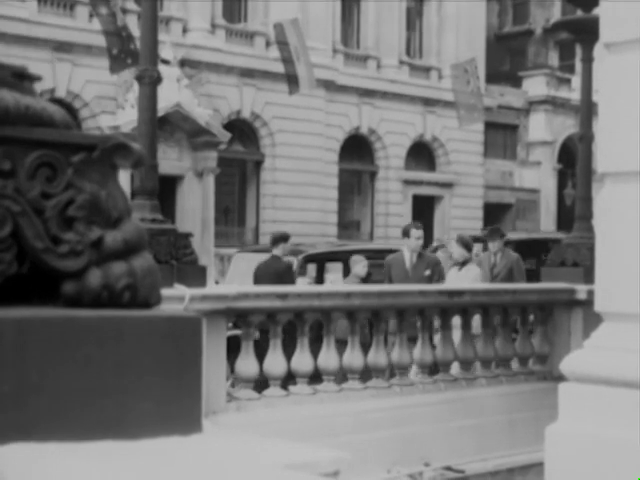
Admiring the architecture, the two continue along Pall Mall. The corner of Pall Mall and Waterloo Place.

Looking across the corner of the Institute of Directors. SJ
- Capture 22
- 15 Oct 2021

The pair stop in their tracks when they spot the Man who left the Isle of Wight ferry at the same time as Dr. Lancaster. The junction of Pall Mall and Waterloo Place with Regent Street in the background.

The architecture is unchanged. SJ
- Capture 23
- 15 Oct 2021
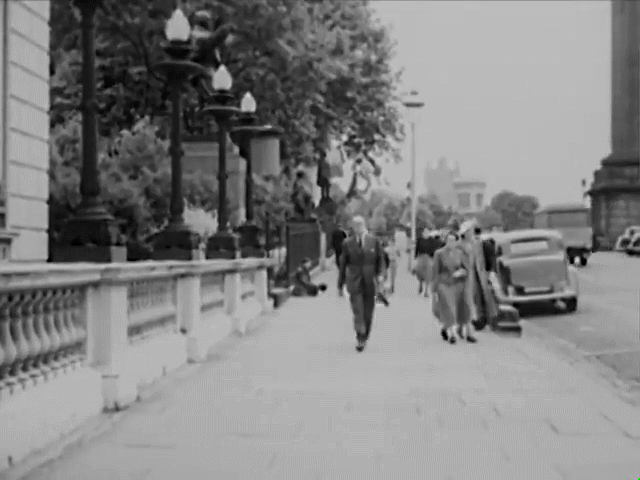
Kennedy (Lockwood West) walks towards them. Looking southward on Waterloo Place. The location has appeared in many productions including ‘That Riviera Touch’, 'Brannigan', 'Murder Without Crime' and ‘The Sandwich Man’.

The vans are a little in the way. SJ
- Capture 24
- 15 Oct 2021
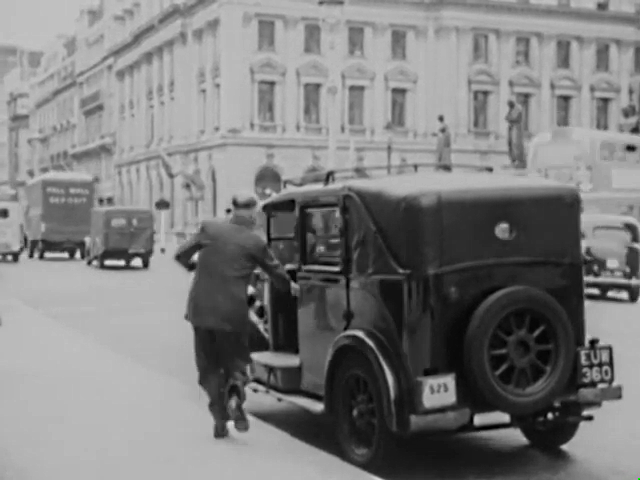
Fleeing after the Toff makes a grab for him as he passes, Kennedy runs towards a cab. The crossroads formed by Waterloo Place and Pall Mall in SW1.

Bit of a struggle with the traffic. SJ
- Capture 25
- 26 Jul 2021
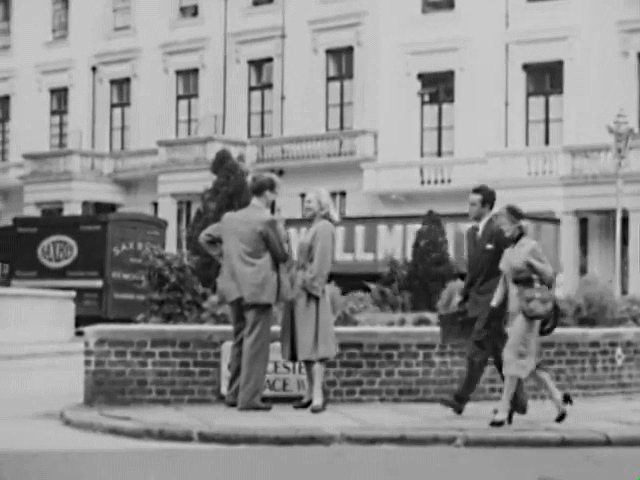
Accompanied by Susan, Rollinson carries the Man's hat and briefcase home. The corner of Gloucester Terrace and Lancaster Terrace W2 located by Jon Walken. The location also appears in 'Mantrap', 'Whispering Smith Hits London', 'Paul Temple Returns', 'Hammer the Toff', 'Salute the Toff', 'Song of Paris', 'The Saint’s Return', 'Operation Diplomat' and 'Flannelfoot' was well as in the background during 'The Italian Job'.

The background properties have disappeared. (PW)
- Capture 26
- 26 Jul 2021
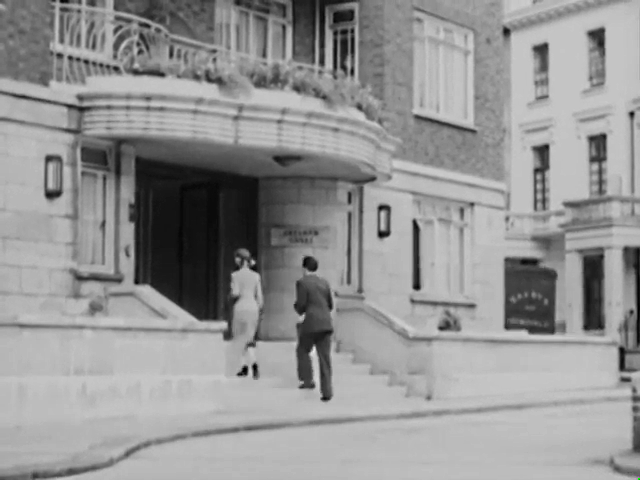
The pair enter the building where Jolly greets them in Rollinson's flat. Jon Walken identifies this as Maitland Court at the junction of Gloucester Terrace and Lancaster Terrace.

The entrance to Maitland Court now. (PW)
- Capture 27
- 'Now' required
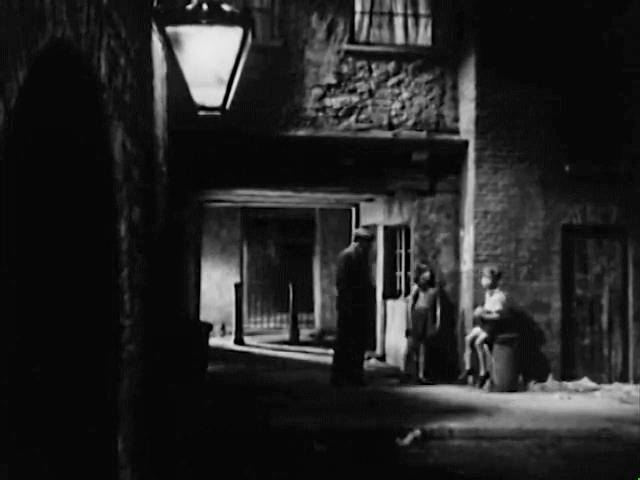
In disguise, the Toff is led through darkened back streets to the East End hideout of Jim Linnett, also known as "The Hammer". One of several sets that also appear in 'Salute the Toff'.
- Capture 28
- 26 Jul 2021

Rollinson drives to the Red Lion in London's docklands. Assisted by Jon Walken's identification of the next capture, this is the now lost Barrie Street in W2 with Brook Mews North on the left and Gloucester Terrace crossing the background.

Caroll House now partly occupies the site of Barrie Street. (PW)
- Capture 29
- 26 Jul 2021

The Toff parks up outside the pub before entering to find his pal Bert Ebbutt. Jon Walken advises that this is looking north along Craven Terrace in Bayswater from the junction of Barrie Street and Elms Mews with the Mitre public house at the corner of Lancaster Mews to the top left.

Just a few more parked cars than seventy years ago. (PW)
- Capture 30
- 26 Jul 2021

After a misunderstanding during which Bert tells him not to come to the pub again, Rollinson heads back to the lodging house where he met "The Hammer". This is the cleared bomb site between Gloucester Terrace, Barrie Street and Elms Mews in W2.

A guestimate of the angle. (PW)
- Capture 31
- 26 Jul 2021
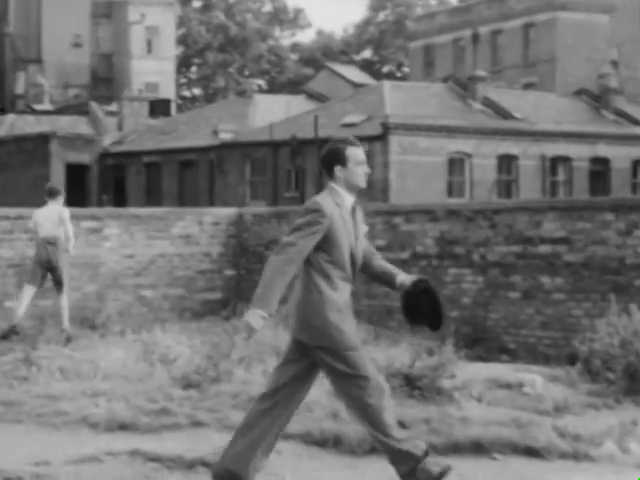
The shot follows Rollinson across the waste ground. In the background from left to right stand the single storey number 5 Marlborough Gate Stables and numbers 4, 5 and 6 on Elms Mews.

Marlborough Gate Stables hasn't existed for a long time. (PW)
- Capture 32
- 26 Jul 2021

A cut finds Rollinson a short distance away at the junction of Barrie Street, Elms Mews and Lancaster Gate, with Maitland Court visible in the top left background.

Caroll House now stands to the left. (PW)
- Capture 33
- 26 Jul 2021

Moving right from the previous capture, this is looking south into Elms Mews in Bayswater W2.

The contours of the mews remain the same. (PW)
- Capture 34
- 'Now' required

Rollinson approaches Janet Lord's lodging house. Another studio set which played a different crook's lair in the first film featuring the Toff.
- Capture 35
- 'Now' required

Sent by Bert as bodyguards, Flatty (John Powe) and his Companion approach the Toff as he leaves the boarding house before following him through studio sets.
- Capture 36
- 'Now' required

Rollinson approaches Morgan and his Accomplice near the windmill where Susan is being held by a crook impersonating "The Hammer". Wimbledon Windmill, Wimbledon Common SW19, which also appears in 'Hoffman'. (SR)