
Man Detained (An Edgar Wallace Mystery)
Date: 1961
Director: Robert Tronson
Production Company: Merton Park Studios
Stars: Bernard Archard, Elvi Hale, Paul Stassino, Michael Coles
Location(s): London
Region(s): London M-N
Storyline:
A secretary suspects that something is terribly wrong when the owner of a photographic company is anxious to hide the theft of a large amount of money.
Additional Information:
Screen captures by Phil Wilkinson

As an Amazon Associate, we earn from qualifying purchases.
Can you help:
If you have any information regarding this production, the locations or, even better, some comparison shots please contact us. Images submitted must be in Landscape orientation, as would be seen on the cinema screen, not Portrait.
We are aware that there are films on the site that were added when the criteria for the inclusion of locations was very different from today and, as a result, there may be scenes missing from some productions. Please do not forward additional screen captures to us but bring the detail to our attention, for we do, and are, 're-addressing' these older entries as time allows.
- Capture 1
- 08 Jan 2023
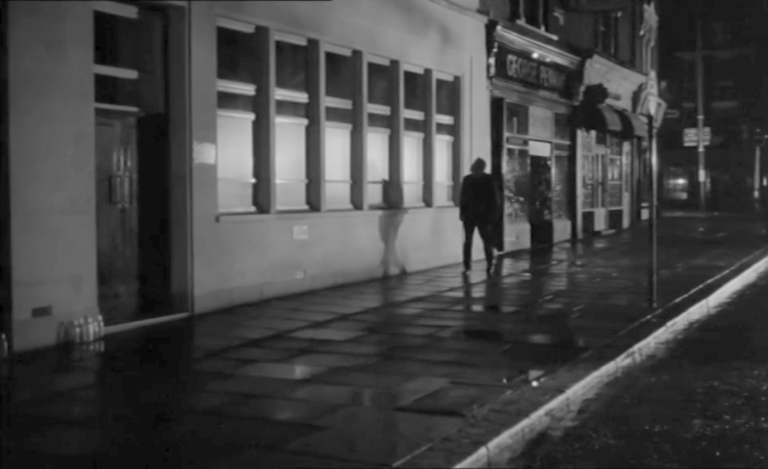
Frank Murray (Michael Coles) checks that the coast is clear before trying a key in the front door of Merton House on the story's Lindon Street. Opposite the Town Hall at the Broadway end of Queens Road, Wimbledon SW19 located by Peter Bywaters.
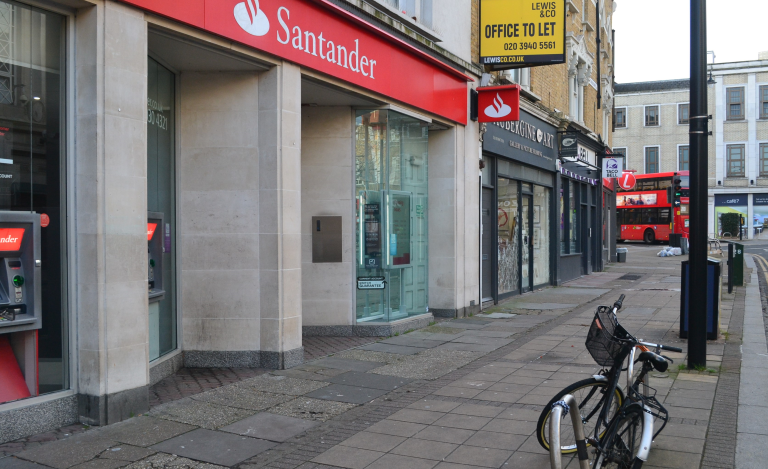
The location now with buildings on Wimbledon Broadway in the right background, taken by Peter.
- Capture 2
- 08 Jan 2023
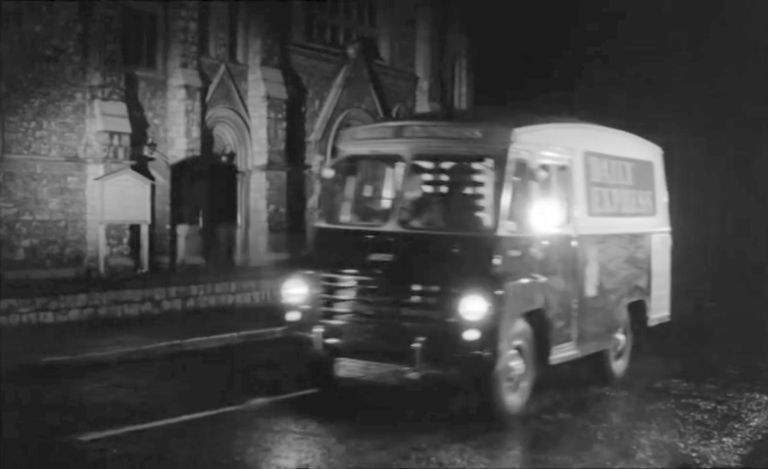
The headlights of a newspaper delivery van light up the building causing Murray to move into the shadows of the doorway before gaining entry to steal cash and documents from the safe of the Maple Photographic Studio. Facing Wimbledon Baptist church on Queens Road, Wimbledon SW19 located by Peter Bywaters. A similar view features in 'Backfire!'.
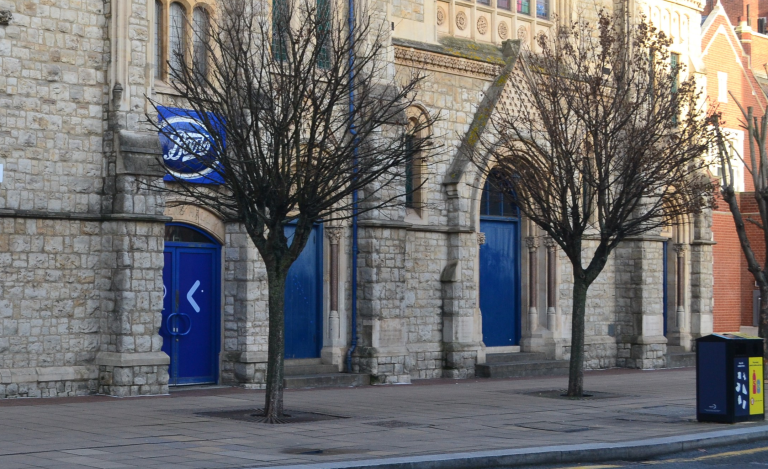
Part of the church remains and is now incorporated into the Centre Court shopping centre as Peter's comparison shows.
- Capture 3
- 'Now' required
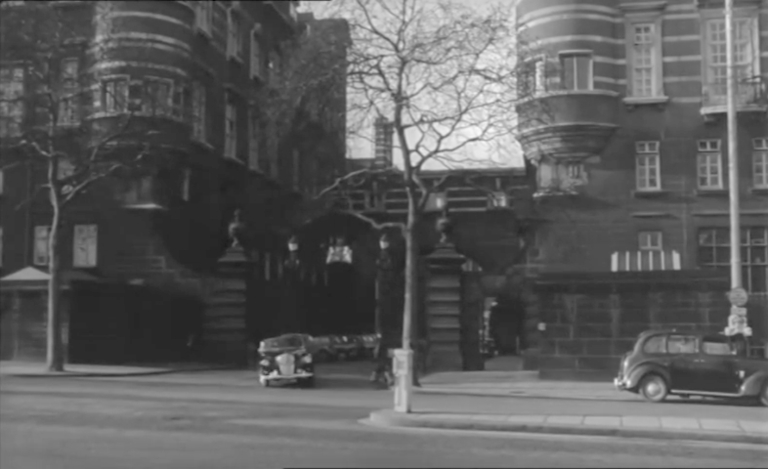
When Thomas Maple is found dead by his secretary Kay Simpson, Detective Superintendent Verity and Detective Sergeant Wentworth make their way to interview her at the studio. The Norman Shaw buildings of New Scotland Yard either side of Derby Gate seen from Victoria Embankment SW1.
- Capture 4
- 05 Jun 2023
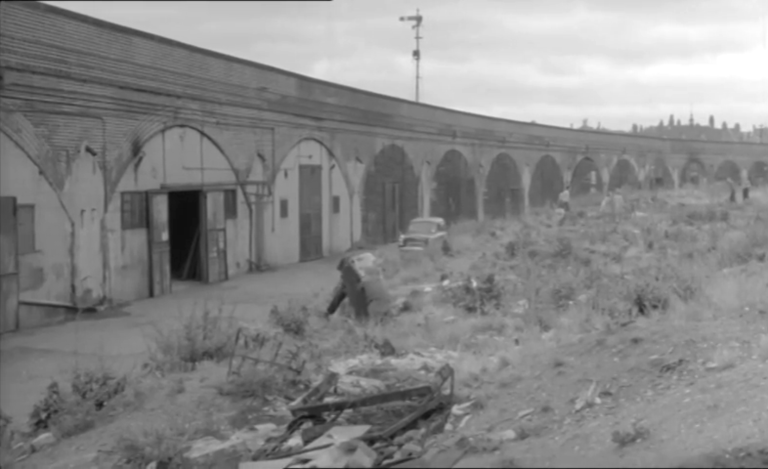
Children play on waste ground as a Thames van passes. The viaduct carries the railway's Latchmere Curve above the arches of what has since become Cranleigh Mews in SW11.
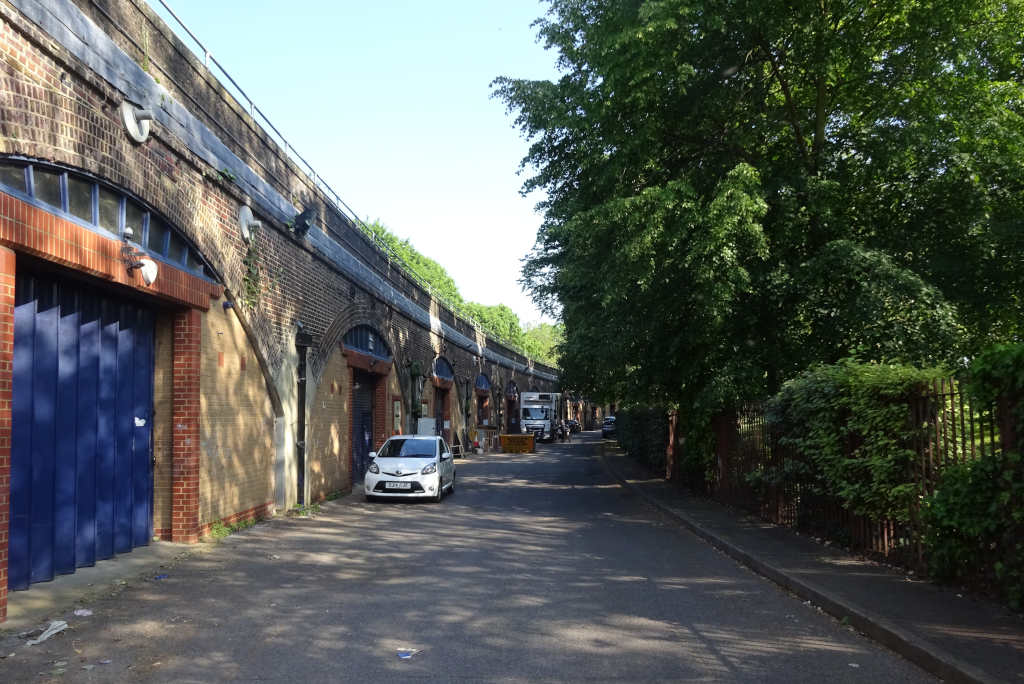
The waste ground has now become Shillingham Park (seen on the right) but from there Cranleigh Mews was all trees so this is deliberately off-angle to capture the curve. SJ
- Capture 5
- 05 Jun 2023
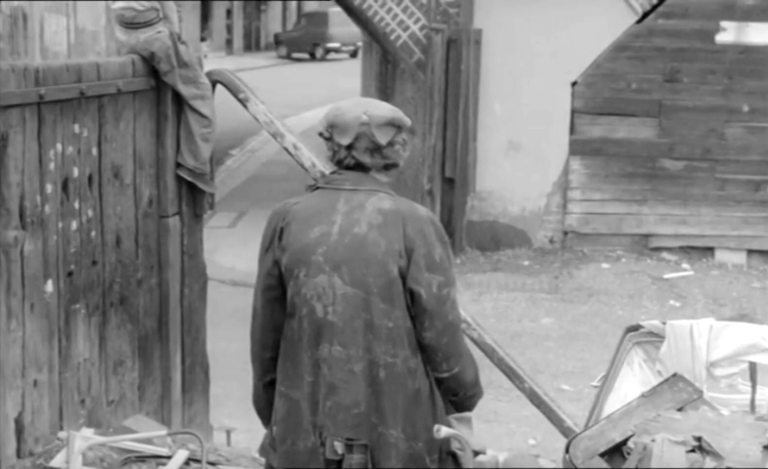
A Tramp (Gerald Lawson) watches the van as it turns into a gateway between ruined houses. To the left lies Cabul Road in SW11.
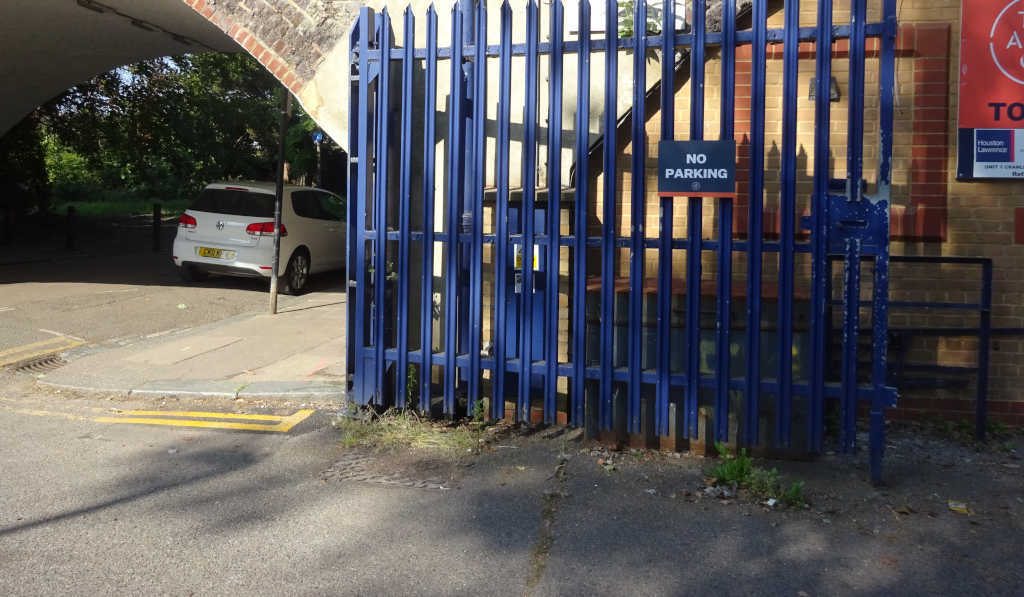
A little tidier now. SJ
- Capture 6
- 05 Jun 2023
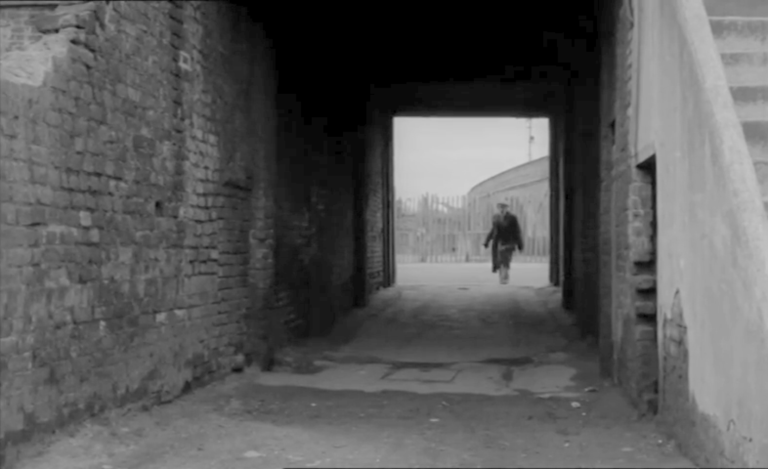
Curious, the Vagrant makes his way to the yard's entrance. Looking through the entry between numbers 53 and 57 Cabul Road with the Latchmere Curve viaduct visible in the distance.
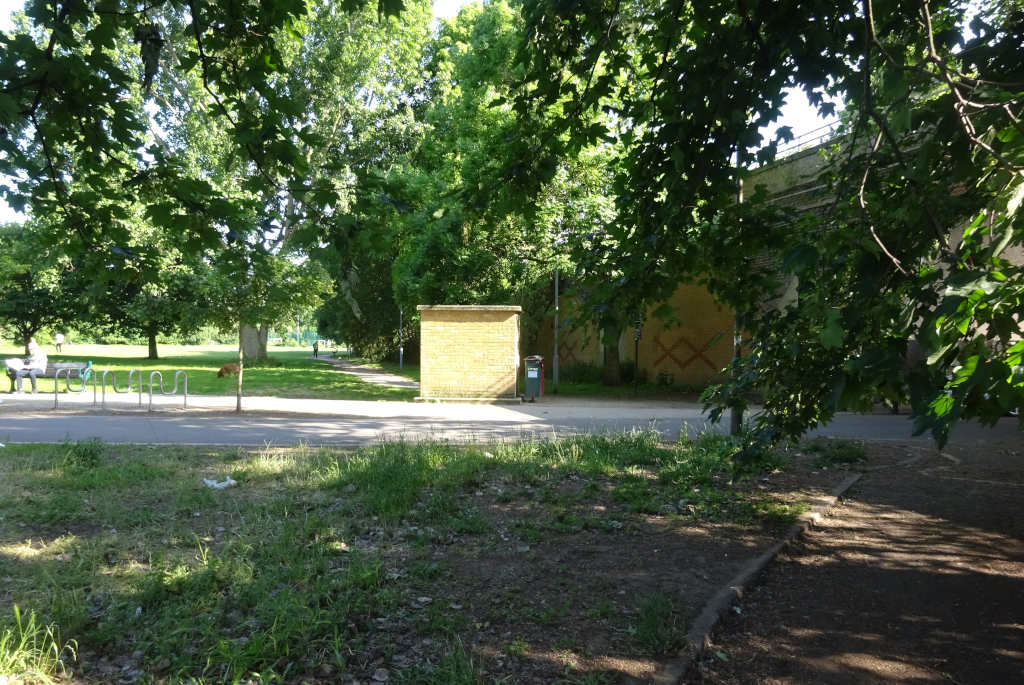
This eastern end of Cabul Road has been swept away now in favour of Falcon Park. SJ
- Capture 7
- 05 Jun 2023
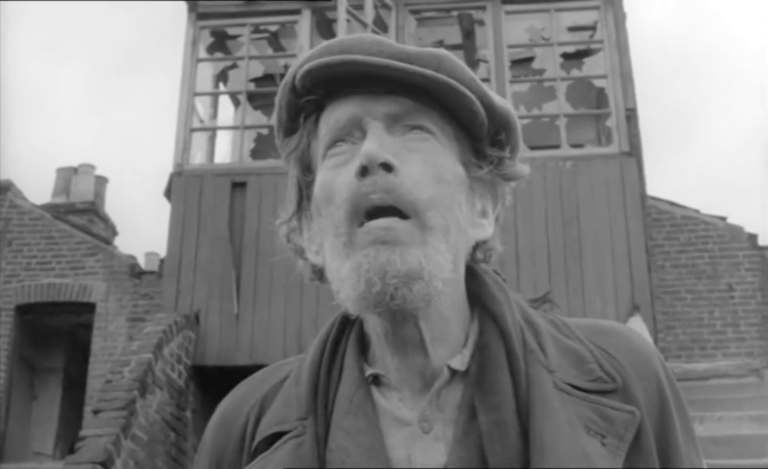
Once inside the derelict yard, the Tramp sees men loading the van. Inside the entry between numbers 53 and 57 Cabul Road in SW11.
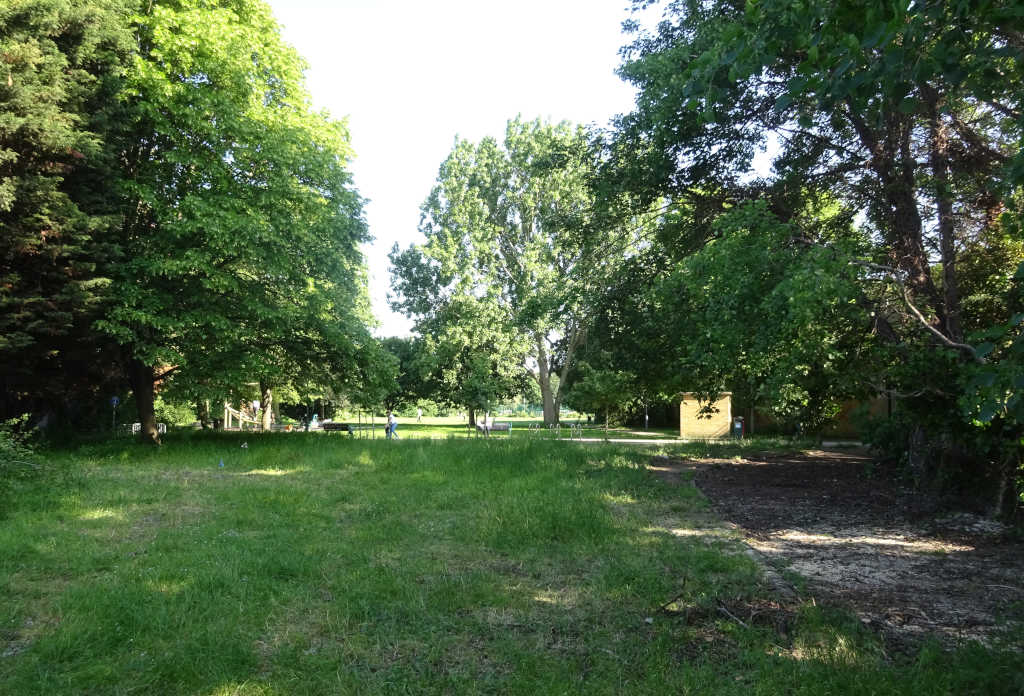
I've stepped further back from the previous capture. Continuing to look south in Falcon Park. SJ
- Capture 8
- 05 Jun 2023
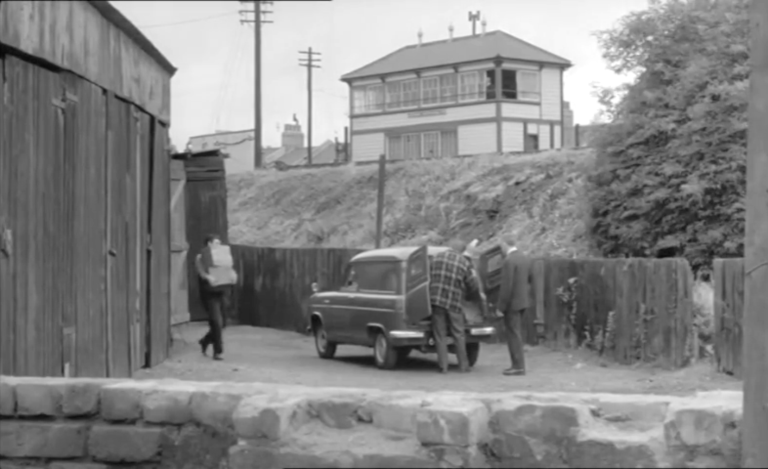
Brand (Patrick Jordan) holds the van's door open as a Crook (Billy Cornelius) and his Mate carry boxes from a workshop. Land at the rear of numbers 53 to 57 Cabul Road in SW11 with Latchmere Junction signal box on the railway embankment.
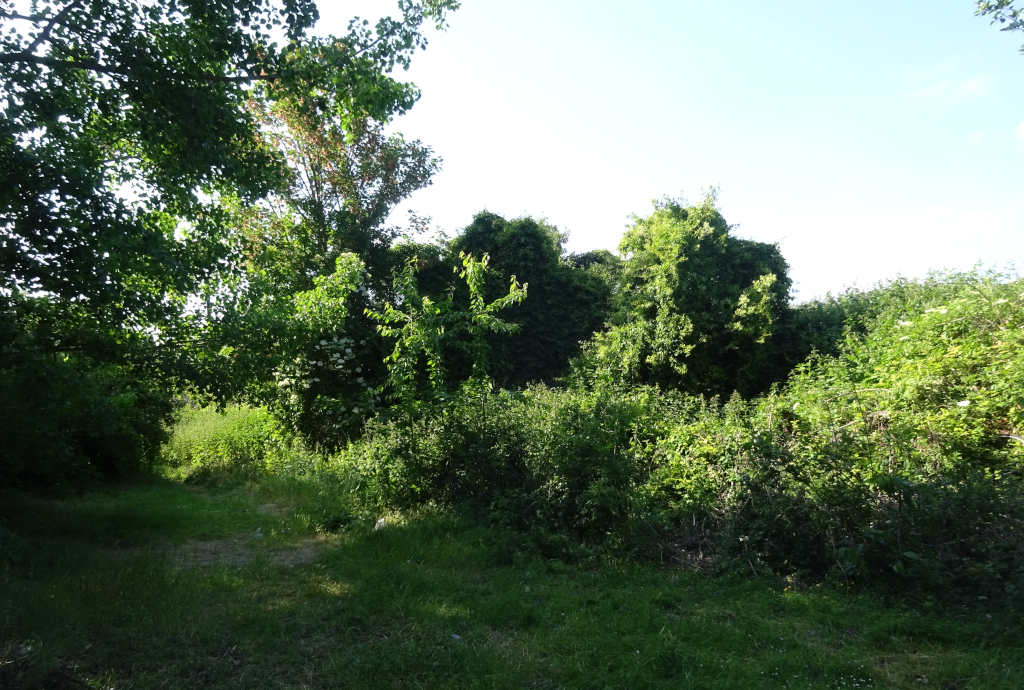
The trees are doing their best to resemble a signal box. Looking north from Falcon Park. SJ
- Capture 9
- 'Now' required
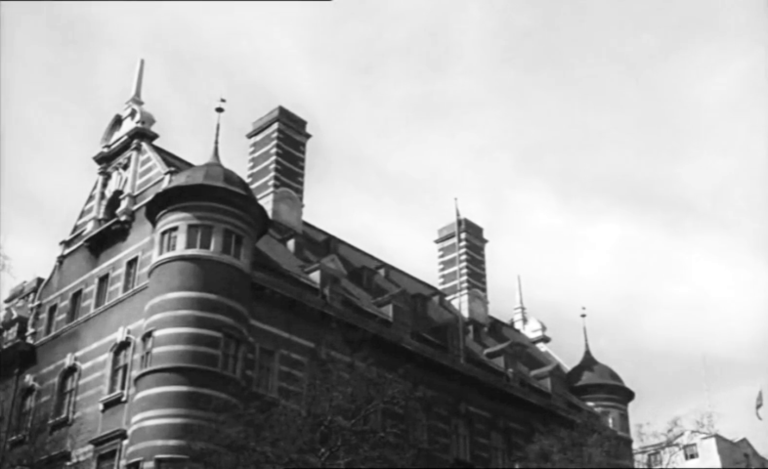
After Mrs. Maple gives vital information to the Superintendent, Murray is persuaded to assist in catching the crook behind Maple's murder. The often seen New Scotland Yard in SW1.
- Capture 10
- 14 Jan 2024
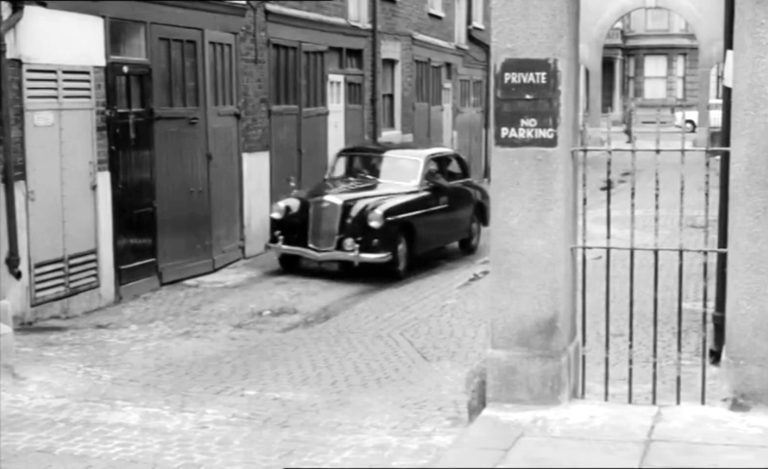
Murray is taken by police car to a meeting arranged with James Helder. Comeragh Mews at the junction of Barton Road and Baron's Court Road in W14.
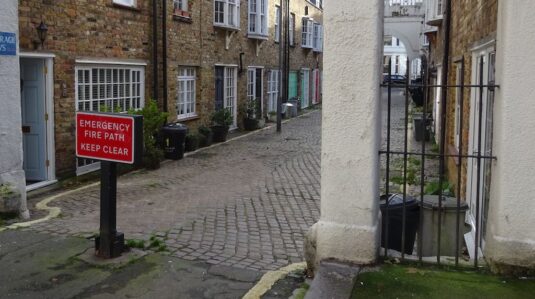
I forgot to cover this one on a visit 18 months ago. Looking south. SJ
- Capture 11
- 12 Jun 2022
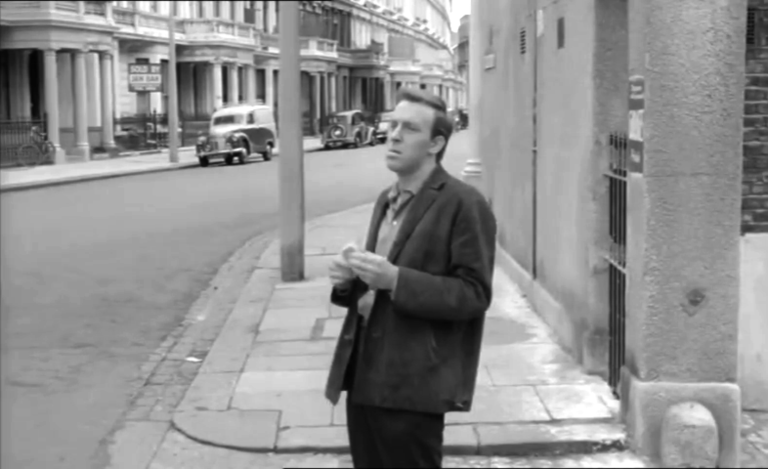
Following instructions given by Helder, Murray gets out of the car and leaves the mews. Looking east along Barton Road from outside Comeragh Mews.
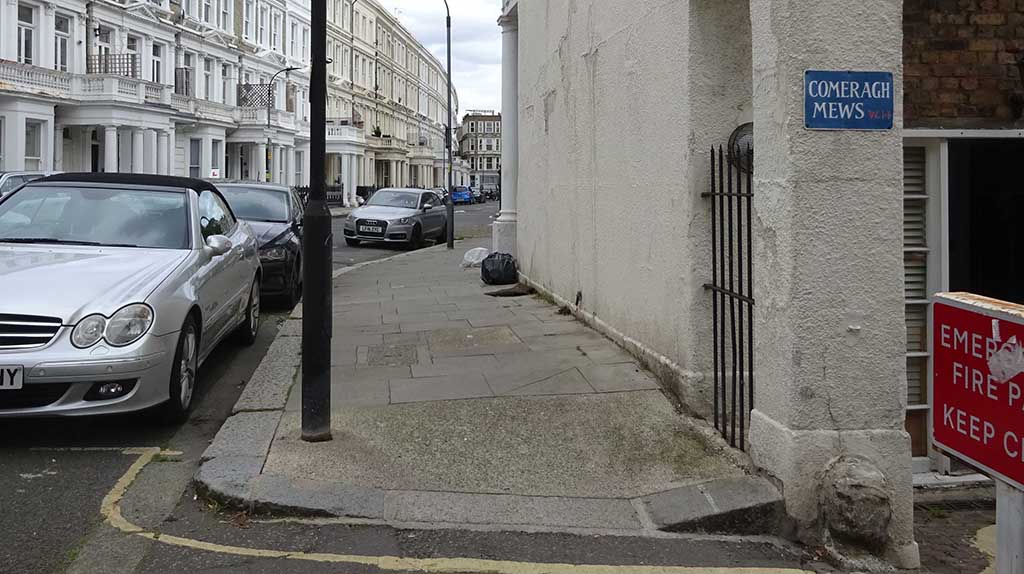
Lamp-post has moved but the utility cover remains. SJ
- Capture 12
- 12 Jun 2022
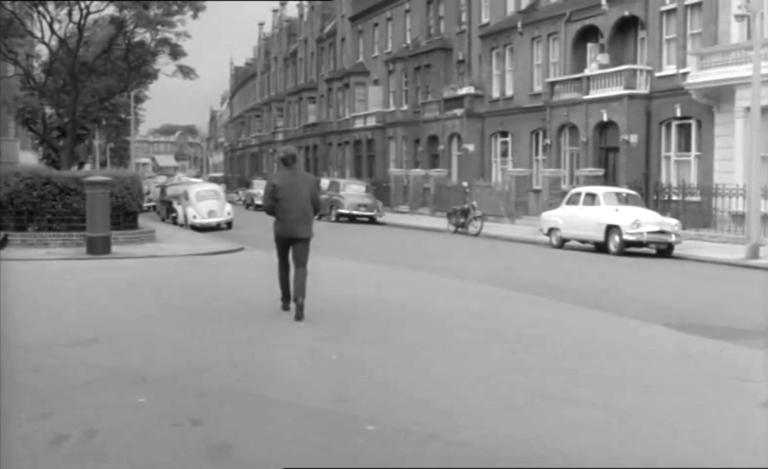
Murray sets off towards Baron's Court Underground station. Baron's Court Road at the junction of Barton Road with with Barons Court station visible in the left distance.
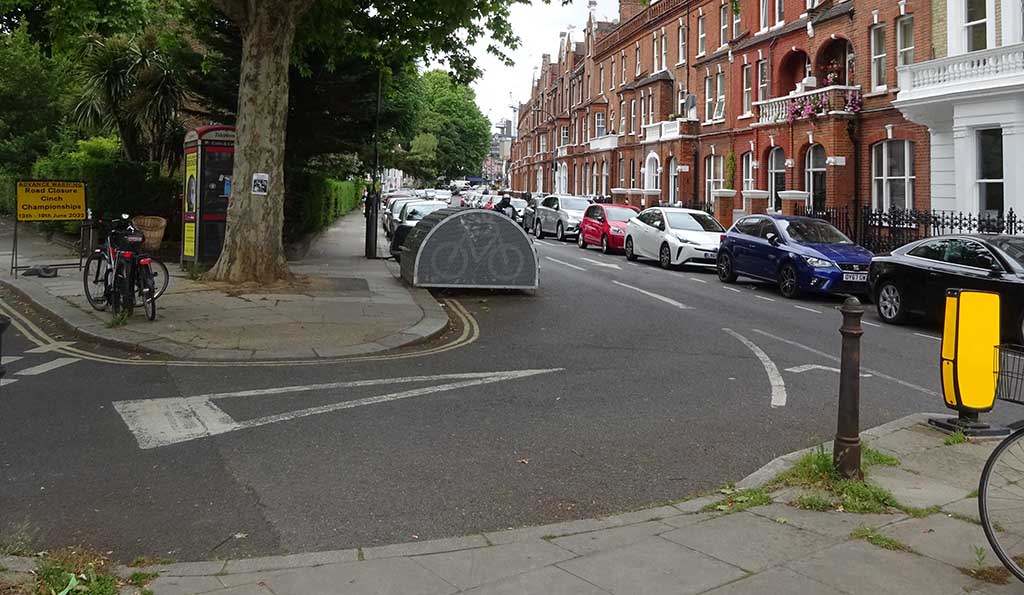
A road rethink here. SJ
- Capture 13
- 12 Jun 2022
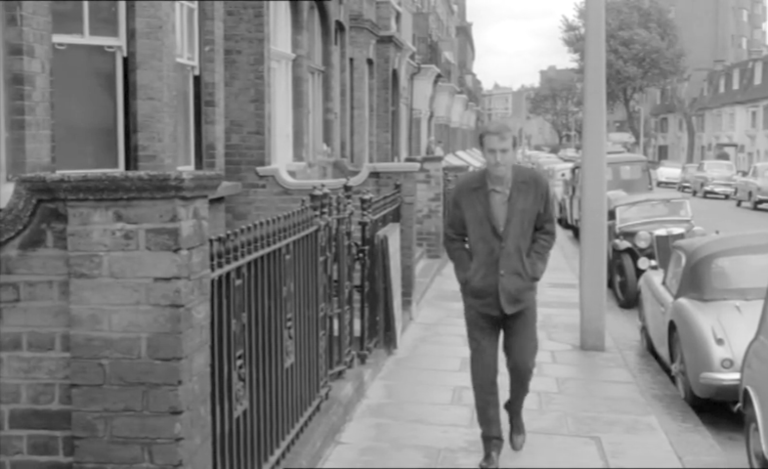
The petty thief approaches the corner where Brand's car is parked. Baron's Court Road at the junction with Palliser Road.
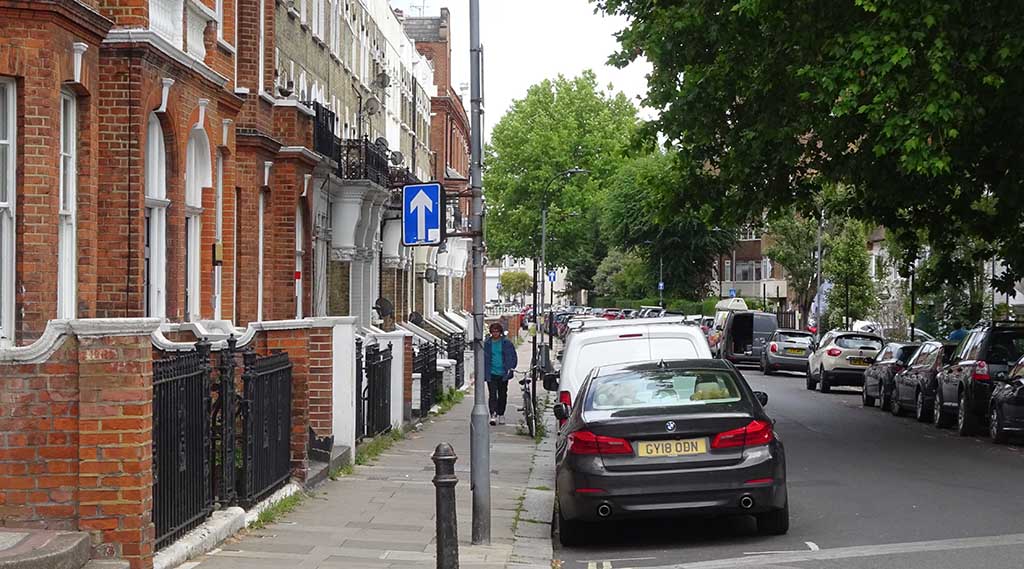
Looking east. SJ
- Capture 14
- 12 Jun 2022
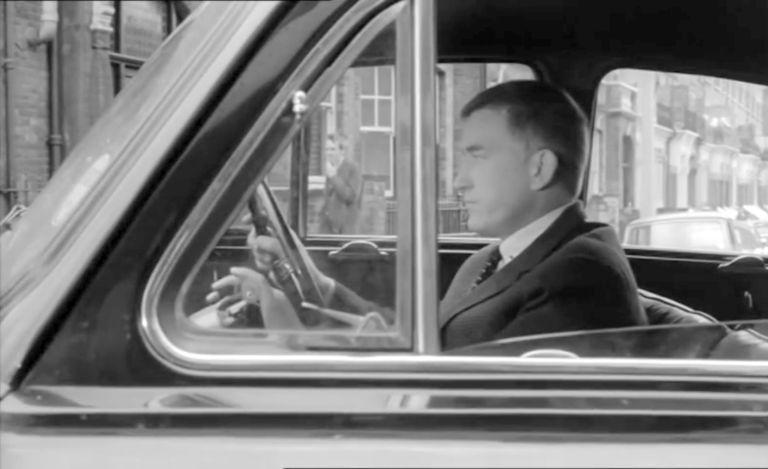
Brand watches Murray as he passes on his way to the station. The corner of Palliser Road W14 with properties on Baron's Court Road in the background.
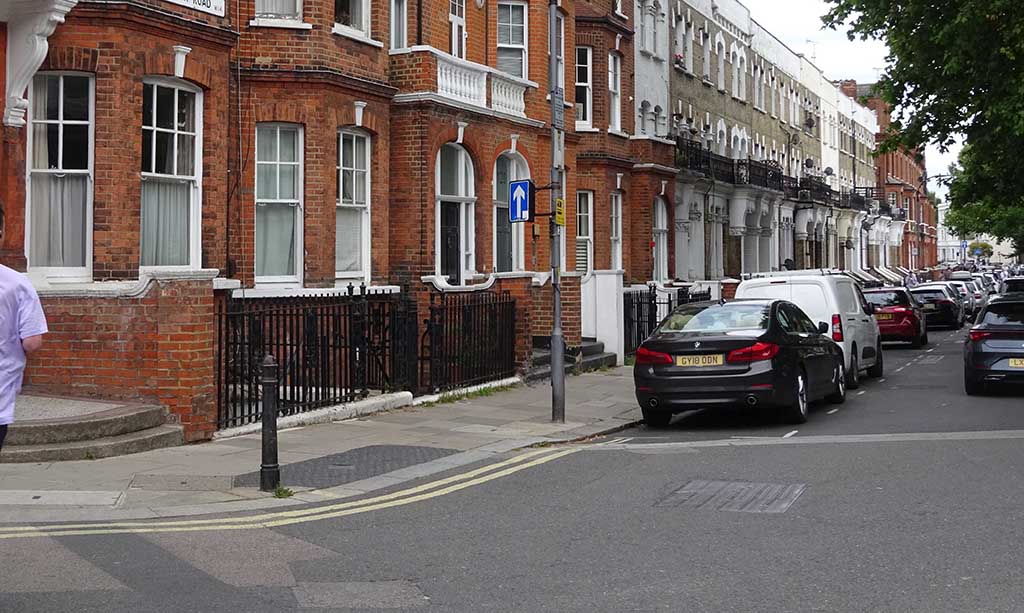
Similar to the above. SJ
- Capture 15
- 12 Jun 2022
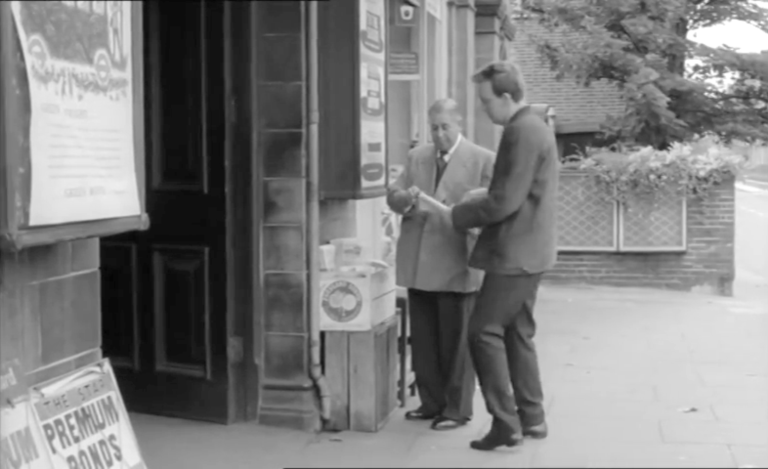
Murray buys a newspaper. Outside Baron's Court station on Gliddon Road W14.
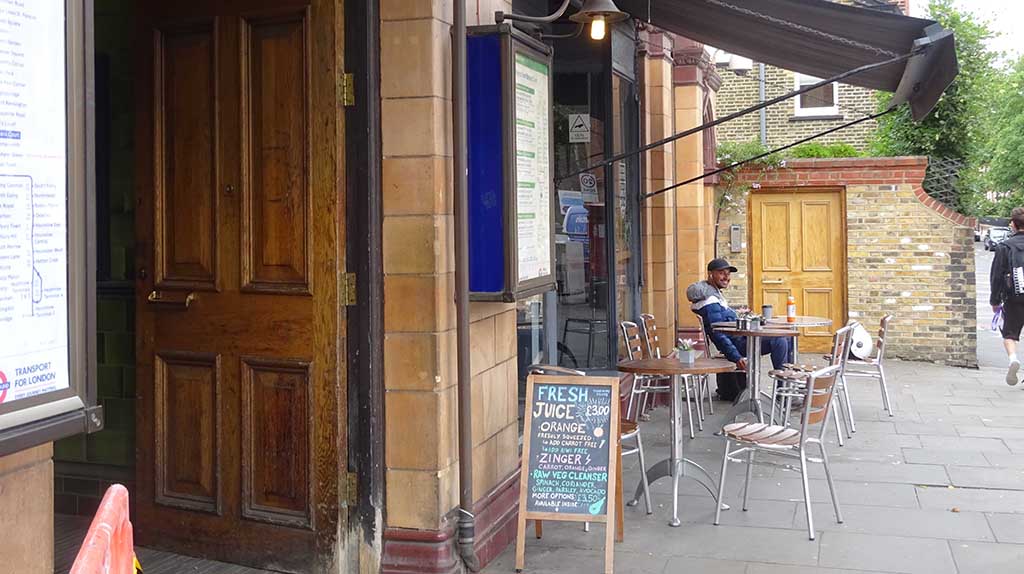
Looks like the same door. SJ
- Capture 16
- 12 Jun 2022
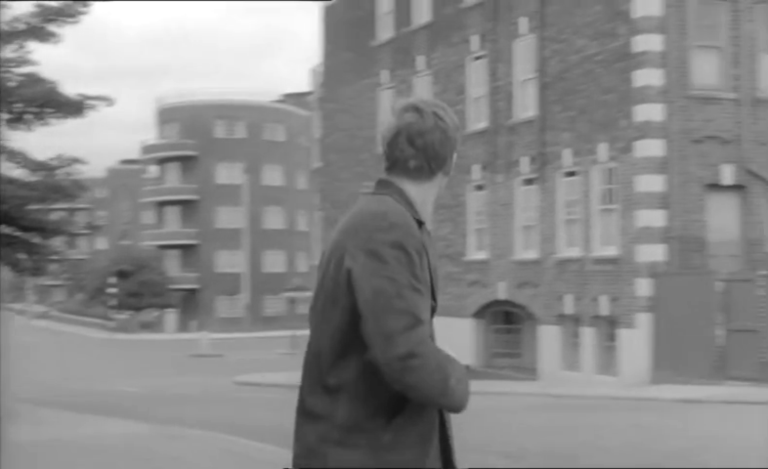
Having confirmed who he is to Brand by making the purchase, Murray approaches the kerb as Brand starts his Austin A50. In the left background lies the junction of Gliddon Road and Talgarth Road with Baron's Keep beyond the corner.
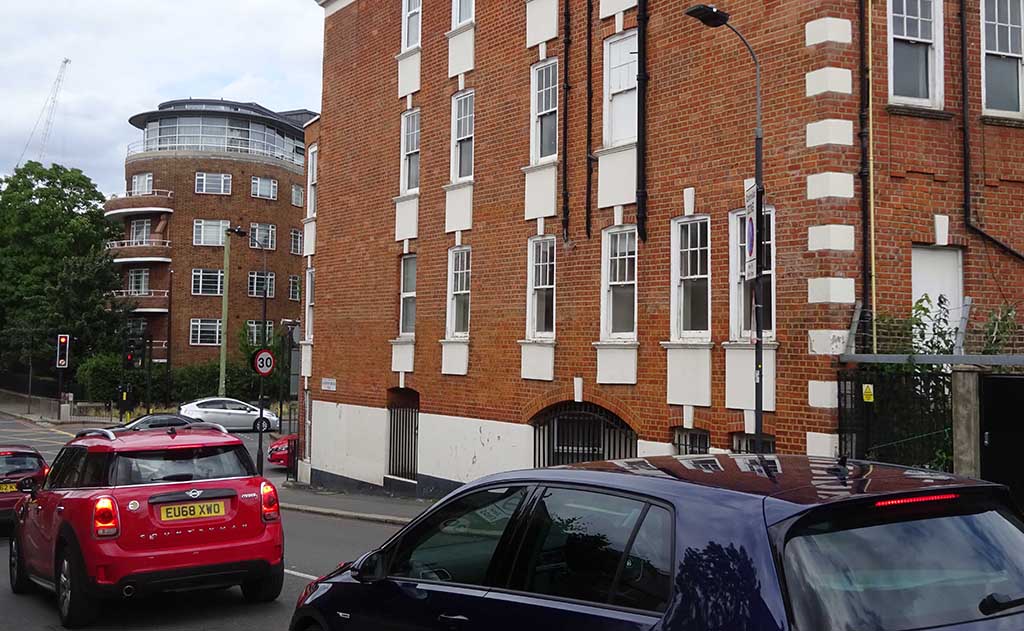
I should have waited for a gap in the traffic. SJ
- Capture 17
- 12 Jun 2022
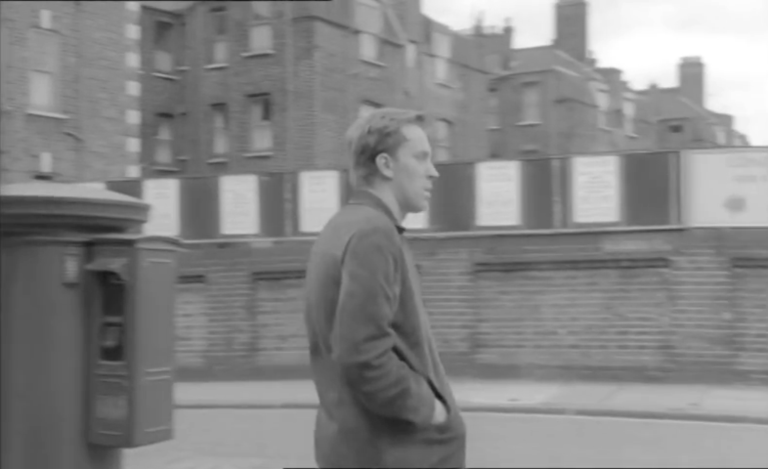
Looking along the road, Murray sees a car approaching. Gliddon Road W14 with the rear of Talgarth Mansions on Talgarth Road crossing the background.
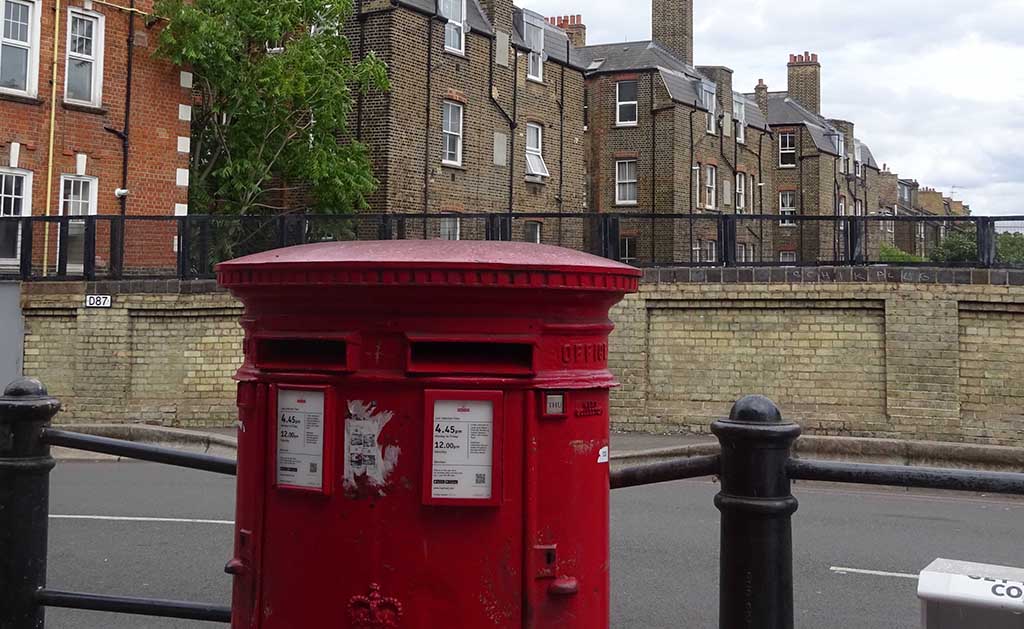
The postbox has moved slightly to the right. SJ
- Capture 18
- 12 Jun 2022
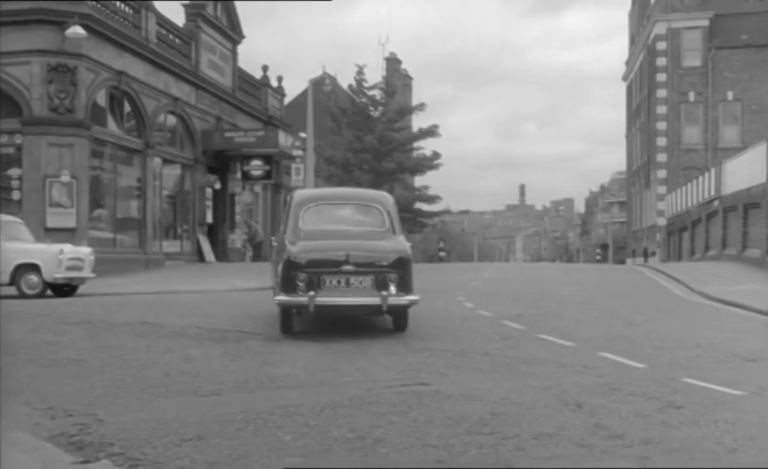
Brand nears the station. Facing Gliddon Road from the junction of Baron's Court Road and Palliser Road with Margravine Road on the extreme left.
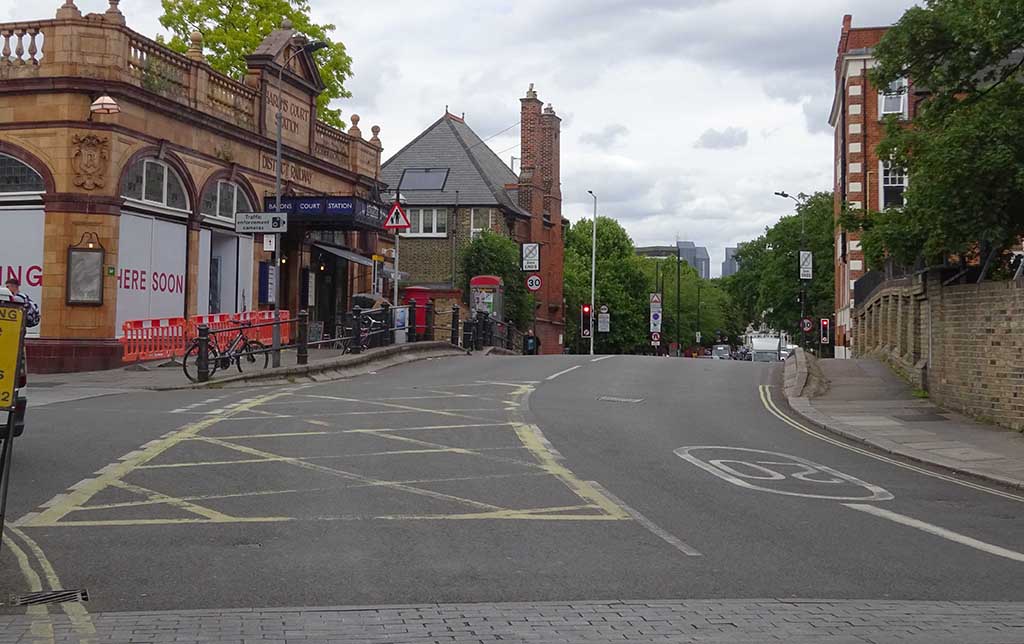
Now here I did wait for a pause in the traffic and was rewarded. SJ
- Capture 19
- 12 Jun 2022
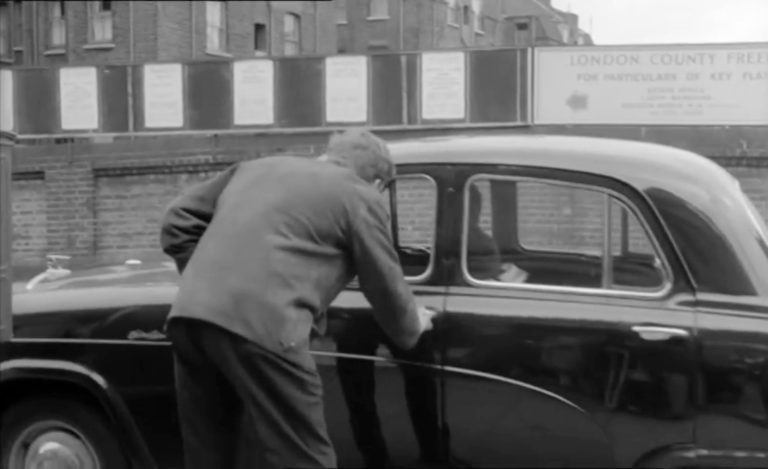
Watched by two Plain-clothes Detectives in a Thames van, Murray gets into Brand's car. Gliddon Road, outside the District and Piccadilly Lines' Baron's Court station.
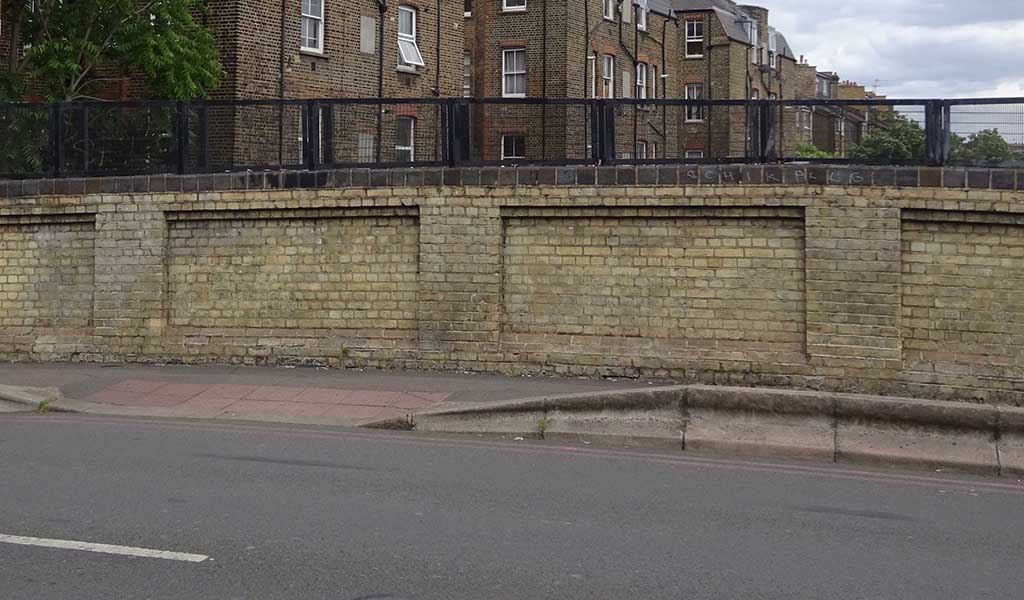
The rear of the properties on the Talgarth Road (A4) are unchanged. SJ
- Capture 20
- 12 Jun 2022
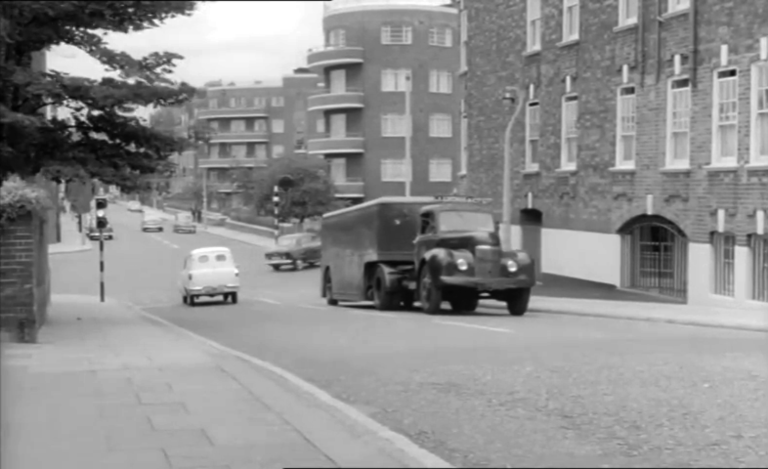
The Detectives begin to tail the A50 when Brand pulls away. Facing the junction of Gliddon Road and Talgarth Road with Baron's Keep in the background and Talgarth Mansions to the right..
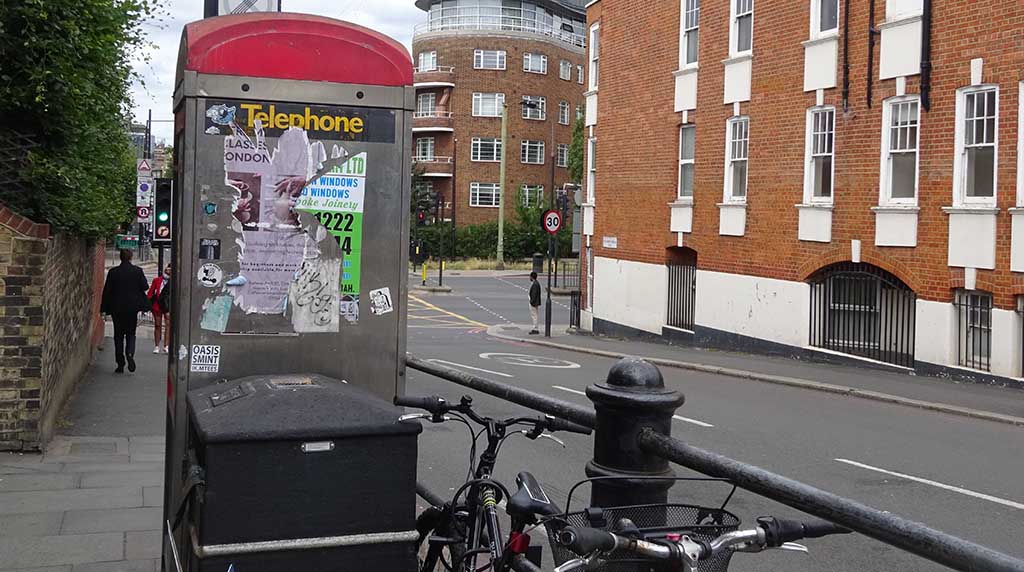
Pity about that telephone box. SJ
- Capture 21
- 12 Jun 2022
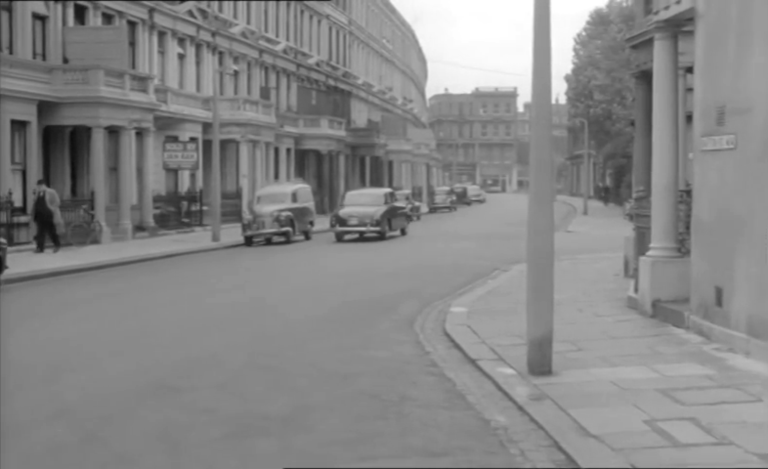
Receiving a radio message from the Detectives in Central 2, Superintendent Verity and Sergeant Wentworth begin to follow. Barton Road seen from outside Comeragh Mews at the junction of Baron's Court Road in W14.
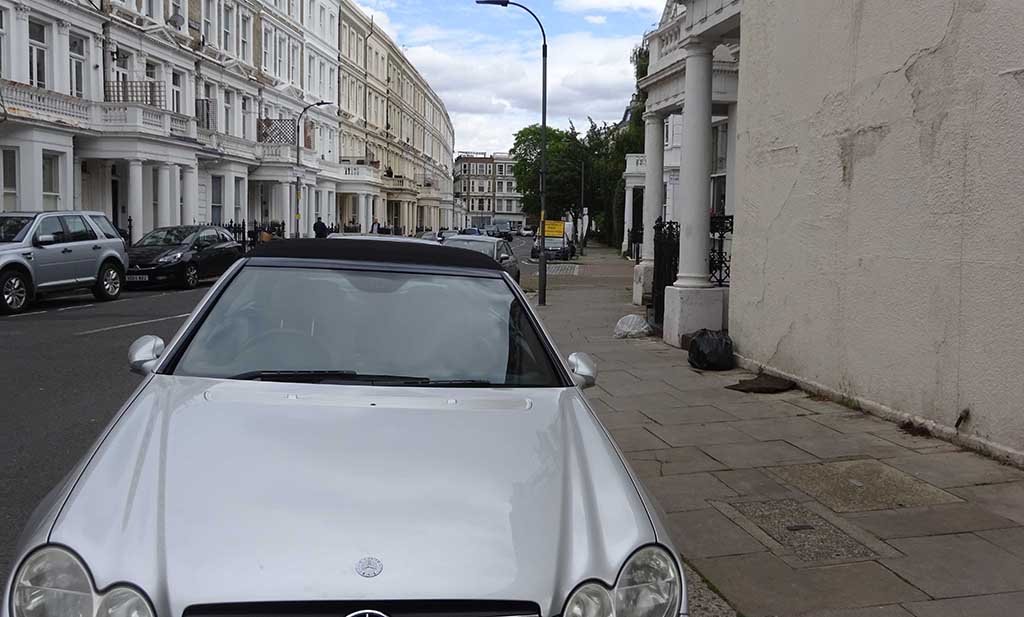
Hmm, the Mercedes is rather hogging centre-stage. SJ
- Capture 22
- 21 Feb 2024
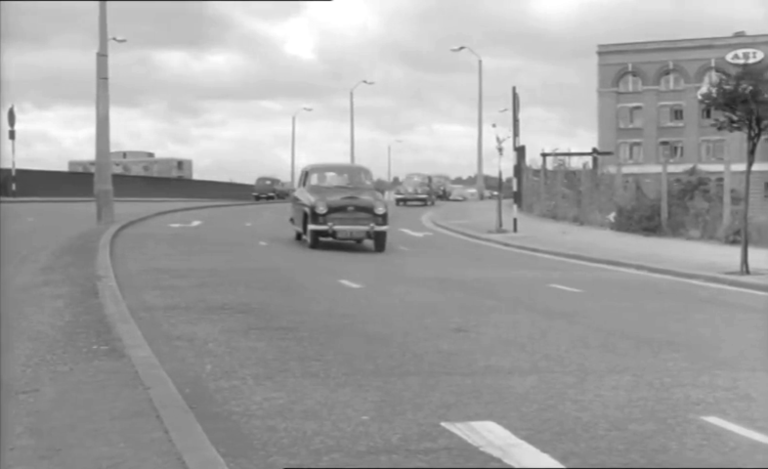
Brand's position is reported as on the West Cromwell Road Extension. Looking westward on West Cromwell Road as it passes over the District Line's West London Extension Junction in Kensington W14.
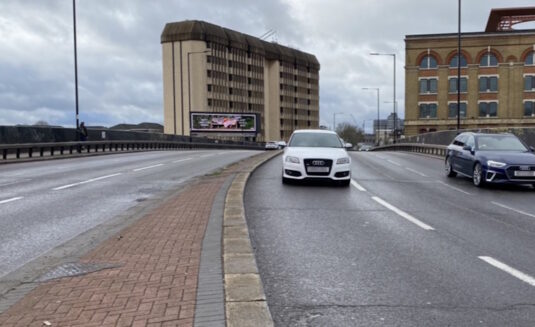
The same bridge, taken by Antony Blair 63 years later.
- Capture 23
- 21 Feb 2024
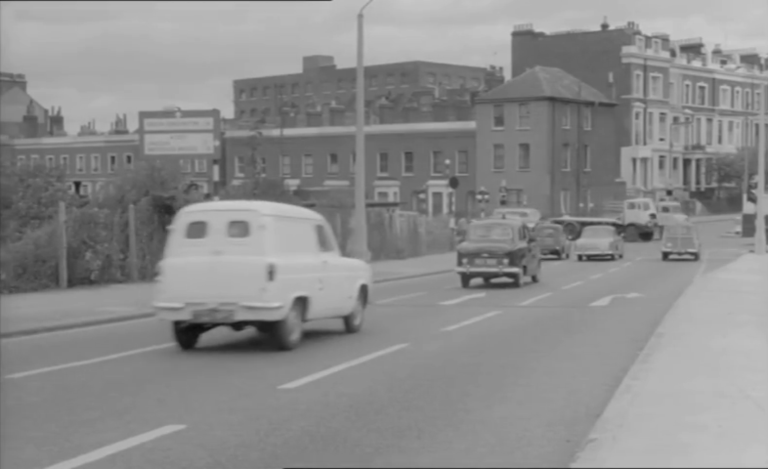
The camera pans with the Austin before the Thames van comes into frame. West Cromwell Road with the corner of Warwick Road to the right.
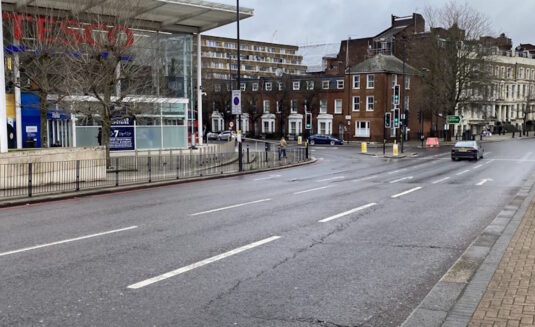
Antony Blair found that a branch of Tesco now occupies the once vacant plot.
- Capture 24
- 'Now' required
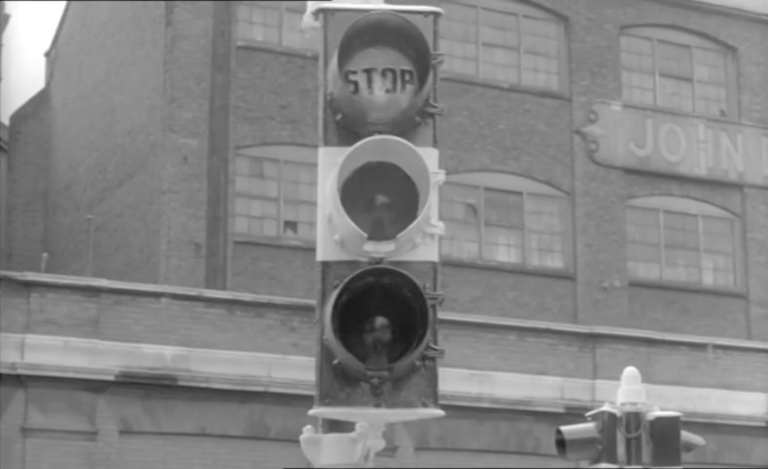
A traffic signal holds Brand up.
- Capture 25
- 12 Feb 2023
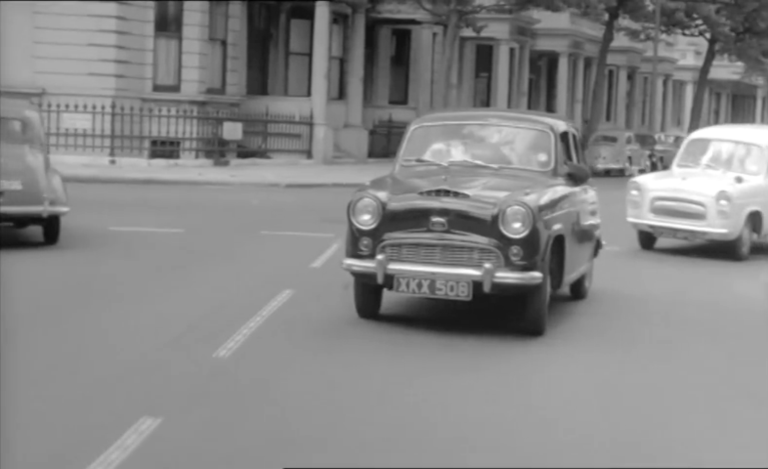
Moving on, the Thames continues to track Brand's progress. Looking north along Onslow Gardens SW7 towards the corner of Old Brompton Road and Queen's Gate.
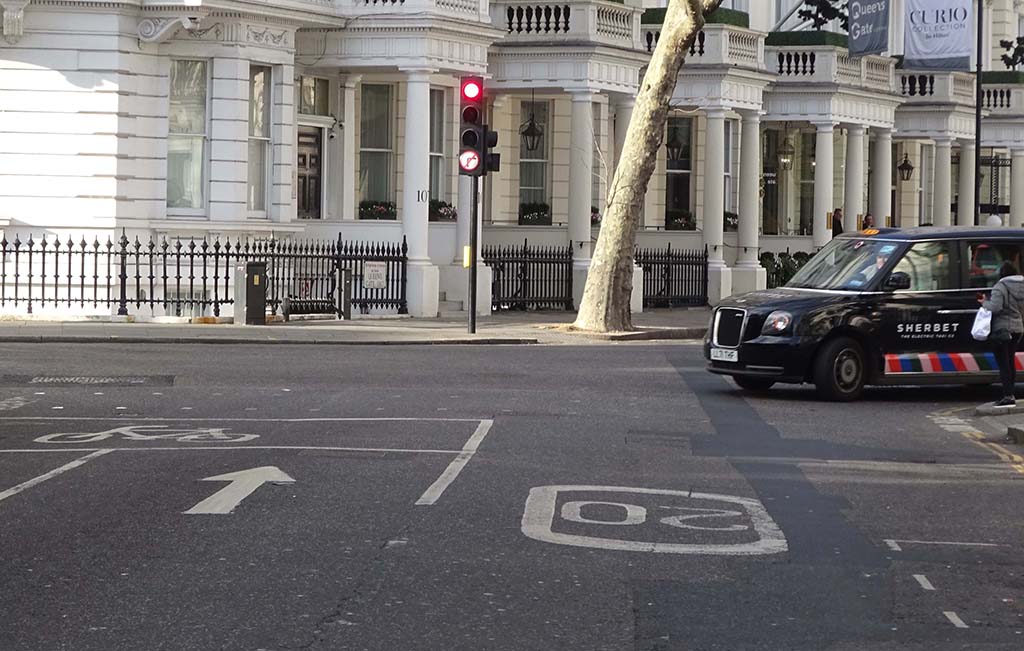
I managed to evade the taxi about to turn into me. SJ
- Capture 26
- 12 Feb 2023
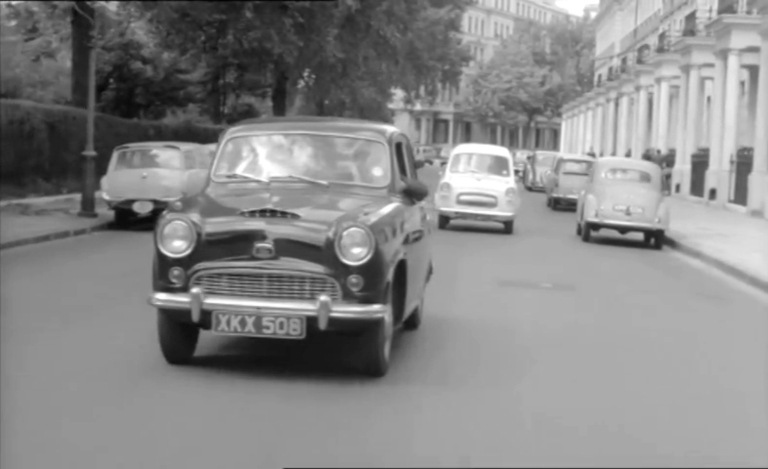
Central 2 keeps up on Onslow Gardens in Chelsea.
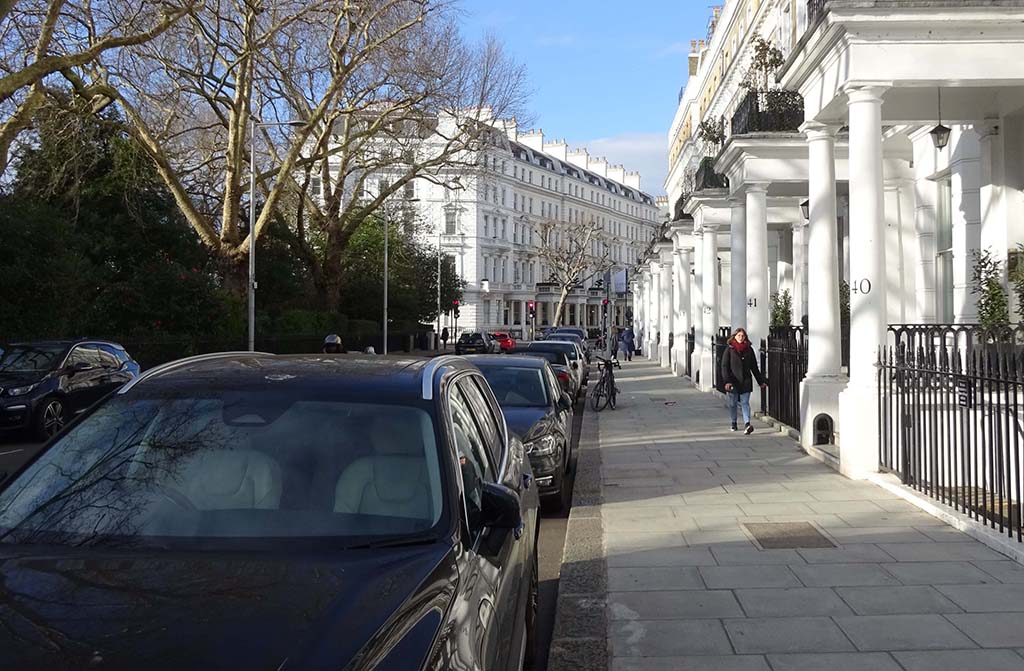
I remained on the pavement for this one. SJ
- Capture 27
- 12 Feb 2023
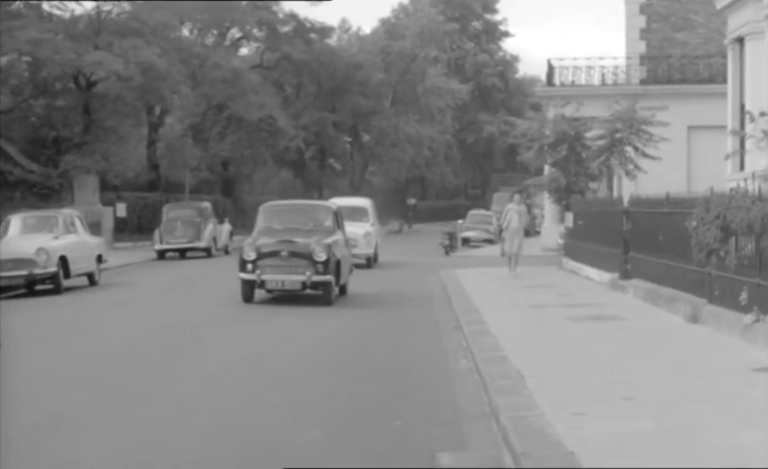
Radio messages are passed between Central 2 and Central 4 as the suspects car approaches another corner. Onslow Gardens seen from opposite the Anglesea Arms public house.
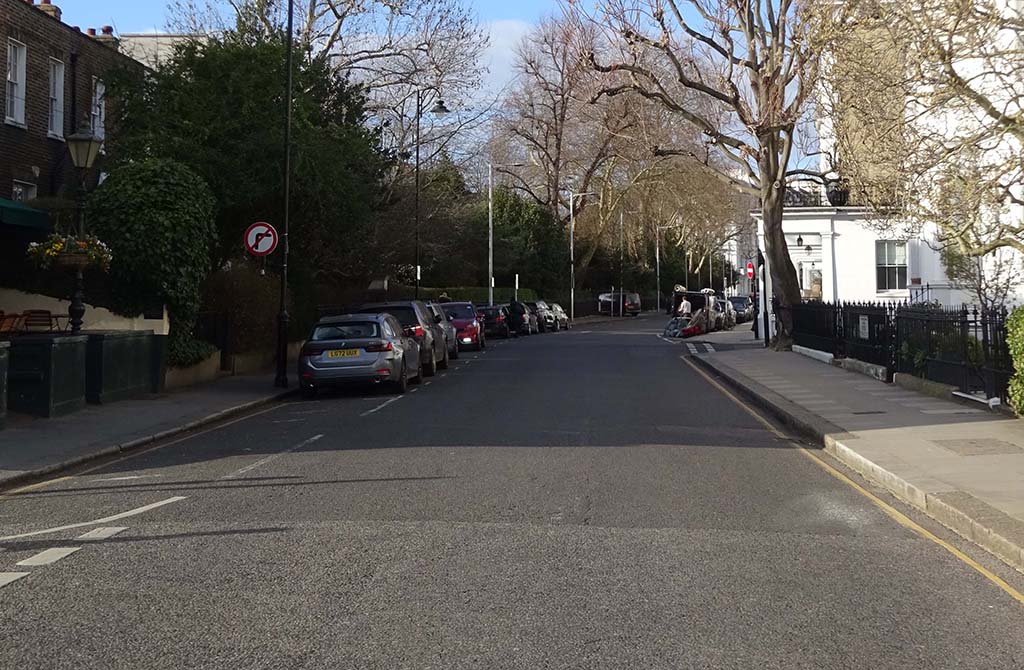
Back onto the road. The pub is still going strong. SJ
- Capture 28
- 12 Feb 2023
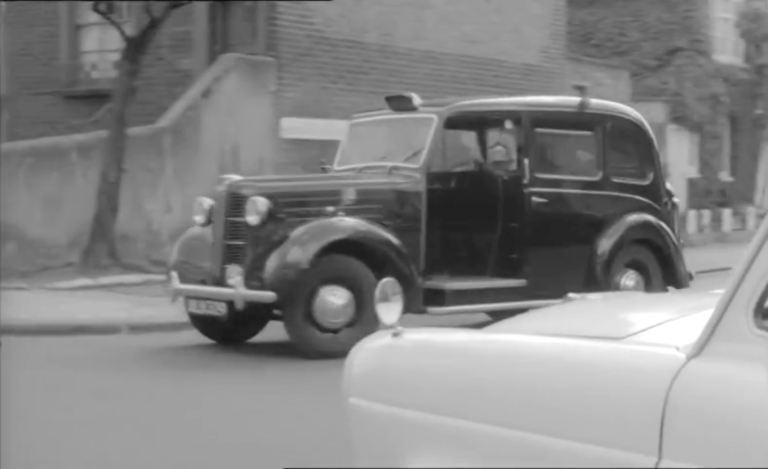
Central 4 takes over the pursuit. The corner of Selwood Terrace and Selwood Place in SW7.
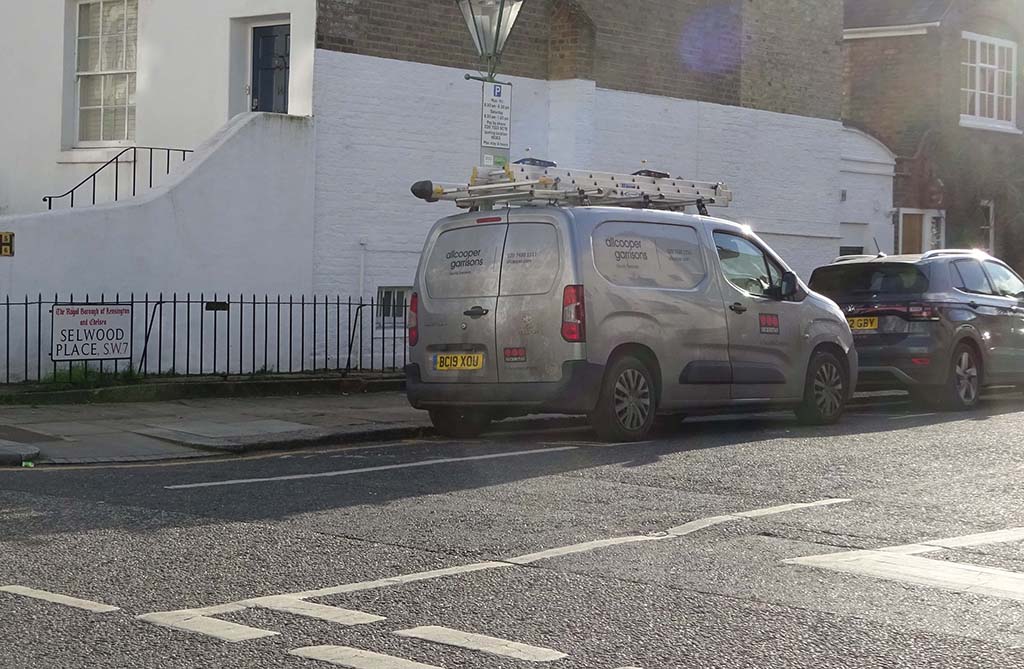
The tree has gone but a retro lamp-post has appeared. SJ
- Capture 29
- 'Now' required
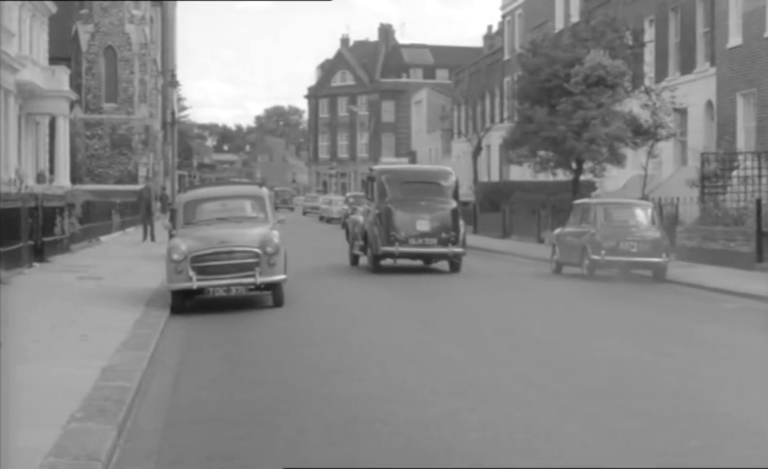
A pan brings Neville Terrace to the left and Selwood Terrace on the right into view along with the since demolished Onslow Baptist church in the left background and the Queen's Elm public house at the junction of Fulham Road and Old Church Street in the centre distance.
- Capture 30
- 05 Jun 2023
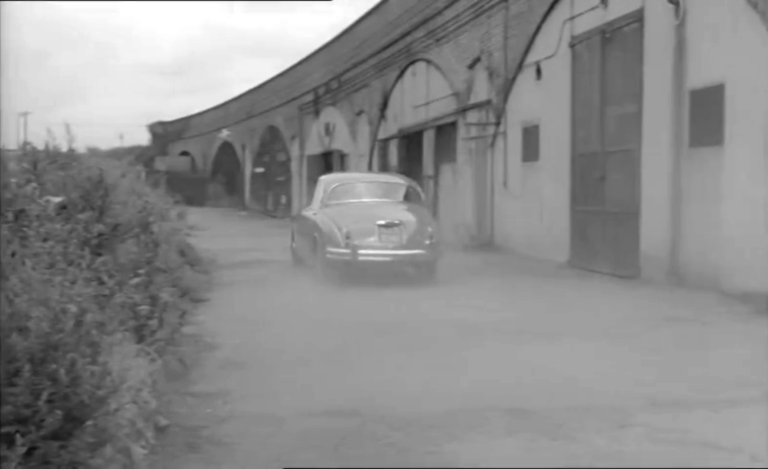
Holding Kay Simpson prisoner, James Helder drives his Mark II Jaguar to the gang's workshop. Below the viaduct carrying Latchmere Curve on the roadway now known as Cranleigh Mews. Peter Bywaters noticed that the Jaguar is the same one seen in 'Backfire!'.
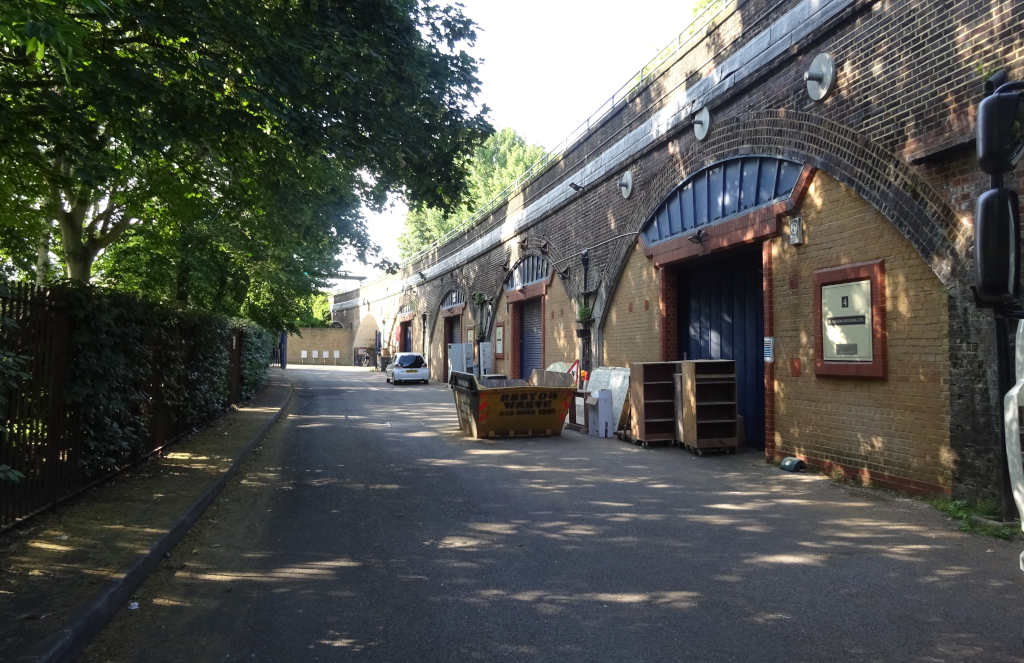
Looking north. SJ
- Capture 31
- 05 Jun 2023
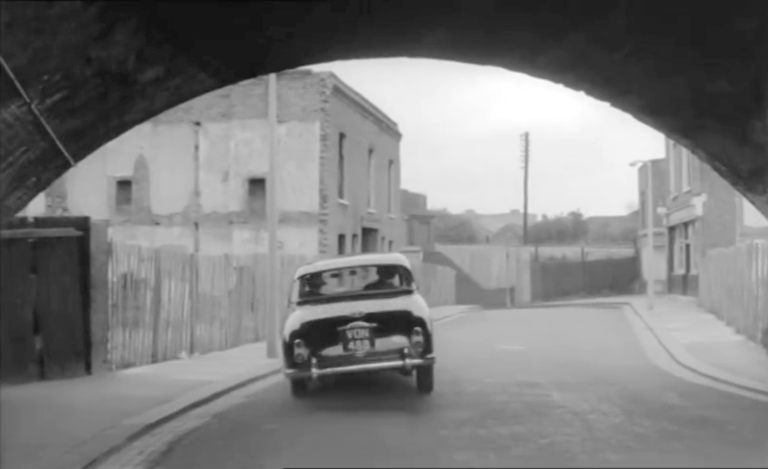
Superintendent Verity and Sergeant Wentworth arrive on the scene as shots are fired in the derelict yard. Cabul Road with the Latchmere Arms public house at the corner of Latchmere Grove in the distance.
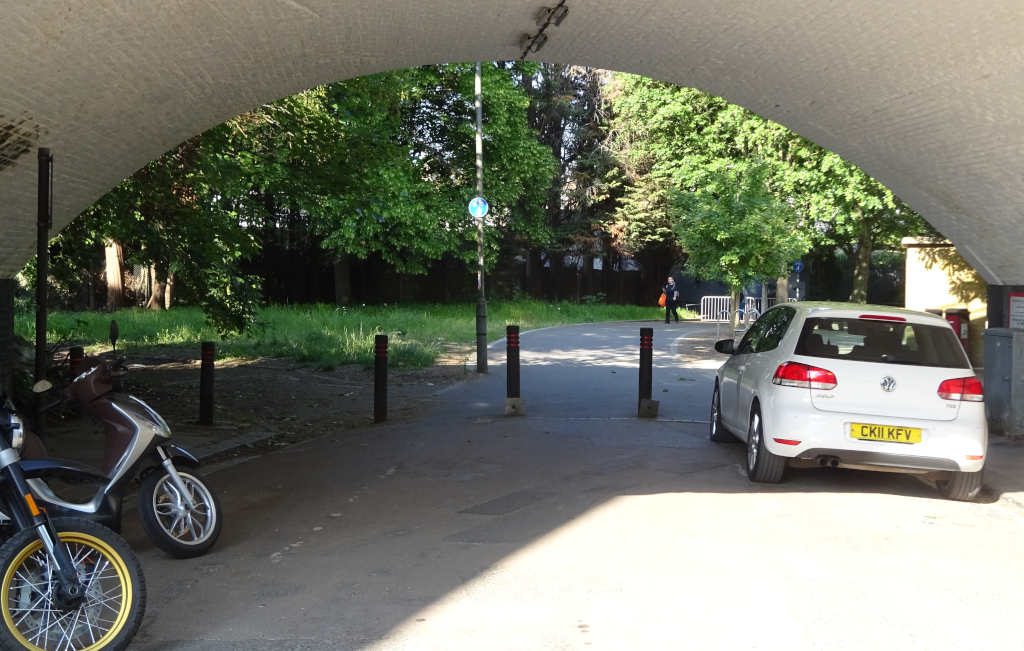
No sign of the pub on this sunny afternoon. SJ
- Capture 32
- 05 Jun 2023
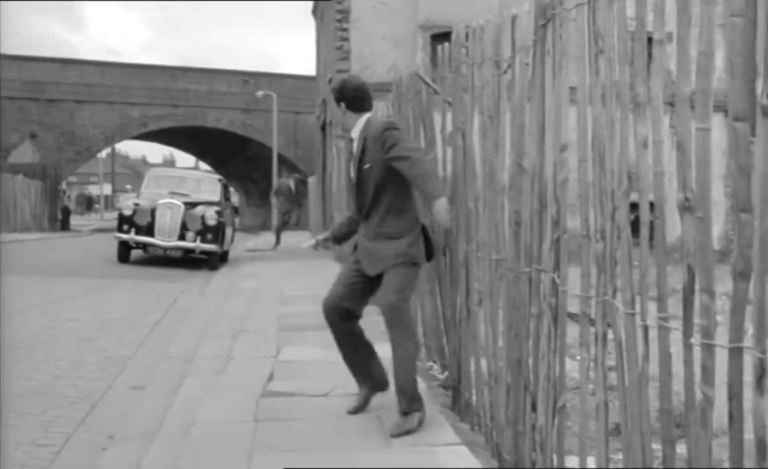
Followed by Detective Superintendent Verity (Bernard Archard), James Helder (Paul Stassino) escapes after shooting Brand. Facing westward on Cabul Road SW11. The location can be seen with more buildings standing in 'Man with a Gun'.
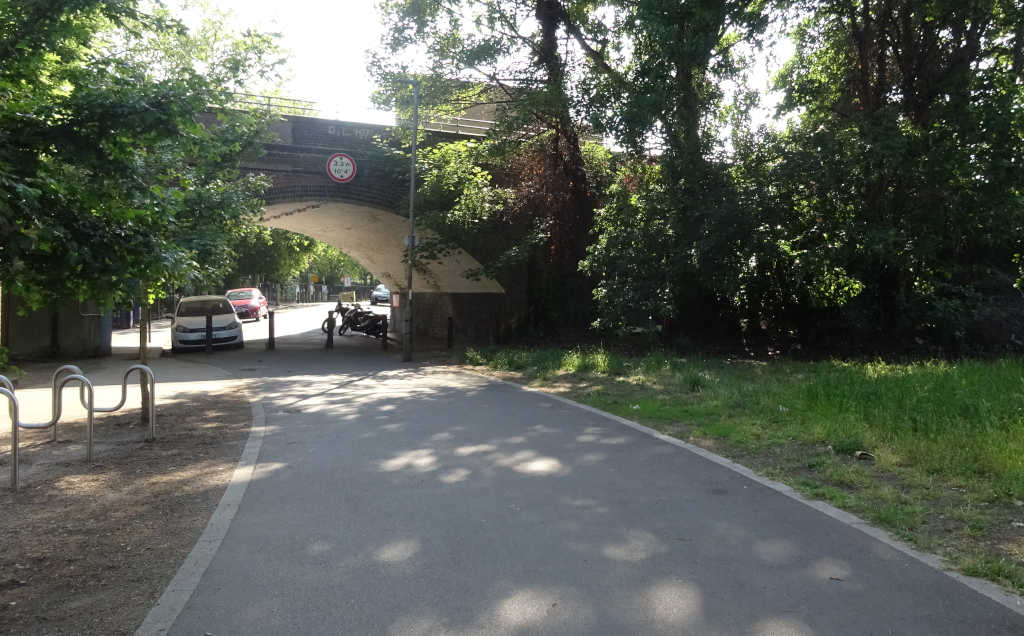
A little more peaceful now. SJ
- Capture 33
- 'Now' required
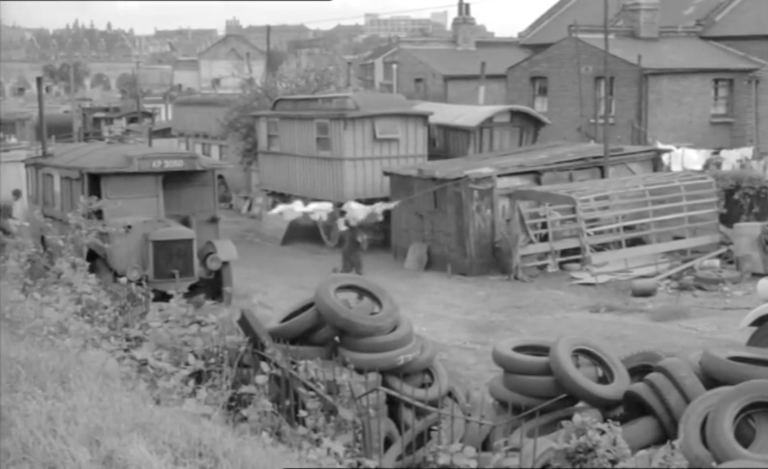
Helder runs through a yard full of caravans, tyres and dilapidated buses. John Scott leads us to Manley's Yard off Cabul Road in SW11, now developed as Zulu Mews, with Lavender Hill Post Office in the top centre distance.
- Capture 34
- 'Now' required
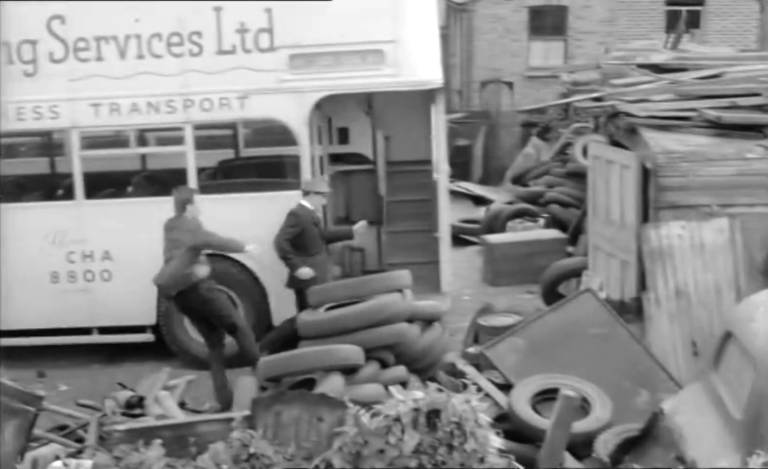
Murray catches up with Superintendent Verity and the pair dodge between the vehicles. Manley's Yard, a Romany Gypsy site at the back of properties on Rowena Crescent in Battersea discovered by John Scott's research.
- Capture 35
- 'Now' required
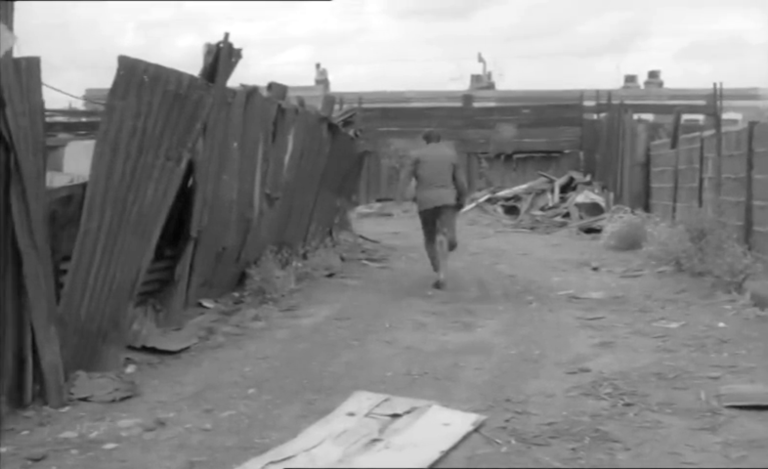
Helder continues to flee. Looking eastward along the access road leading to the backs of numbers 20 to 31 Latchmere Grove in SW11 with the chimney pots of the still extant numbers 95 to 109 Latchmere Road crossing the background.
- Capture 36
- 'Now' required
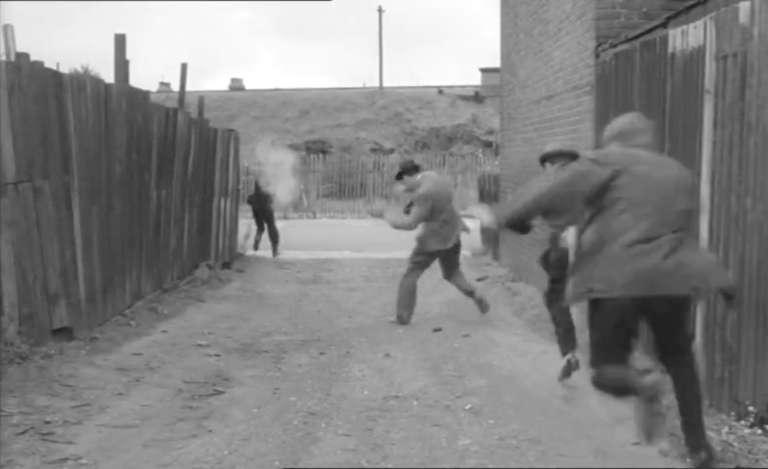
Approaching a corner, Helder turns to fire at Murray, the Superintendent and Detective Sergeant Wentworth (Clifford Earl). acing in the opposite direction from the previous capture, this is looking toward Latchmere Grove with the embankment carrying the railway on Latchmere Curve in the background and number 31 Latchmere Grove on the right.
- Capture 37
- 'Now' required
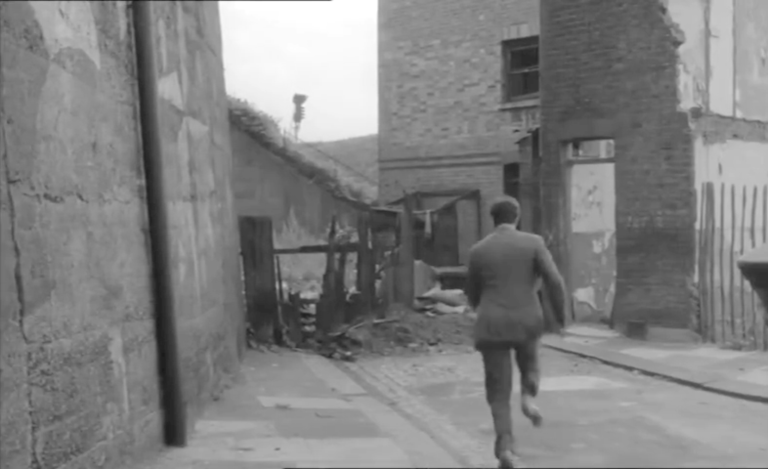
At the end of the road stand a pair of derelict houses. The southern end of the long demolished Latchmere Grove. Falcon Park now occupies the land.
- Capture 38
- 'Now' required
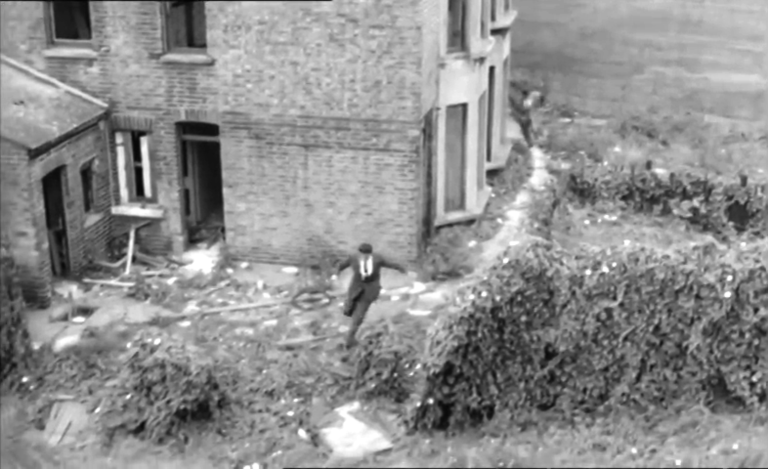
Helder climbs the railway embankment behind the ruins. Facing numbers 105a and 105 Latchmere Grove.
- Capture 39
- 'Now' required
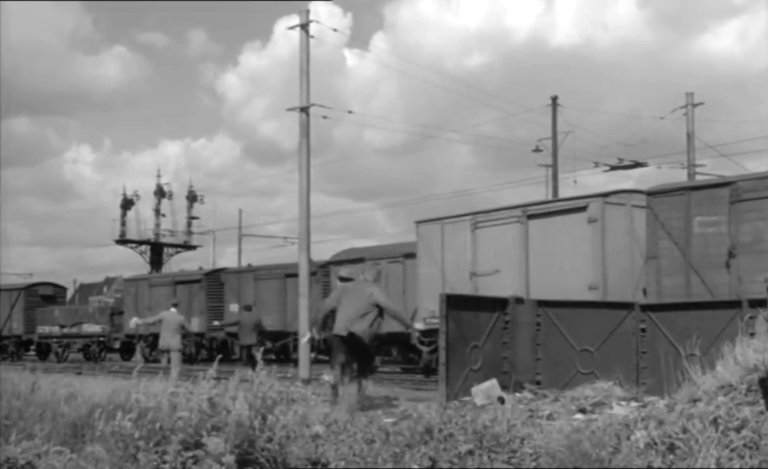
Murray, Superintendent Verity and Detective Sergeant Wentworth chase Helder into a maze of sidings. Colin Watts of the Blood and Custard website advises that this is the north side of the long closed Bricklayer's Arms branch close to Mercer's Crossing signal box which stood immediately west of St. James's Road Bridge on St. James's Road in Bermondsey SE1. The area has been completely redeveloped and is unrecognisable today.