
Soho Incident
Date: 1956
Director: Vernon Sewell
Production Company: Frankovich Productions
Stars: Faith Domergue, Lee Patterson, Rona Anderson, Martin Benson
Location(s): London, Surrey
Region(s): London R-S, South East R-Z
Storyline:
Attempting to succeed as a prizefighter without much luck, a boxer meets the sister of a local gang leader and is soon drawn into nefarious activities.
Additional Information:
Screen captures by Phil Wilkinson
Also known as ‘Spin a Dark Web’ (US Title)
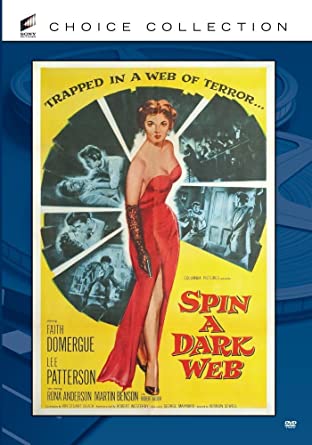

As an Amazon Associate, we earn from qualifying purchases.
Can you help:
If you have any information regarding this production, the locations or, even better, some comparison shots please contact us. Images submitted must be in Landscape orientation, as would be seen on the cinema screen, not Portrait.
We are aware that there are films on the site that were added when the criteria for the inclusion of locations was very different from today and, as a result, there may be scenes missing from some productions. Please do not forward additional screen captures to us but bring the detail to our attention, for we do, and are, 're-addressing' these older entries as time allows.
- Capture 1
- 04 Aug 2021
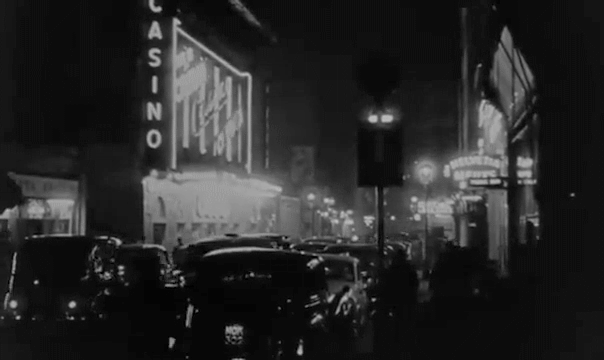
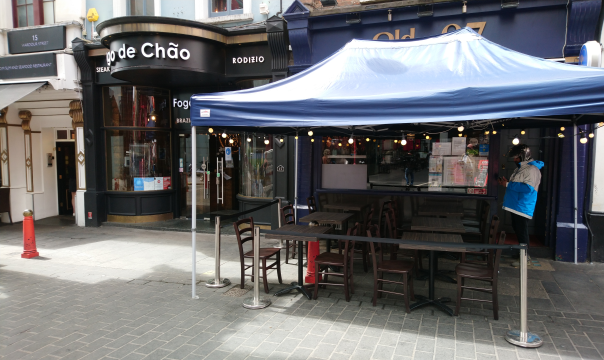
Opening the film, the title sequence start with a view facing north-east along Old Compton Street in Soho W1 and the London Casino Theatre on the left.
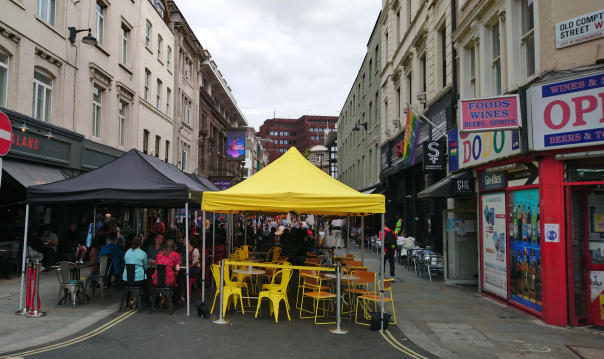
No room for road vehicles at the moment. (PW)
- Capture 2
- 04 Aug 2021
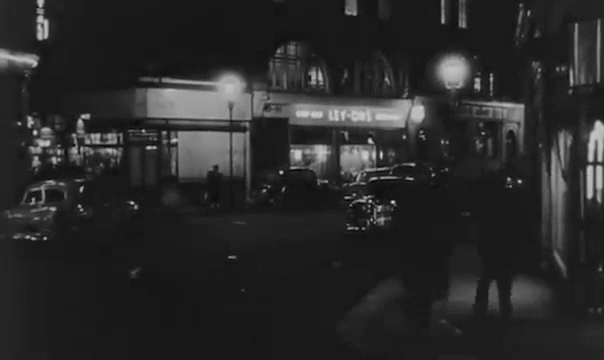
The credits end with a shot looking from the corner of Old Compton Street along Wardour Street with Brewer Street to the extreme left.
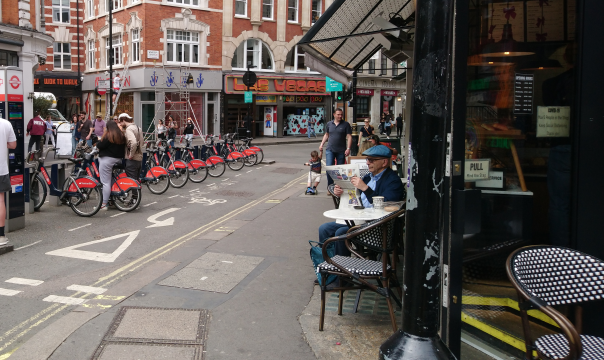
The same junction. (PW)
- Capture 3
- 04 Aug 2021
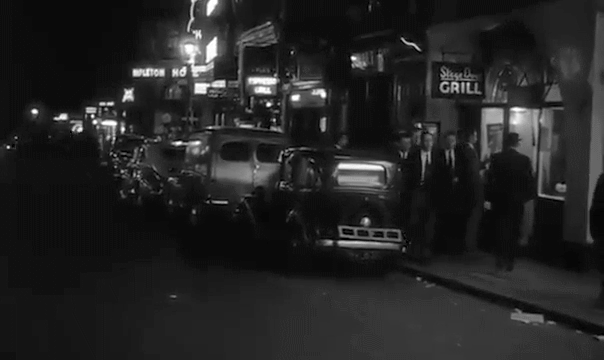
Boxer Jim Bankley leaves the gym after turning down a date with Betty Walker. Facing south on Wardour Street with the Mapleton Hotel on the corner of Coventry Street and Whitcombe Street in the left distance.
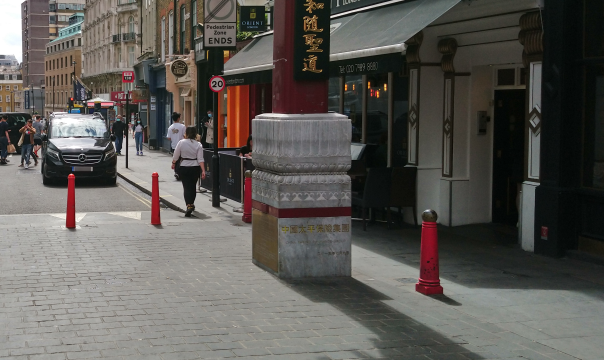
The street looks a little different now. (PW)
- Capture 4
- 04 Aug 2021
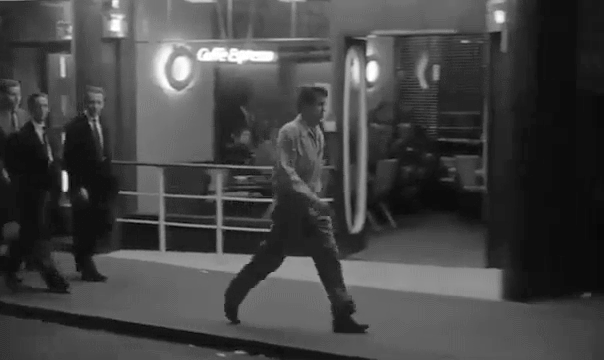
As he continues apace, Jim Bankley (Lee Patterson) appears from between other pedestrians. The west side of Wardour Street.
Somewhere along here, it's difficult to tell exactly. (PW)
- Capture 5
- 'Now' required
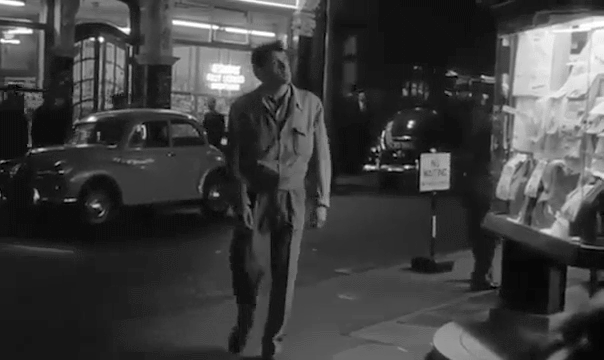
The Canadian veteran browses shirts in a shop window.
- Capture 6
- 04 Aug 2021
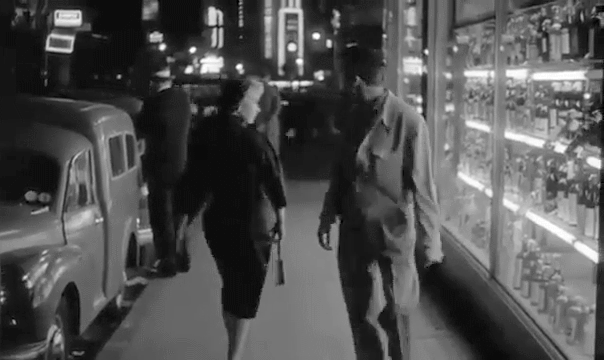
Heads turn as Jim and a Young Woman cast a gaze at each other. Rupert Street W1, looking south towards Shaftesbury Avenue with the neon lights of the Prince of Wales' theatre in the top distance.
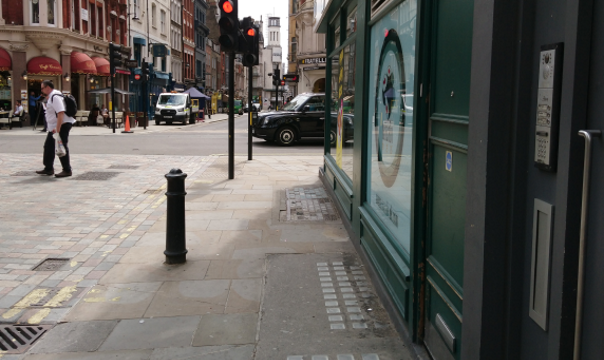
The well stocked off licence has given way to a wasabi outlet. (PW)
- Capture 7
- 04 Aug 2021
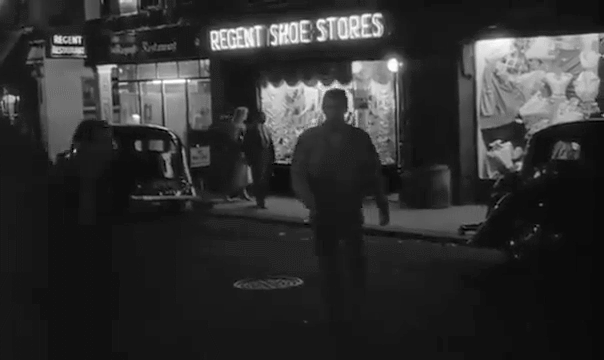
Jim approaches the camera as he continues through Soho. Wardour Street W1 with Regent Shoe Stores at number 31.
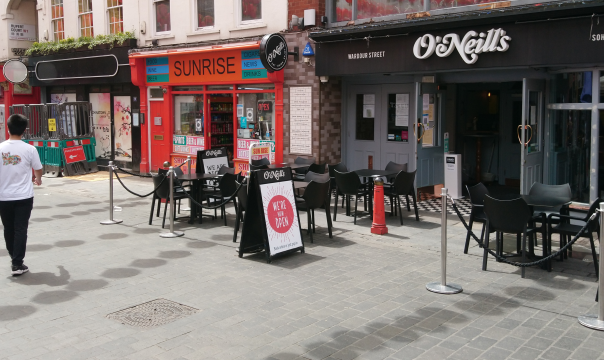
No shoes today, just food and drink. (PW)
- Capture 8
- 04 Aug 2021
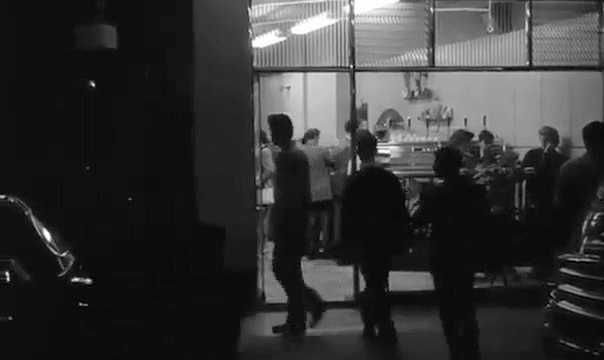
This appears to be Bar Italia on Frith Street.
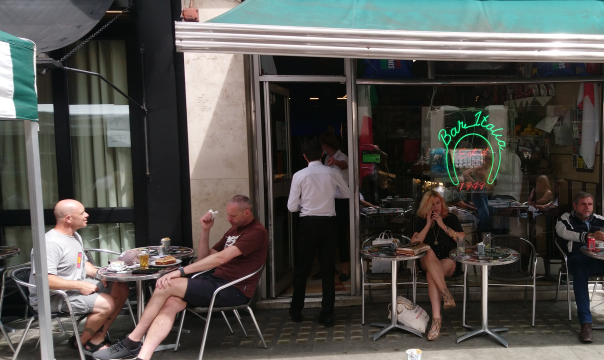
And this IS Bar Italia on Frith Street. (PW)
- Capture 9
- 04 Aug 2021
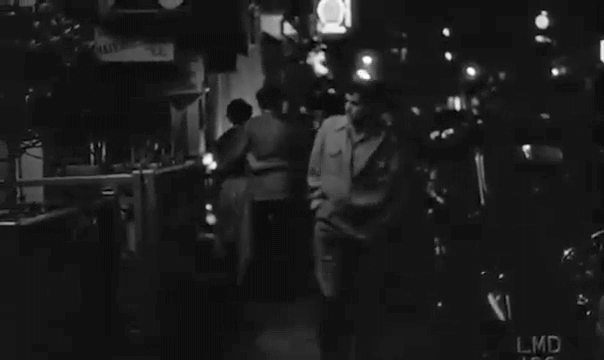
Looking south on Frith Street with the unchanging sign for Bar Italia to the top.
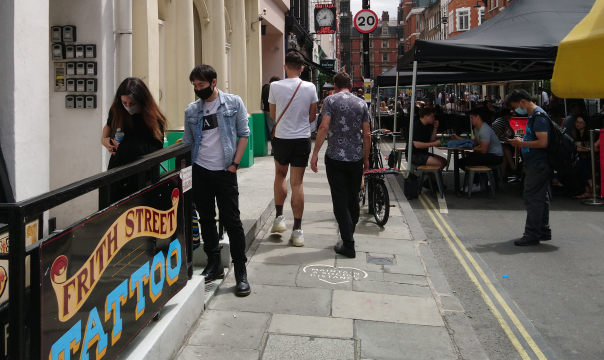
Taken from a similar position. (PW)
- Capture 10
- 04 Aug 2021
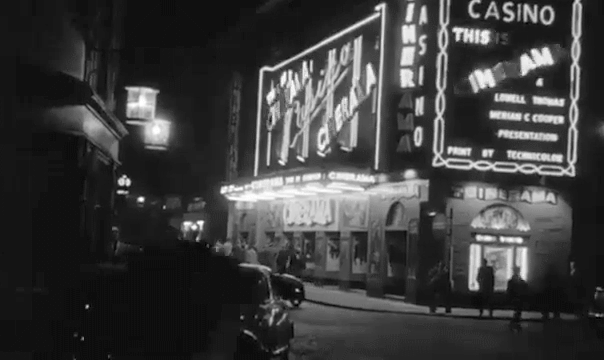
Facing the London Casino at the corner of Old Compton Street and Greek Street.
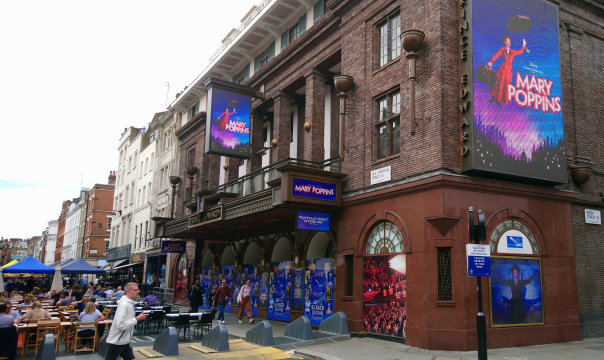
Still closed at a time when the country endures further restrictions on liberty. (PW)
- Capture 11
- 'Now' required
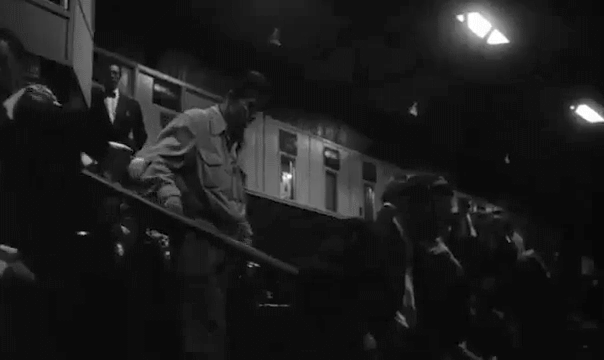
Making contact with his old pal Buddy, Jim is taken to a dog track where he's introduced to gang boss Rico Francesi.
- Capture 12
- 'Now' required
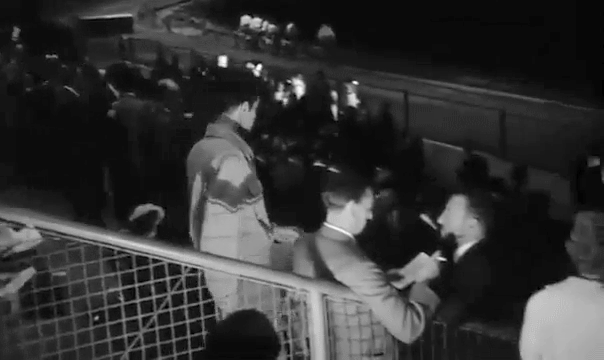
Jim makes his way to the track side while Buddy and Francesi talk together.
- Capture 13
- 'Now' required
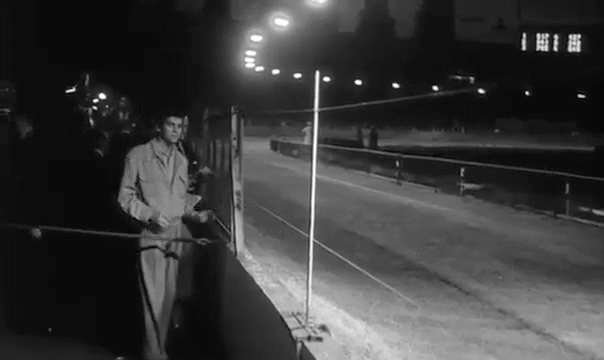
Having placed a bet on number three, Jim watches the dogs race towards the finish line.
- Capture 14
- 04 Aug 2021
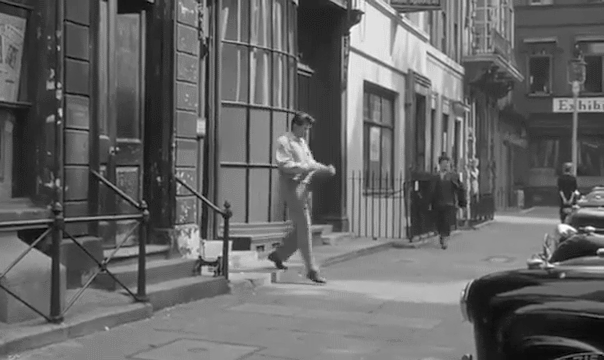
Francesi sends Jim to deliver an envelope to Berwick Street. Facing the north-east corner of Soho Square in W1.
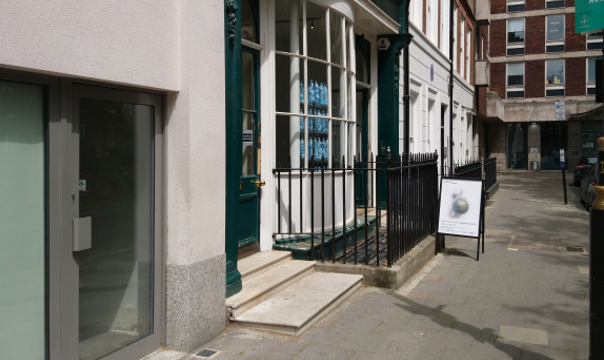
The bay front survives. (PW)
- Capture 15
- 04 Aug 2021
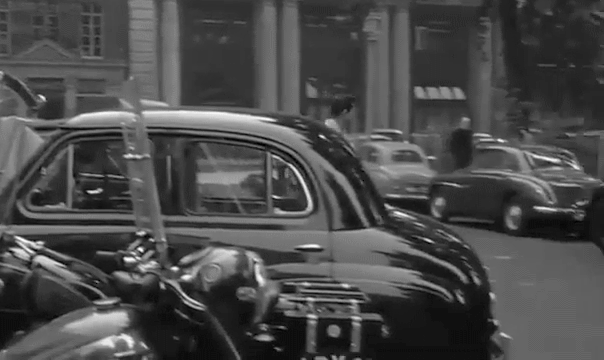
A pan starts, following Jim as he crosses the road. Soho Square with the frontage of number 20 in the right background.
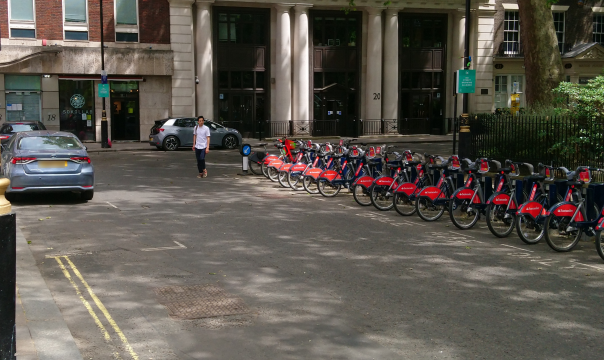
Bikes now take the place of cars. (PW)
- Capture 16
- 04 Aug 2021
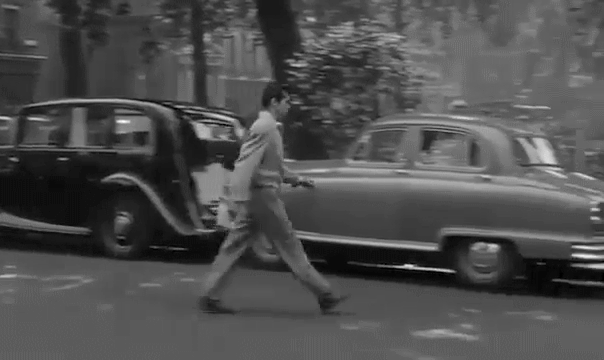
Soho Square can also be seen in 'Emil and the Detectives', 'Burning an Illusion', '84 Charing Cross Road', 'Last Night in Soho', 'The League of Gentlemen’s Apocalypse' and 'The Sexplorer',
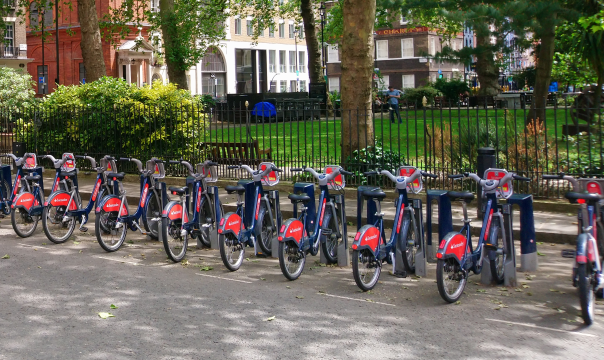
Panning right. (PW)
- Capture 17
- 04 Aug 2021
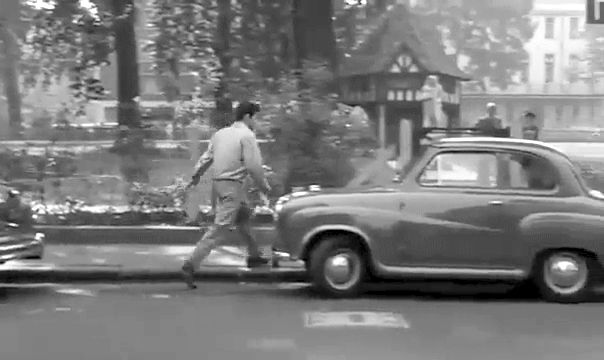
Soho Square W1 with the hut that was once the entrance to an electricity substation on the right.
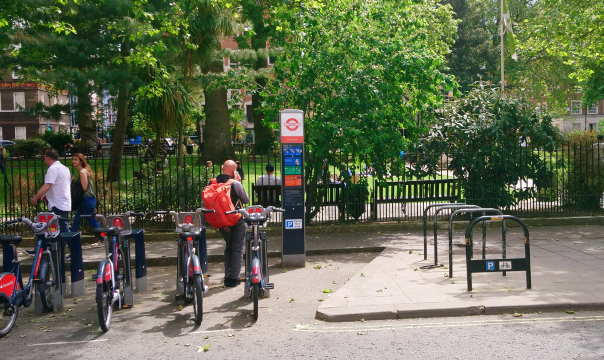
The hut is hidden behind early summer greenery. (PW)
- Capture 18
- 04 Aug 2021
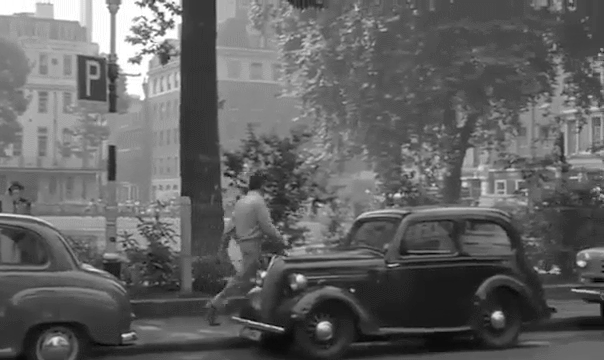
Looking south across Soho Square with the northern end of Frith Street in the left background.
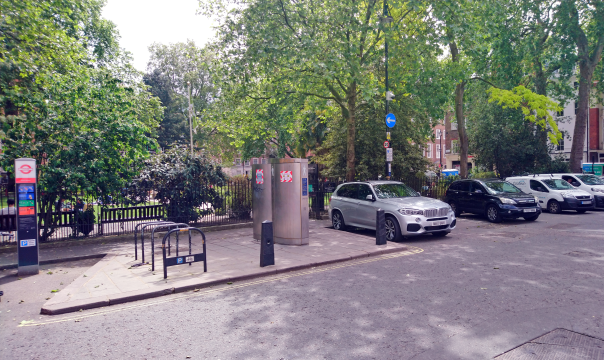
A last look at the square. (PW)
- Capture 19
- 04 Aug 2021
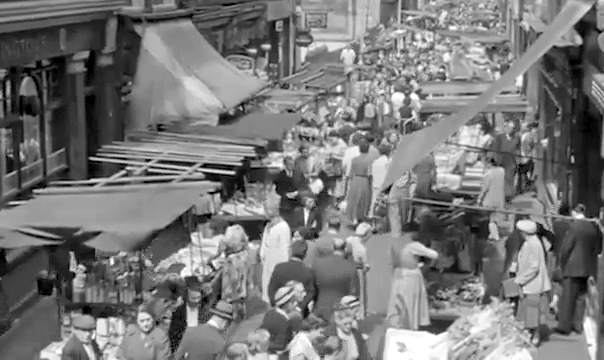
Jim reaches his destination. Berwick Street W1.
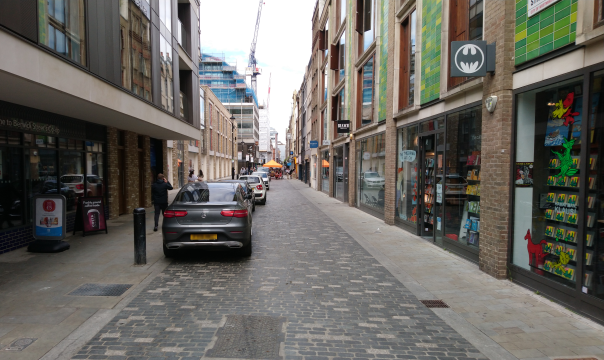
A little less lively when I turned up. (PW)
- Capture 20
- 04 Aug 2021
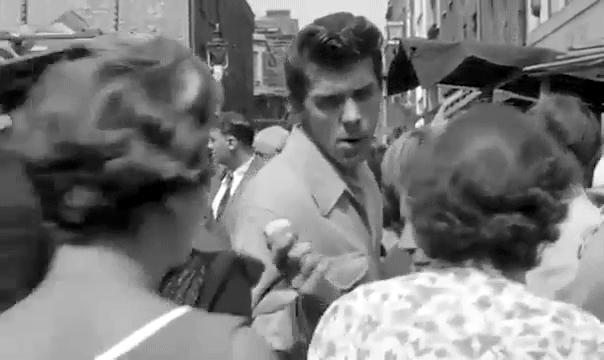
An accordion plays in the background as Jim battles with the oncoming crowd. Facing north on Berwick Street.
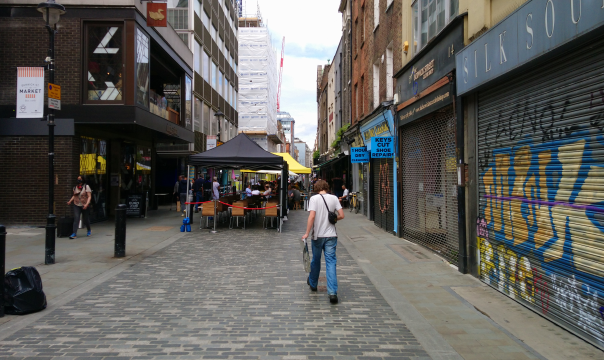
No market, just a few outdoor diners, graffiti and shrouded buildings. (PW)
- Capture 21
- 04 Aug 2021
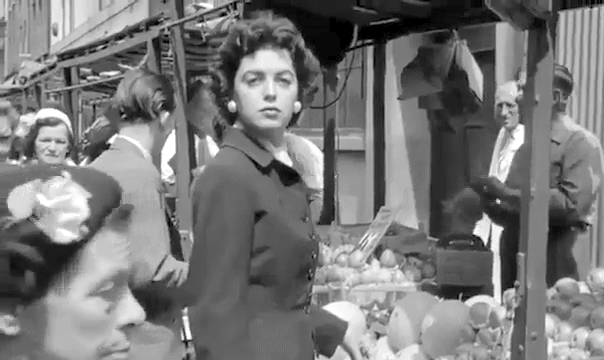
Bella Francesi (Faith Domergue) spots Jim along the street. Berwick Street in W1.
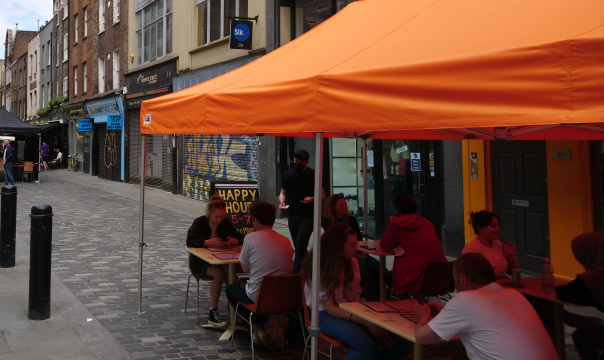
It would be easier to spot someone at the moment. (PW)
- Capture 22
- 04 Aug 2021
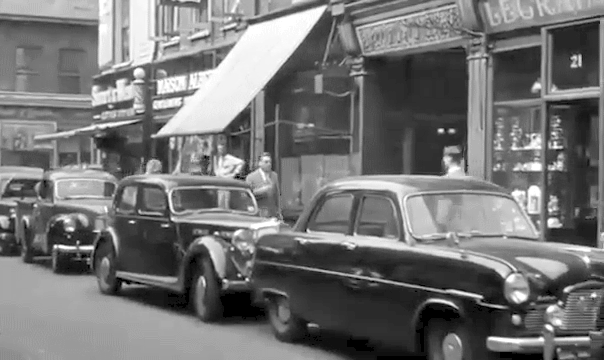
Jim makes his way through Soho after building a gadget to let Francesi tap into the phone line between the racecourses and bookmakers. Gerrard Street with Wardour Street in the left background.
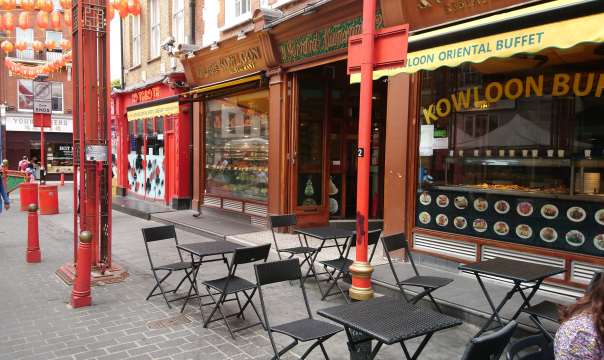
With bustling crowds queuing behind me to eat, an oasis of calm greets the eye. (PW)
- Capture 23
- 04 Aug 2021
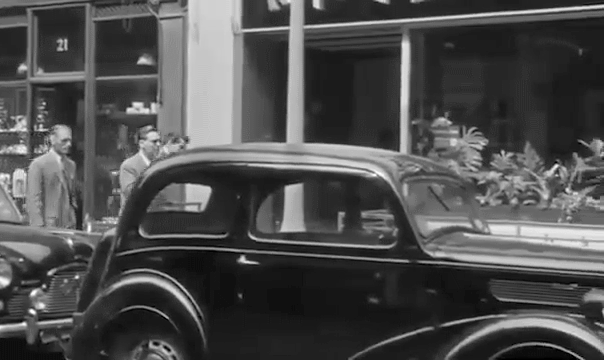
As he turns to enter a coffee bar, Jim catches sight of Betty across the street. Outside numbers 21 and 20 Gerrard Street.
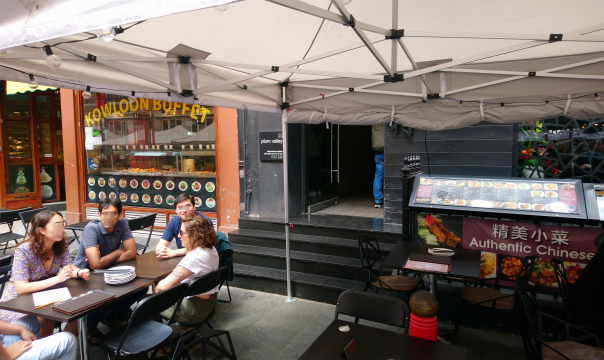
There's no parking now on the pedestrianised street. (PW)
- Capture 24
- 04 Aug 2021
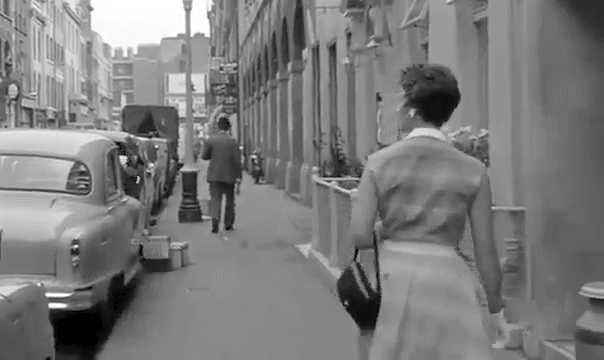
Glancing across the road, Betty Walker (Rona Anderson) spots Jim and changes course. Facing east on Gerrard Street.
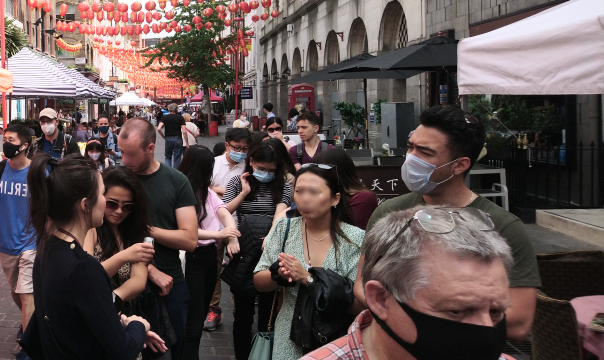
This is part of the crowd I mentioned earlier. (PW)
- Capture 25
- 04 Aug 2021
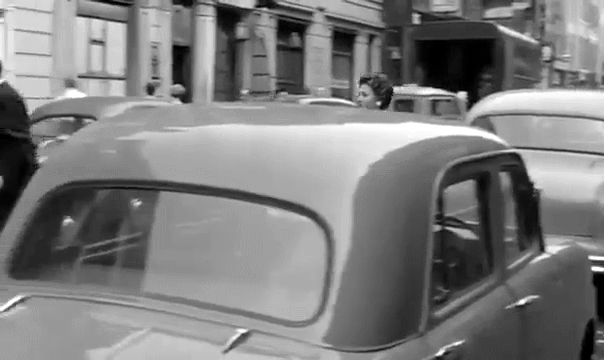
Betty crosses between parked cars. Gerrard Street in London W1.
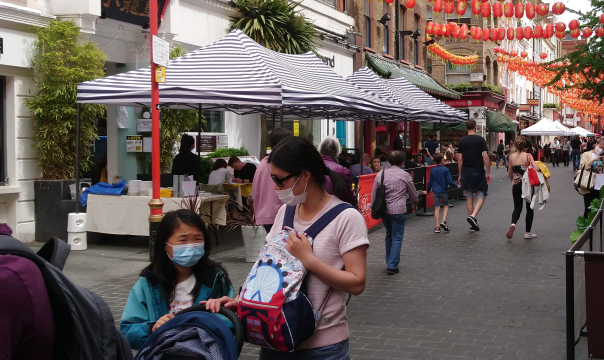
The same buildings stand in the background. (PW)
- Capture 26
- 04 Aug 2021
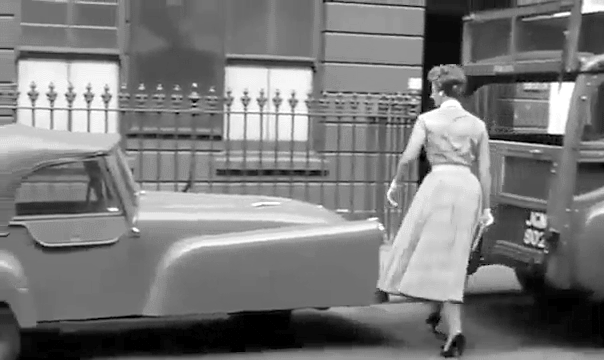
Reaching the far kerb, Betty follows Jim into the coffee bar. Gerrard Street with number 19 filling the background.
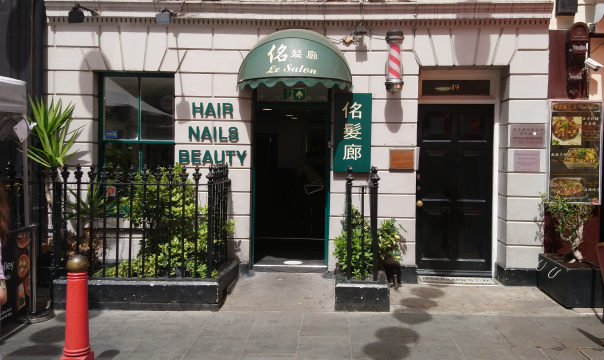
Hair, nails and beauty can be had at a redesigned number 19 now. (PW)
- Capture 27
- 'Now' required
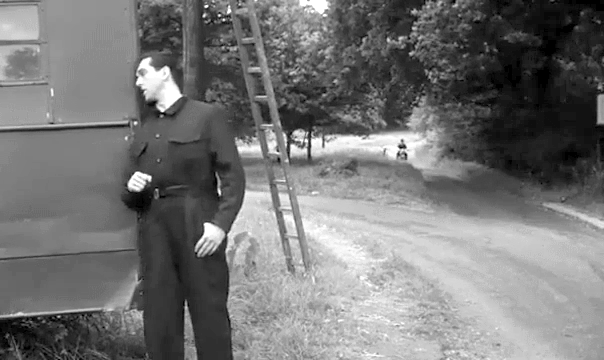
Buddy (Robert Arden) keeps a lookout as Jim fits the call diverting device to the private telephone link from Ripon racecourse to the bookmakers.
- Capture 28
- 'Now' required
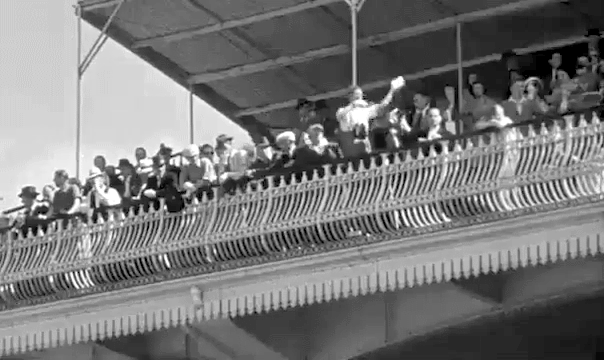
At the racecourse, Tick-Tack Men signal the odds.
- Capture 29
- 'Now' required
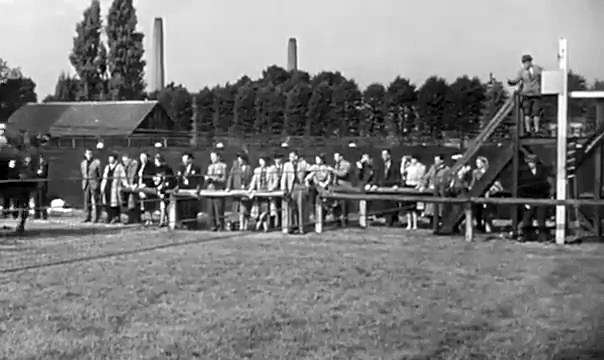
Communications between the course and the city bookmakers are intercepted by Francesi's Men who dictate the odds in their favour.
- Capture 30
- 'Now' required
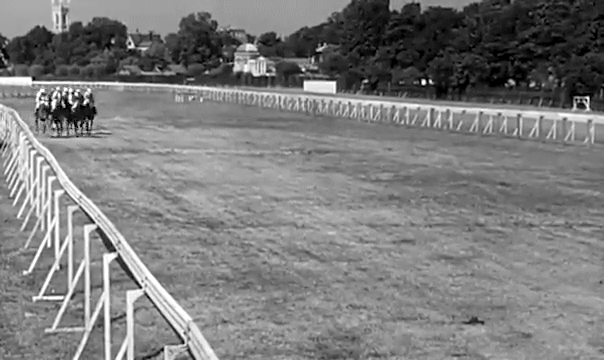
The first race gets under way. In a view also seen in 'The Calendar', this is Hurst Park in Surrey with the tower of St. Mary's church in Hampton to the top left.
- Capture 31
- 'Now' required
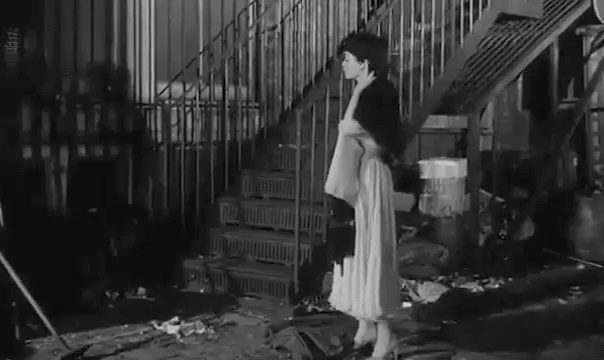
Leaving her brother's house, Bella Francesi waits while Jim fetches the car.
- Capture 32
- 'Now' required
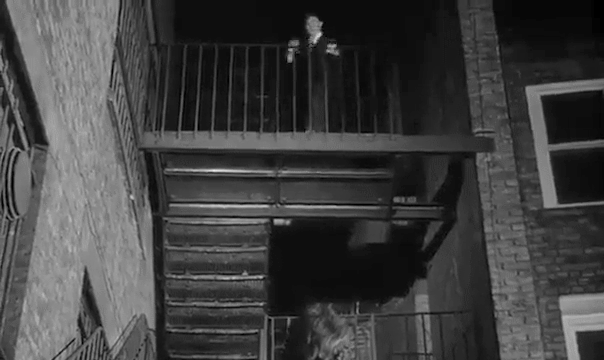
McLeod (Bernard Fox) appears on a walkway above the street.
- Capture 33
- 04 Aug 2021
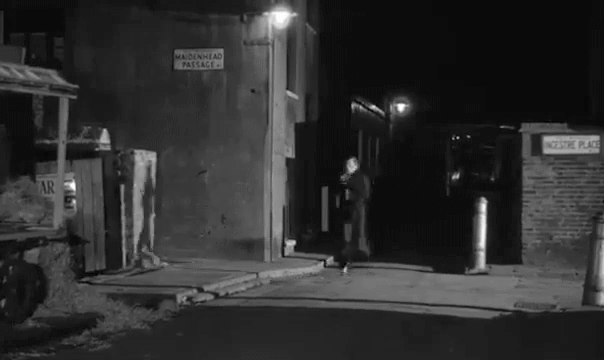
Jim chases after McLeod as Francesi's Men join the pursuit. Hopkins Street W1 with Maidenhead Passage to the left and Ingestre Place on the right. The buildings to the left can also be seen in 'K'.
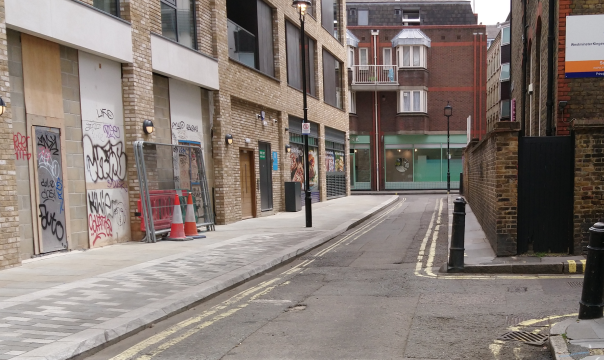
The bollards haven't been straightened in over 65 years! (PW)
- Capture 34
- 04 Aug 2021
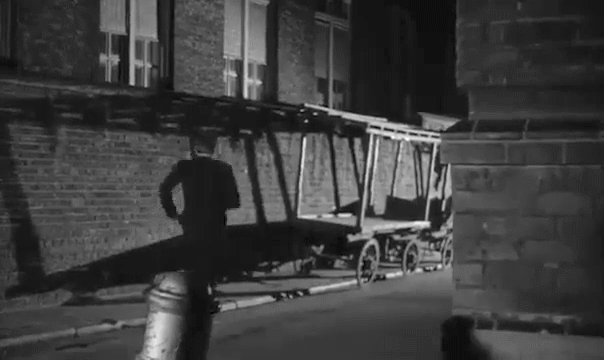
McLeod turns a corner and escapes by climbing over a wall. The corner of Hopkins Street and Ingestre Place.
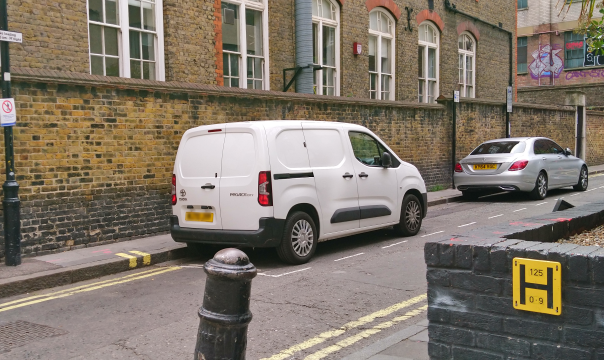
The shortened wall to the right allows a wider view. (PW)
- Capture 35
- 'Now' required
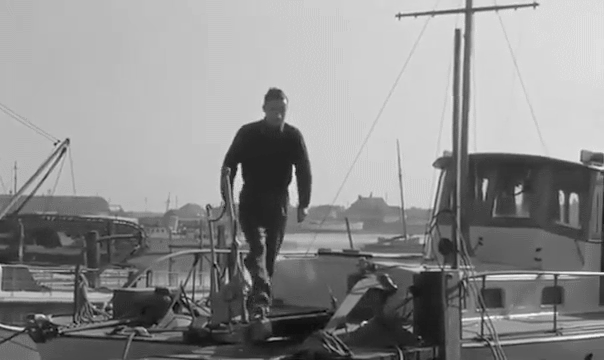
Augustino leaves his boat to answer a telephone call and receives instructions from Francesi to pick him up that night.
- Capture 36
- 04 Aug 2021
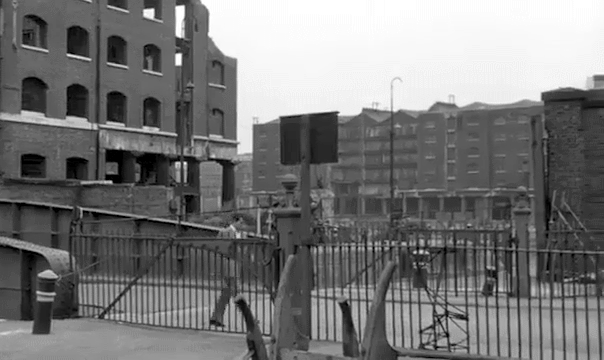
Sought by the police following McLeod's murder, Jim walks through the docks. St. Katherine's Way to the south of St. Katherine Docks in E1 with the swing bridge seen in 'The Stable Door' and 'To Sir With Love' to the left.
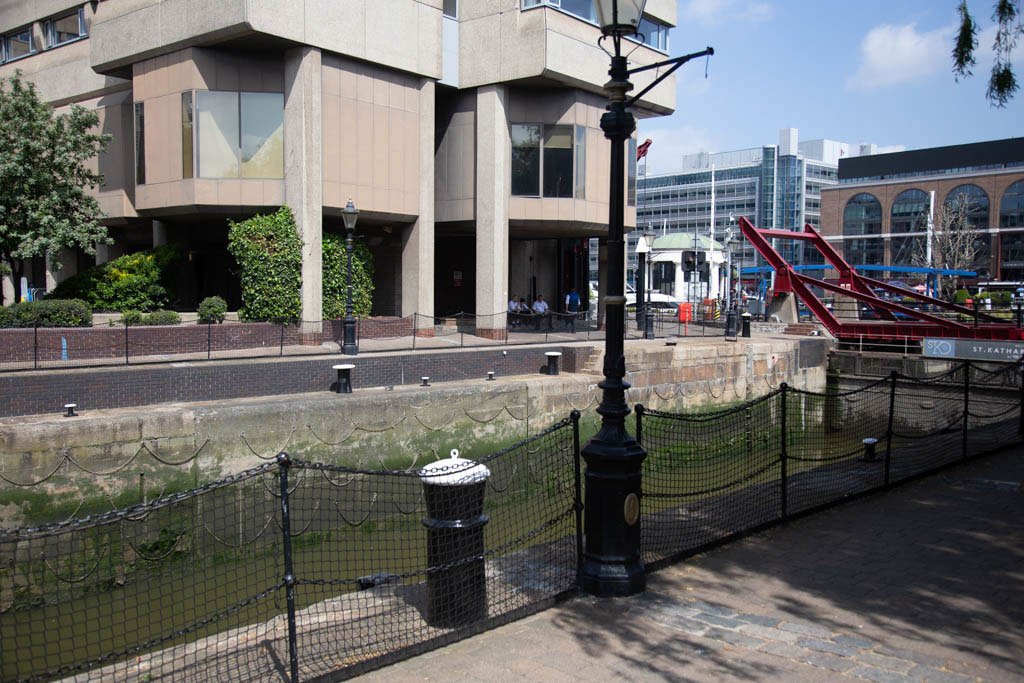
Not an original building in sight. (RL)
- Capture 37
- 04 Aug 2021
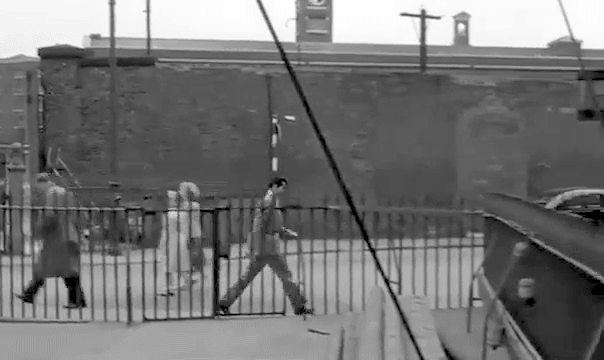
The camera follows Jim as he makes his way to a telephone kiosk. St. Katherine's Way near Harrison's Wharf.
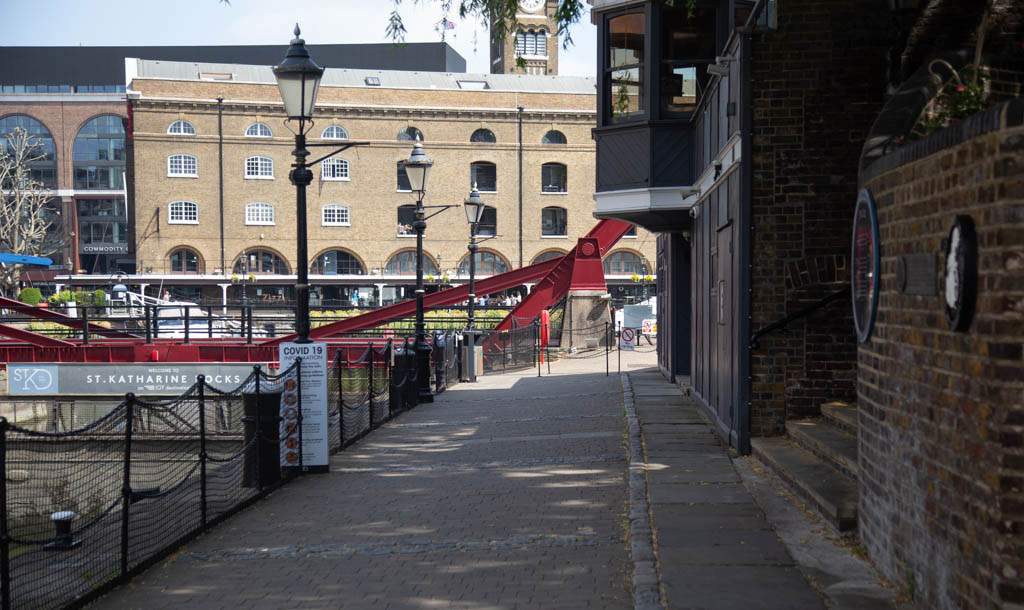
Slightly off angle because I couldn't gain access to the other side of the wall, but the view would have been blocked anyway. (RL)
- Capture 38
- 04 Aug 2021
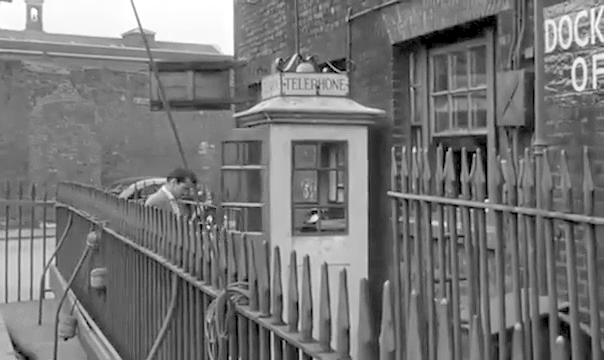
Jim enters the call box to telephone Betty. Alongside Harrison's Wharf in E1.
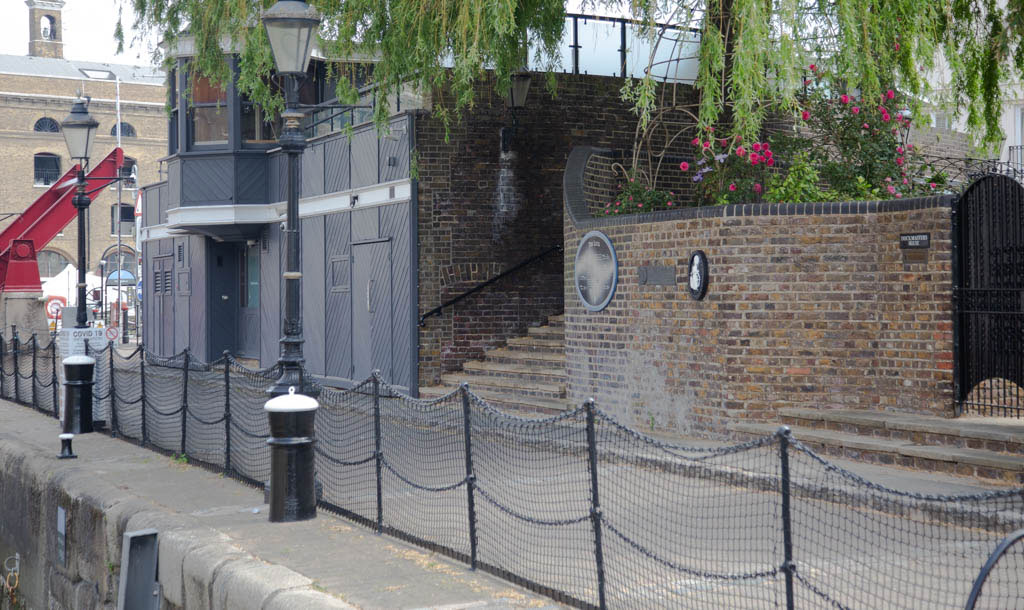
Off angle in order to capture 'that' part of Ivory House, the essential wall and window survives the other side of the black door to the right. (RL)
- Capture 39
- 04 Aug 2021
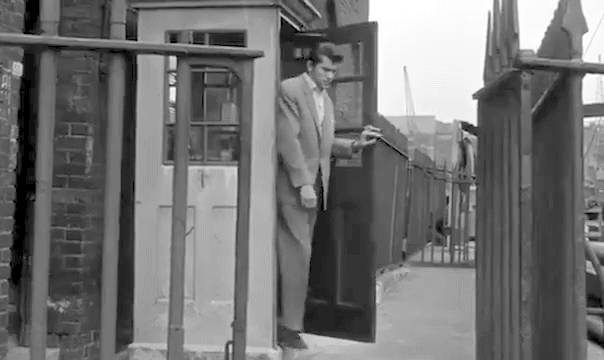
Jim leaves the telephone kiosk after learning that Bella and her brother have captured Betty and her Father. Adjacent to Harrison's Wharf on St. Katherine's Way.
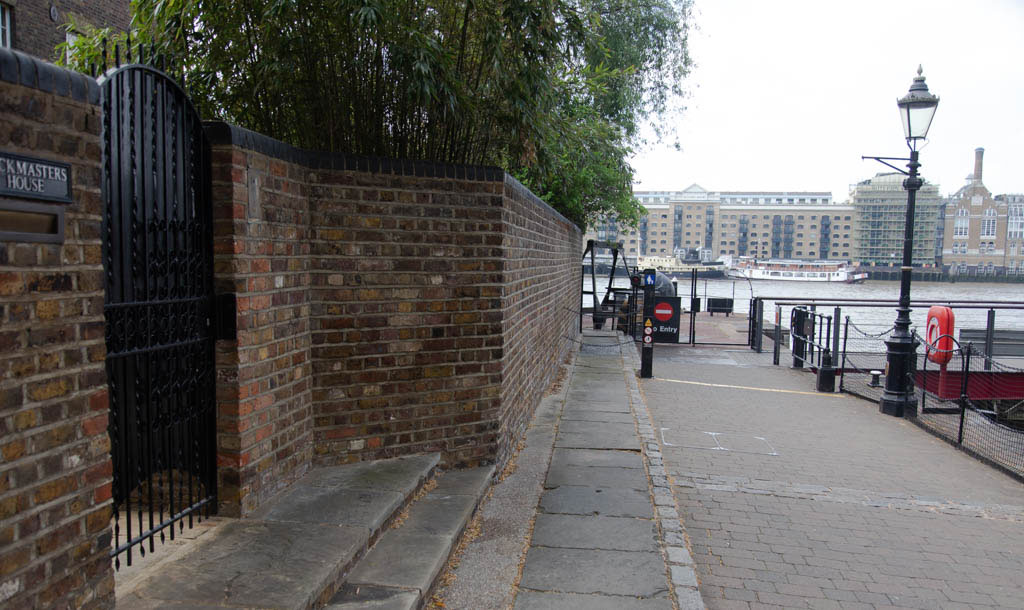
Ten meters to the left of that black gate and I would have been spot on. (RL)
- Capture 40
- 04 Aug 2021
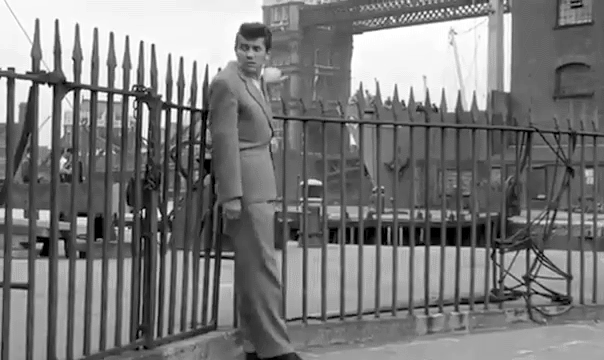
The fugitive pauses before returning to the phone box and calling Inspector Collis at Scotland Yard. St. Katherine's Way with Tower Bridge to the right.
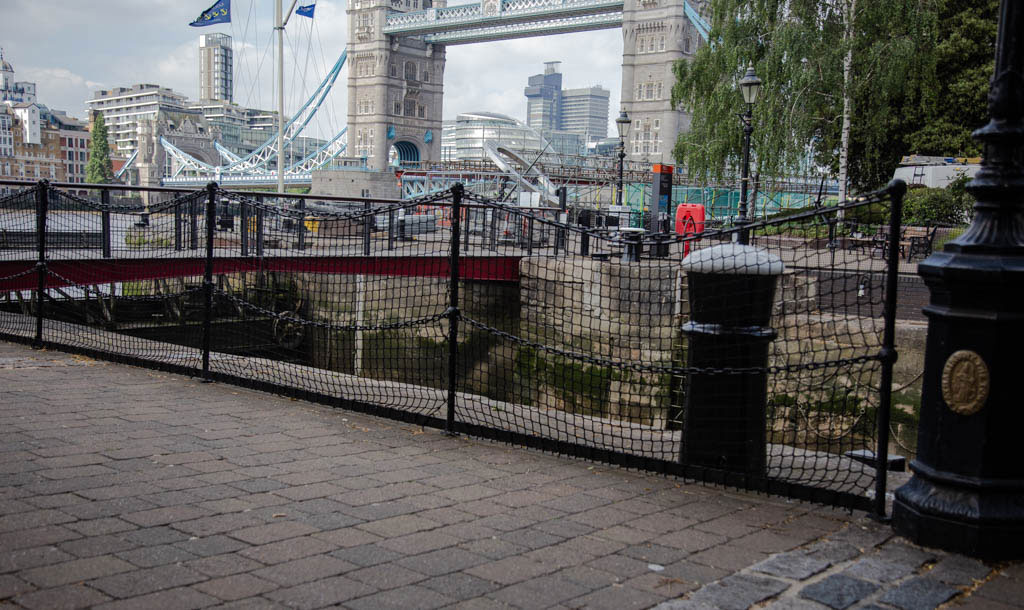
As we see in 'The Gilded Cage' there have been some important changes. (RL)
- Capture 41
- 04 Aug 2021
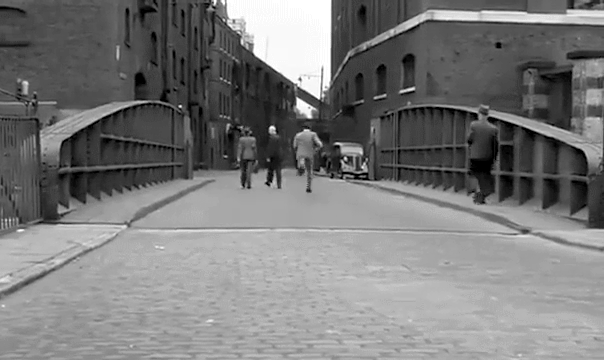
Receiving an assurance that he'll be let through, Jim races back to Betty's home. The swing bridge on St. Katherine's Way in E1 with St. Katherine Wharf to the left.
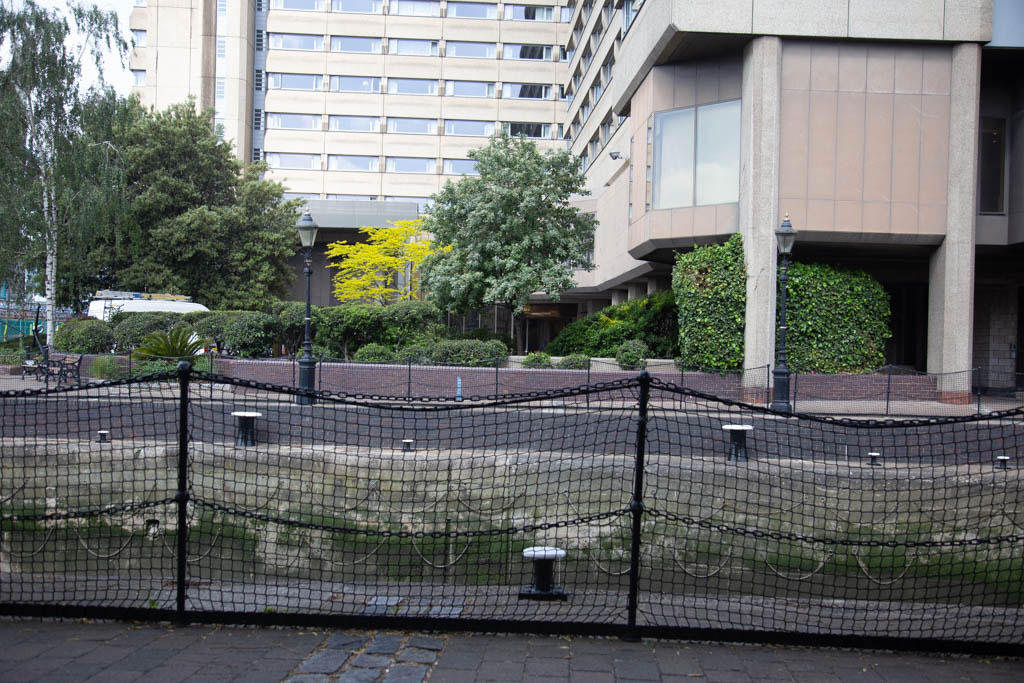
Again, like 'The Gilded Cage' it is hard to image it was such an important route into the docks. (RL)
- Capture 42
- 'Now' required
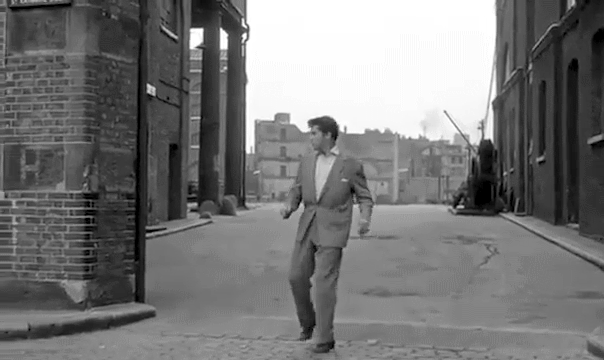
Outside the docks Jim comes to a halt when he sees a police car. Looking into St. Katherine Docks from St. Katharine's Way, E1.
- Capture 43
- 04 Aug 2021
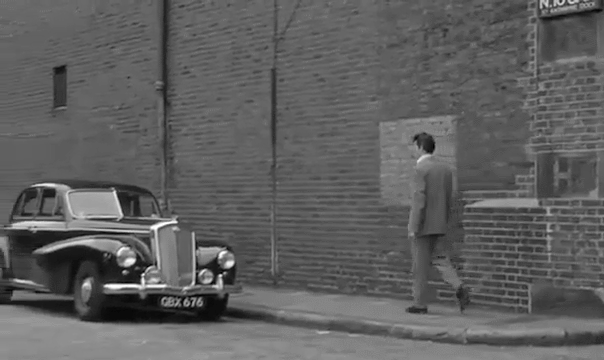
Allowing Jim to pass, the Officers inside the patrol car report that he has left the docks through number ten gate. East Smithfield to the north of St. Katherine Docks.
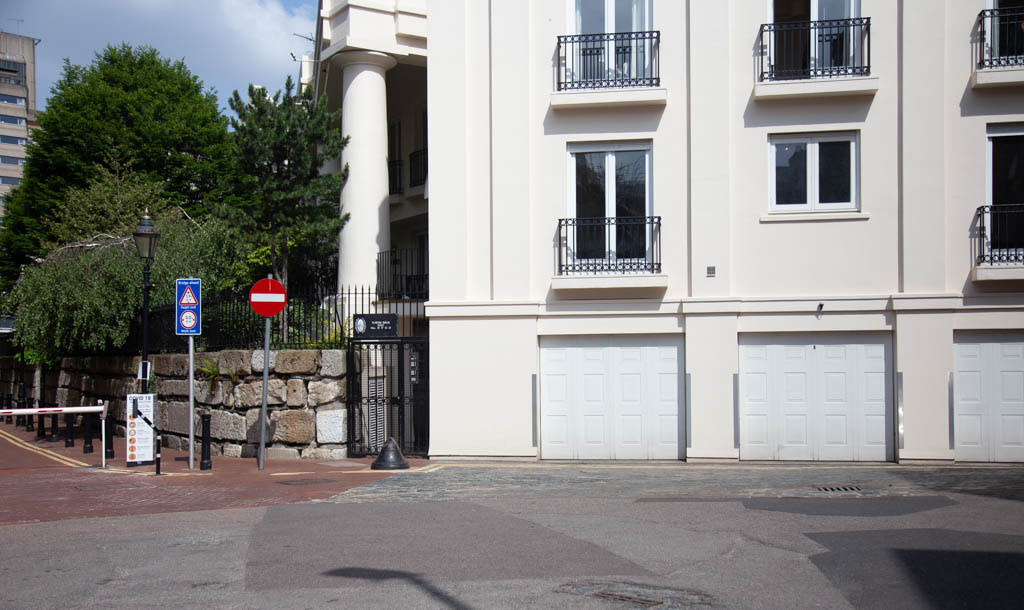
Panning left from the previous capture we see what replaced 'Warehouse H'. (RL)
- Capture 44
- 'Now' required
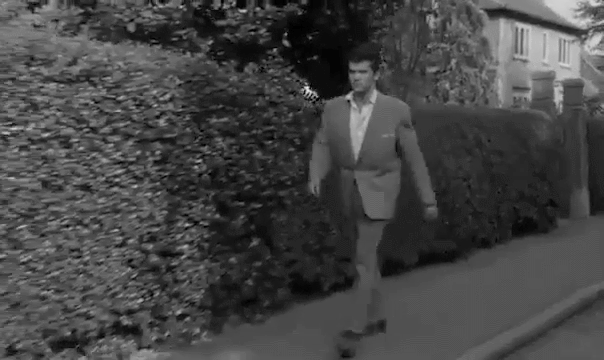
Jim nears the house where Buddy, Mick, Bella and Rico are holding Betty and Tom Walker prisoner. IMDb tells us of Walton-on-Thames in Surrey being a location.
- Capture 45
- 'Now' required
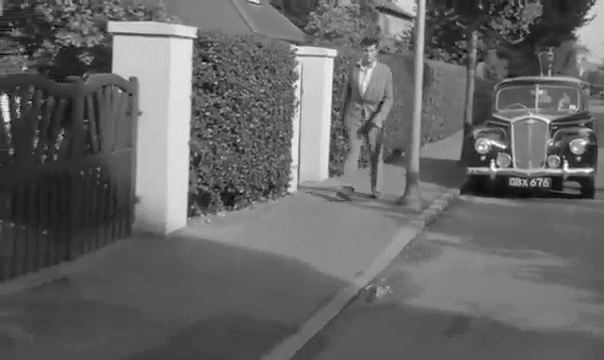
Another police car is passed.
- Capture 46
- 'Now' required
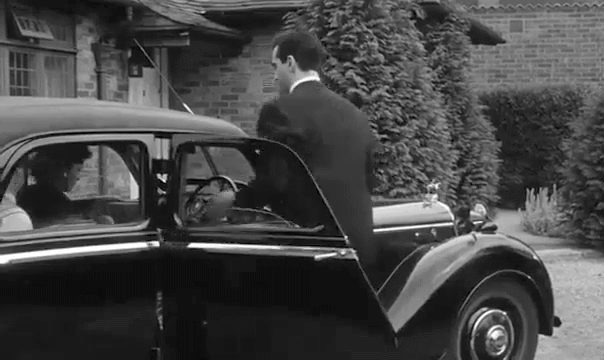
With Jim, Betty and Rico in the back of their car, Buddy and Bella get in before driving away leaving Mick behind.
- Capture 47
- 'Now' required
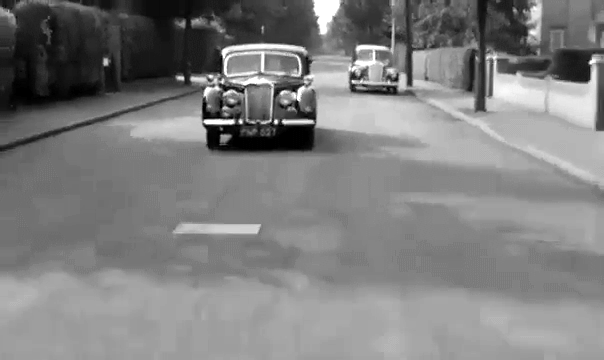
A police car remains parked as Buddy is allowed to drive on without hindrance.
- Capture 48
- 'Now' required
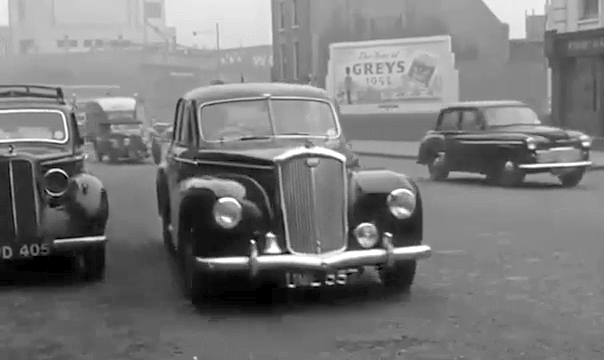
Inspector Collis and his Men follow the crooks on the road to the south coast. Dave W is not misguided by their intended destination for he see the scene as Westminster Bridge Road SE1 looking east towards the Waterloo signal box above Addington Street. (RL)
- Capture 49
- 04 Aug 2021
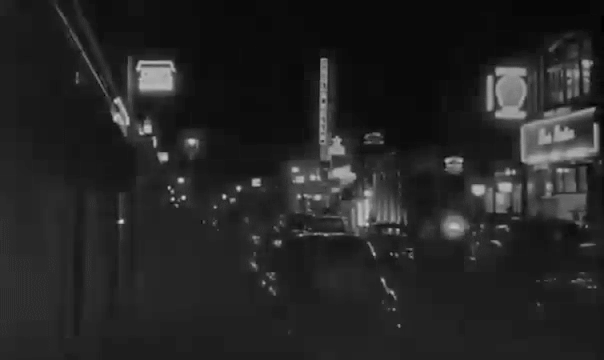
We return to Soho for the film's end credits. Frith Street W1 with Bar Italia to the right.
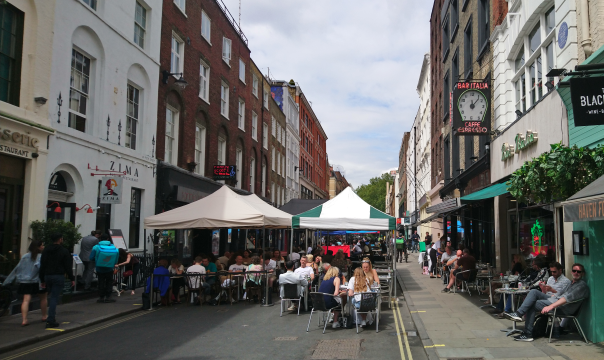
Currently a street where friends enjoy al fresco dining. (PW)