
Weapon, The
Date: 1956
Director: Val Guest and Hal E. Chester
Production Company: Periclean Poductions
Stars: Steve Cochran, Lizabeth Scott, George Cole, Herbert Marshall, Nicole Murrey, Jon Whiteley, Laurence Naismith, Stanley Maxted, Felix Felton, Denis Shaw, John Horsley, Fred Johnson
Location(s): London
Region(s): London T-Z
Storyline:
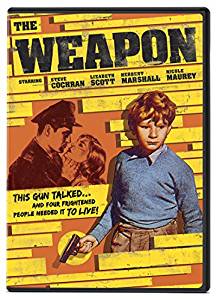
A boy accidentally shoots a friend with a gun he found in the rubble of a destroyed building. The gun turns out to be a clue in a ten-year-old murder case.
Additional Information:
Originally uploaded by John Tunstill in 2015 from a very poor VHS copy of the film, it has been revisited by Richard Lovejoy in 2023 from an improved copy issue and with additional screen captures.
An explanation of the location identification for Captures 94 and 95 can be read by clicking here.

As an Amazon Associate, we earn from qualifying purchases.
Can you help:
If you have any information regarding this production, the locations or, even better, some comparison shots please contact us. Images submitted must be in Landscape orientation, as would be seen on the cinema screen, not Portrait.
We are aware that there are films on the site that were added when the criteria for the inclusion of locations was very different from today and, as a result, there may be scenes missing from some productions. Please do not forward additional screen captures to us but bring the detail to our attention, for we do, and are, 're-addressing' these older entries as time allows.
- Capture 1
- 'Now' required
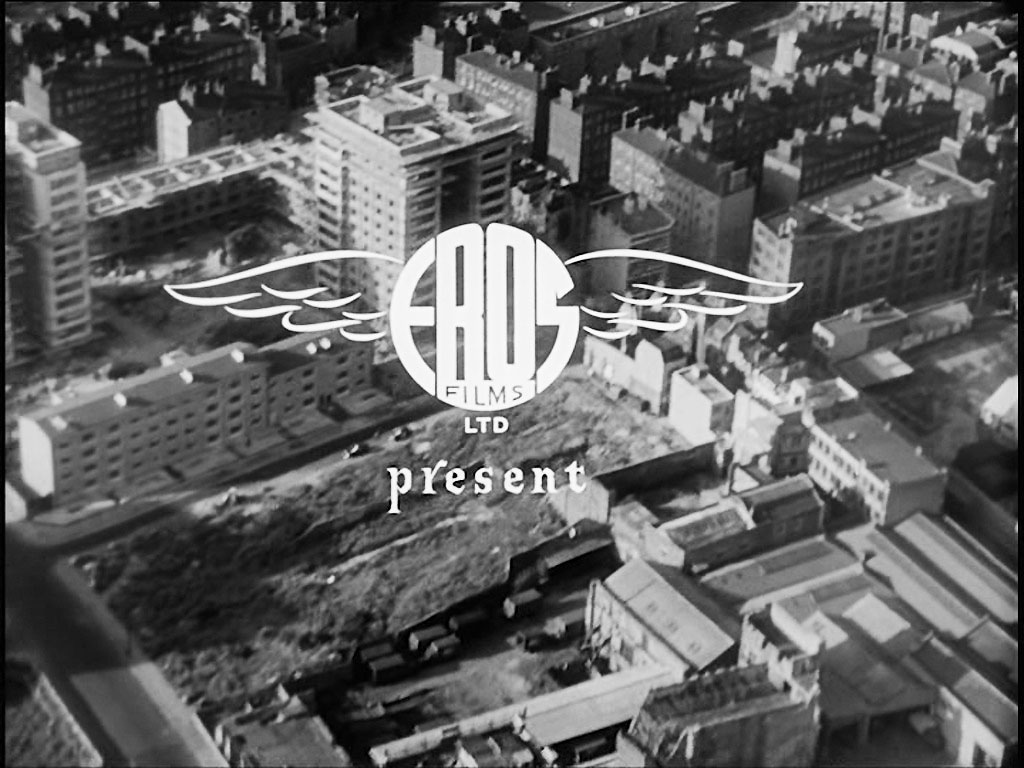
As the credits roll we are taken on an aerial view over parts of London that ends where the films action starts. With thanks to Dave W for identifying the location of Capture 6 as a result of which these previous locations have been established. ‘Eros’ hides the entrance to St Mary’s Tower, Fortune Street, London EC1 that is seen in ‘London Blitz Scenes Revisited’ Captures 27 and 28.
- Capture 2
- 'Now' required
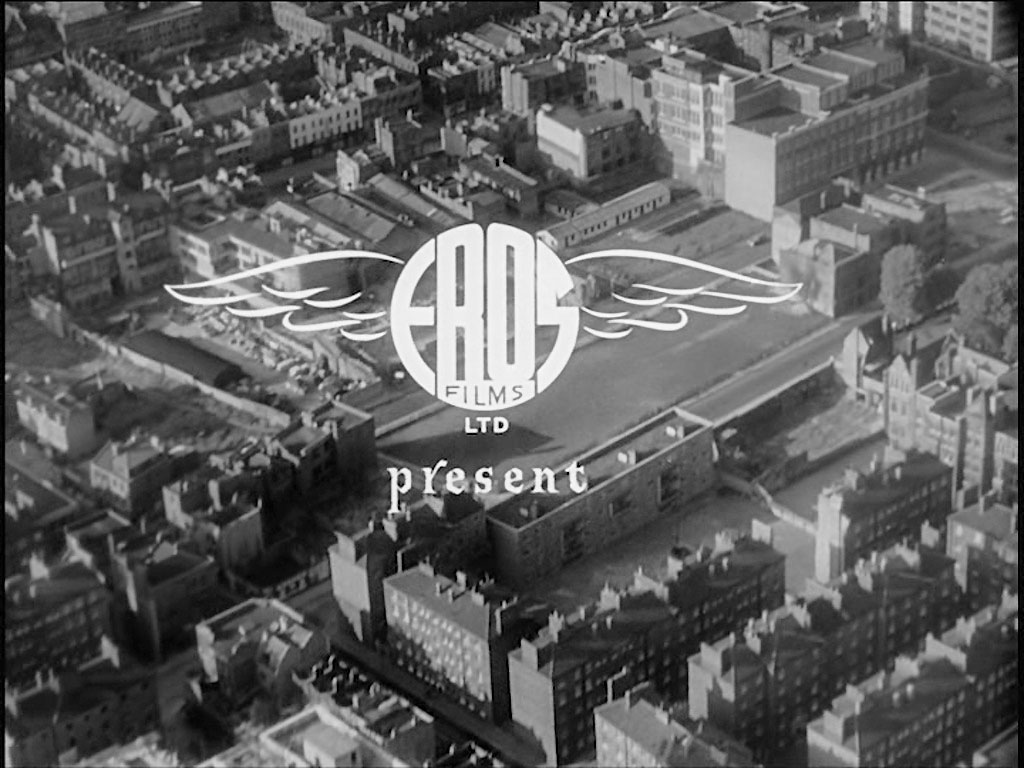
The right hand lower quarter contains the Peabody Estate bounded by Roscoe Street and Whitecross Street, EC1
- Capture 3
- 'Now' required
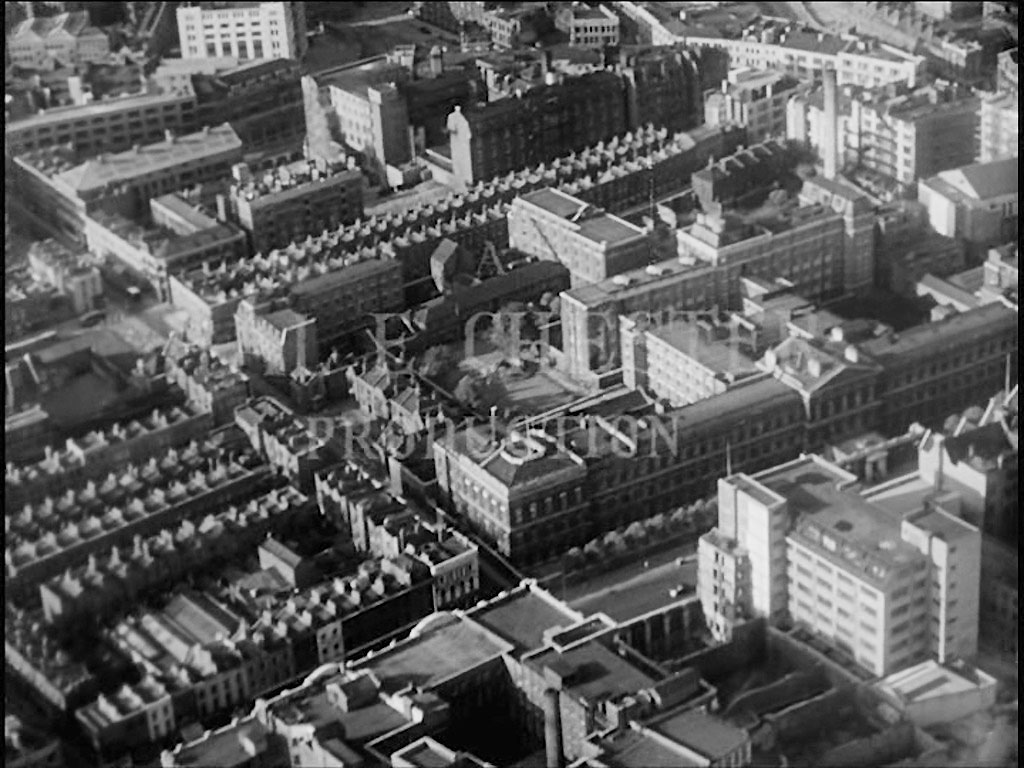
The fading ‘……..TION’ of ‘PRODUCTION’ highlights what was the ‘St Luke’s Printing Works’ in Old Street, EC1. A more detailed photograph together with further information can be viewed on ‘London Picture Archive’ 63311.
- Capture 4
- 'Now' required
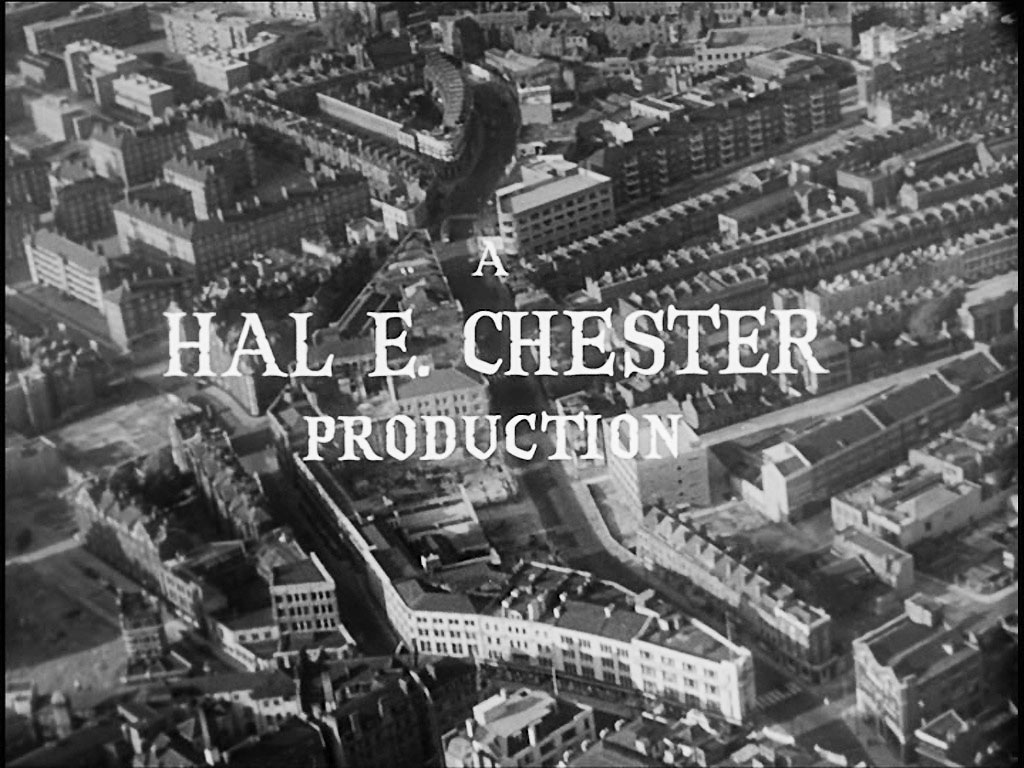
Fronting City Road, EC1 the curved white building also marks East Road to its rear.
- Capture 5
- 'Now' required
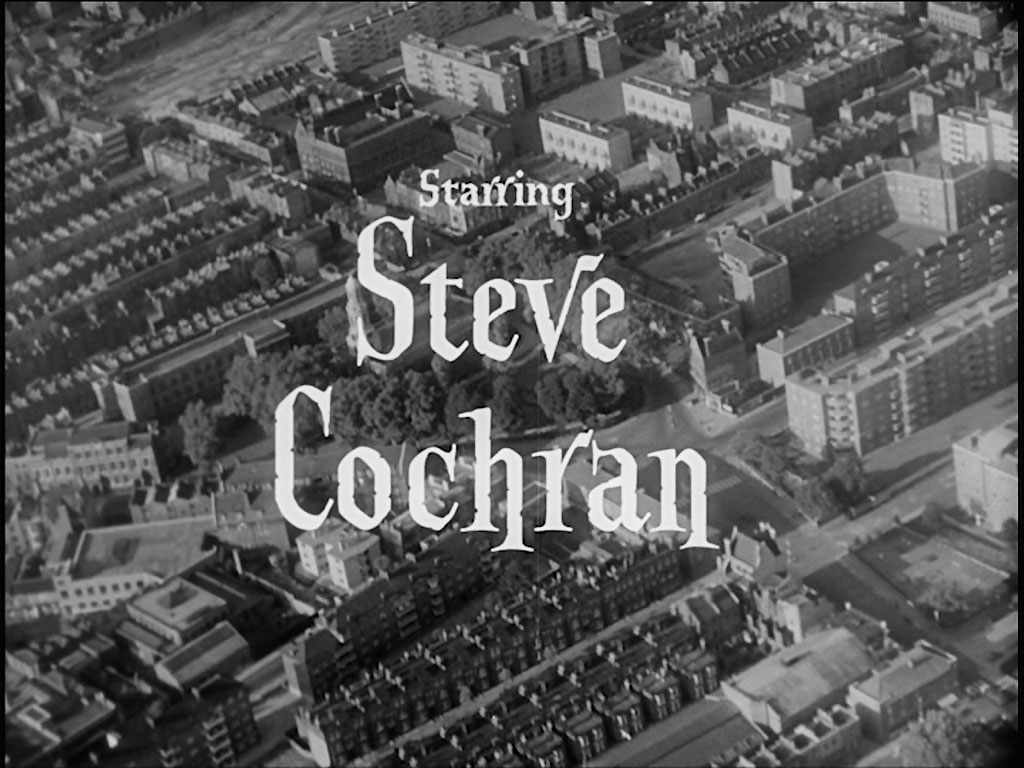
‘Steve’ hides ‘St John the Baptist Church’ Hoxton at the apex of Pitfield Street, N1 and New North Road. An additional thanks to Dave W.
- Capture 6
- 'Now' required
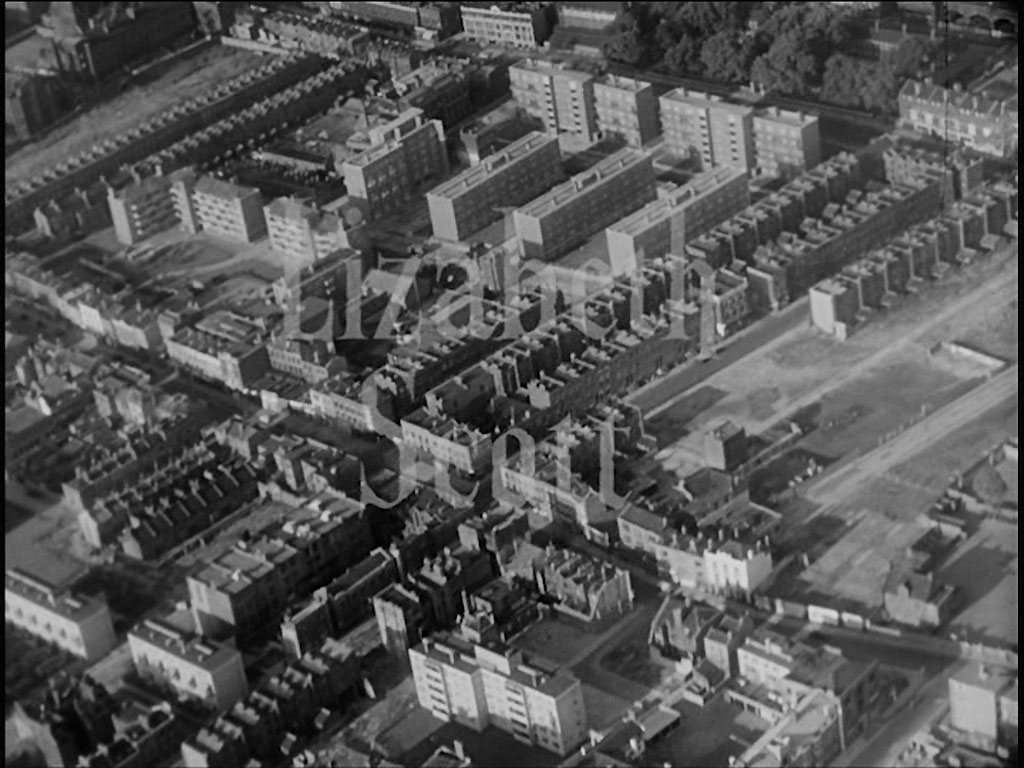
Before a fade and a cut to further filming we are left with the sight of trees, on the upper Capture edge, of the ‘Shoreditch Gardens’ situated on the lawns of the ‘Geffrey Museum of the Home’, Kingsland Road, E2 Established by Dave W.
- Capture 7
- 'Now' required
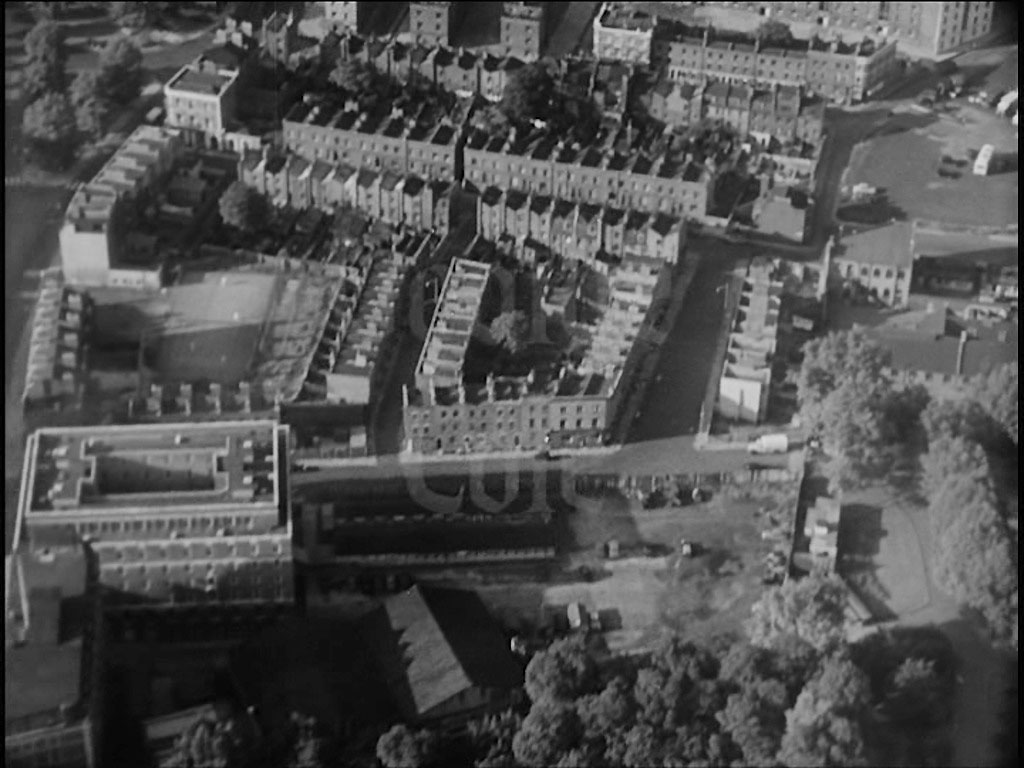
Whilst Lambeth Palace Road can be seen to the extreme left of the capture, additions to St. Thomas’ Hospital virtually occupies the whole of the remainder.
- Capture 8
- 'Now' required
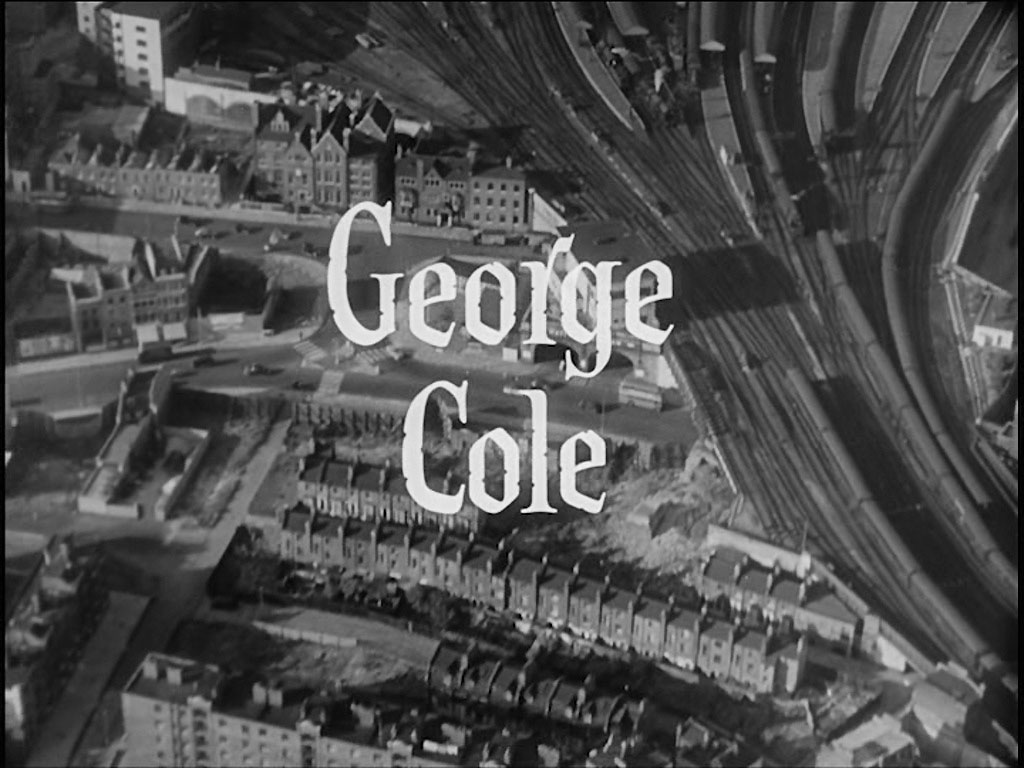
‘George Cole’ introduces us to the southern end of Waterloo Station and highlights the current day location of the Park Plaza Hotel, Bridge Road/Westminster Bridge Road/Addington Street, SE1.
- Capture 9
- 'Now' required
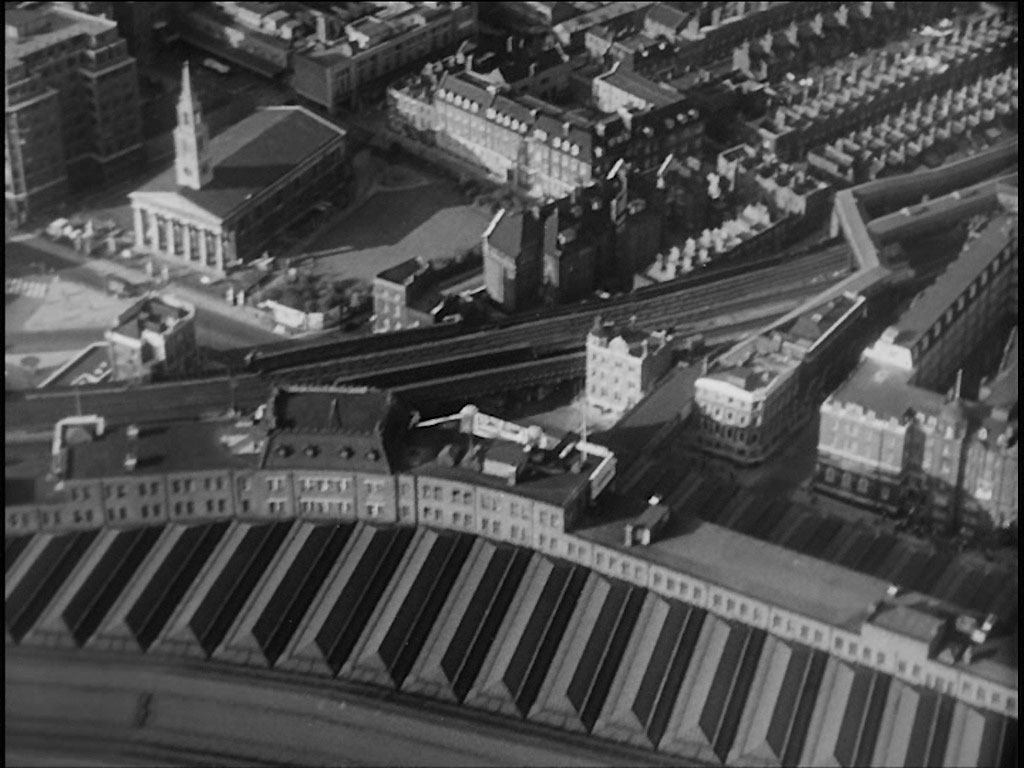
The roof of Waterloo Station fills the lower half of the capture but clearly visible on the left hand side is St. John’s Church, 73 Waterloo Road, SE1. To the right of the capture the footbridge leading from Waterloo Station to Waterloo East Station is visible.
- Capture 10
- 'Now' required
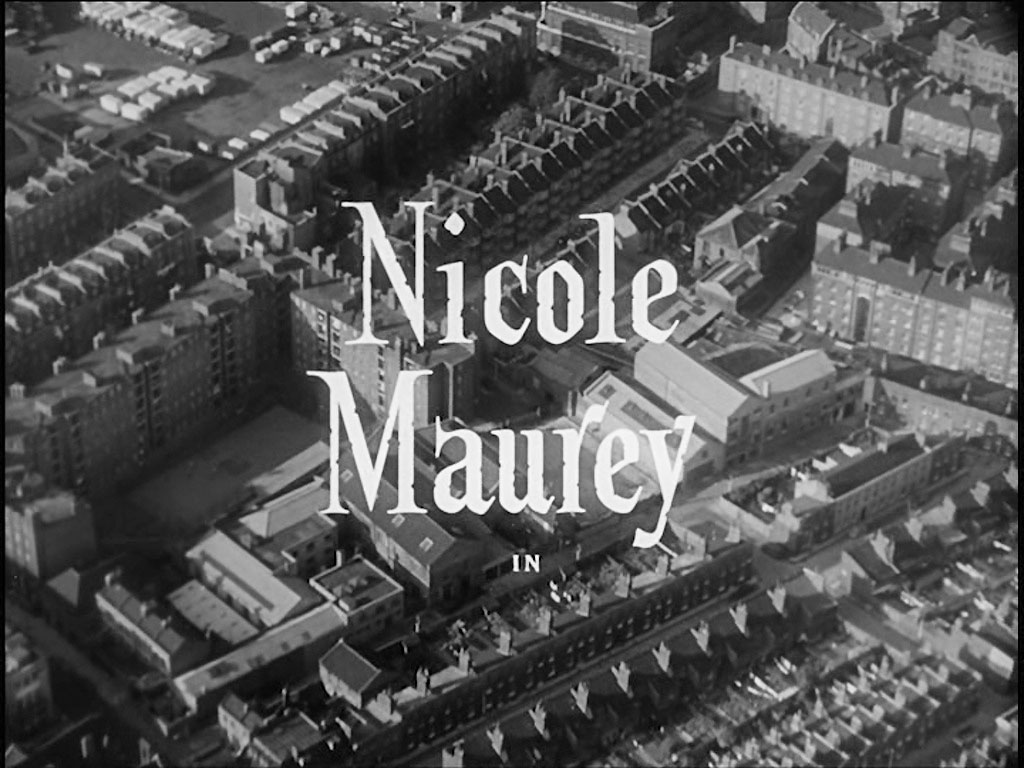
Stamford Street emerges from the left hand side, to leave the capture top center, to the right of which is a white banded school building, currently known as 'The London Nautical School'. To the right of ‘Nicole’ is the Duchy Street Peabody Estate, SE1.
- Capture 11
- 'Now' required
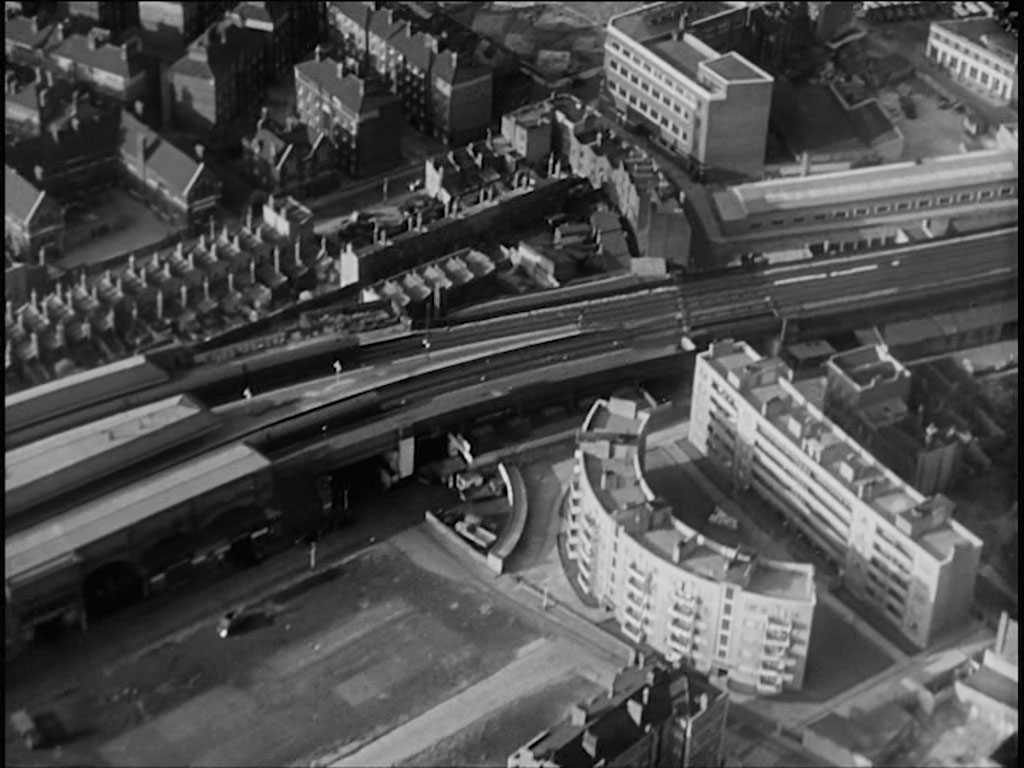
Waterloo East Station emerges from the left hand side of the capture and as the line crosses to the opposite side of the capture the telephone exchange on the corner of Hadfields and Meymott Street is prominent above it whilst the apartment blocks Tait House (curved) and Benson House are clearly visible below it.
- Capture 12
- 'Now' required
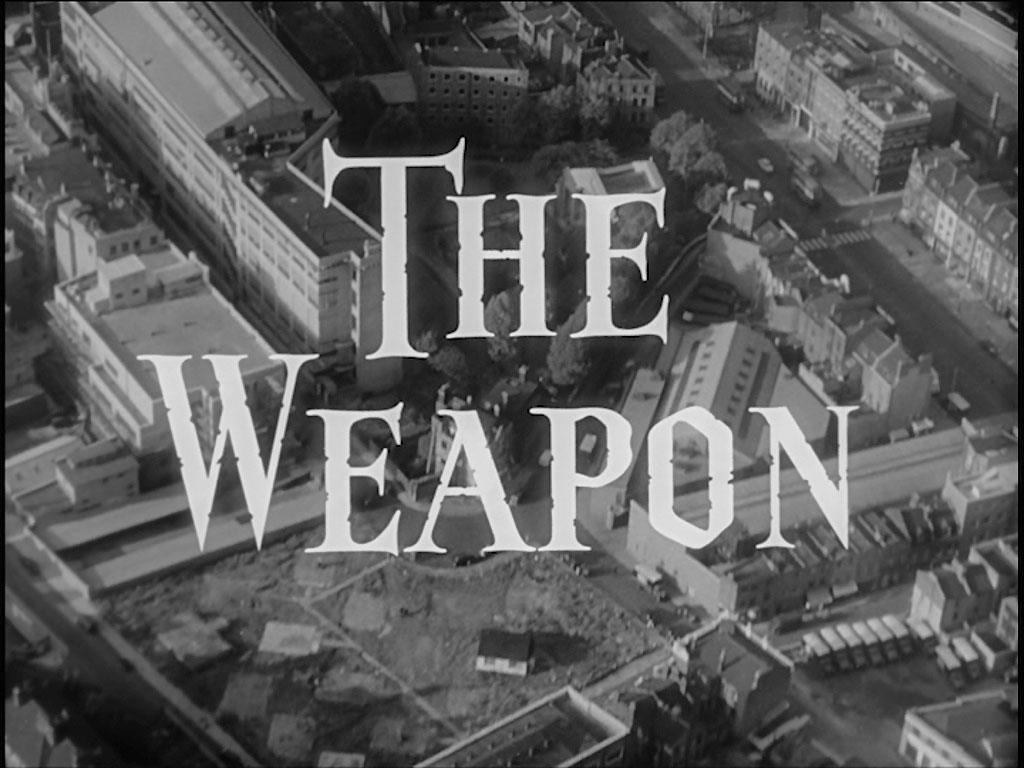
Leaving the top left hand corner is Paris Gardens travelling ‘south east’ in the capture, the property on its right hand side being demolished circa 2017. Blackfriars Road, SE1 is on the right hand side of the capture with the zebra crossing near its junction with Burrell Street.
- Capture 13
- 'Now' required
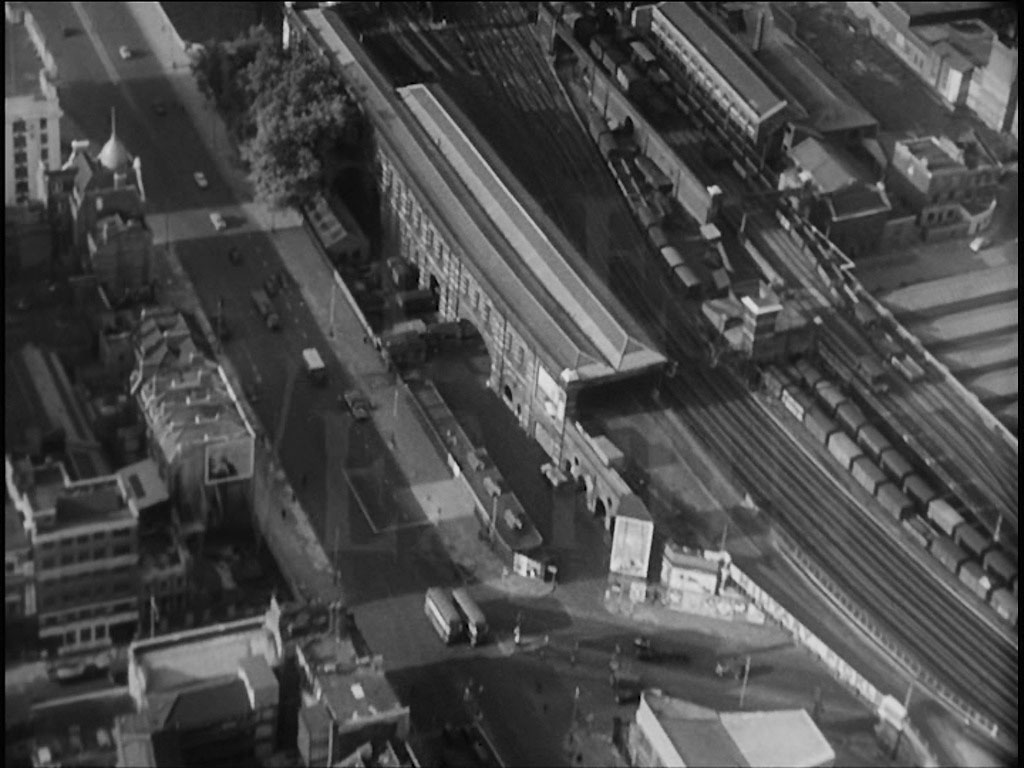
About to leave the southern side of the River Thames, road traffic is seen on Blackfriars Road and to its right a British Rail Goods Station. The many lines taking both goods and passenger traffic to Blackfriars and Holborn Viaduct Stations.
- Capture 14
- 'Now' required
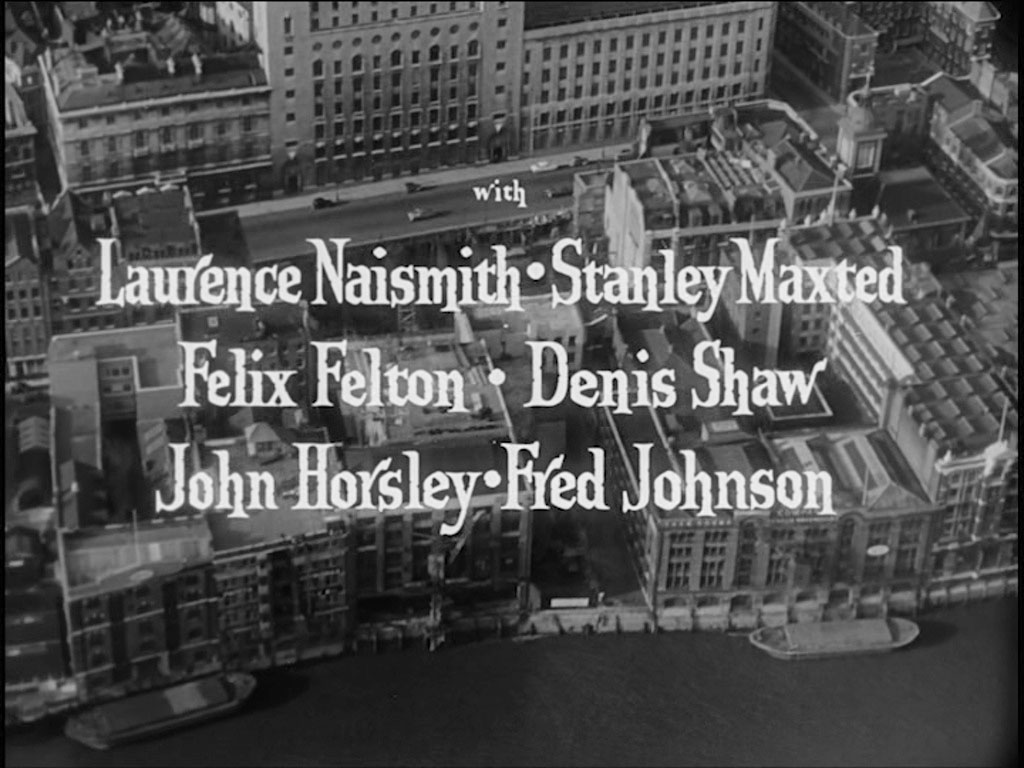
Crossing to the northern shore of the Thames the Faraday Building on Queen Victoria Street fills the top of the capture with the end of Goldiman Street, EC4 to its right hand side. The various wharves fronting the River have all now been replaced.
- Capture 15
- 'Now' required
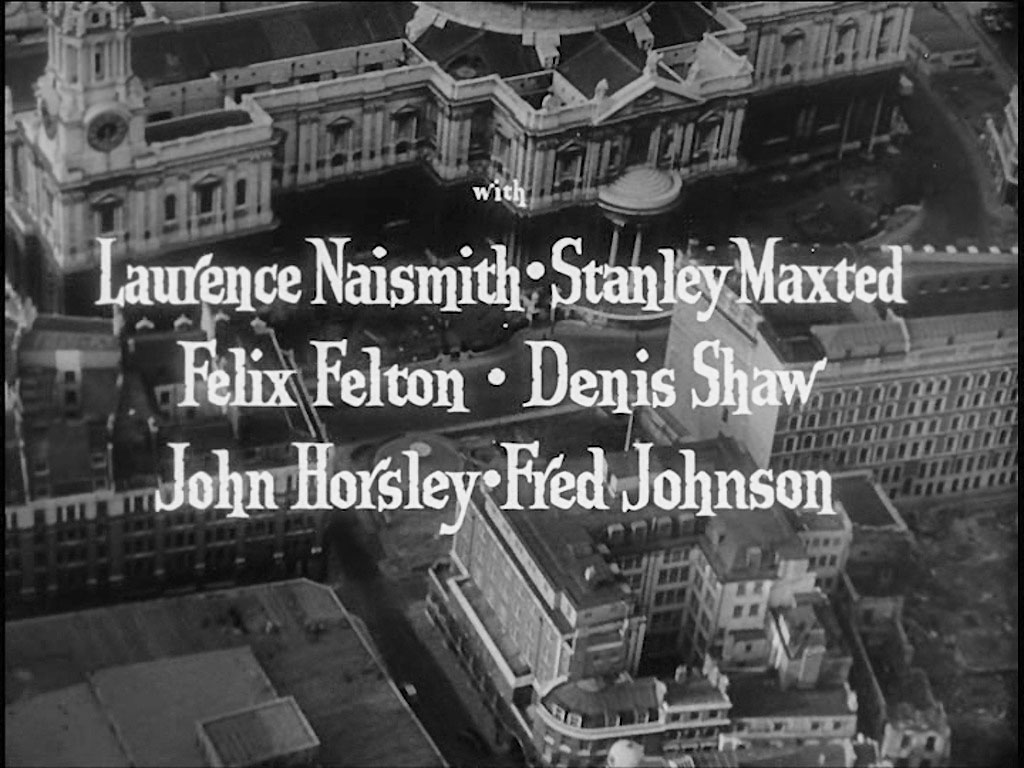
St. Paul’s Cathedral occupies the upper part of the capture as we follow Goldiman Street southwards left of center and its junction with Knightrider Street, EC4 just appearing at the bottom center.
- Capture 16
- 02 Oct 2023
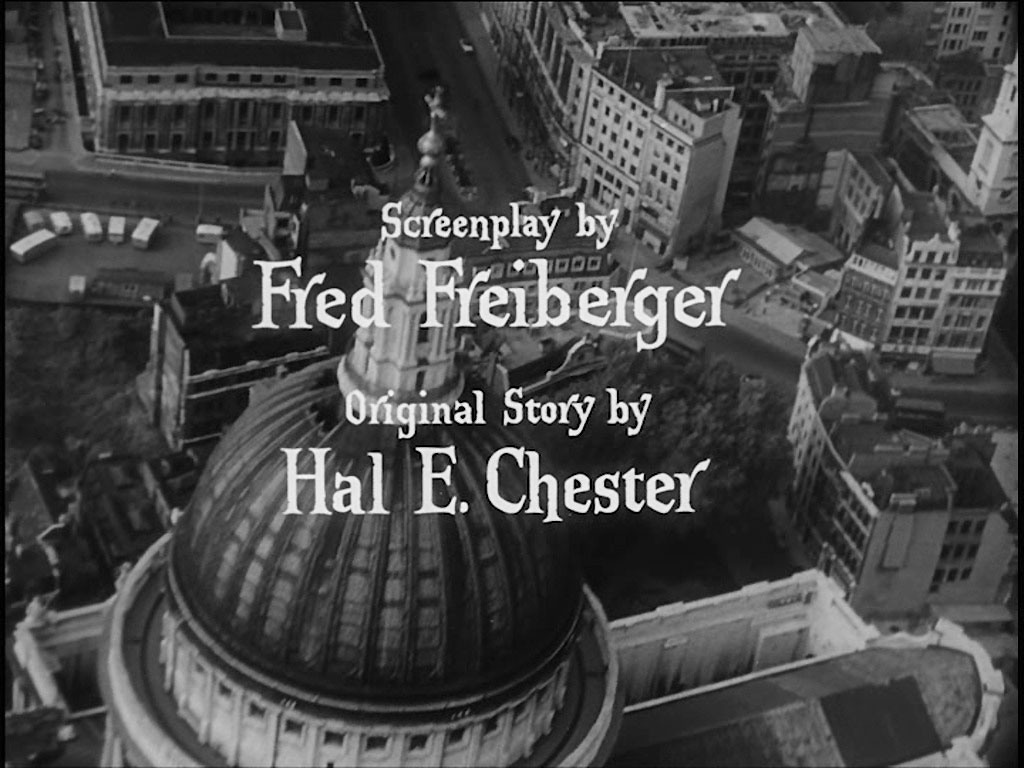
St. Paul’s Cathedral clearly takes center stage here, with St. Martin’s Le Grand going off to the north, Cheapside to the right and St. Paul’s Churchyard seen upper left.
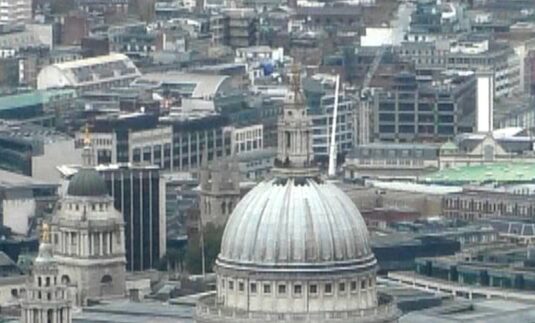
John Harwood took this from the London Shard. Although off angle, this may be the best one can do. I certainly can't imagine a drone flying over here. (SJ)
- Capture 17
- 'Now' required
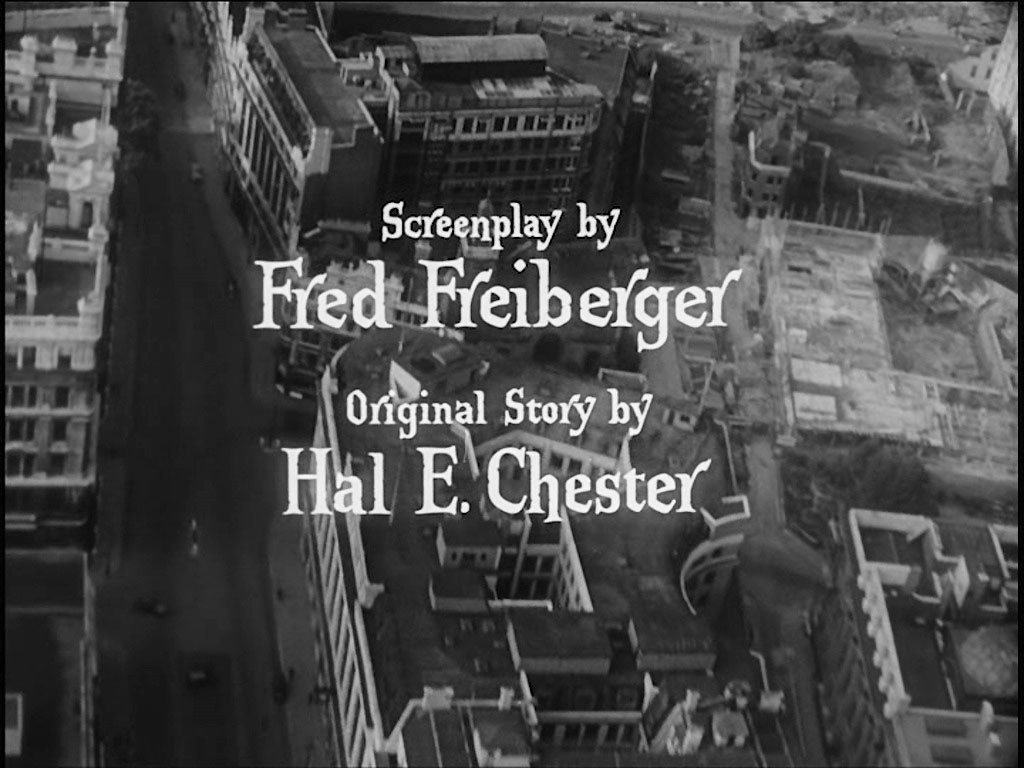
Aldersgate Street, EC1 seen to the left top to bottom of the capture with ‘Fred Frieberger’ marking the route of Gresham Street. In the lower right hand corner is Goldsmiths’ Hall in Foster Lane.
- Capture 18
- 'Now' required
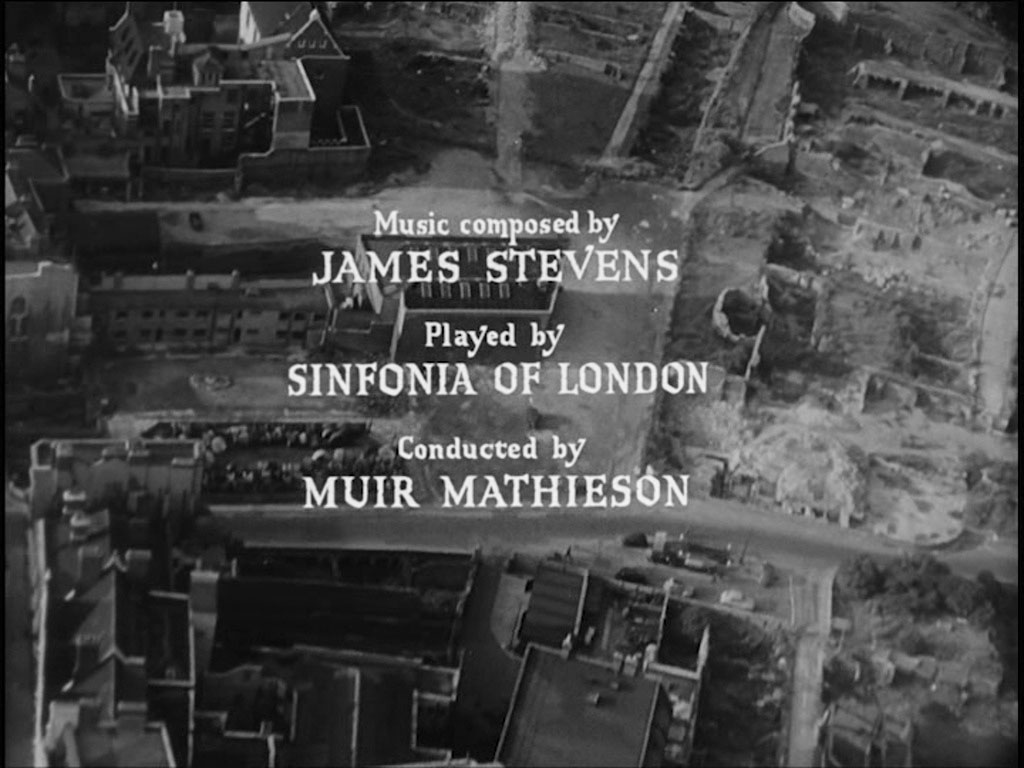
In the top left hand corner is Ironmongers Hall. Just right off center is the round of Roman Fort Gate (150 London Wall, EC2) original London Wall. ‘Muir Mathieson’ rests on what was Falcon Street as it leads into Falcon Square before exiting as Silver Street.
- Capture 19
- 'Now' required

We look down on Jewin Crescent, Jewin Street crossing left to right below, Australian Avenue going off ‘north west’ to the left of the building and a part of Red Cross Street appearing across the top right hand corner. All now part of the Barbican development.
- Capture 20
- 'Now' required

A clear and precise view of the last remaining building in Jewin Crescent after the bombing that can also be seen in ‘It’s Not Cricket’, ‘The Key Man’, 'It Happened Here’ and ‘London Blitz Scenes Revisited’. Now part of the Barbican development.
- Capture 21
- 'Now' required
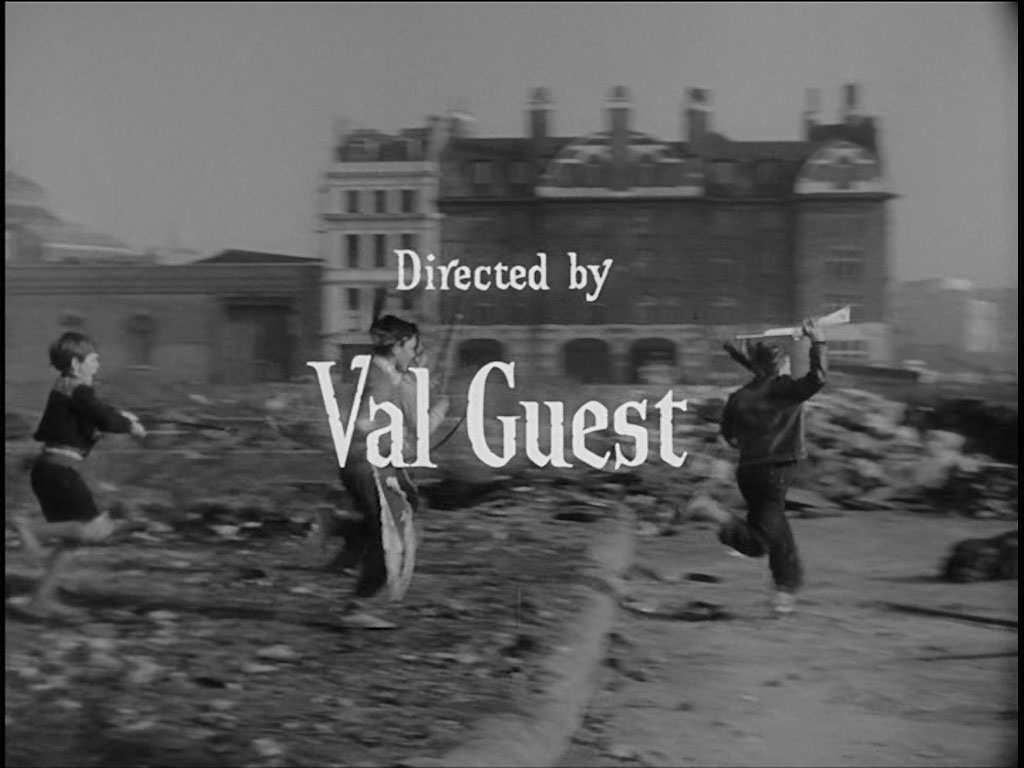
The camera moves in to see a group of boys dressed as ‘Cowboys and indians’ playing in the ruins. Jewin Street looking towards Red Cross Street/Fore Street, EC2 Fire Station in the background.
- Capture 22
- 20 Mar 2025
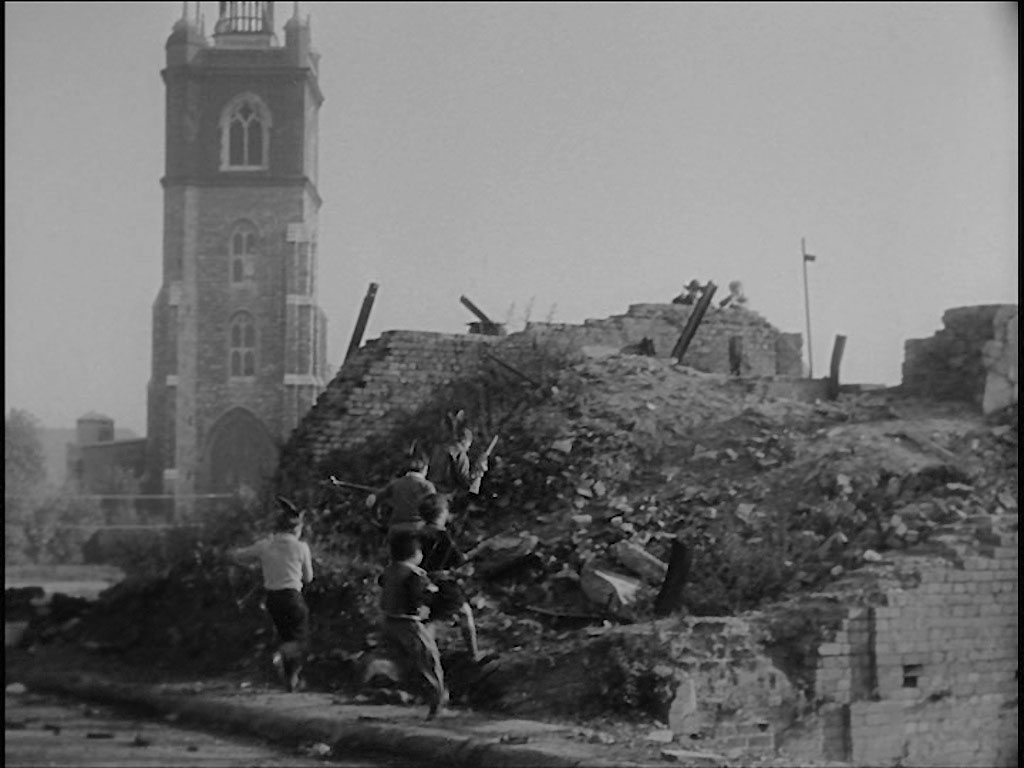
The ‘gang’ storm the mound whilst under fire. St Giles-without-Cripplegate on Fore Street, EC2 in the background.
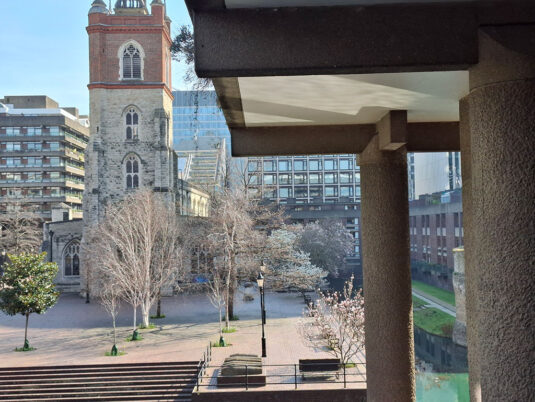
'The mound' having been turned into 'Barbican', Paul Lincoln visited to see the resultant changes. (RL)
- Capture 23
- 20 Nov 2015
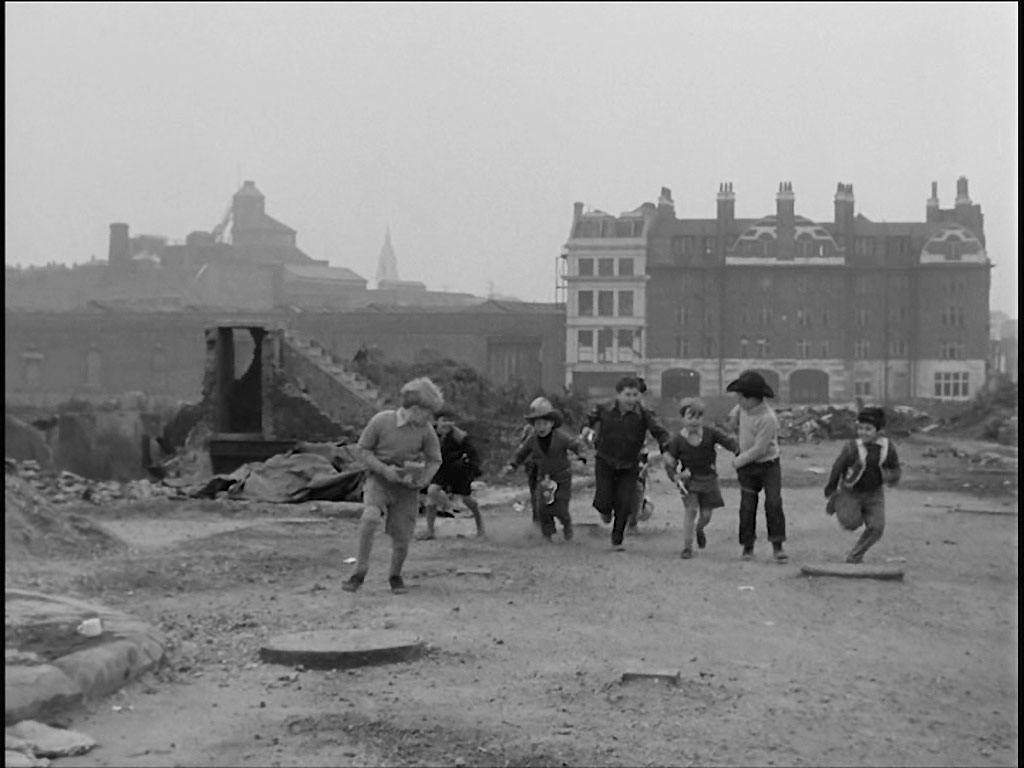
Having decided to play ’cops and robbers’, it was decided that Erik Jenner (Jon Whiteley) would be the ‘baddy’ and had to go and hide from the ‘cops’. Whilst temporarily trapped in a fall of rubble he finds a gun that he is reluctant to share with the rest of the gang. Once again Jewin Street looking towards Red Cross Street/Fore Street, EC2 Fire Station in the background. The Whitbead Brewery, Chiswell Street, EC1 the the left distant background.

Only residents are allowed at ground level. (RL)
- Capture 24
- 18 Nov 2015
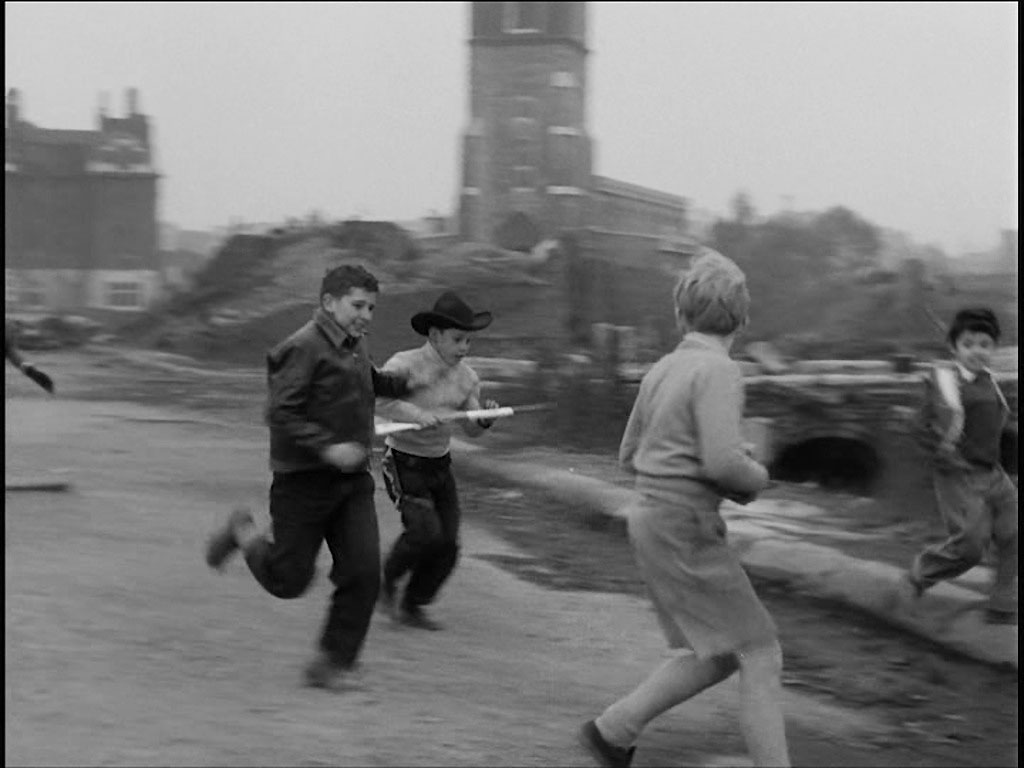
All of a sudden he is the enemy, ('your mother’s a foreigner and so are you'). A further view of the Red Cross Street/Fore Street Fire Station and St Giles-without-Cripplegate from Jewin Street.

The tower has been cleaned, unless it is the lighting. (RL)
- Capture 25
- 'Now' required
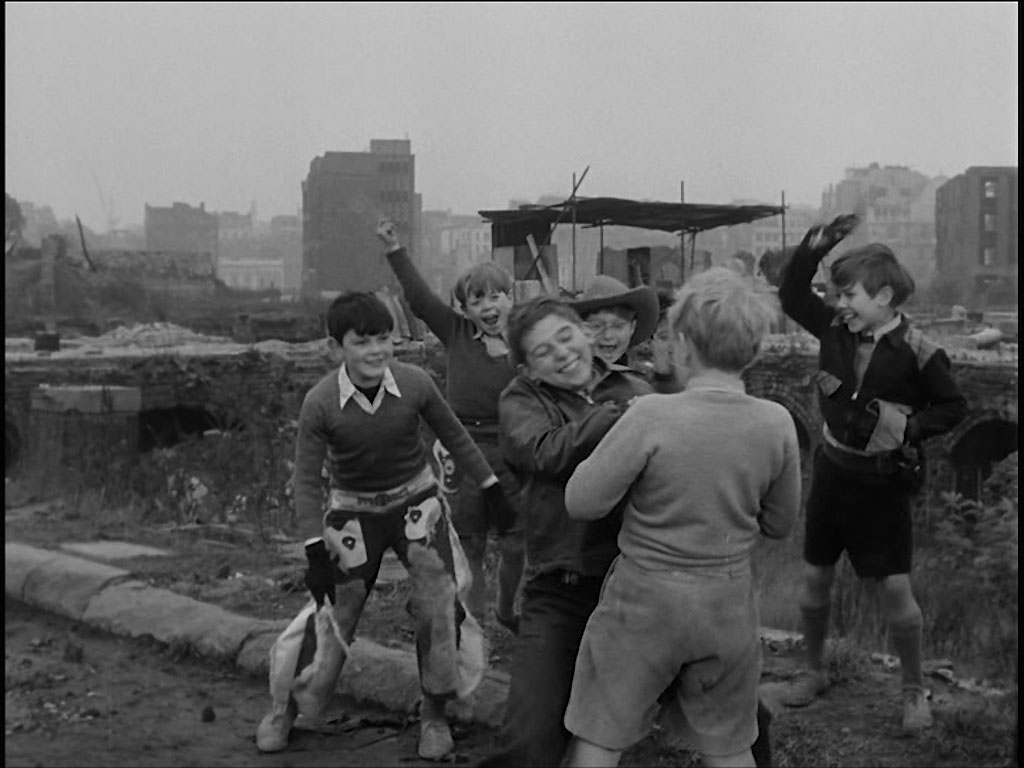
A struggle ensues to take the gun off Erik. Jewin Street.
- Capture 26
- 'Now' required
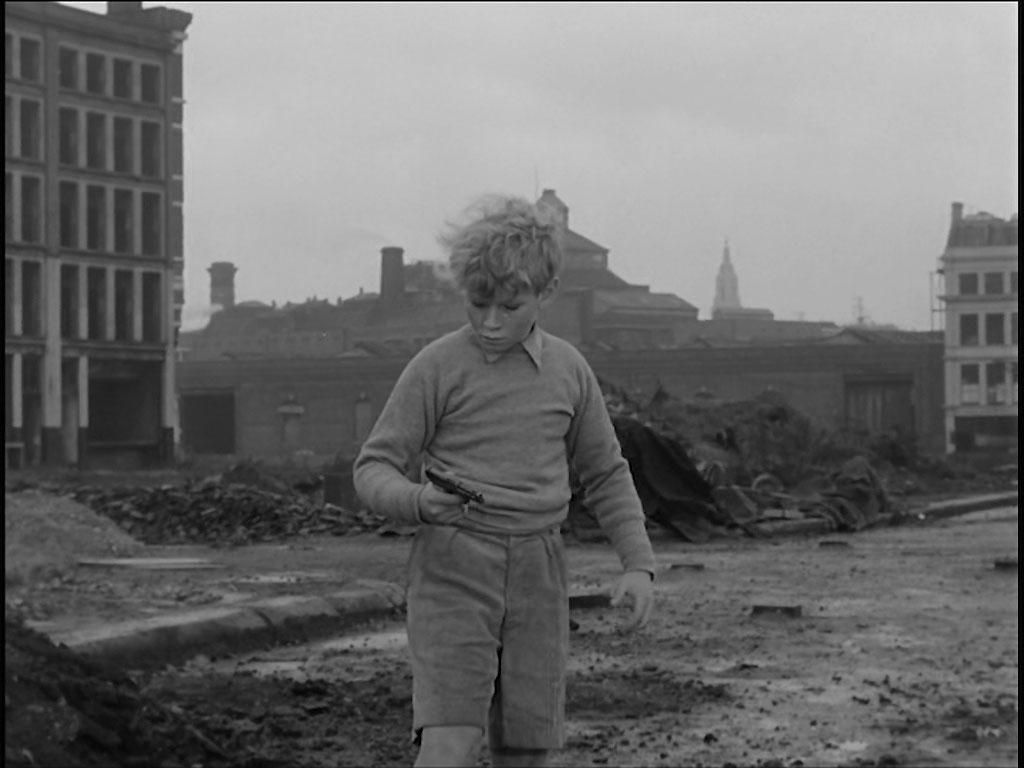
With that, a shot is accidentally fired and the gang leader falls to ground. Jewin Street with the last remaining building in Jewin Crescent to the left and 39 Fore Street to the right.
- Capture 27
- 13 Jun 2025
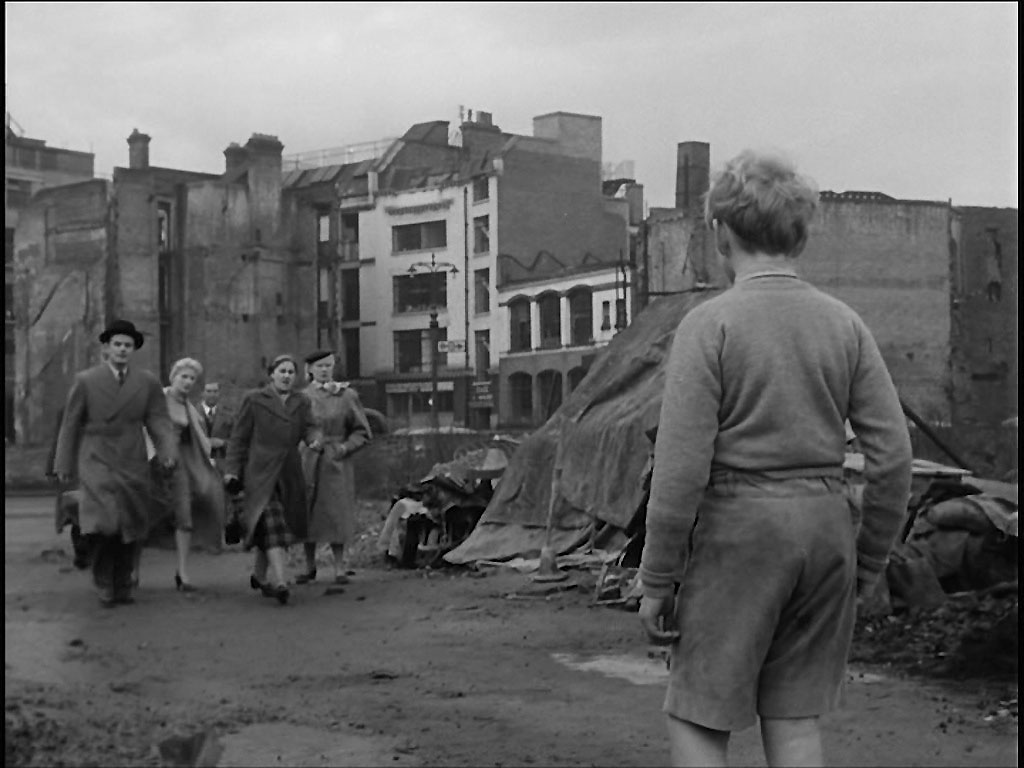
Very quickly a crowd of adults come to see what has happened……… Ray Glenister found Erik looking north-west to Half Moon Court, EC1.
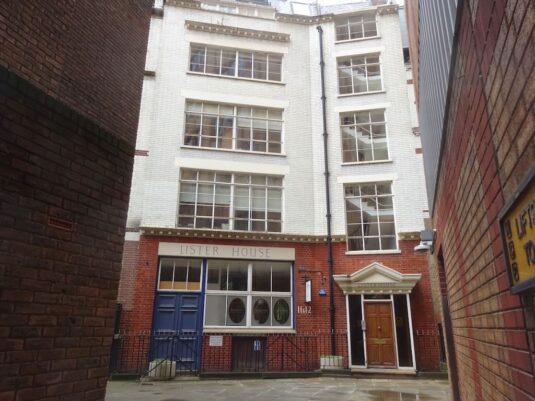
This replaces the angle-compromised GEV from July '18. The angle is still off, as there is now a huge building over the bomb site between here and Aldersgate, but it does show the survivor, still white, in its full glory. SJ
- Capture 28
- 18 Nov 2015

………… and Erik makes a run for it. Jewin Street looking East with the Whitbread Brewery on Chiswell Street, EC1 in the background.

Without an exact landmark it is difficult to be precise but the maps indicate more or less "here" and at this angle. (RL)
- Capture 29
- 18 Nov 2015
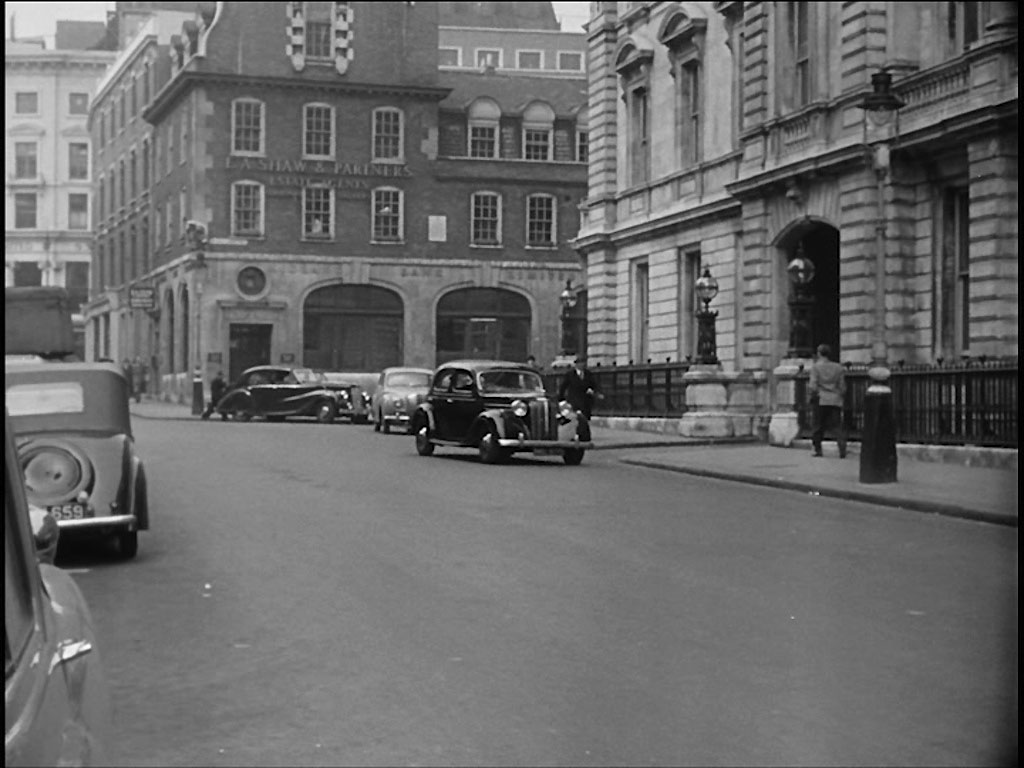
Supt. Mackenzie (Herbert Marshall) hearing of the unusual caliber of bullet immediately associates the murder of an American Army officer ten years previously. What was Bow Street Police Station, WC2 looking towards Broad Court. The location is also seen in ‘Rude Boy’, ‘The Informers’, Bobbikins’, ‘Take My Life’ and ‘Davy’.

The Police Station was closed in 2006. (RL)
- Capture 30
- 18 Nov 2015
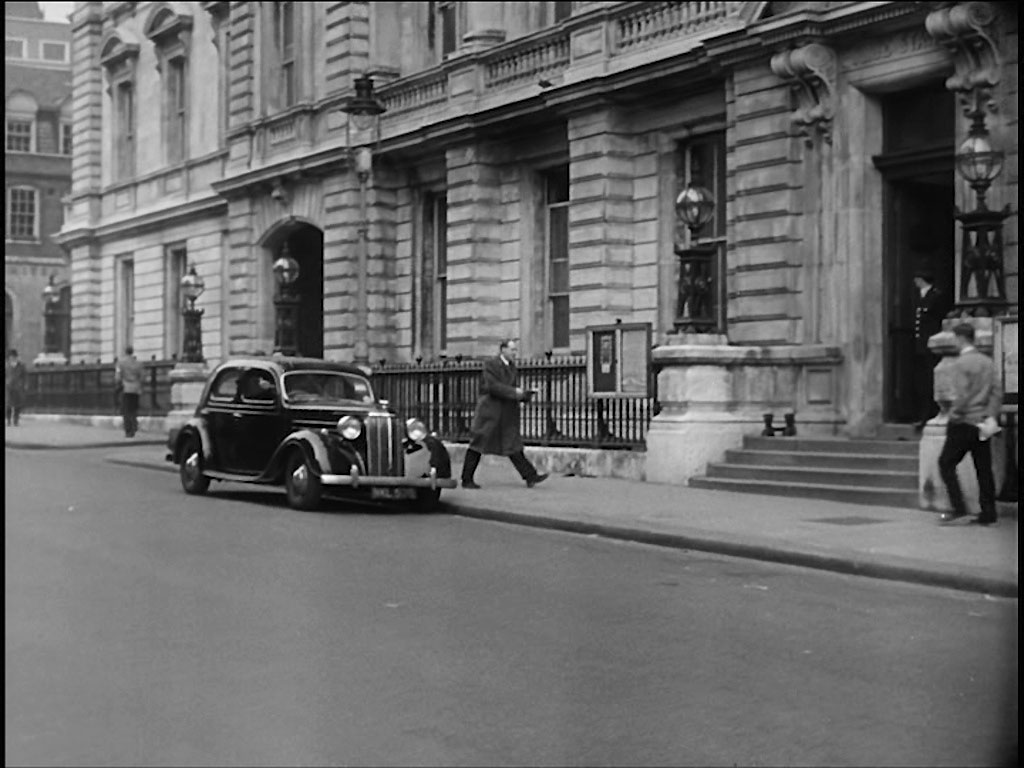
Later Inspector Johnson (John Horsley) arrives back at the station……. Bow Street, WC2 looking towards Broad Court.

A little patience and a momentary break in the traffic pays off. (RL)
- Capture 31
- 20 Nov 2015
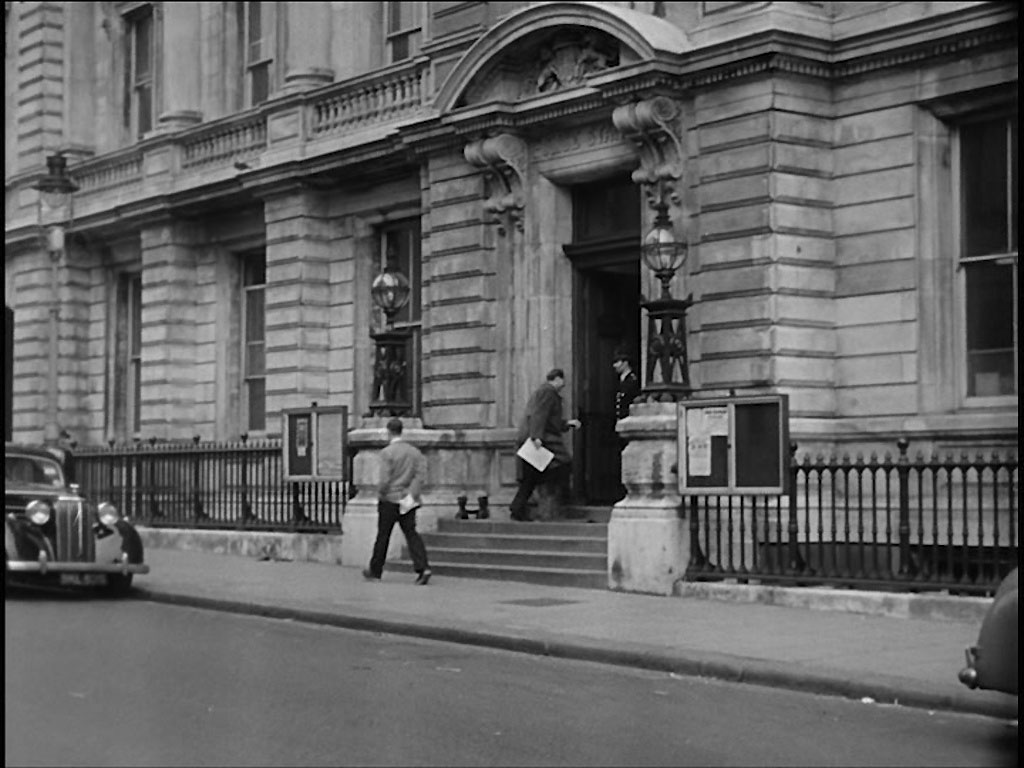
………. with the Balistic Report. A closer view of the Police Station. Bow Street, WC2

Pity about the cars but they were clearly there for the duration. (RL)
- Capture 32
- 24 Jun 2017
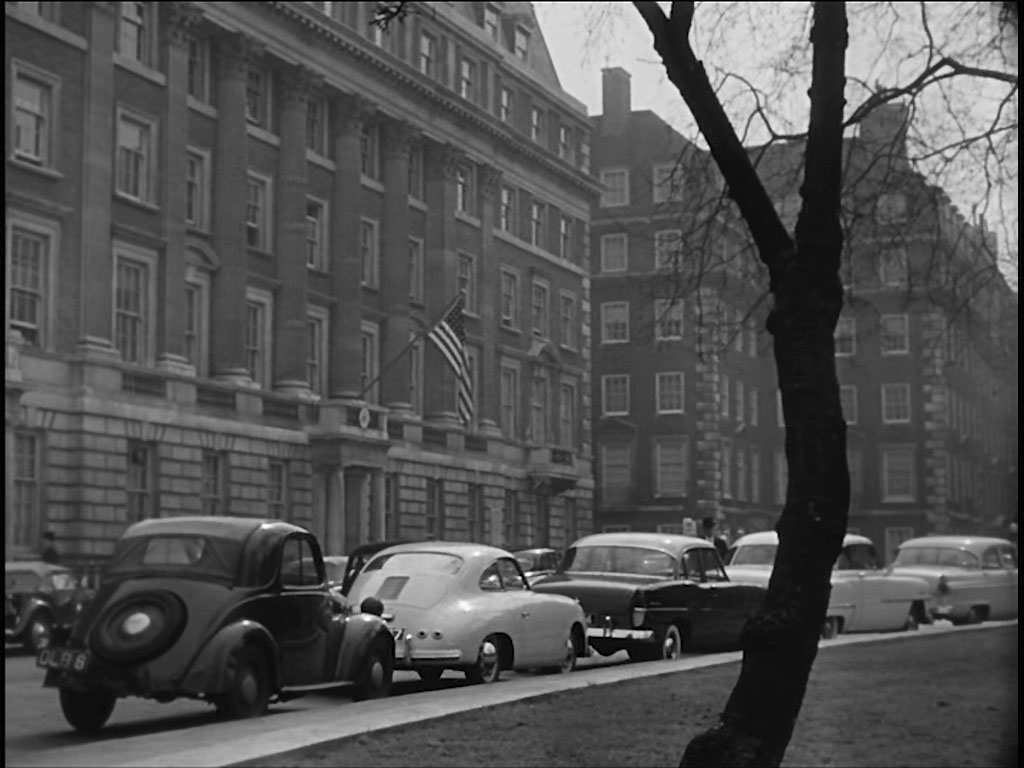
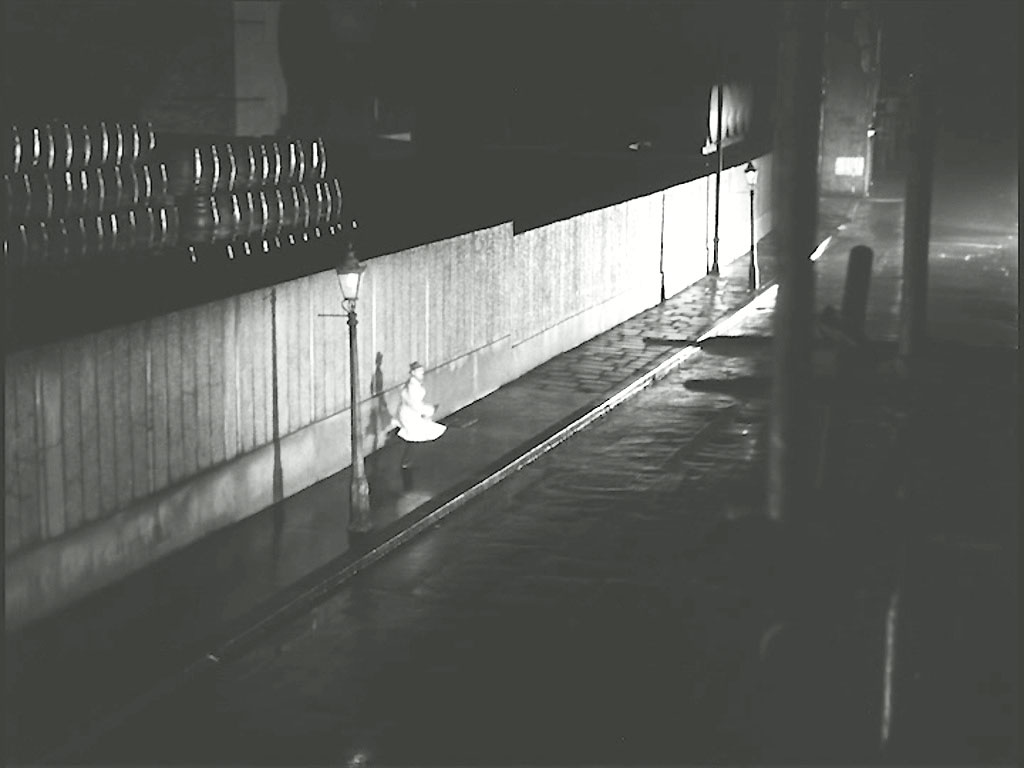
Supt. Mackenzie immediately telephones the US Army Headquarters as it was an American who had been killed with a matching bullet. Grosvenor Square, W1, the one time US Embassy.

East side of Grosvenor Square looking south with the Italian Embassy flags and Grosvenor Street to the left. The only match at present says Peter are the twin chimney stacks and windows in the background.......we believe you!
- Capture 33
- 06 Oct 2022
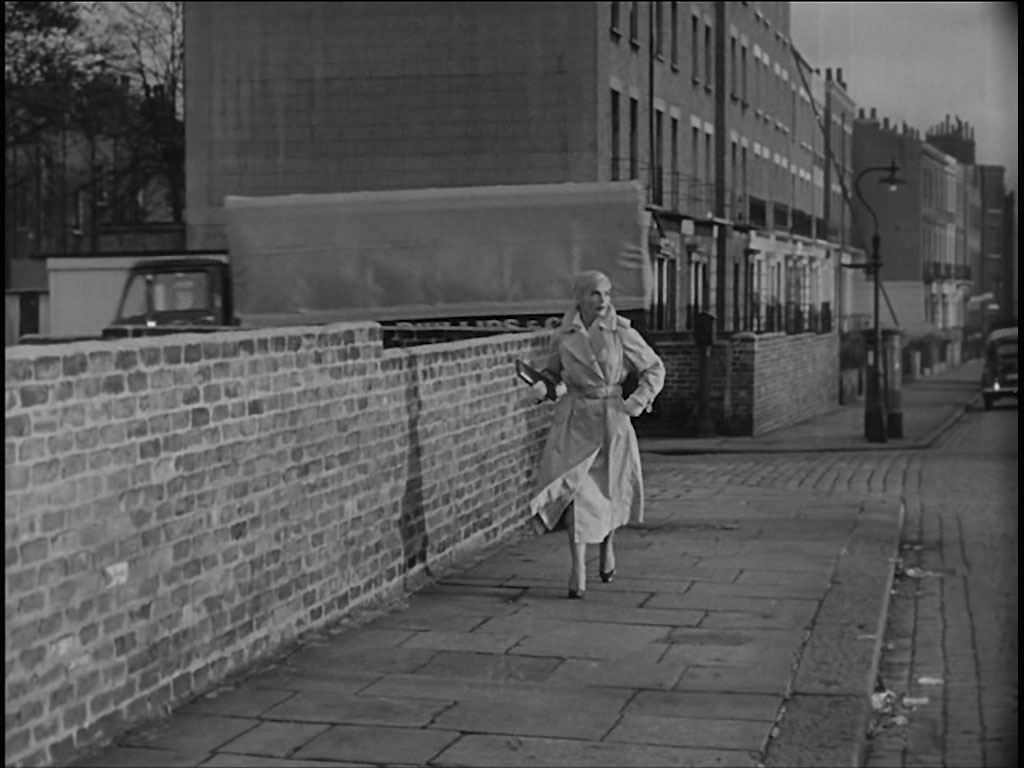
When Erik’s mother Elsa (Lizabeth Scott) arrives home from work…………..Ray and Ron Glenister sleuthed this to Mornington Terrace, NW1 at its junction with Mornington Street. The pre-fabs have gone but the post box remains.
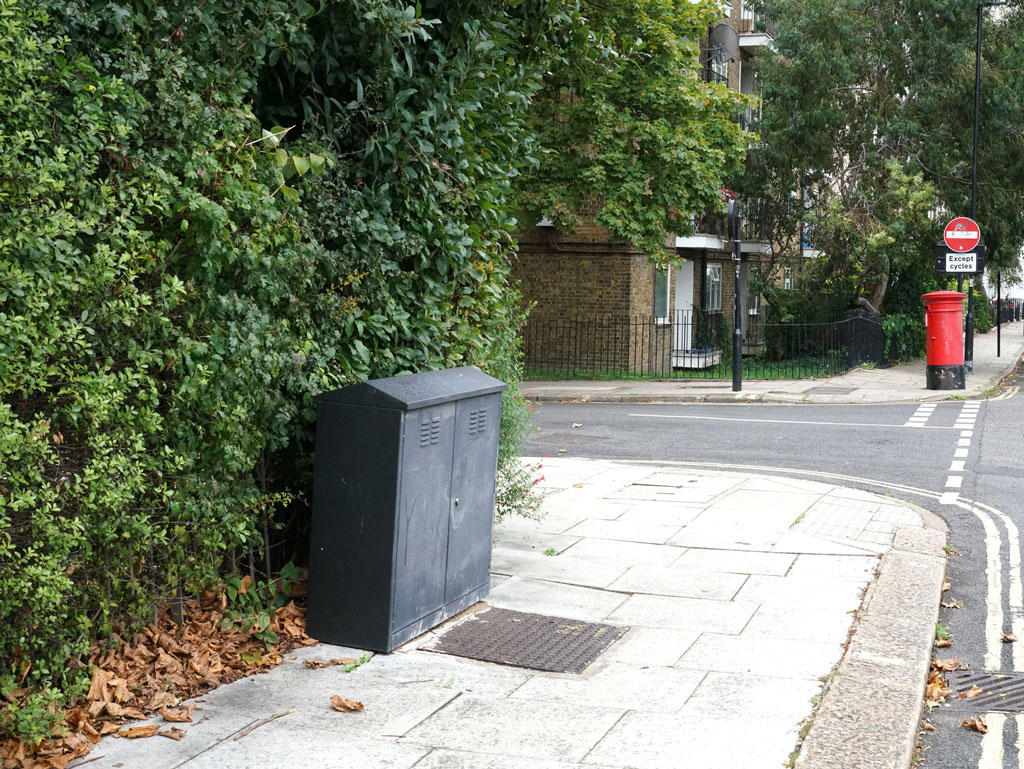
Denis Hoare provides confirmation.
- Capture 34
- 06 Oct 2022
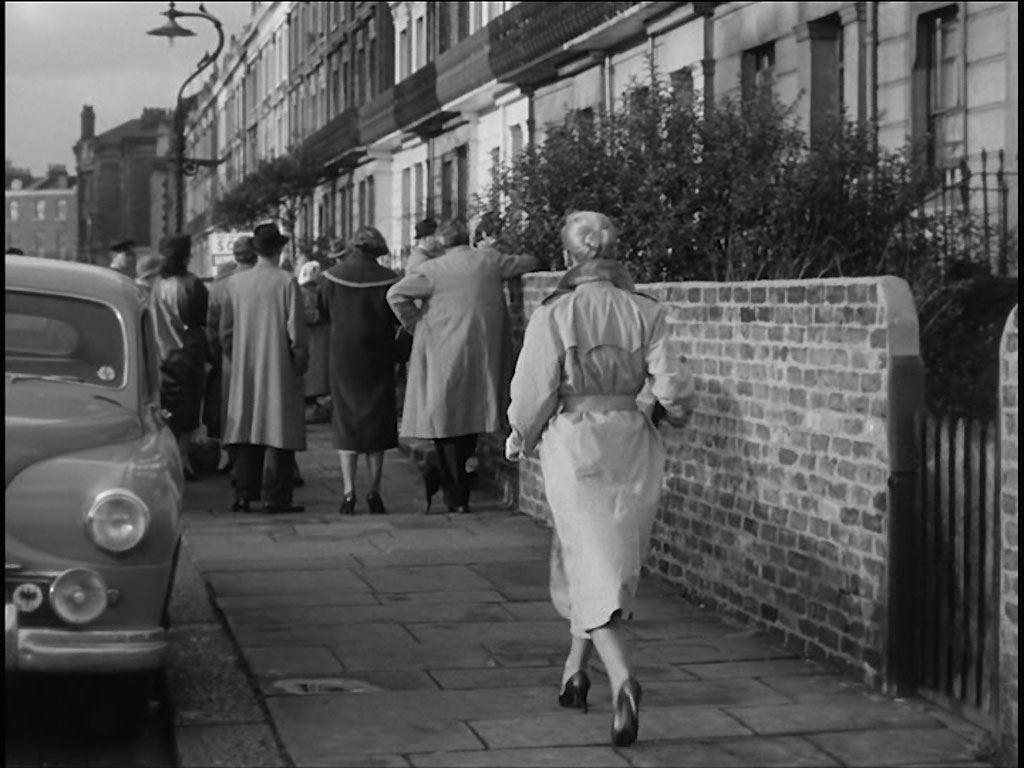
…….she finds a crowd gathered at her home……….. Leading Ray and Ron northwest up Mornington Terrace.
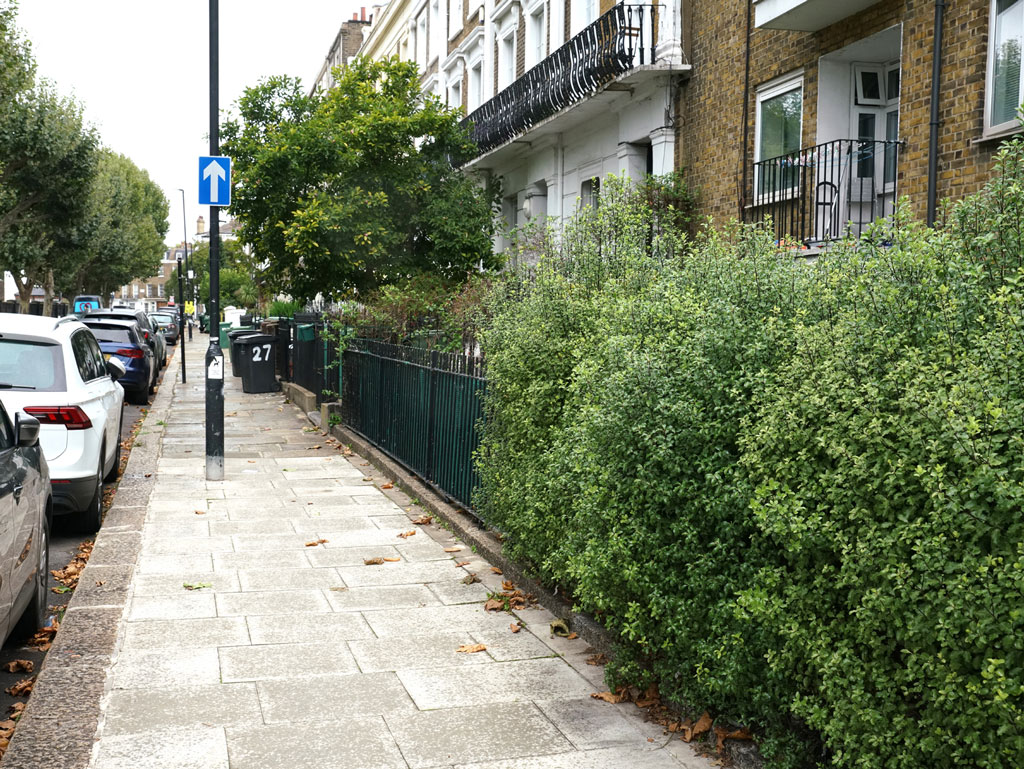
This shot from Denis confirms the older Google Earth View that the apartment block on the right has replaced the pre-fabs.
- Capture 35
- 06 Oct 2022
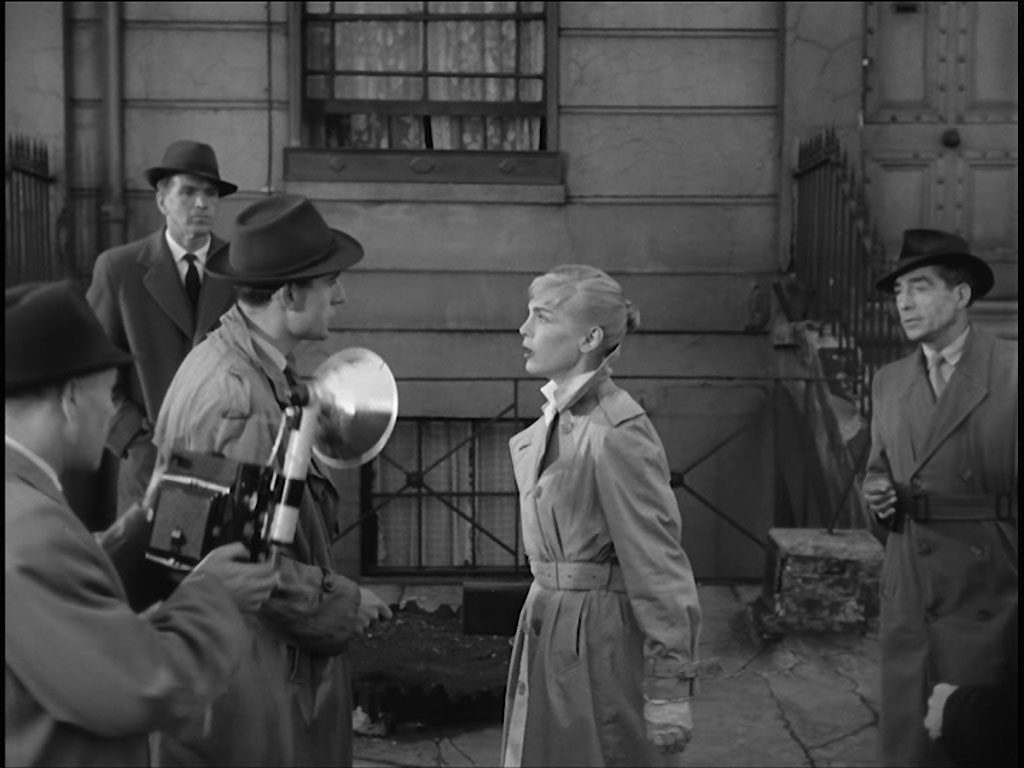
………..where she is first confronted by the press. Outside No. 26 Mornington Terrace, NW1 according to Ray and Ron.
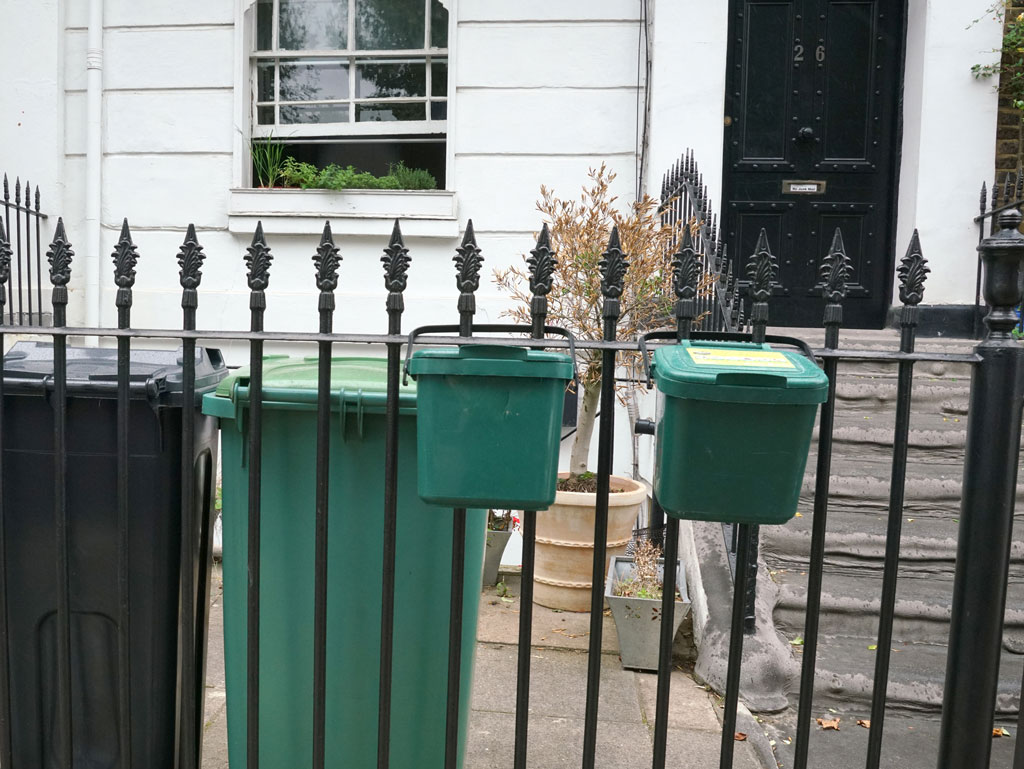
Denis made the personal visit some five years after Ray and Ron's identification.
- Capture 36
- 06 Oct 2022
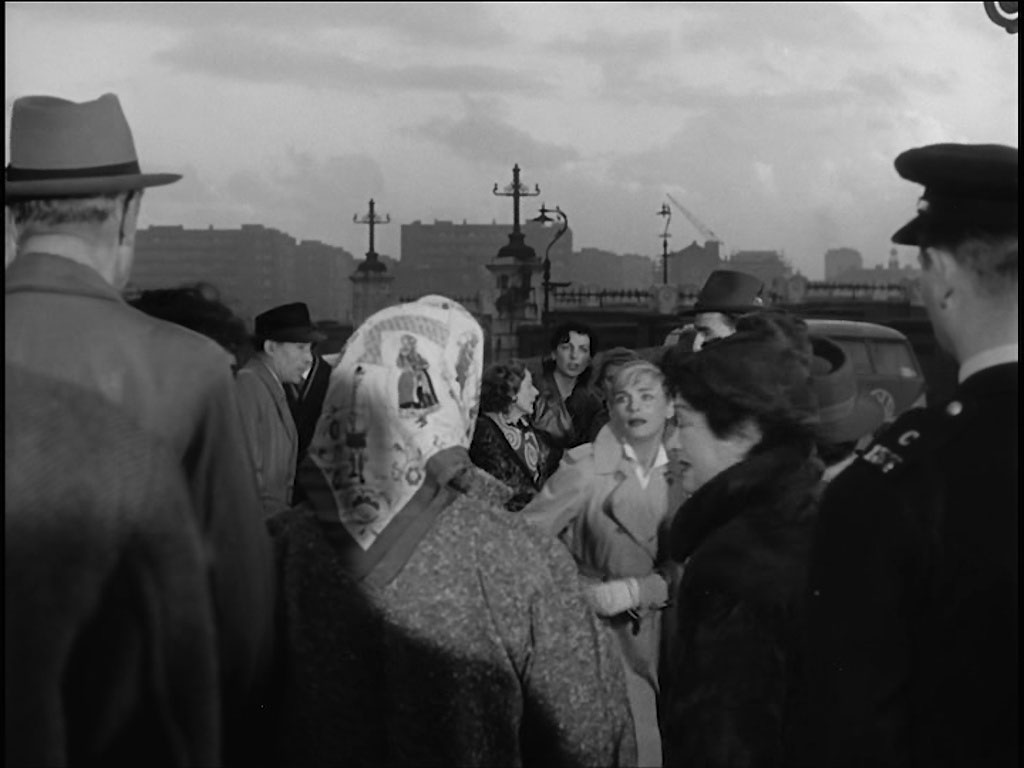
And pushes her way to the front door. In the background is the Mornington Street bridge, NW1 identified by Ray and Ron Glenister.
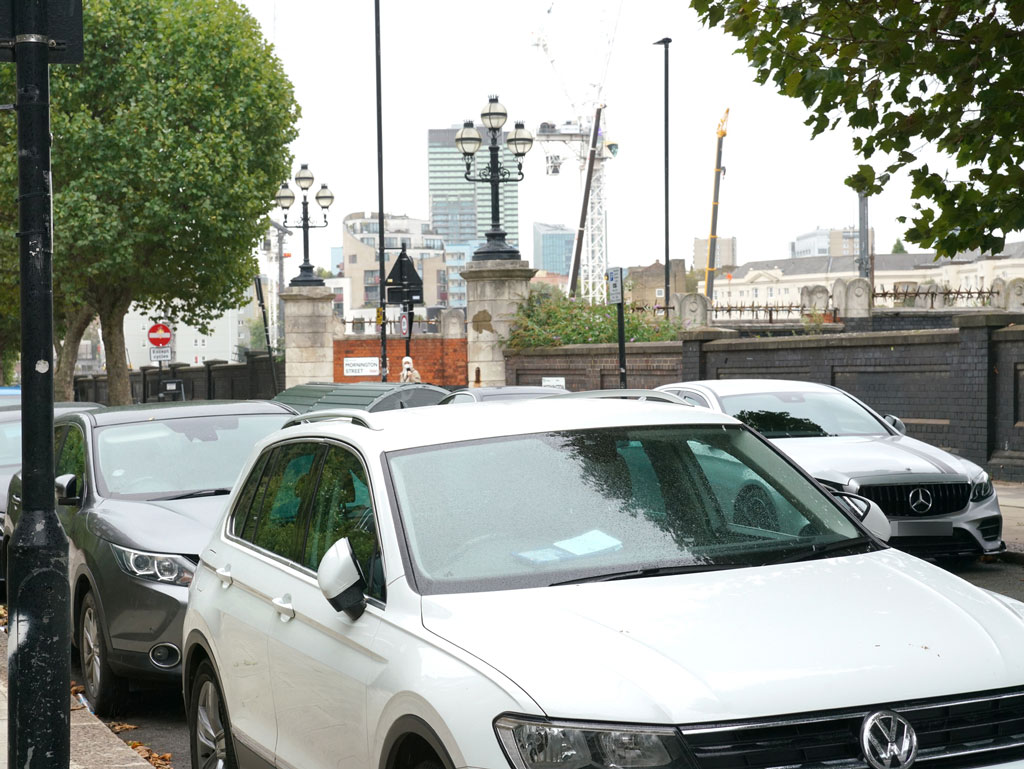
Denis Hoare went out on a mission to capture the location now.
- Capture 37
- 06 Oct 2022
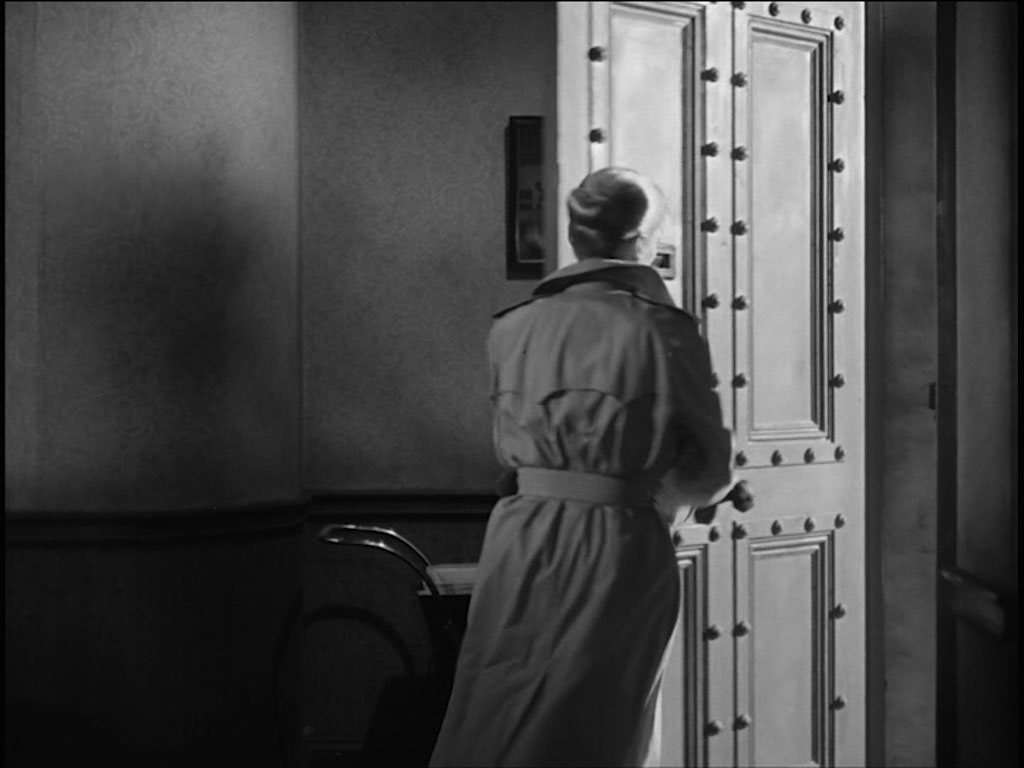
Once inside she is greeted by a police constable. Continuity was the clue for Ron and Ray because the door to No 27 here has been changed.
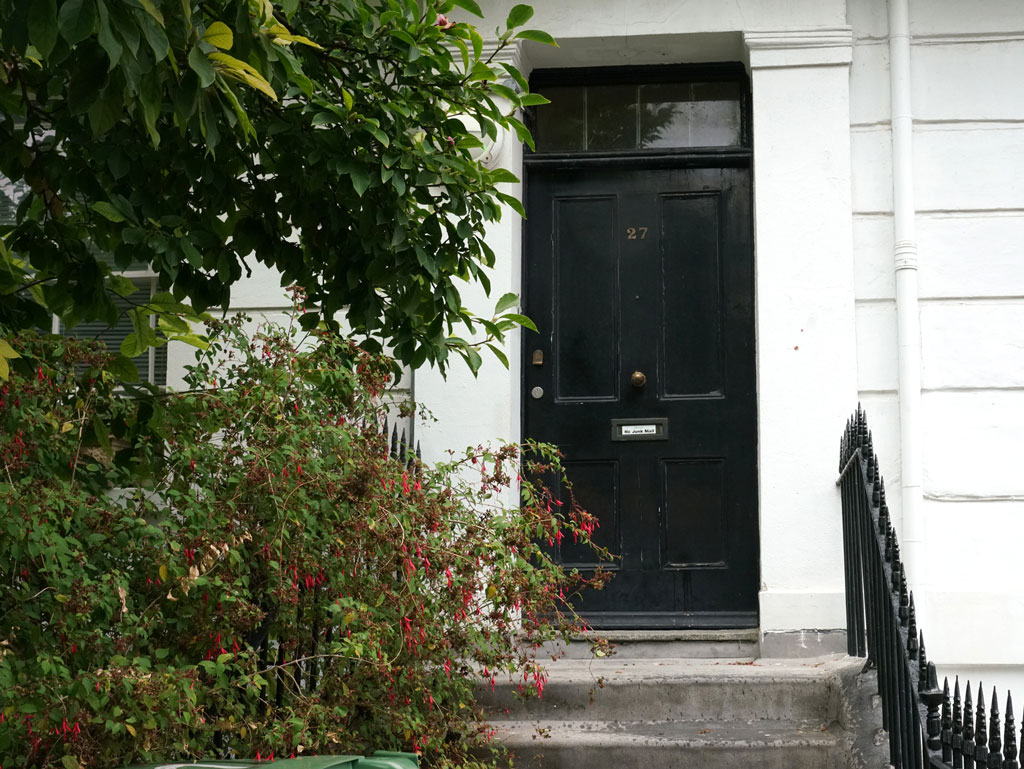
Denis took this picture of the replacement door.
- Capture 38
- 03 May 2023
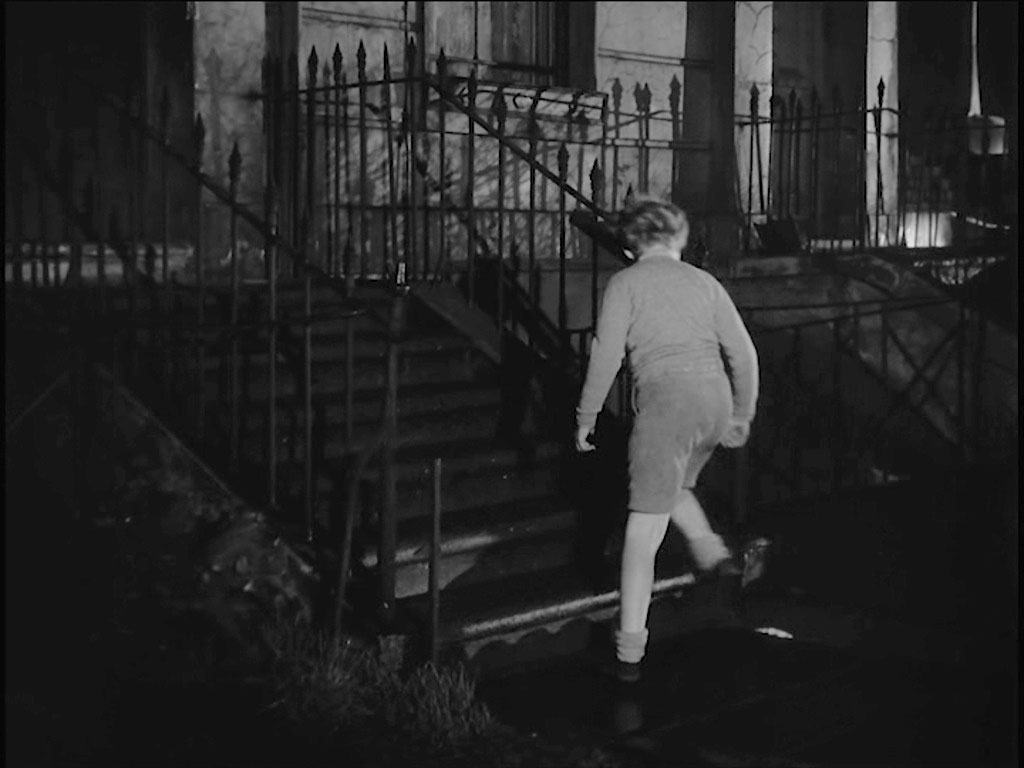
Erik arrives home to see the change of police watch and learn that it will continue until he is found. 27 Mornington Terrace.
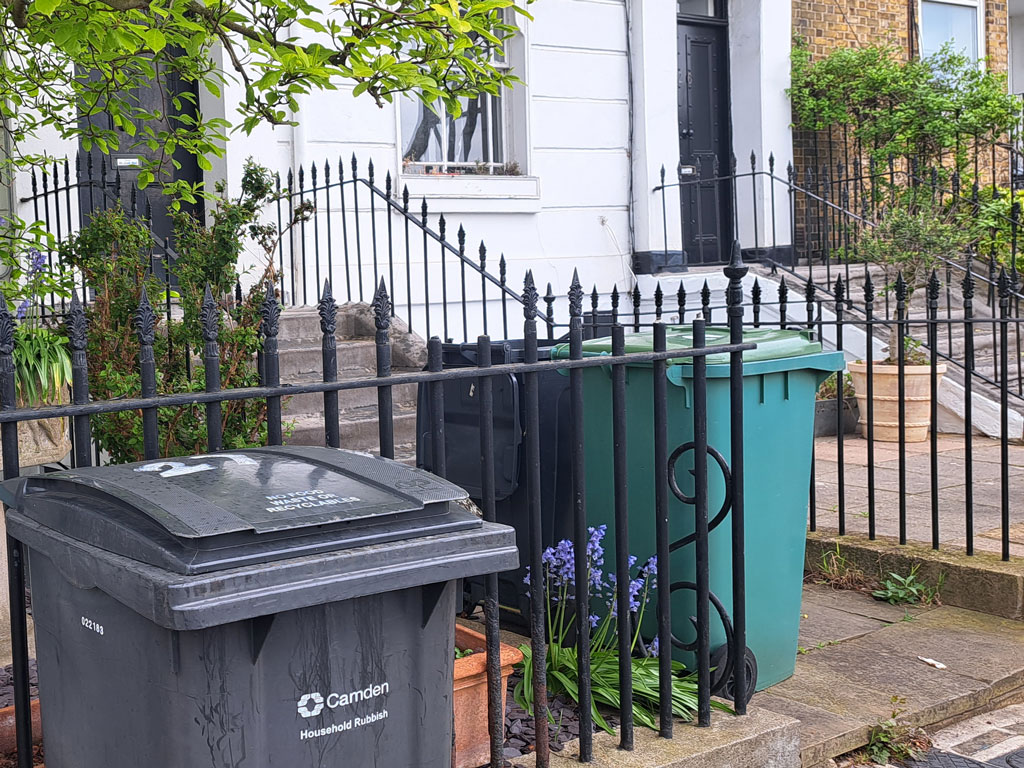
There was no way that Paul Lincoln could avoid those bins.
- Capture 39
- 03 May 2023
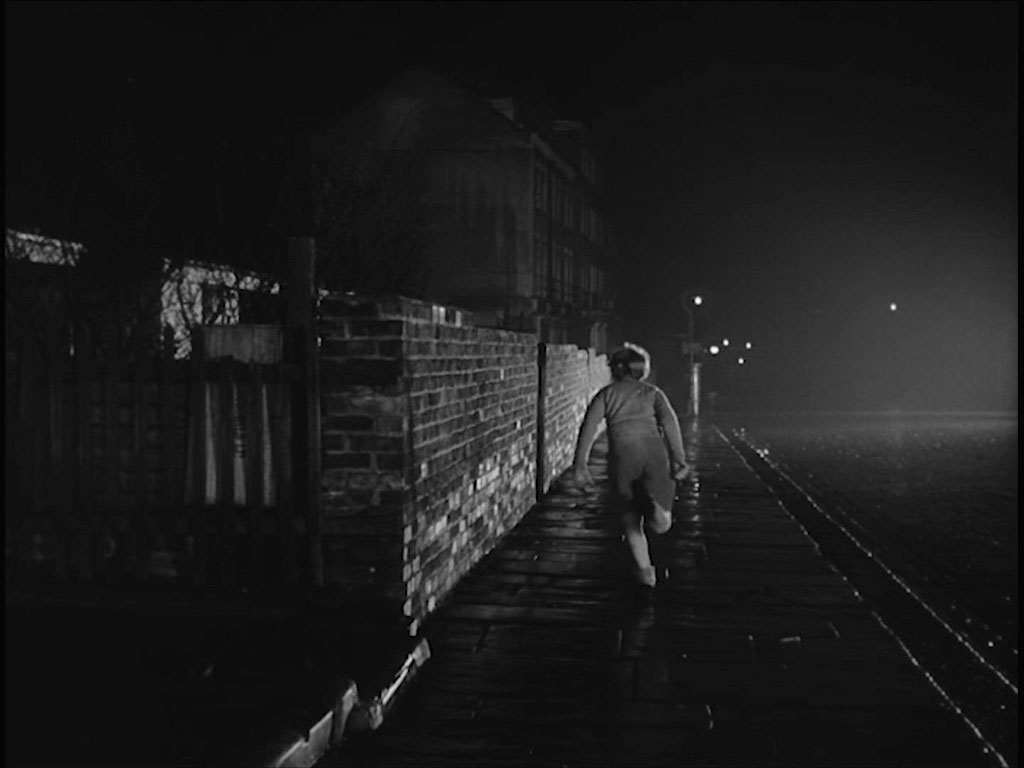
With that he runs away. Mornington Terrace, NW1 looking towards its junction with Mornington Street.
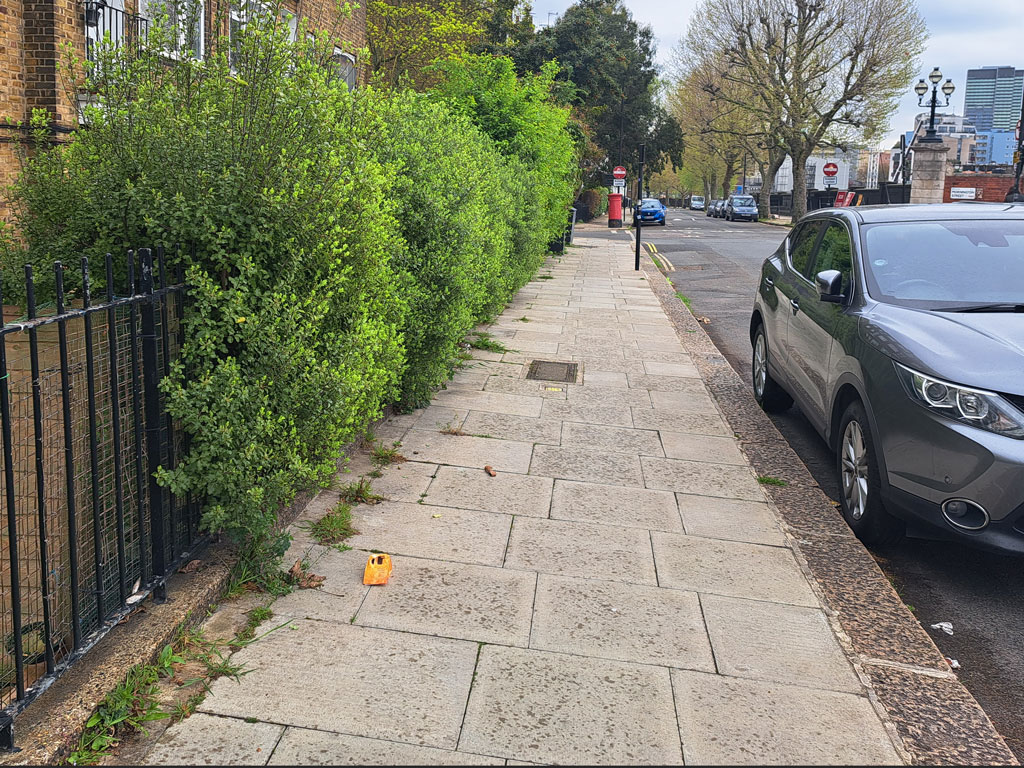
At least there were no bins to spoil this shot for Paul.
- Capture 40
- 'Now' required
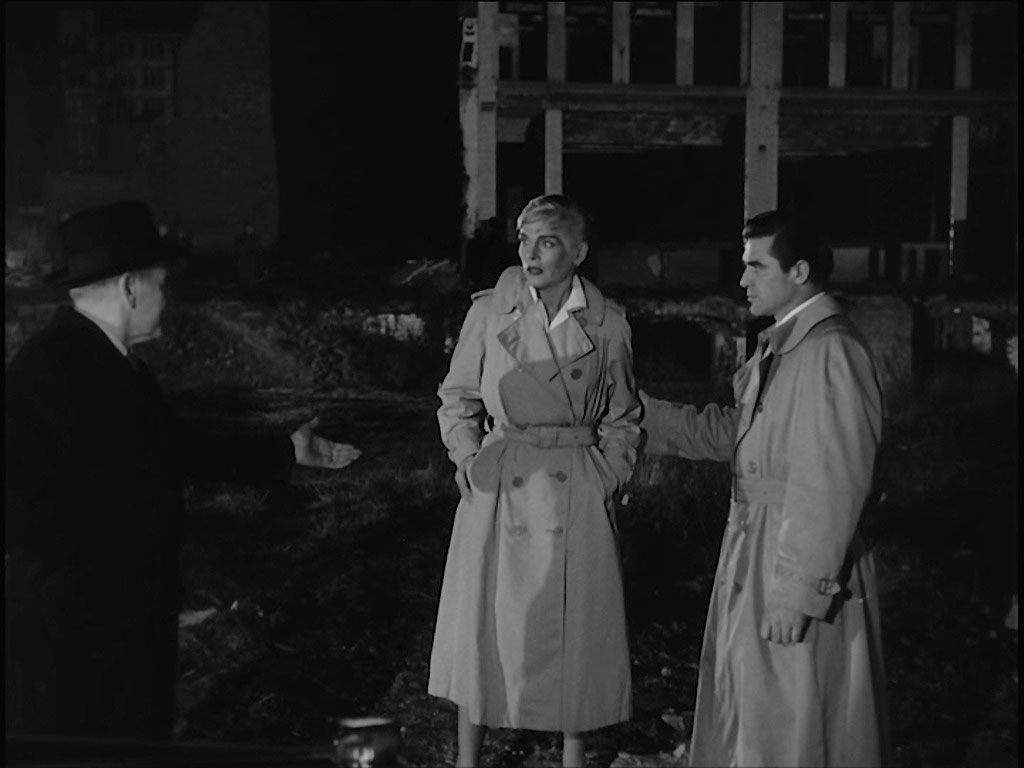
Distraught, Erik’s mother goes to the ruins to look for him. There she is met by Supt. Mackenzie and Captain Mark Andrews (Steve Cochran) C.I.D., US Army. Jewin Street.
- Capture 41
- 07 May 2017
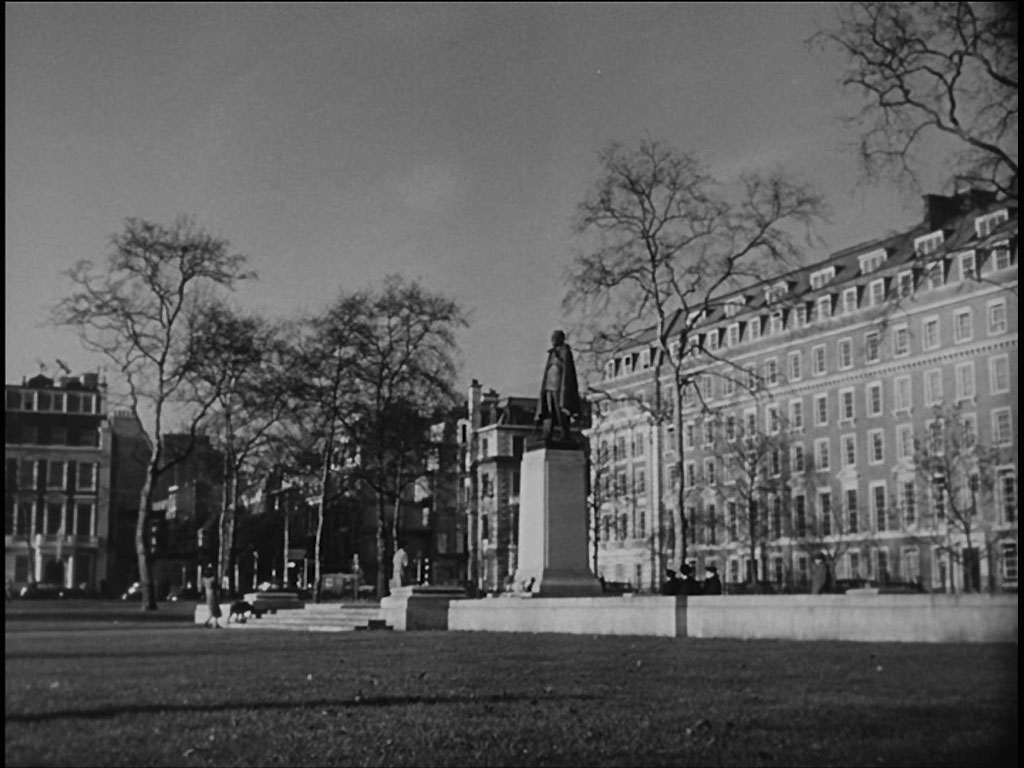
Elsa agrees to meet with Mark at his office the following morning to continue answering his questions. Grosvenor Square, W1

Peter took this shot with the old American embassy in the background now being converted into flats.
- Capture 42
- 27 Apr 2017
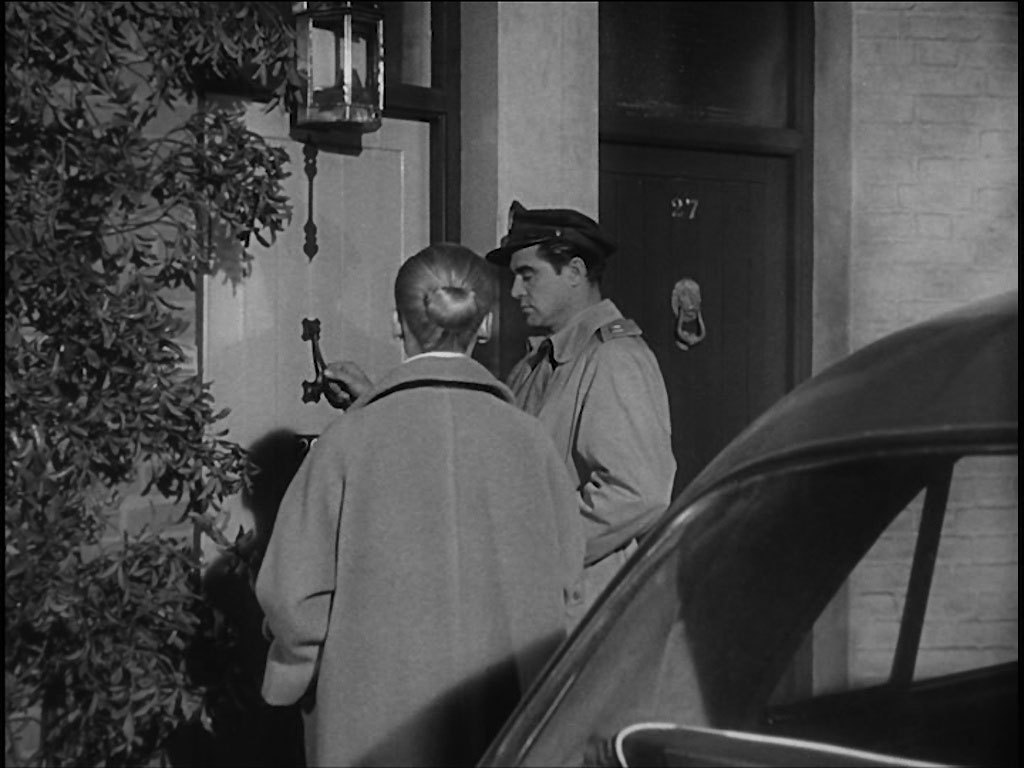
During the interview Supt. Mackenzie telephones to say that a Joshua Henry (George Cole) had telephoned to say that he had information, they go to visit him. Ennismore Garden Mews, SW7 found by Peter.

And captured by Peter, who enlisted the help of Martin the builder to open the gate.
- Capture 43
- 18 Feb 2017
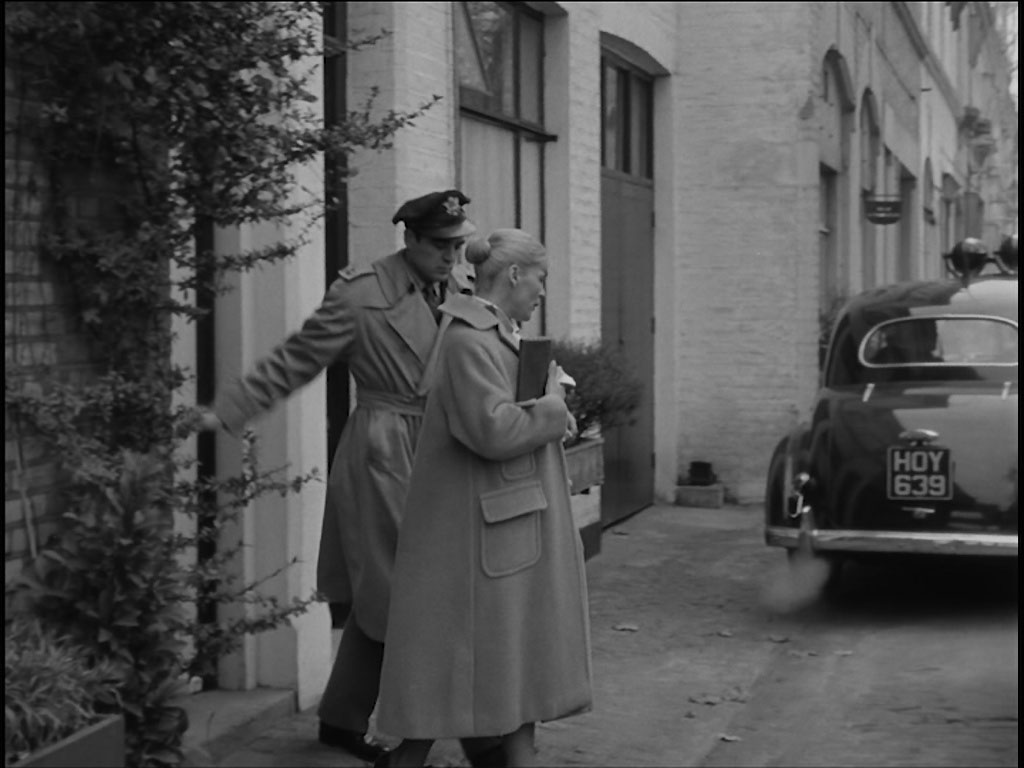
Having heard Henry’s story of seeing Erik and the arrival of Supt. Mackenzie, they leave.

Peter captured this image of the location.
- Capture 44
- 14 Feb 2017
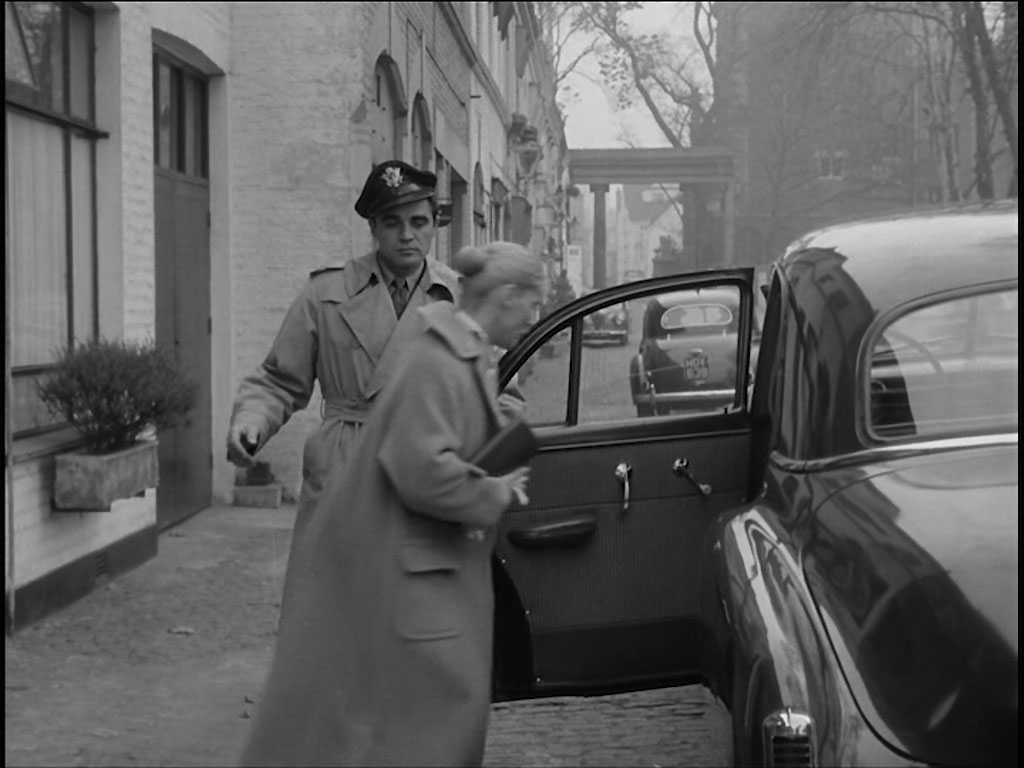
Elsa’s realises that she must tell her employers what is happening so that she doesn’t lose her job. Captain Andrews agrees to take her. The familiar archway of Ennismore Garden Mews, SW7 in the background.

And Peter provides this comparison as proof.
- Capture 45
- 29 Sep 2023
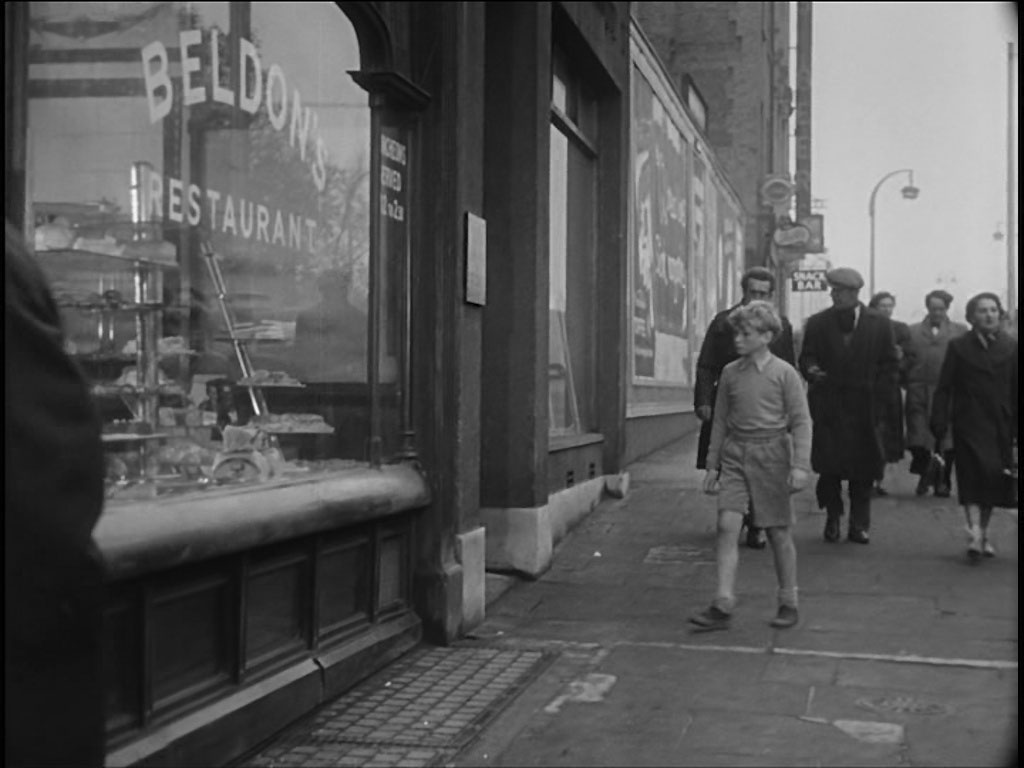
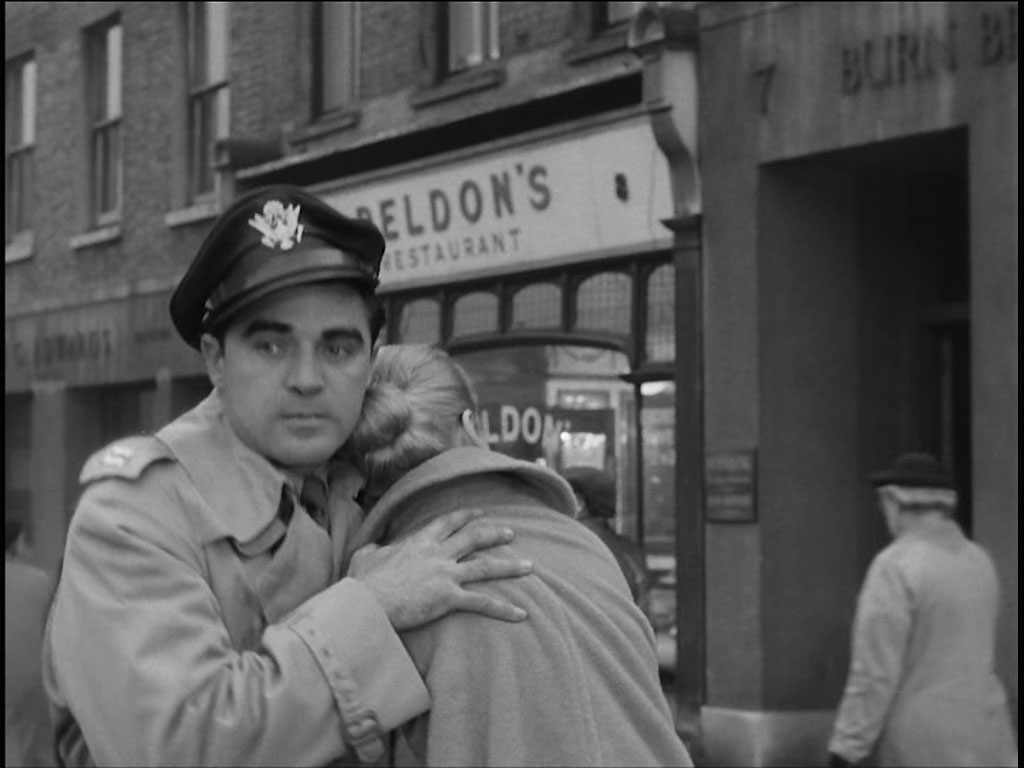
Meanwhile we see Erik approaching his mothers place of work, ‘Beldon’s’ Restaurant, 8 Blackfriars Road, SE1 and looking north. Simon Stabler draws our attention to London Picture Archive 115468 wherein the distinctive white shop front of 8 Blackfriars Road, SE1 can be seen.
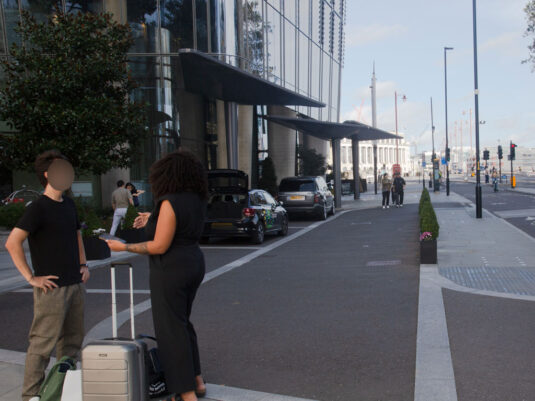
Significant changes have occurred since 'Beldon's' closed for business.
- Capture 46
- 29 Sep 2023
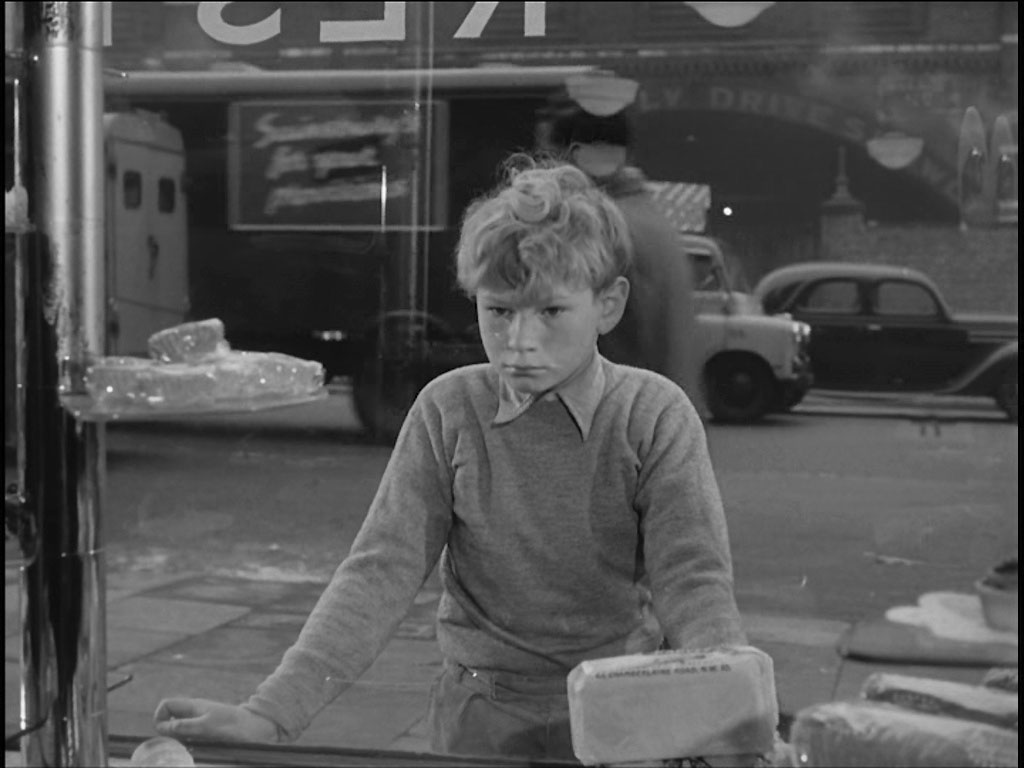
He looks in through the window. The background here and in a subsequent scene, is that of Blackfriars Goods Station opposite 7 and 8 Blackfriars Road. No 7 was indeed a 'J Lyons Tea House', see London Picture Archive 115555 and also 115583.
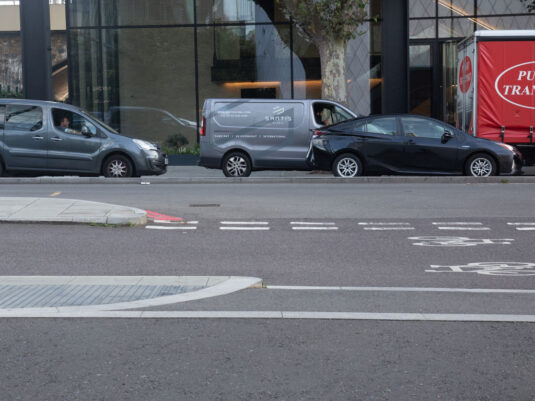
I am sure that the arches are somewhere behind that building.
- Capture 47
- 'Now' required
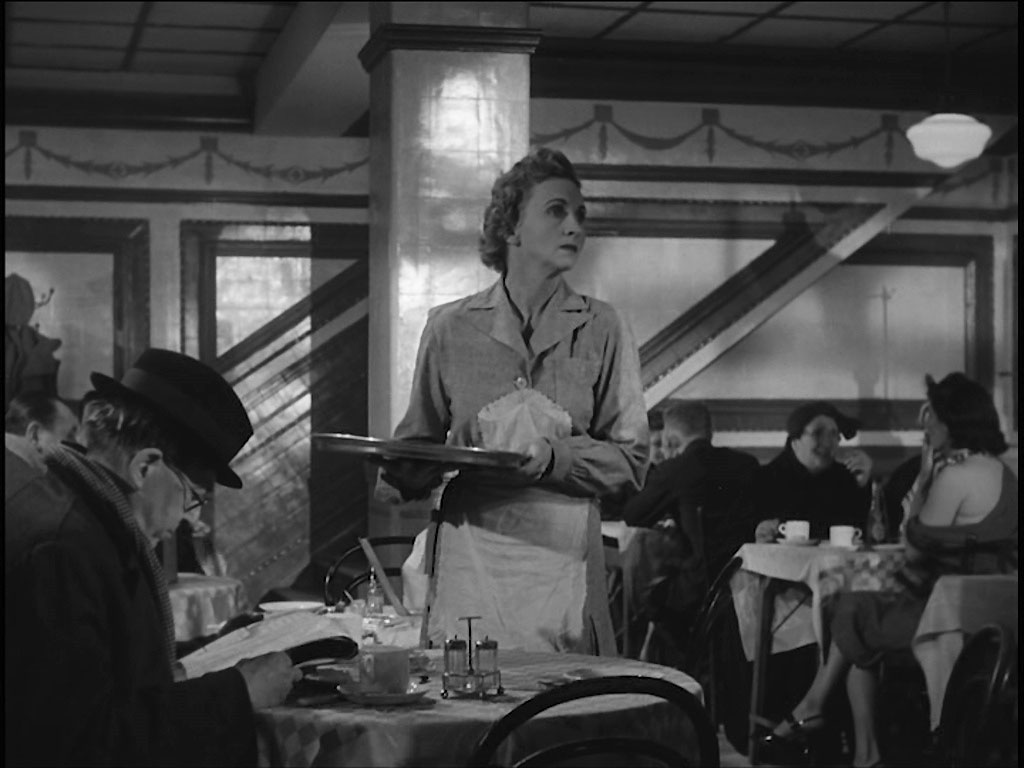
As he looks in through the window one of the waitresses sees him. This capture is included because John Tunstill said “The interior shots suggest that it is, or was, a Joe Lyons Tea shop”. The evidence would suggest that 8 Blackfriars Road was dressed to look like a restaurant while the interior shots were filmed in the premises of No 7 Blackfriars Road.
- Capture 48
- 16 Jul 2024
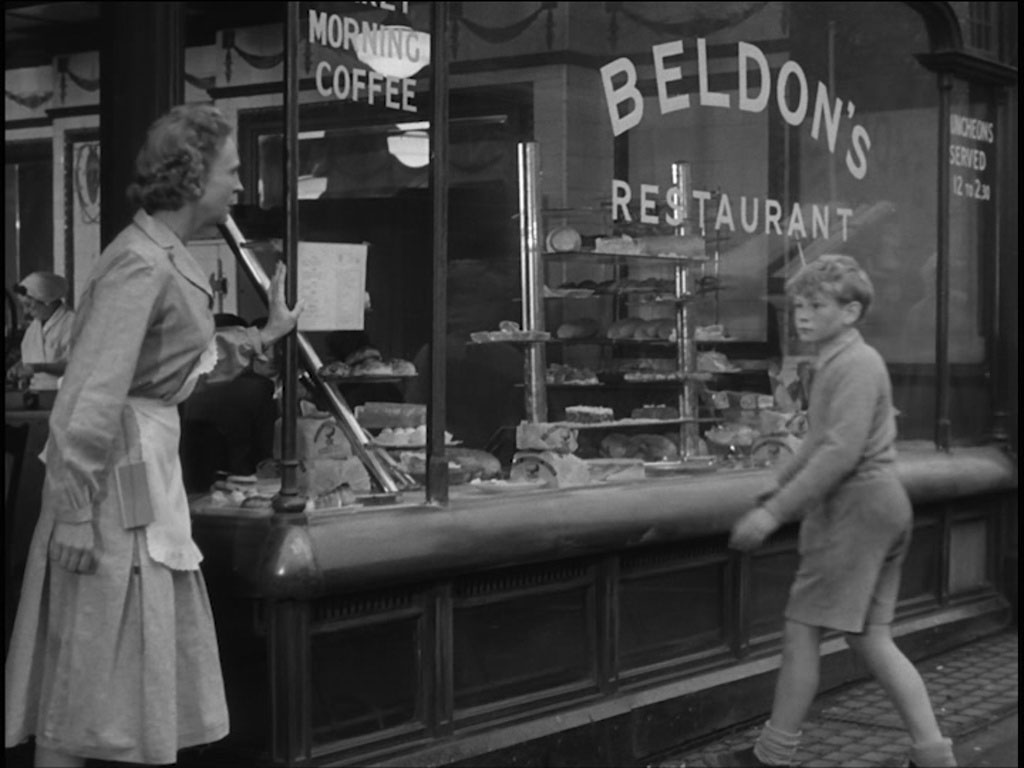
The waitress invites him in for something to eat. Outside 8 Blackfriars Road.
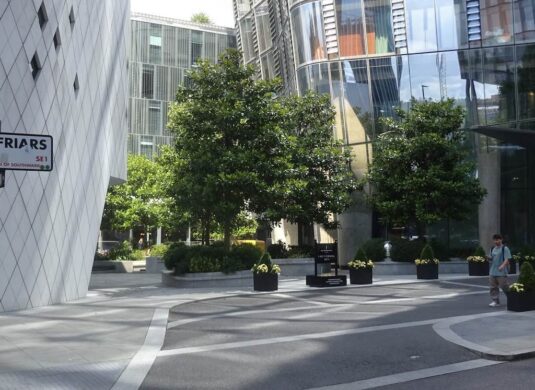
A wider shot of where 8 Blackfriars Road was. SJ
- Capture 49
- 22 Apr 2017
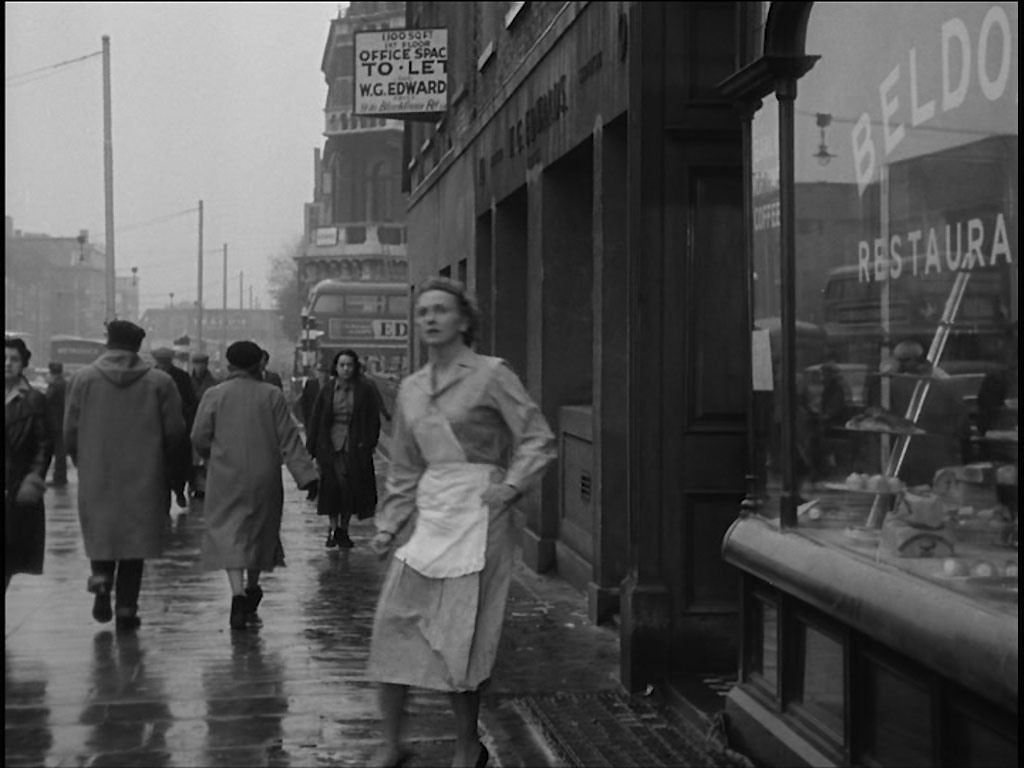
When a diner starts to show an interest in the gun sticking out of Erik’s pocket he makes a run for it, concerned, the waitress goes to see where he might have gone. Outside 8 Blackfriars Road looking south to the junction with Stamford Street.

Peter took this picture of the modern Blackfriars Road.
- Capture 50
- 29 Sep 2023
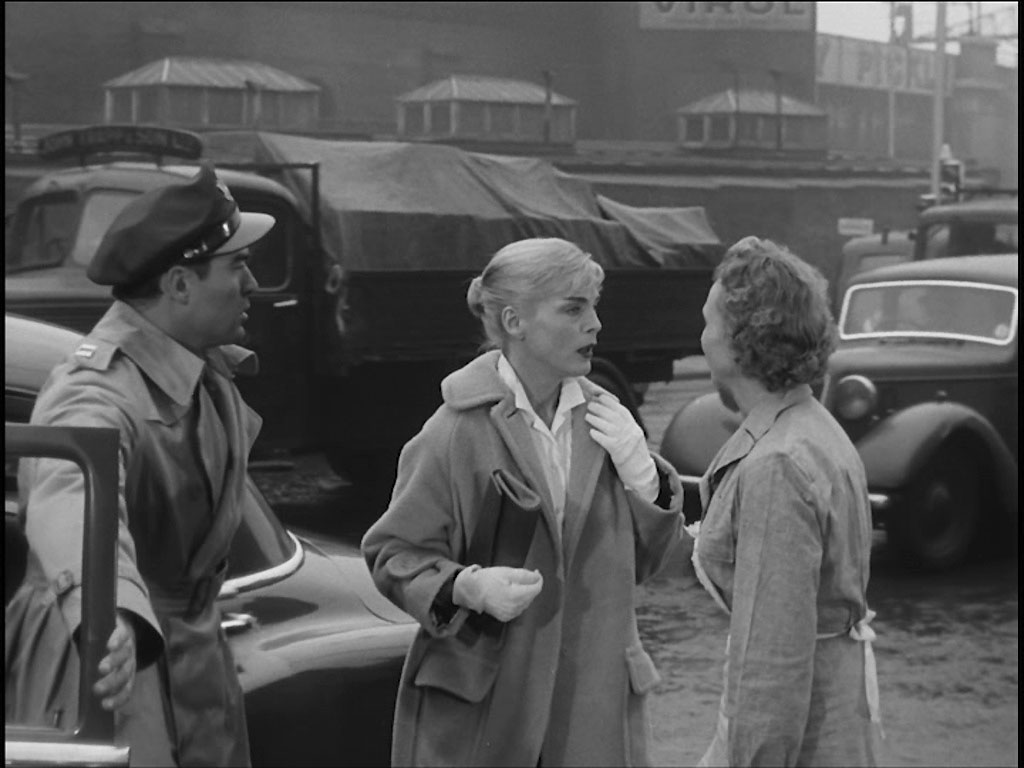
With that, Elsa and Captain Andrews arrive to hear the news. Blackfriars Road looking across to Blackfriars Goods Depot and the railway bridge over Southwark Street.
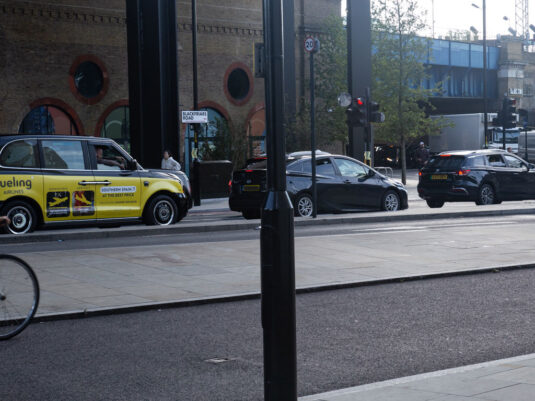
The railway bridge remains to aid positioning.
- Capture 51
- 29 Sep 2023
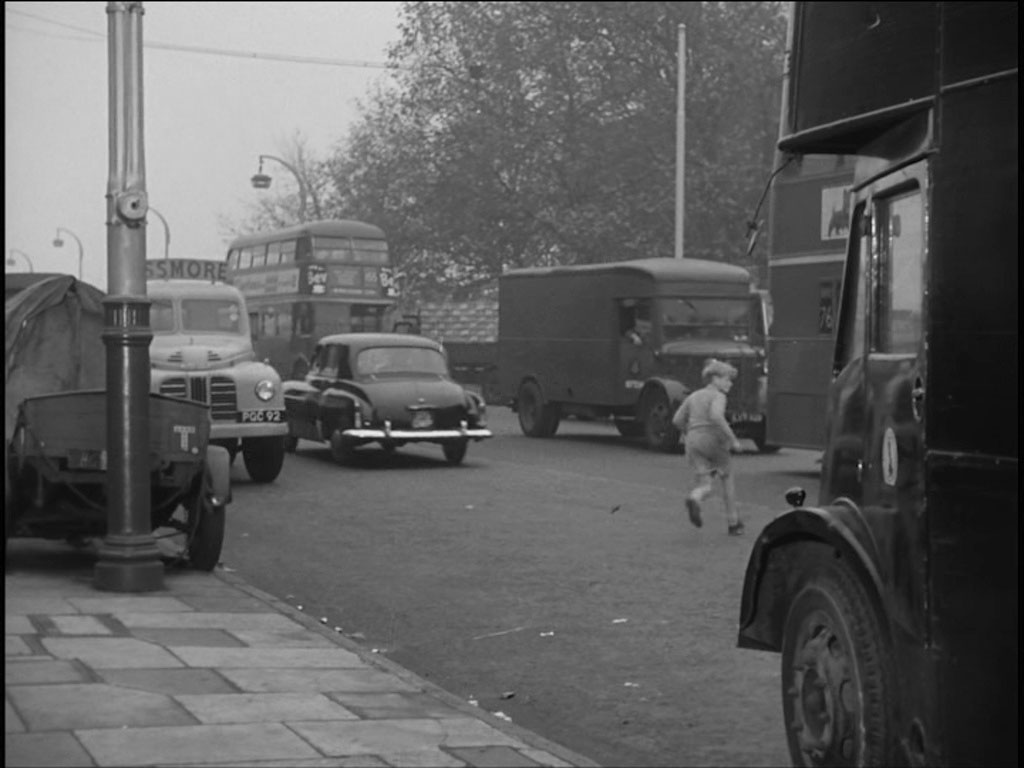
Erik dodges the traffic to escape. Looking NE from approximately 3 Blackfriars Road (as was).
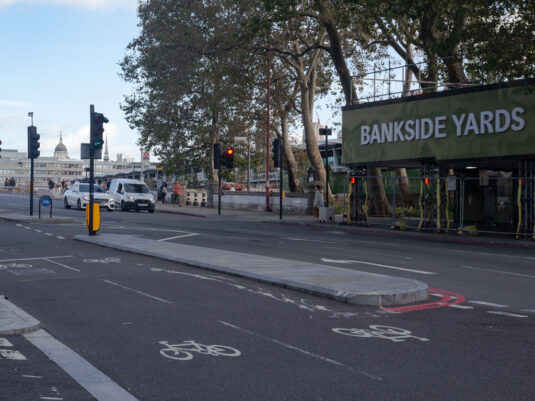
The railway yards are in the process of giving over to 'flexible workspace'.
- Capture 52
- 29 Sep 2023
We see Capt. Andrews offering his first sympathetic gesture to Elsa. No. 8 Blackfriars Road behind them, previously the premises of the Aerated Bread Company as confirmed in LPA 115583. Simon Stabler draws our attention to LPA 115466 where the white shop front heading can been seen towards the end of parade towards the top right hand corner.
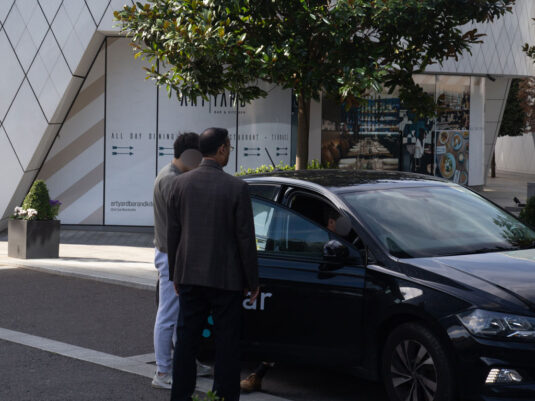
A somewhat changed background.
- Capture 53
- 04 Dec 2015
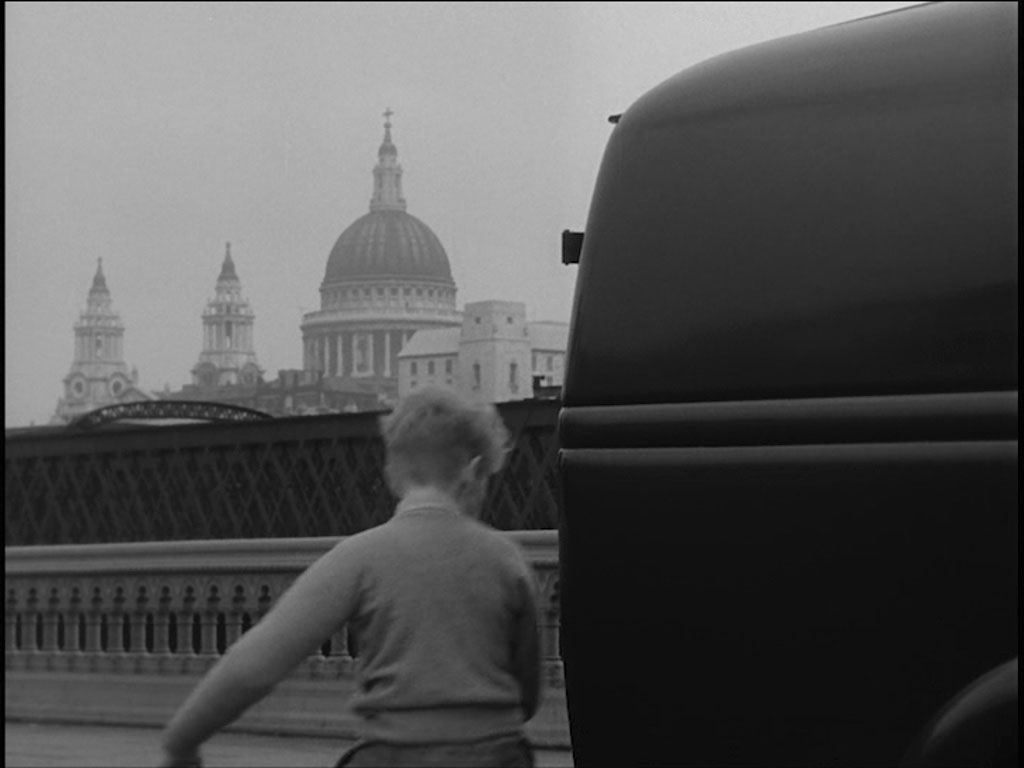
Zig zagging across the road Erik is about to mount the pavement of Blackfriars Bridge with the dome and towers of St. Paul’s Cathedral clearly visible.

The dome of St. Paul's now rises behind a remodelled Blackfriars station that straddles the Thames. Picture by Peter.
- Capture 54
- 11 Dec 2015
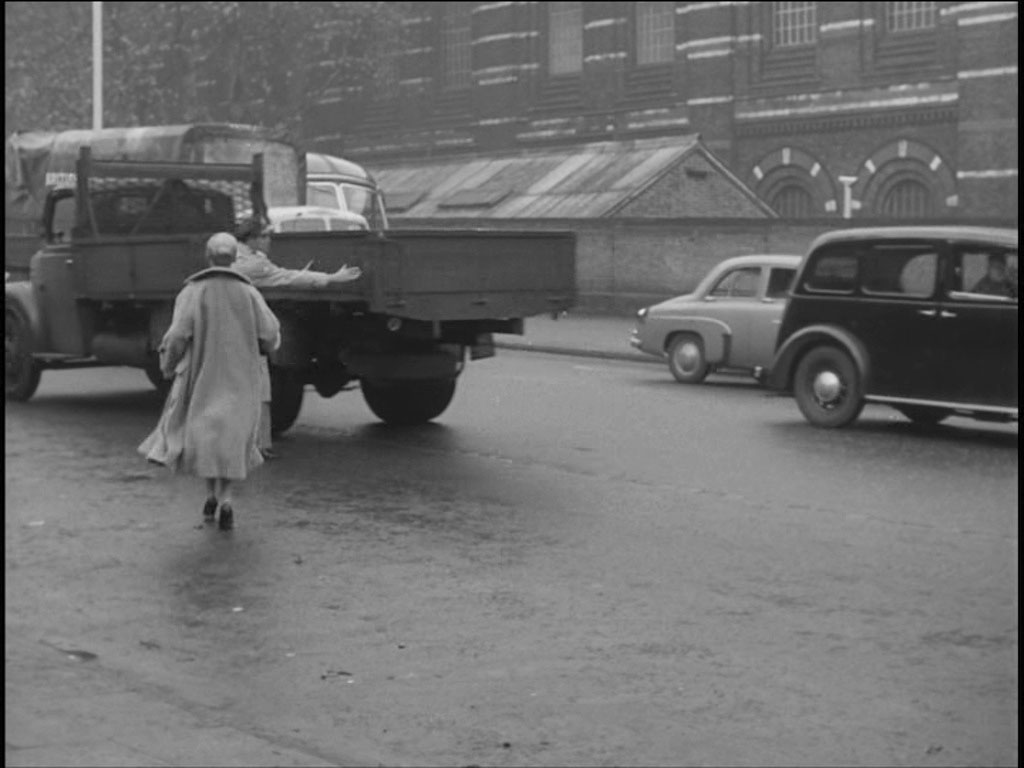
Catching sight of him, Captain Andrews and Elsa race after Erik. Blackfriars Road with Blackfriars Goods Depot in the background.

Peter provides this shot of all that remains of the old bridge support arches.
- Capture 55
- 04 Dec 2015
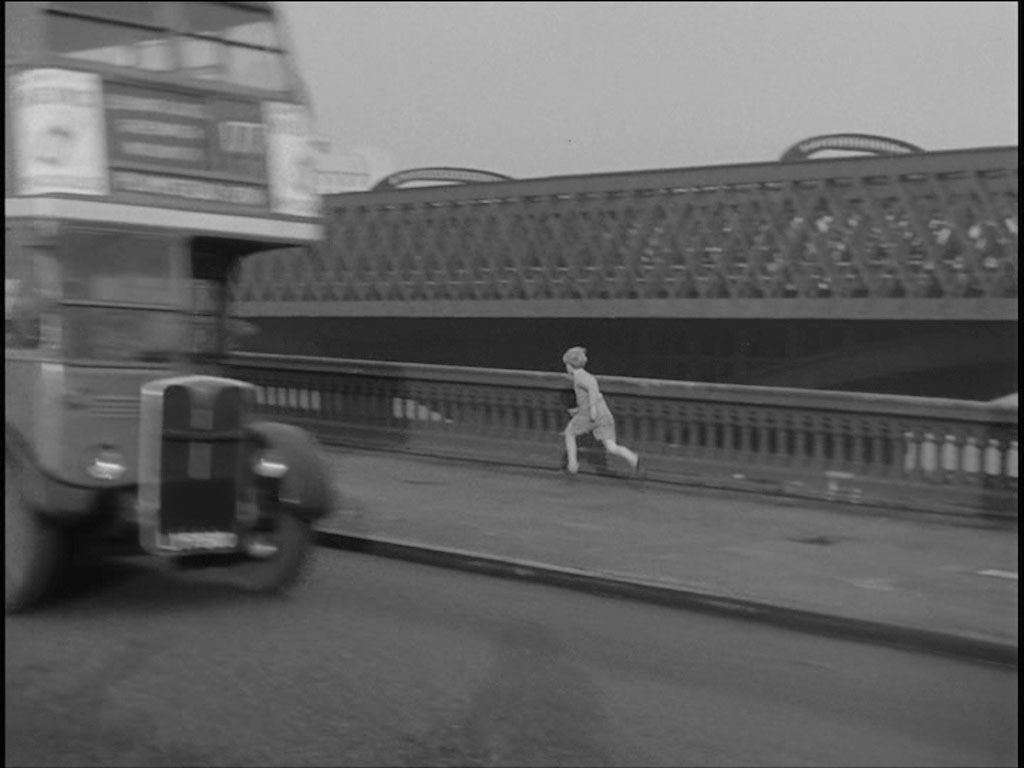
Erik runs along the road bridge pavement towards the City with the railway bridge behind. The dome of St. Paul’s is just visible to the right of the bus.

A further comparison shot from Peter.
- Capture 56
- 04 Dec 2015
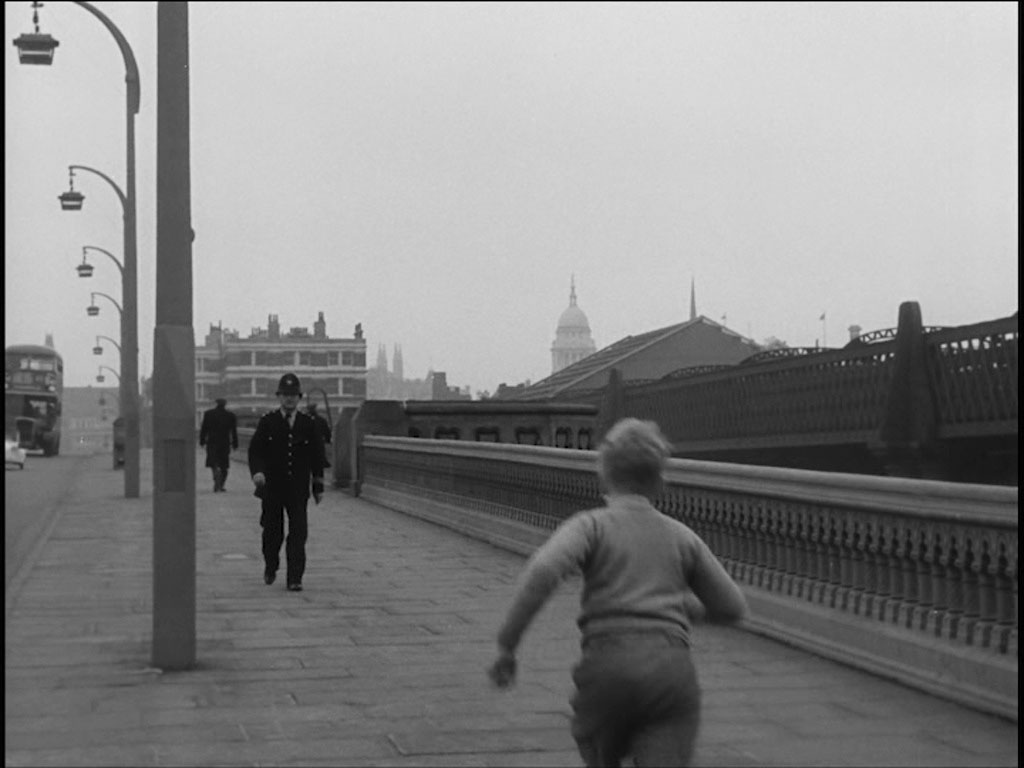
Soon he encounters a policeman approaching him. Bridge House is seen behind the policeman.

Peter managed to keep St. Paul's in the frame.
- Capture 57
- 04 Dec 2015
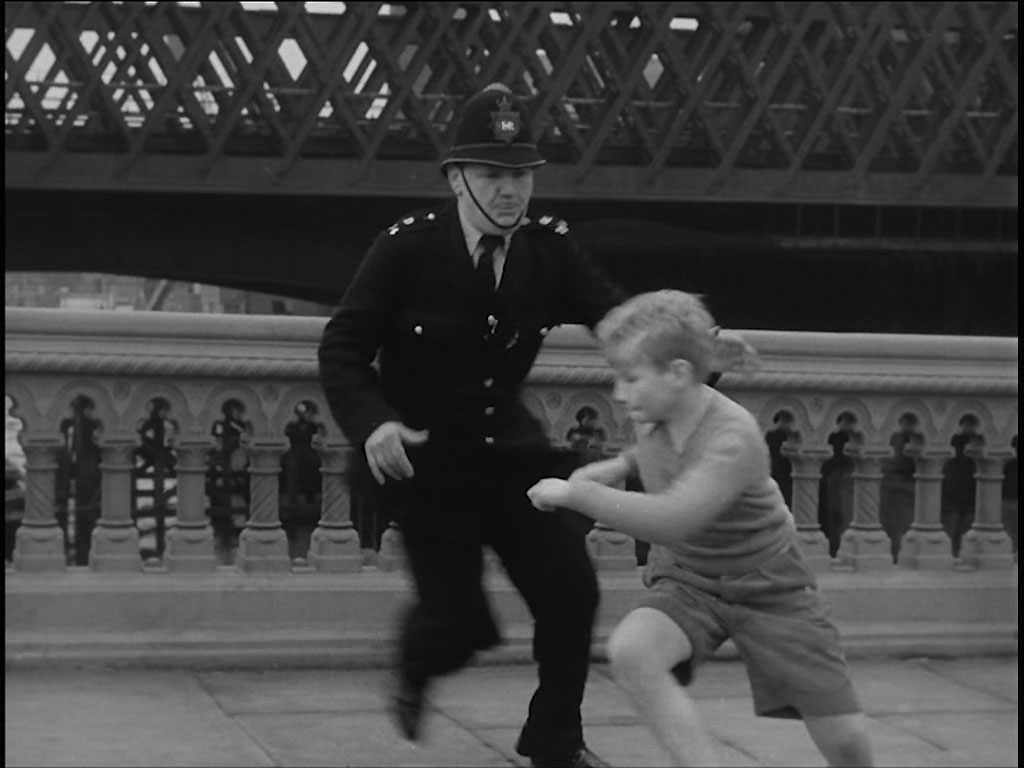
“Stop that boy” shouts Capt. Andrews. The policeman makes an attempt.

Nobody chasing Peter when he took this shot.
- Capture 58
- 26 Jun 2017
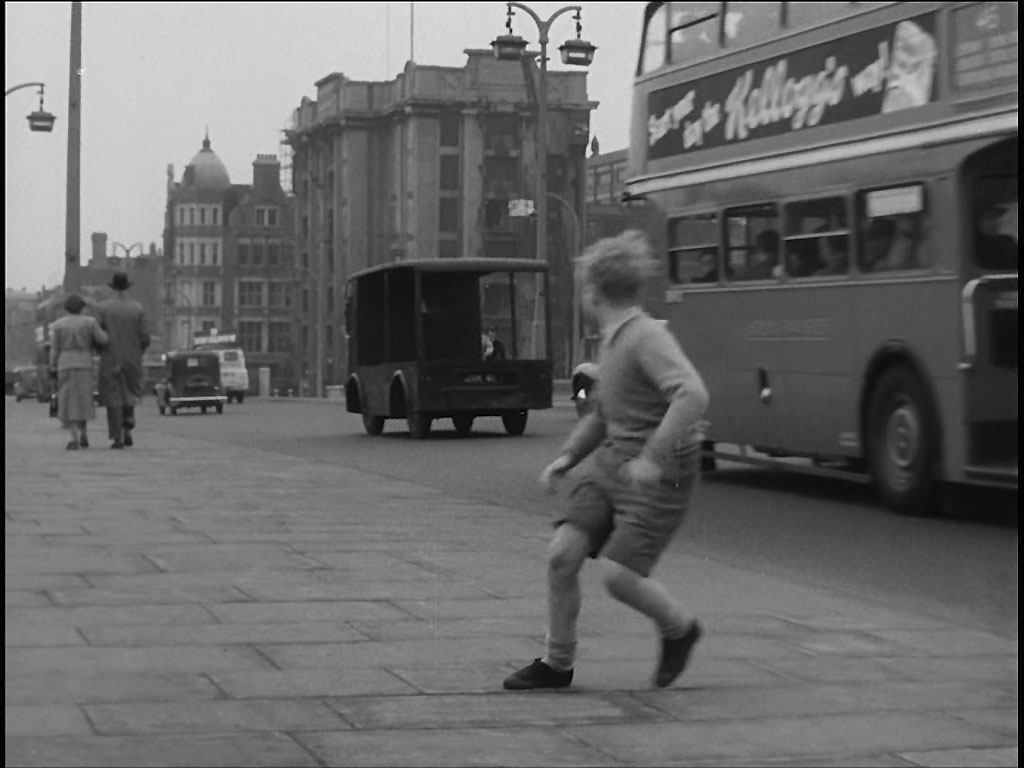
Erik is too quick for him, apparently making his way back to the north side of the Bridge. He is looking back to see Albany Place, 1 to 5 Blackfriars Road behind the van.

Peter managed this shot from the west side of Blackfriars Bridge looking north.
- Capture 59
- 30 Jun 2017
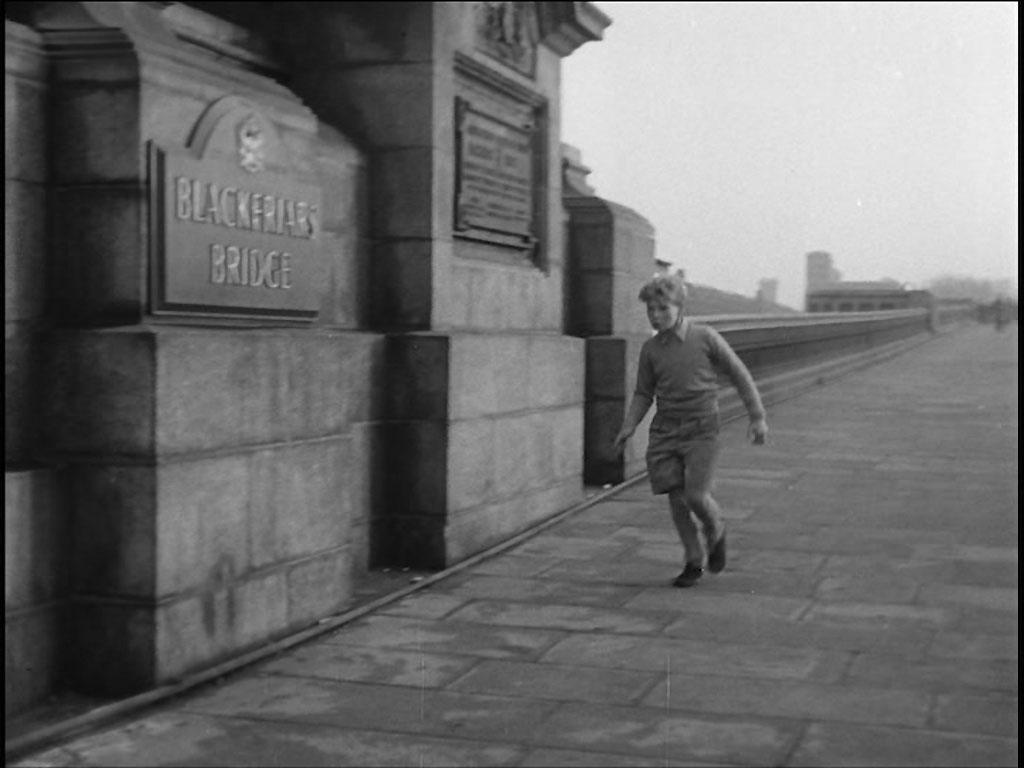
Erik seemingly runs across Blackfriars Bridge once more but this time with nobody in pursuit……..

Here's Peter's shot of the same location.
- Capture 60
- 22 Jan 2018
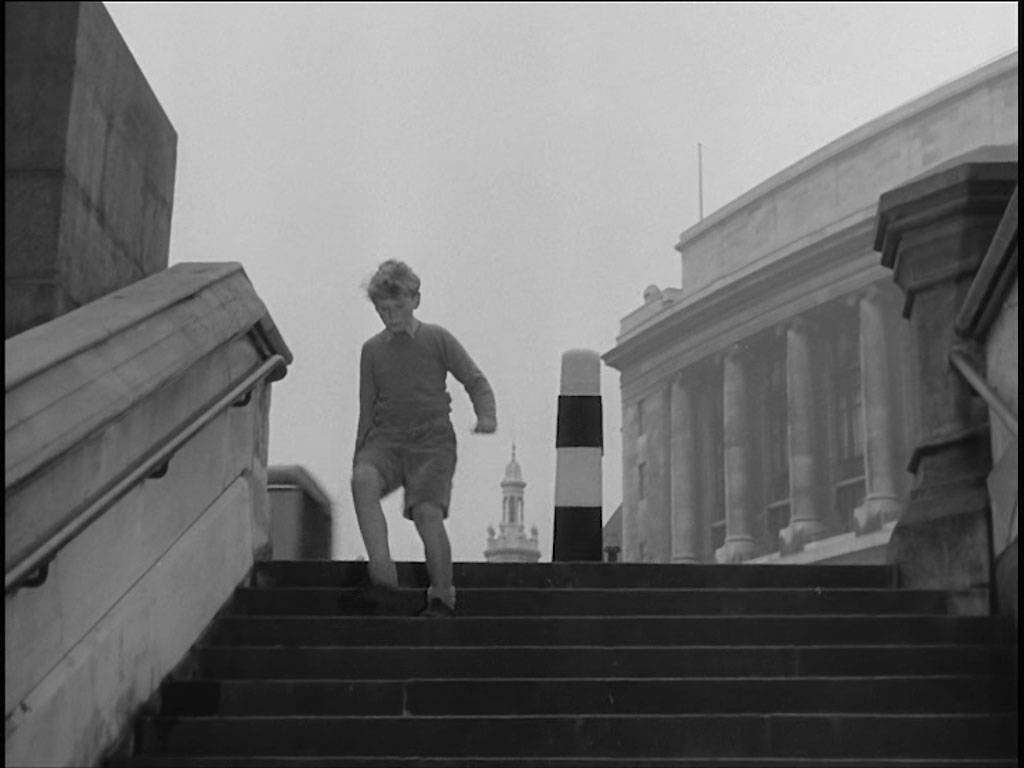
…….to run down a stairway. Ron and Ray Glenister placed this stairway at Bridge House, Blackfriars with Unilever House in the background.

Looking into a bright sky, Peter took this comparison.
- Capture 61
- 30 Dec 2015
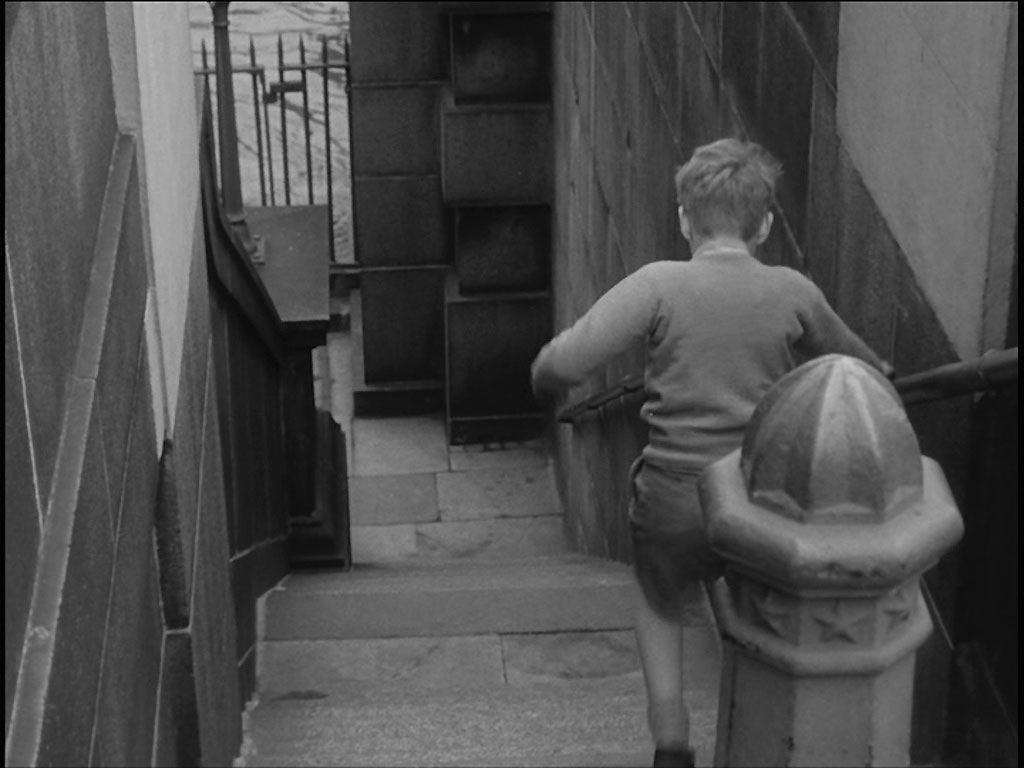
Watching Erik descend the stairs the stairway narrows and the squarish black and white bollard becomes octagonal and unpainted. Peter identifies this as the north side of Southwark Bridge.

When Peter visited the location he found widened steps, new paving and a replacement bollard dating from 1995.
- Capture 62
- 29 Sep 2023
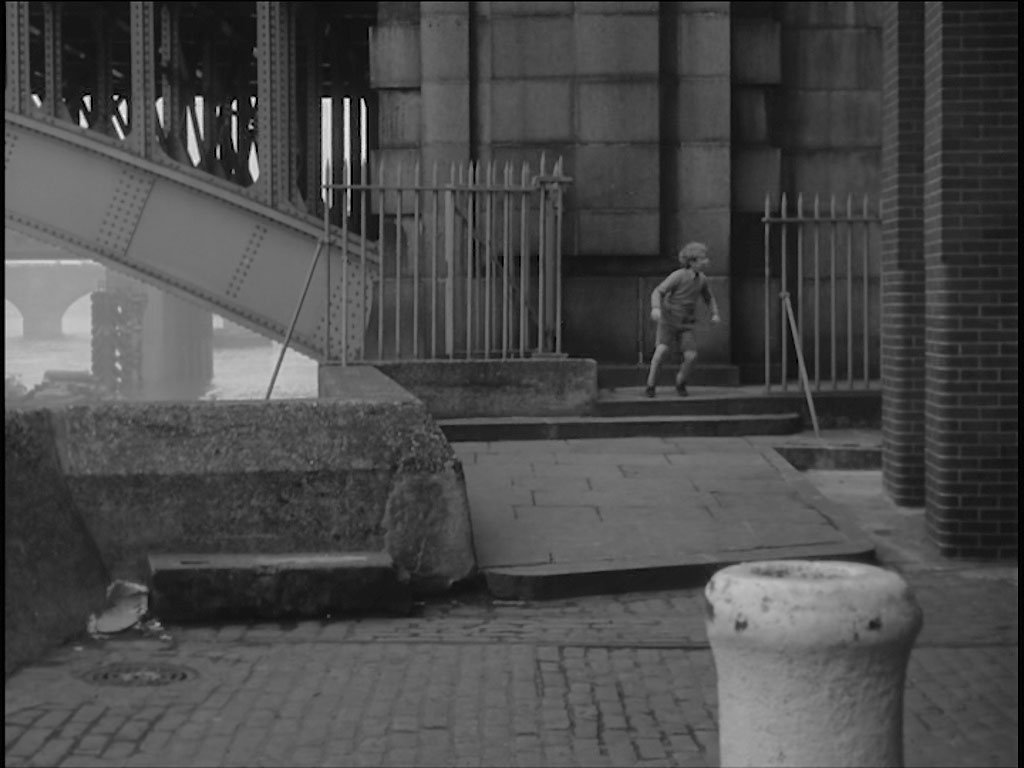
Arriving at the bottom of the stairs Erik looks back. But this is the south side of Southwark Bridge, Bankside with the piers of Cannon Street Railway Bridge followed by the arches of old London Bridge visible through the foreground arch.
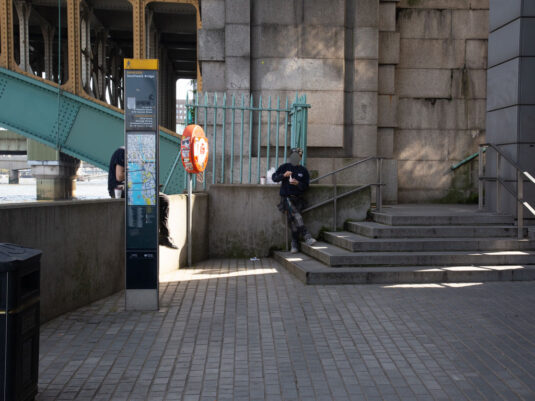
Essentially the same.
- Capture 63
- 29 Sep 2023
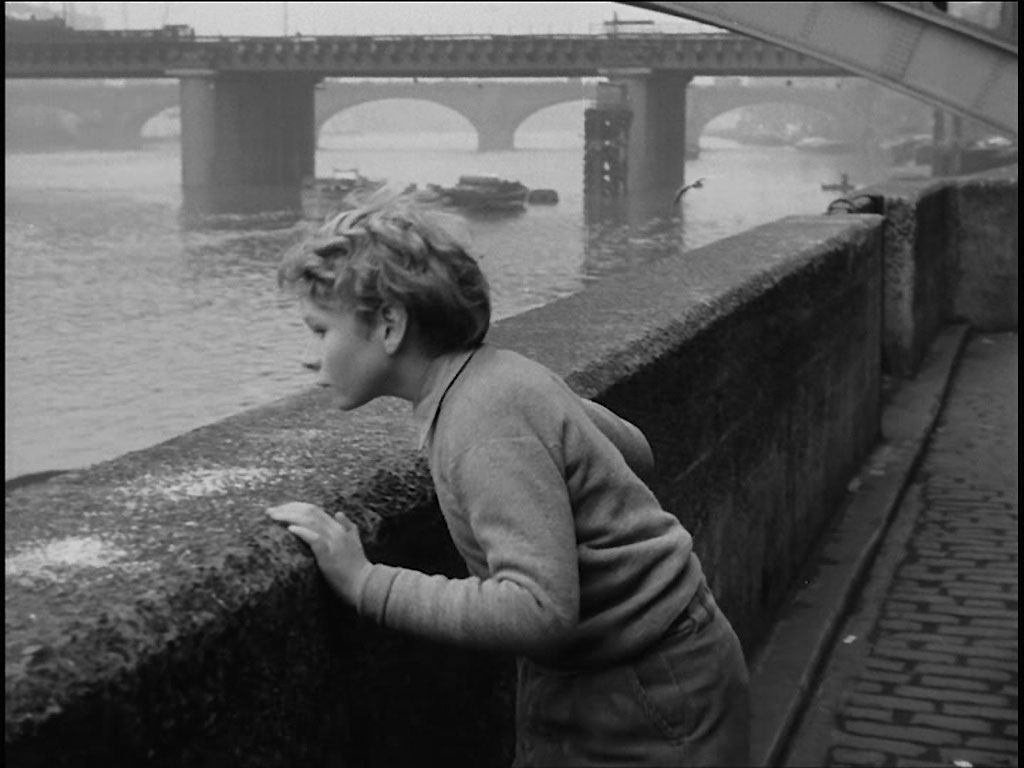
Looking over to the river the bridge combination is more apparent. Bankside.
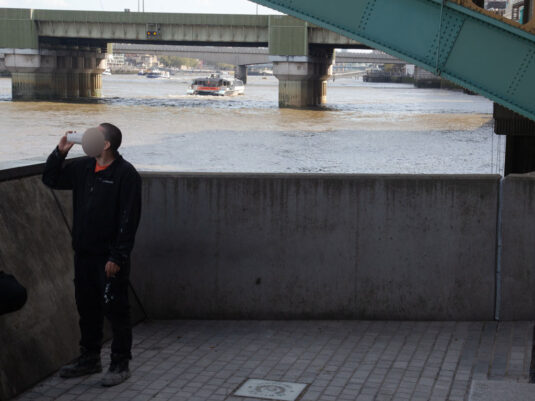
Now a popular spot for the mid-morning break.
- Capture 64
- 29 Sep 2023
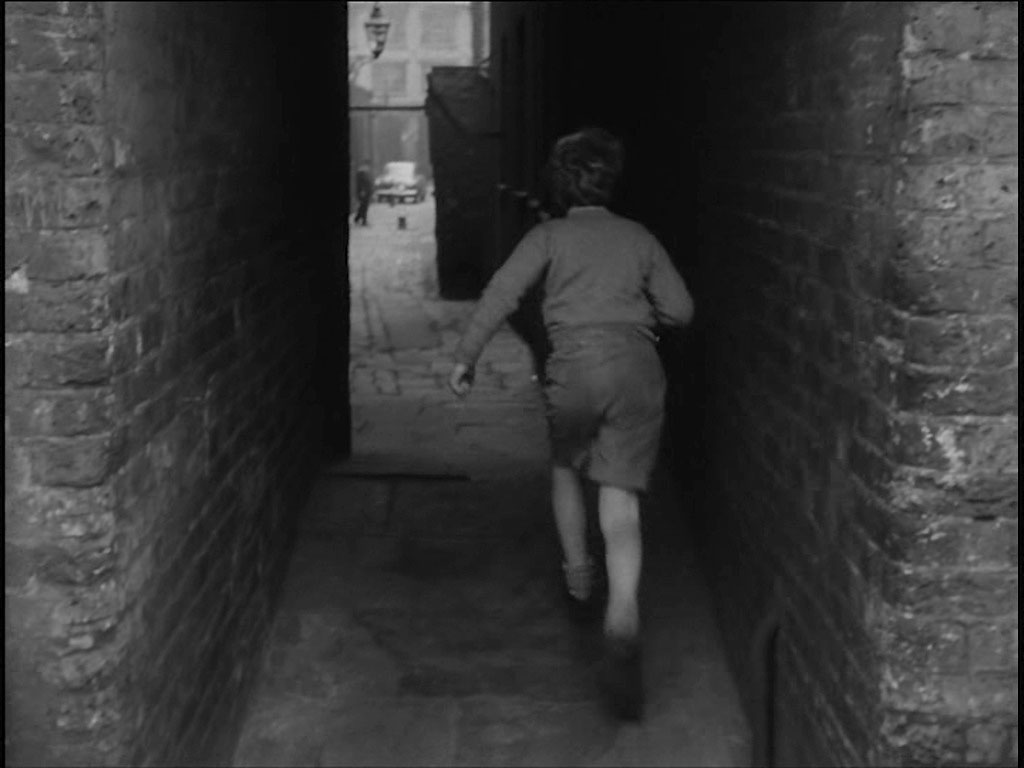
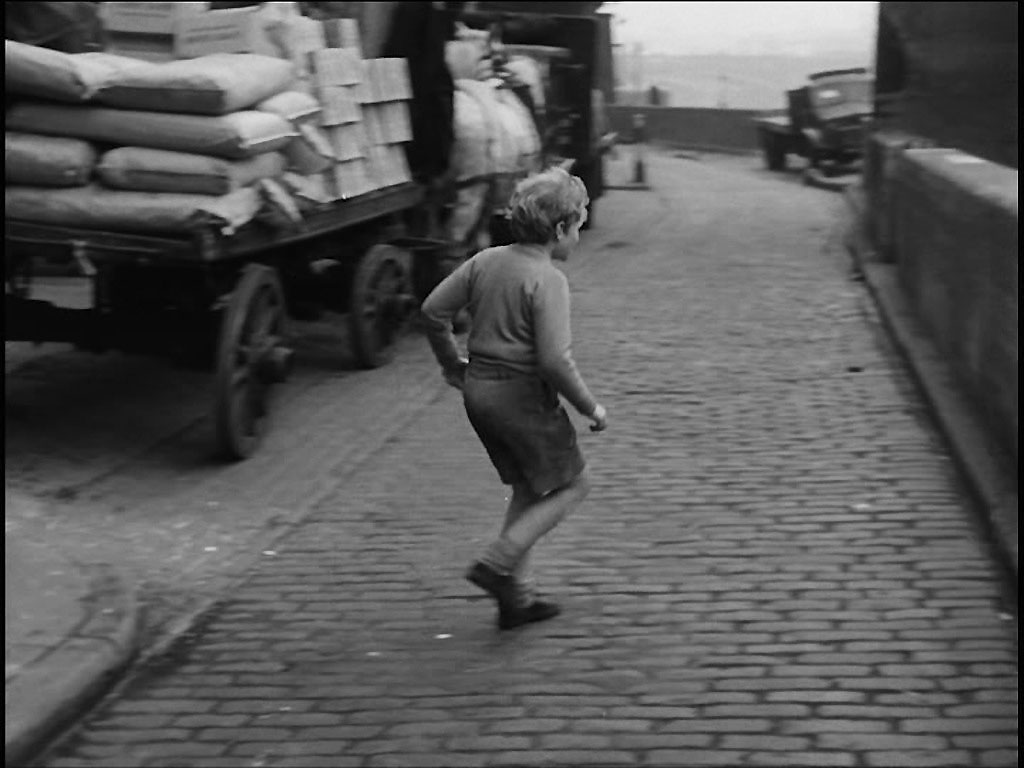
He darts into Rose Alley but there is a policeman, does a quick about turn and runs back into Bankside. The premises in Park Street in the background can be viewed in LPA 114861.
I should perhaps have been a few paces to the right but there would still not have been a view through to Park Street.
- Capture 65
- 29 Sep 2023
Having left Rose Alley and in an effort to hide from those chasing him he climbs the embankment wall…………….. Opposite 26 Bankside, Bear Wharf, SE1.
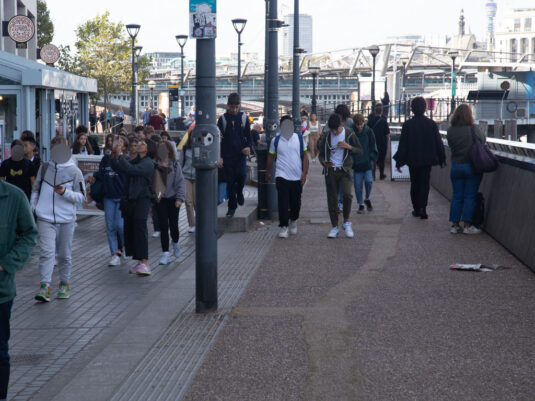
Erik would have had more success getting lost in the crowd these days.
- Capture 66
- 29 Sep 2023
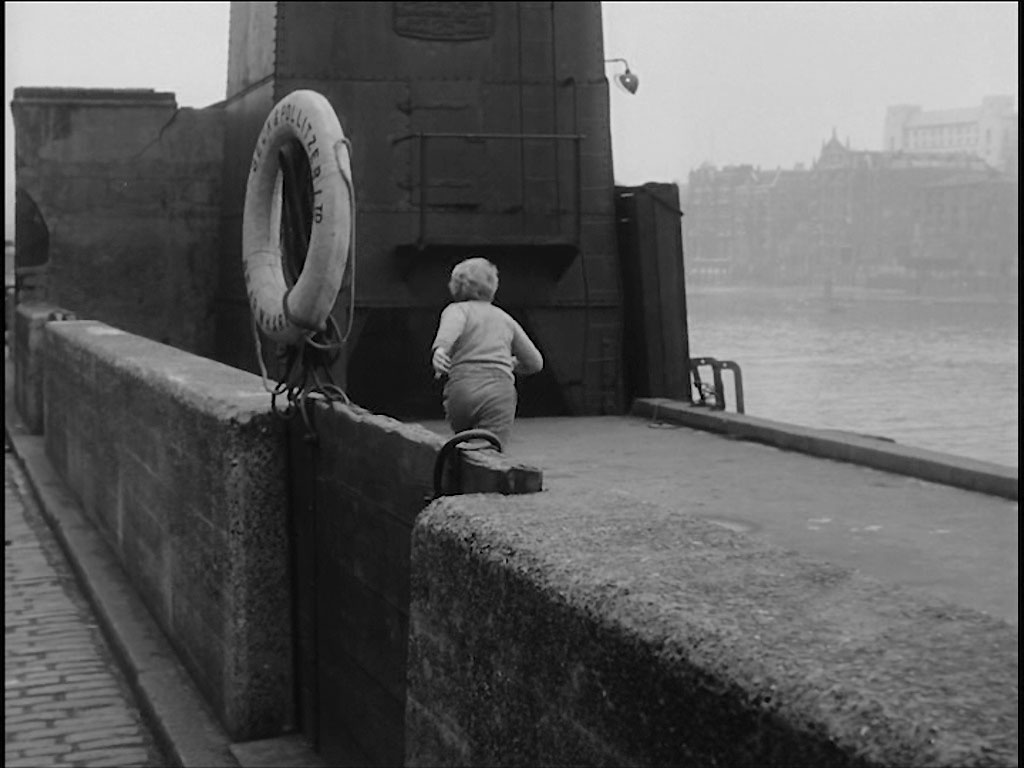
……………and jumps on to the jetty of Bear Wharf. The white building background right is the Faraday Building (Seen in Capture 14), Queen Victoria Street, EC4
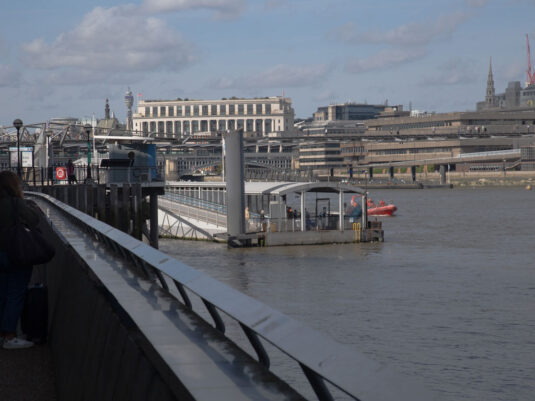
If I had spent less time on aligning the barrier I would have incorporated the Faraday Building in this shot.
- Capture 67
- 18 Jun 2017
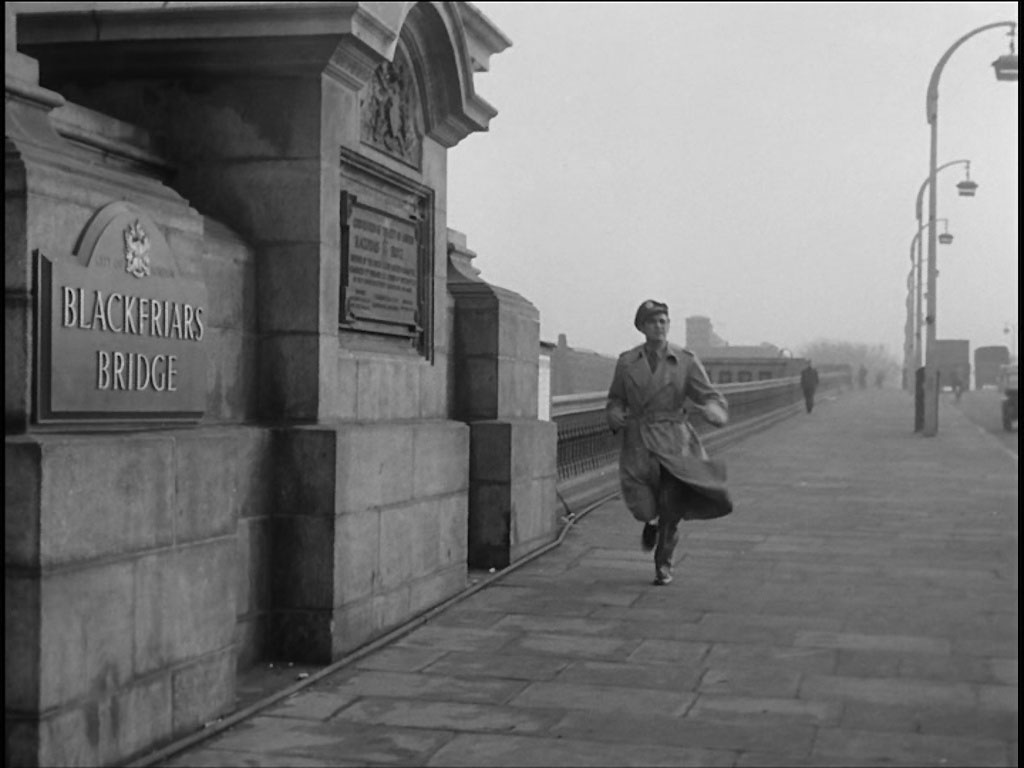
Meanwhile, Captain Andrews continues in hot pursuit. As the sign says, ‘Blackfriars Bridge’. This is the north side.

The same spot, complete with plaque, captures by Peter.
- Capture 68
- 'Now' required
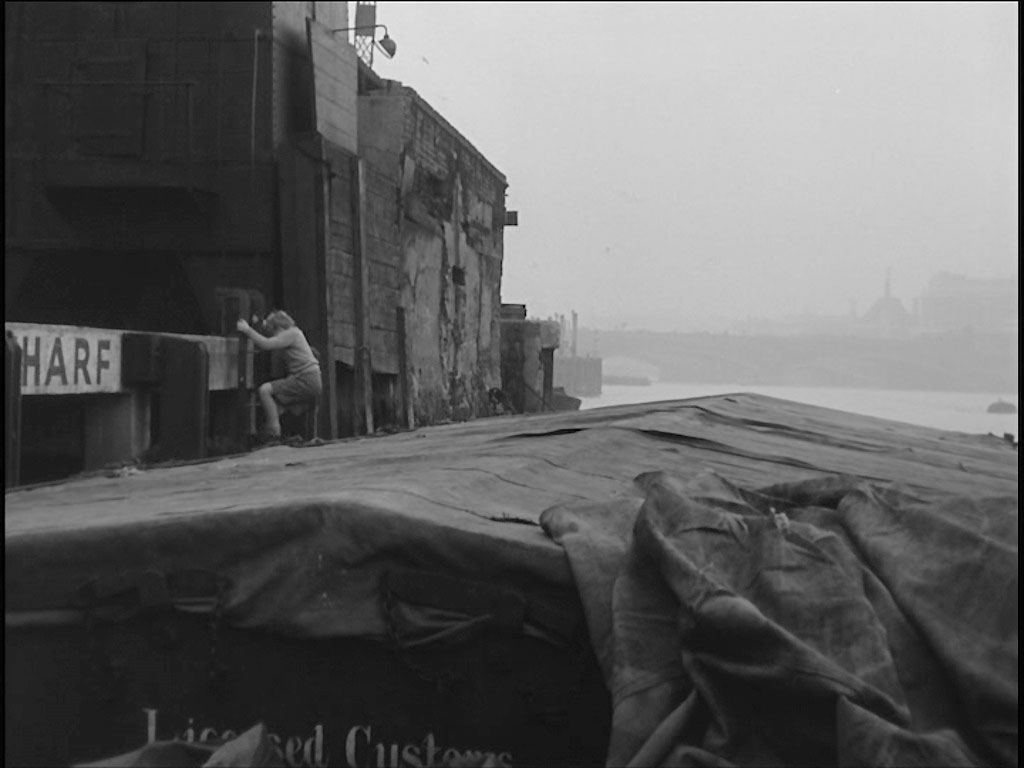
Erick climbs down the ladder to a moored barge.
- Capture 69
- 11 Dec 2015
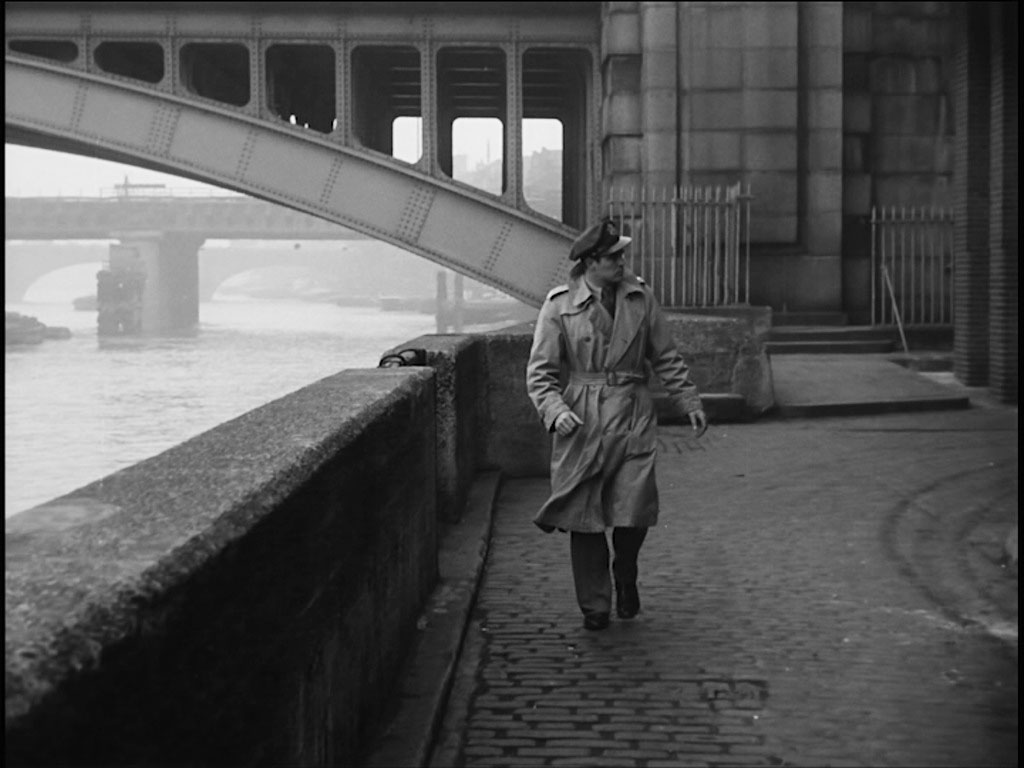
Once again Captain Andrews is seen to be ‘closing in’. Southwark Bridge, Bankside with the piers of Cannon Street Railway Bridge followed by the arches of old London Bridge visible through the foreground arch.

And Peter adds that the area and embankment have been rebuilt, taking this shot of the location now.
- Capture 70
- 29 Sep 2023
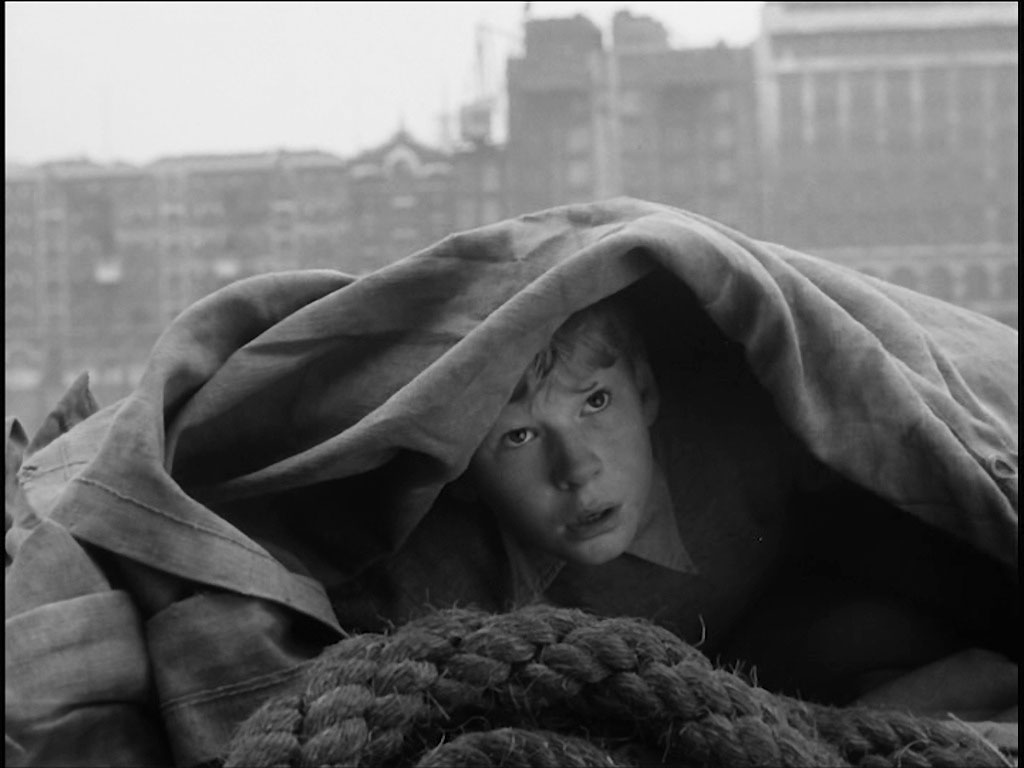
Eric hides under a tarpaulin. On the opposite shore Vintry House, EC4 is visible in the top right hand of the capture.
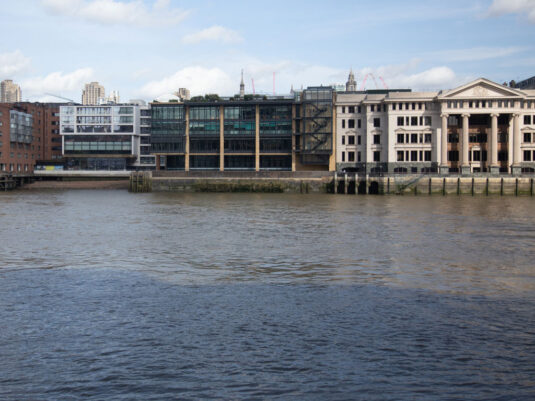
Vinters Place replaced Vintry House in the early 90's.
- Capture 71
- 'Now' required
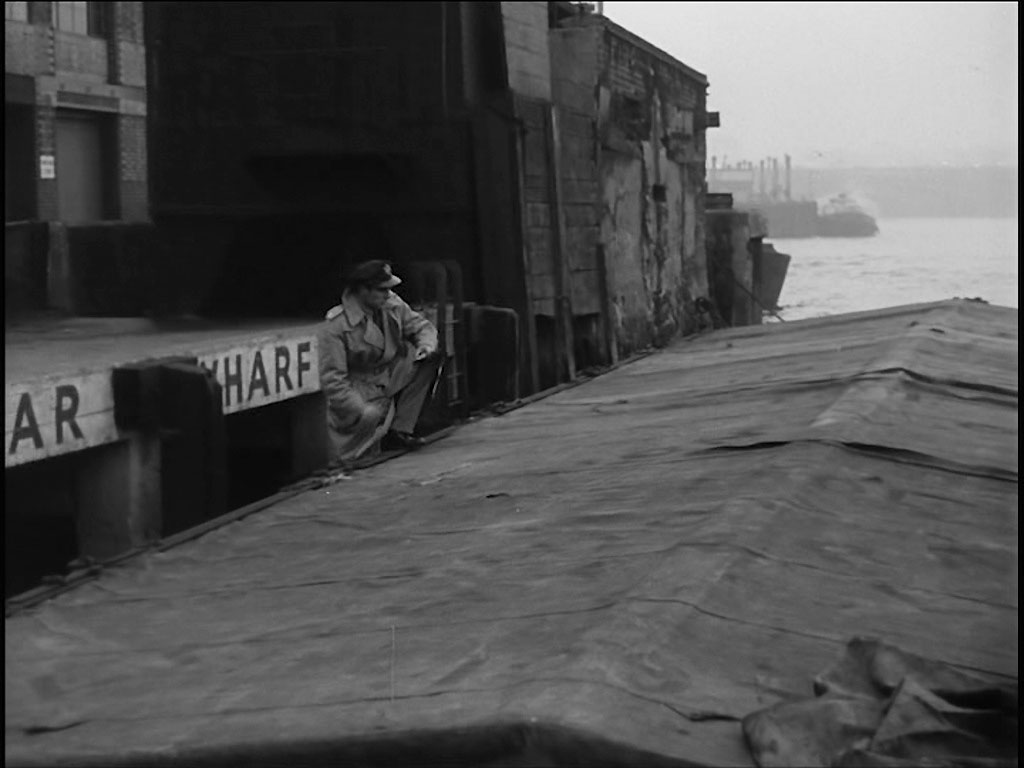
He hears the approaching footsteps of Captain Andrews.
- Capture 72
- 'Now' required
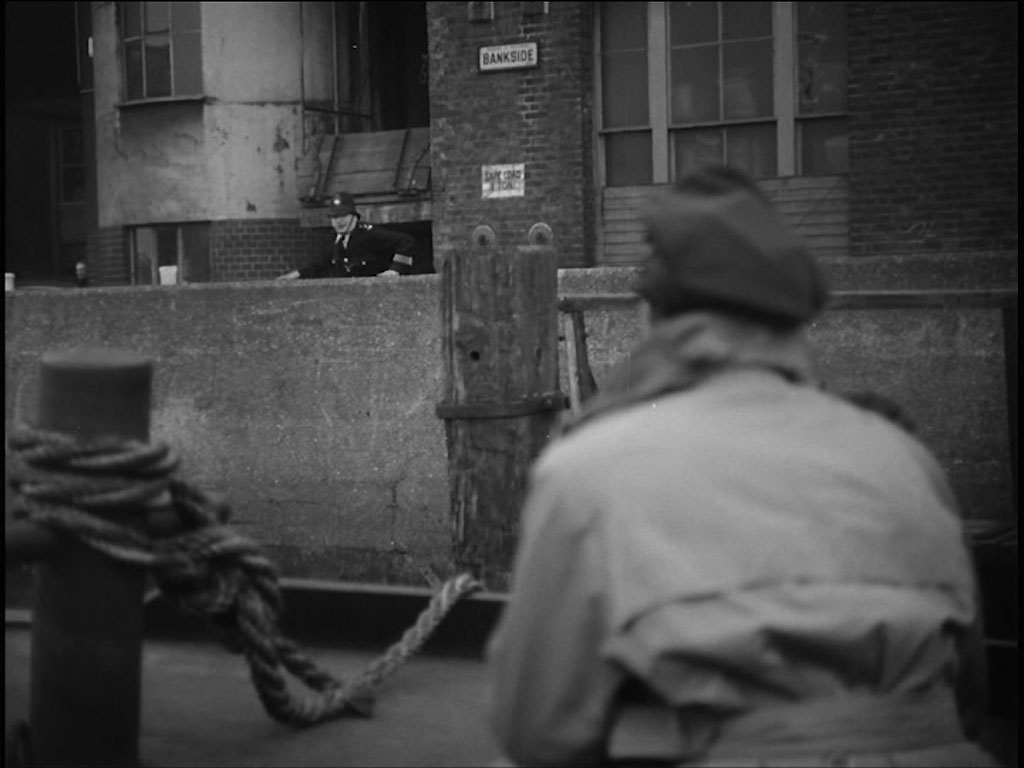
Just as he is about to found a policeman shouts that a lady has reported that she saw a boy running down the street and Captain Andrews immediately goes ashore. As the sign says Bankside, circa No 25
- Capture 73
- 'Now' required
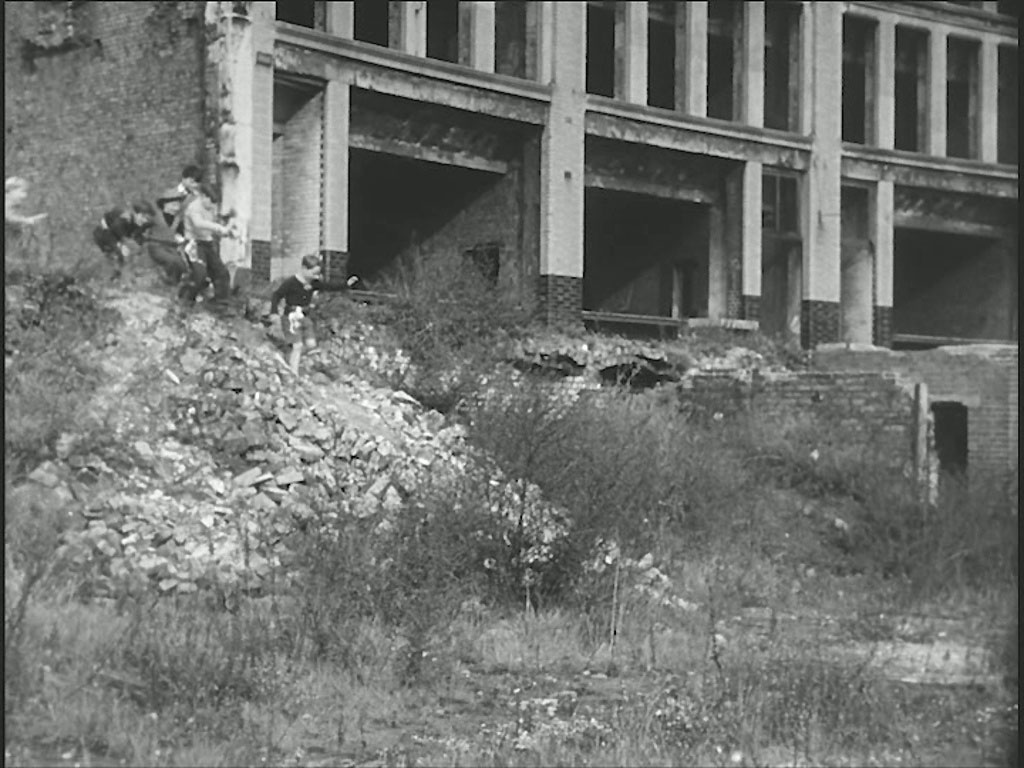
Meanwhile the gang continue playing on the bomb site. Jewin Crescent, EC2 now part of the Barbican development.
- Capture 74
- 'Now' required
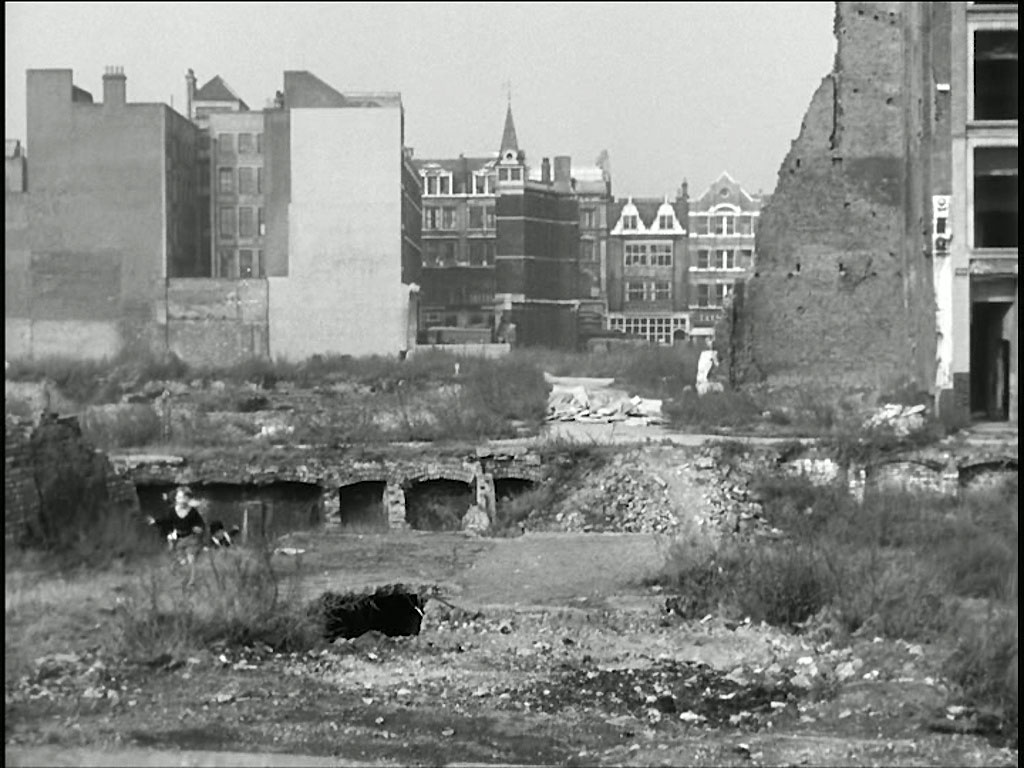
Where they are about to encounter Joshua Henry who, pretending to be a plain clothes policeman, obtains their confidence to find Erik. The properties in the far background are 51-58 Barbican, EC2. All now demolished and incorporated into the Barbican development. The Dutch gables are of W. Bryer & Sons, the frieze between its first and second floors were salvaged and have been incorporated into the Barbican development. LPA 35932
- Capture 75
- 15 May 2023
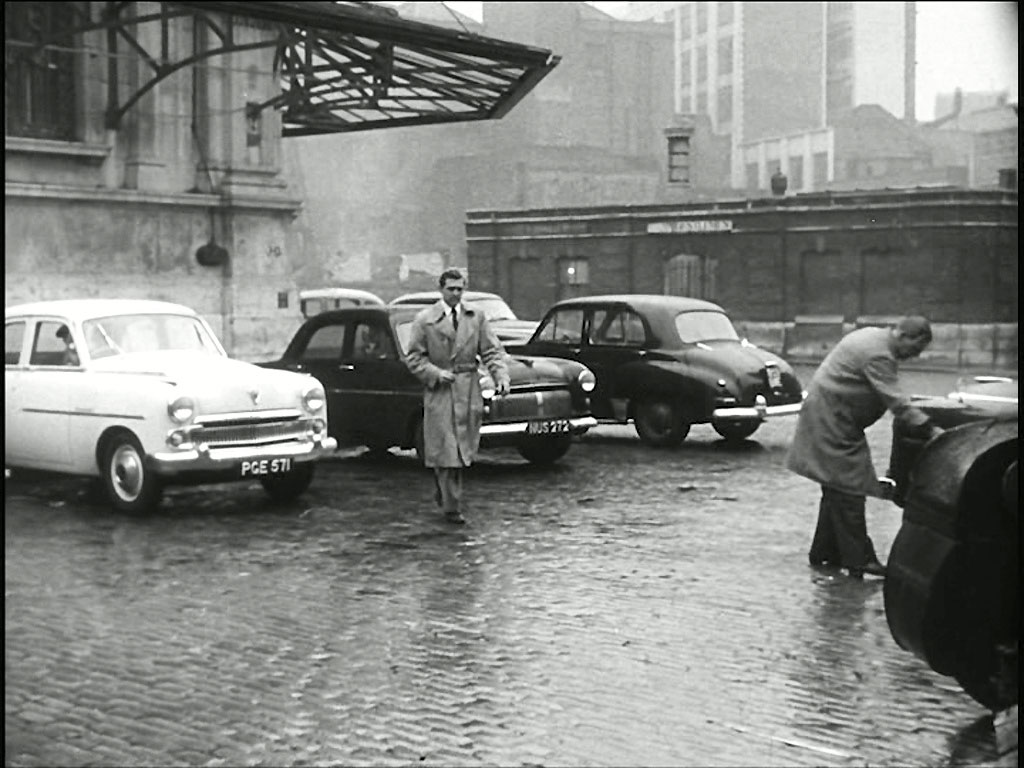
Supt. Mackenzie gives Andrews ‘carte blanche’ authority for 24 hours to find Erik, ‘his way’. He goes to Smithfield Market to ‘interview’ Oscar Smithson (Felix Felton) with regard to William Norton, the murdered army officer, and to ‘black market dealings’. What is now, certainly, West Poultry Avenue, EC1 and as a result much changed, but the toilets, mid ground West Smithfield/Smithfield Street remain, albeit, no longer in use.
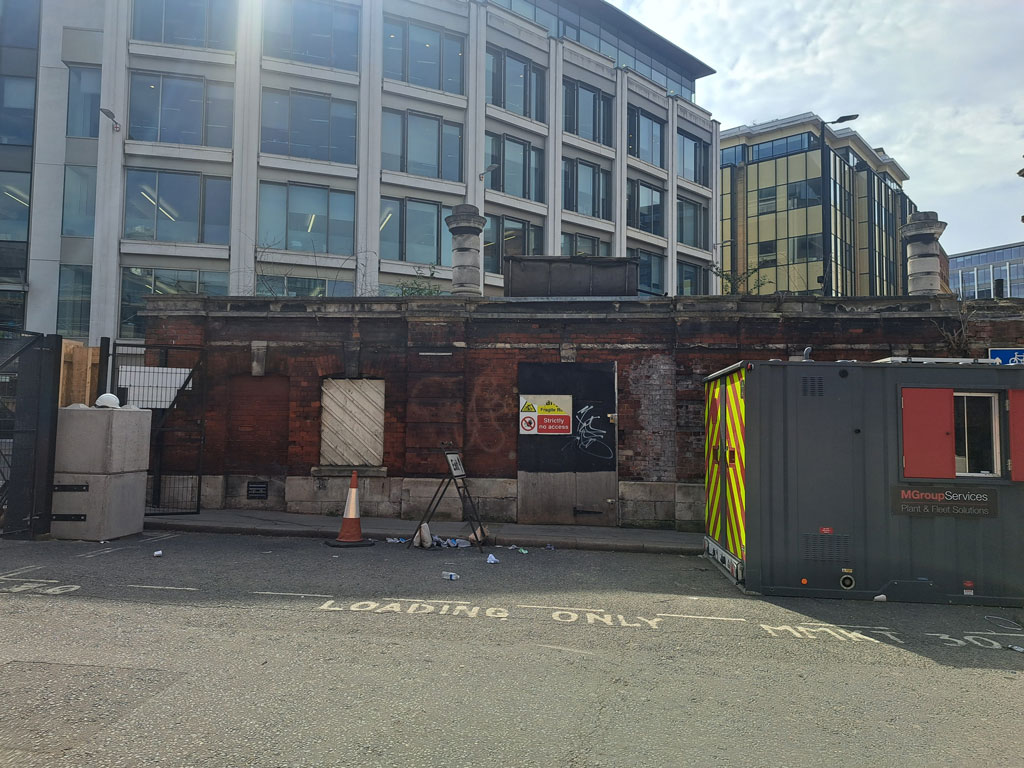
Paul Lincoln did a sterling job in actually managing a shot from the correct angle considering the valume of work going on there. (RL)
- Capture 76
- 15 May 2023
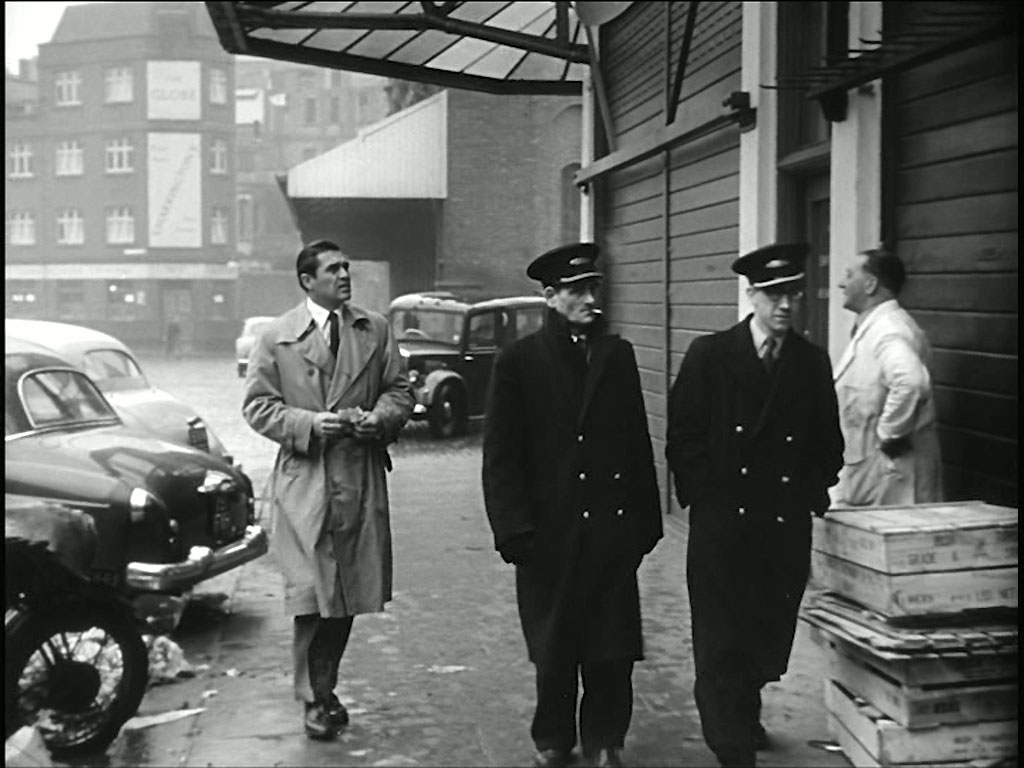
Andrews crosses West Poultry Avenue to find Smithson’s office. In the background is 'The Globe' public house on the corner of Smithfield Street and Hosier Lane.
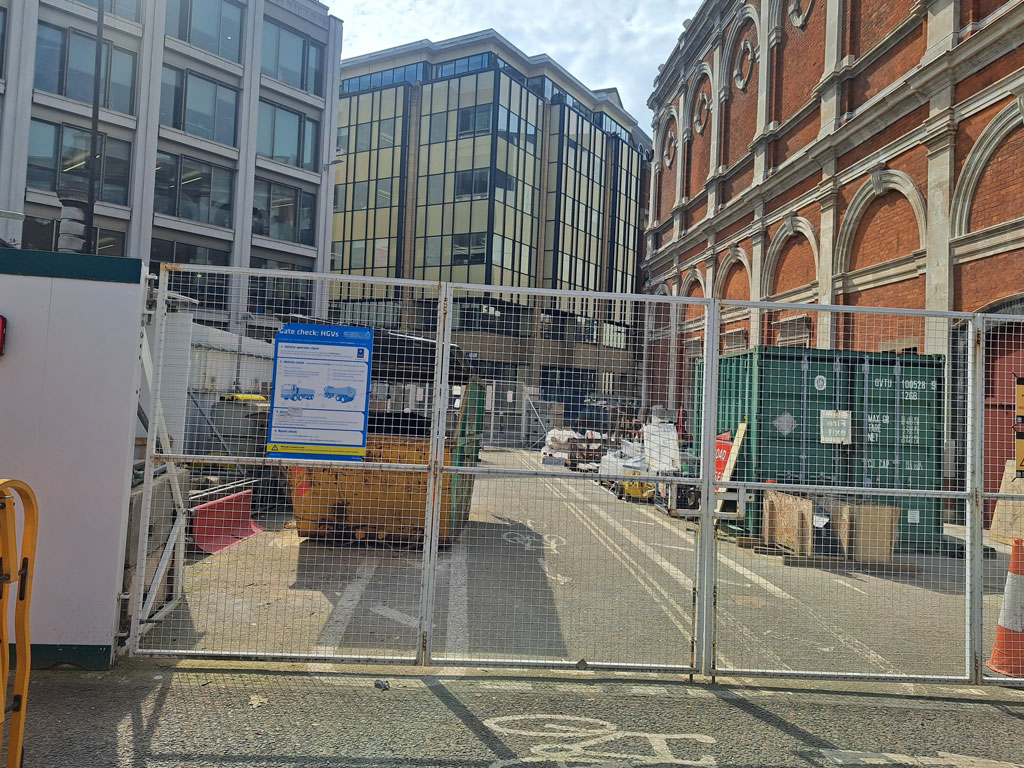
I hope that Payl was wearing a hard hat and steel toecaps. Thanks Paul, we do put you through it! (RL)
- Capture 77
- 03 May 2023
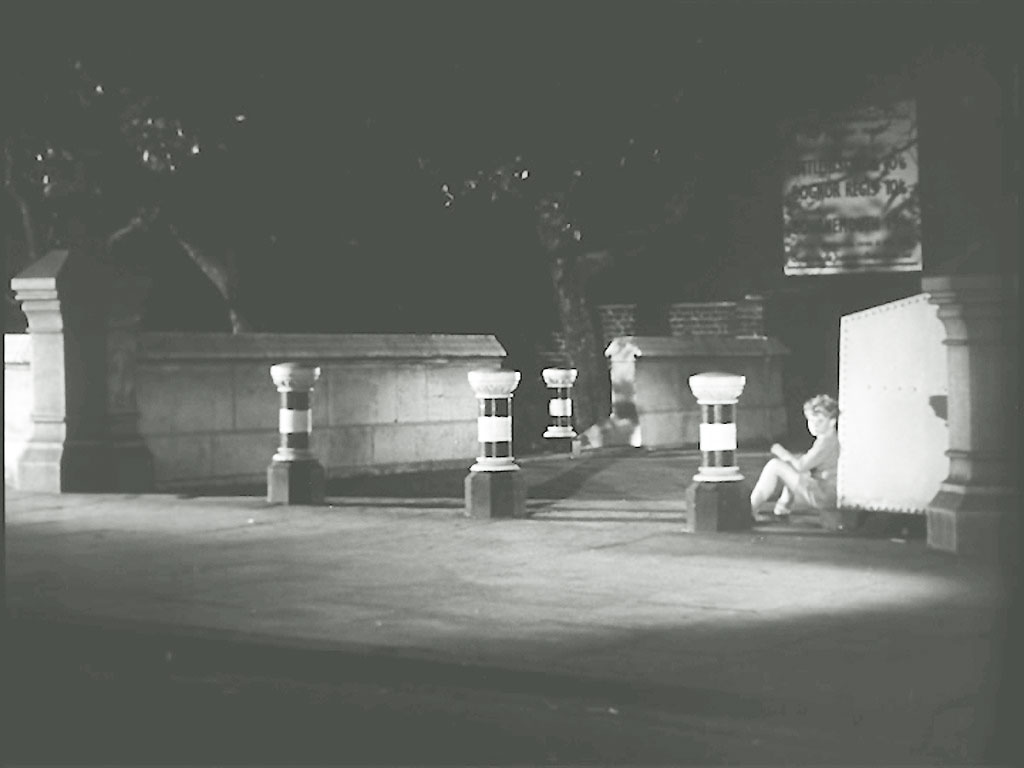
Erik sits watching the 'Beldon’s Restaurant' in the expectation of seeing his mother. Thames Path/Rennie Gardens, Blackfriars Road, SE1. Probably the same bollards remain in place.
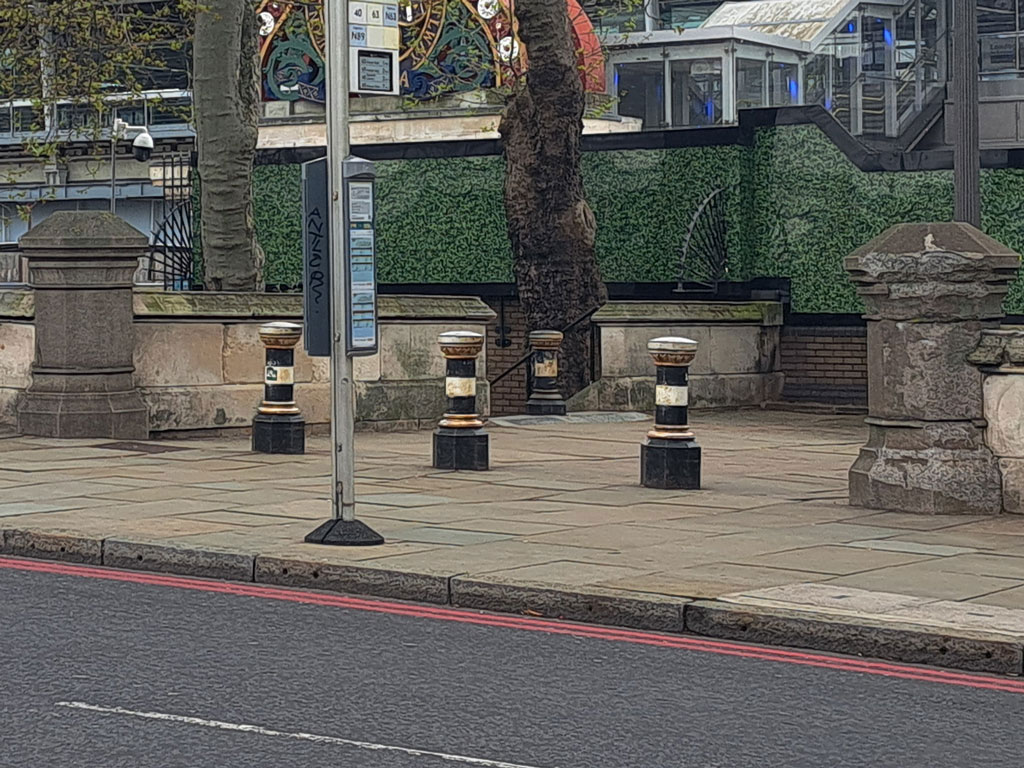
This perfect shot from Paul excellently replicates the capture and reveals how much those trees have grown.
- Capture 78
- 'Now' required
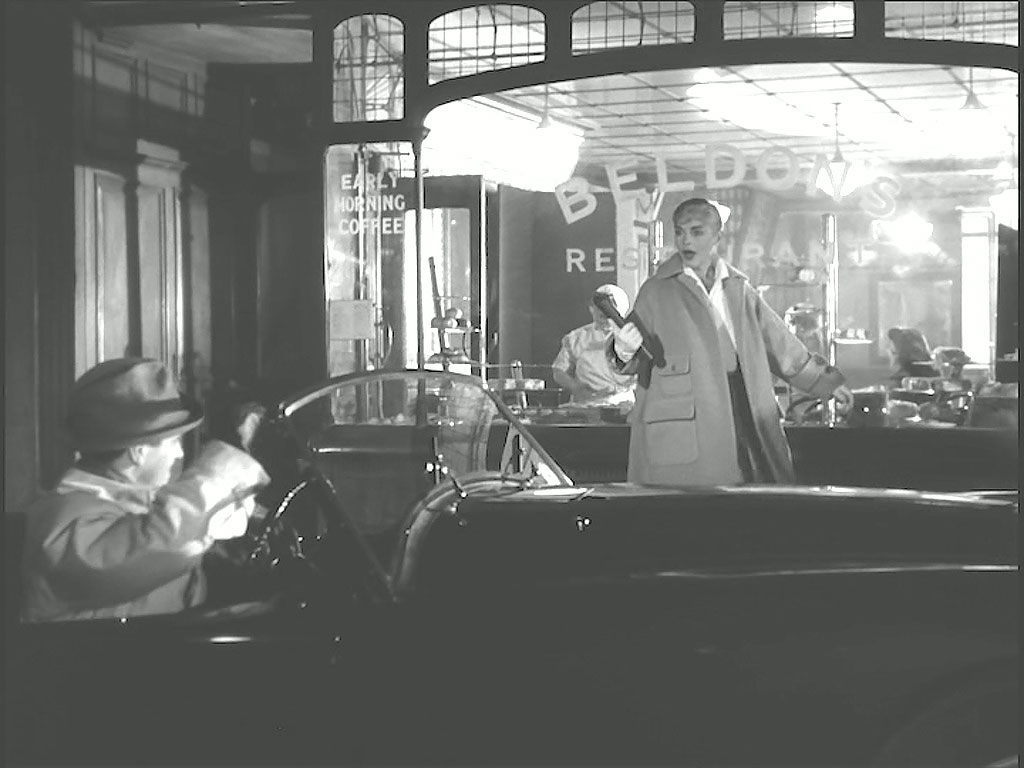
His hopes are soon dashed when he sees Joshua waiting in his car to collect her, dejected he walks down to the foreshore and considers throwing the gun into the Thames. Douglas Williams advises that Joshua is driving an AC Ace. 8 Blackfriars Road, SE1
- Capture 79
- 03 May 2023
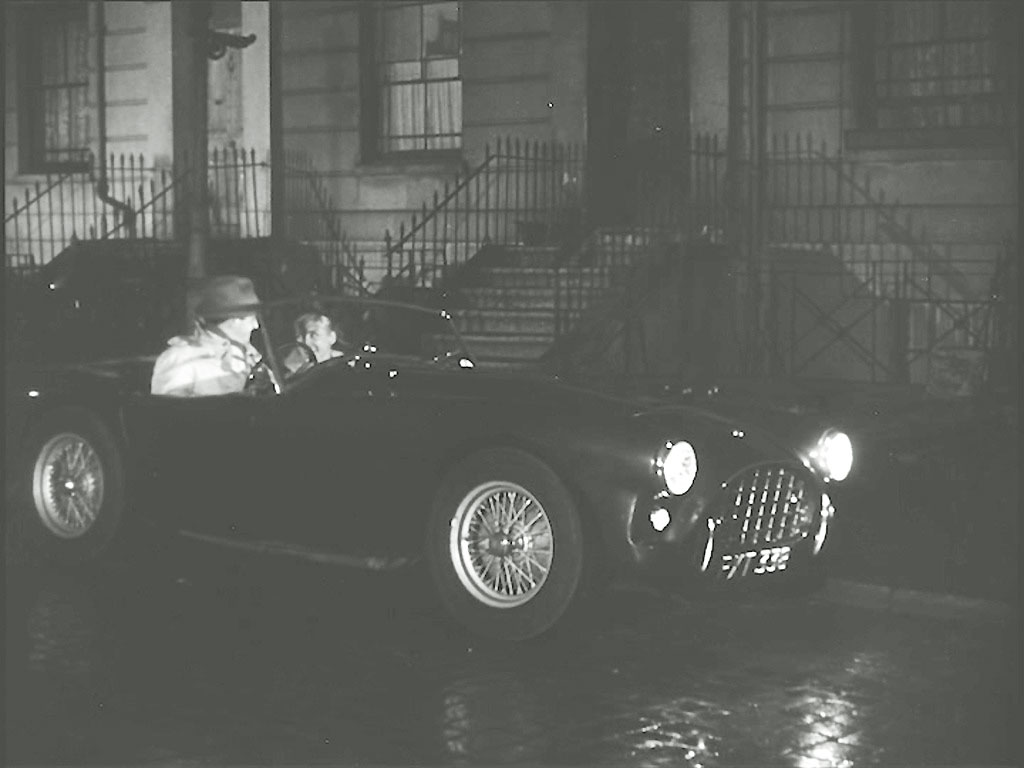
Joshua takes Elsa home and invites himself in for a meal. 26 Mornington Terrace, NW1
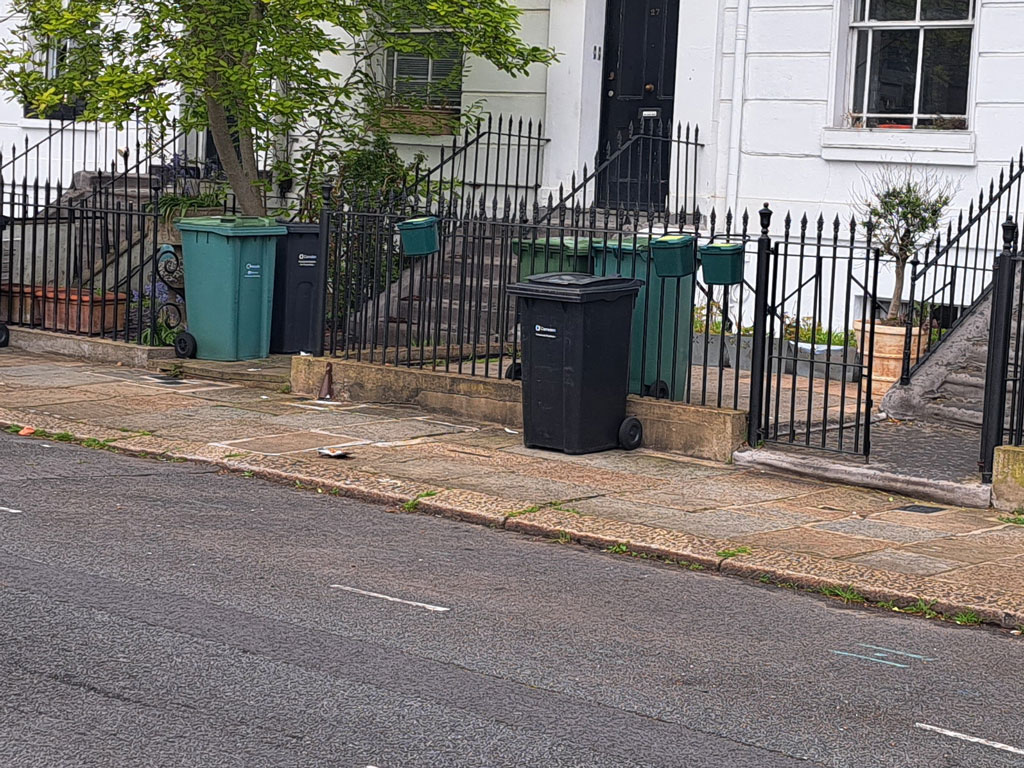
Paul had to accept those bins again.
- Capture 80
- 09 May 2017
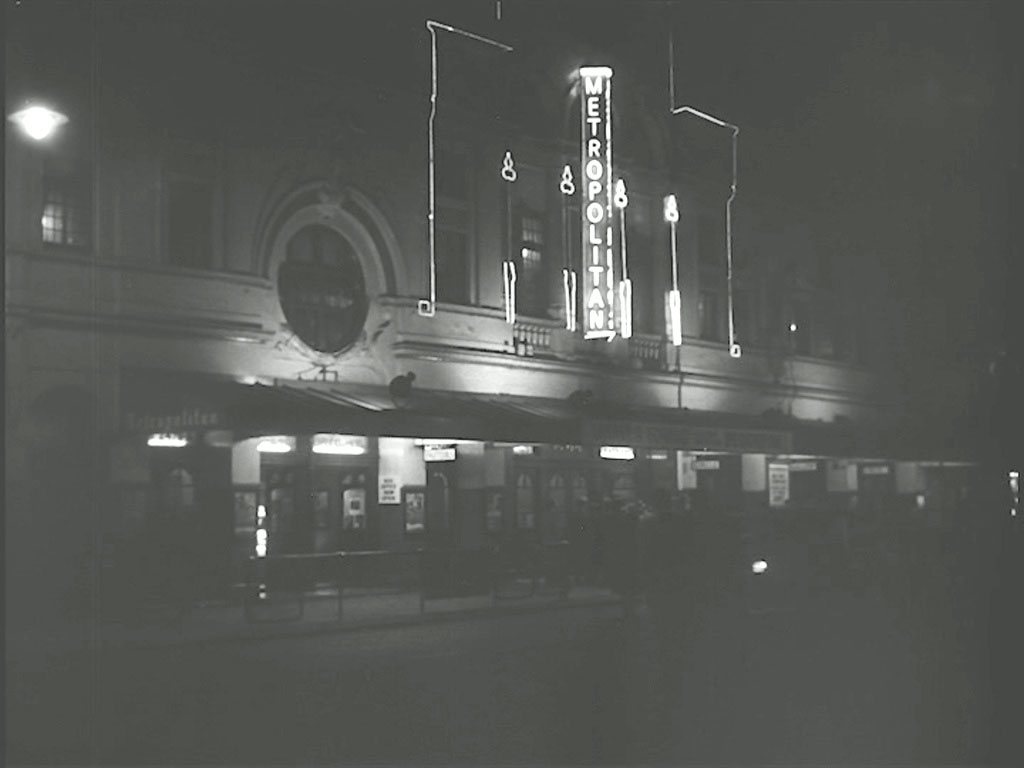
The next visit of Captain Andrews is to the Metropolitan Music Hall, 267 Edgware Road, W2, identified by Peter, to interview a showgirl (Myrtle Reed) who had also known William Norton. She remembers little after ten years but suggested that if he wanted to know more, visit Vivienne Pascal.

And this is Peter's view of the location now, taken from the entrance of the Green Man public house at the corner of Bell Street.
- Capture 81
- 09 May 2026
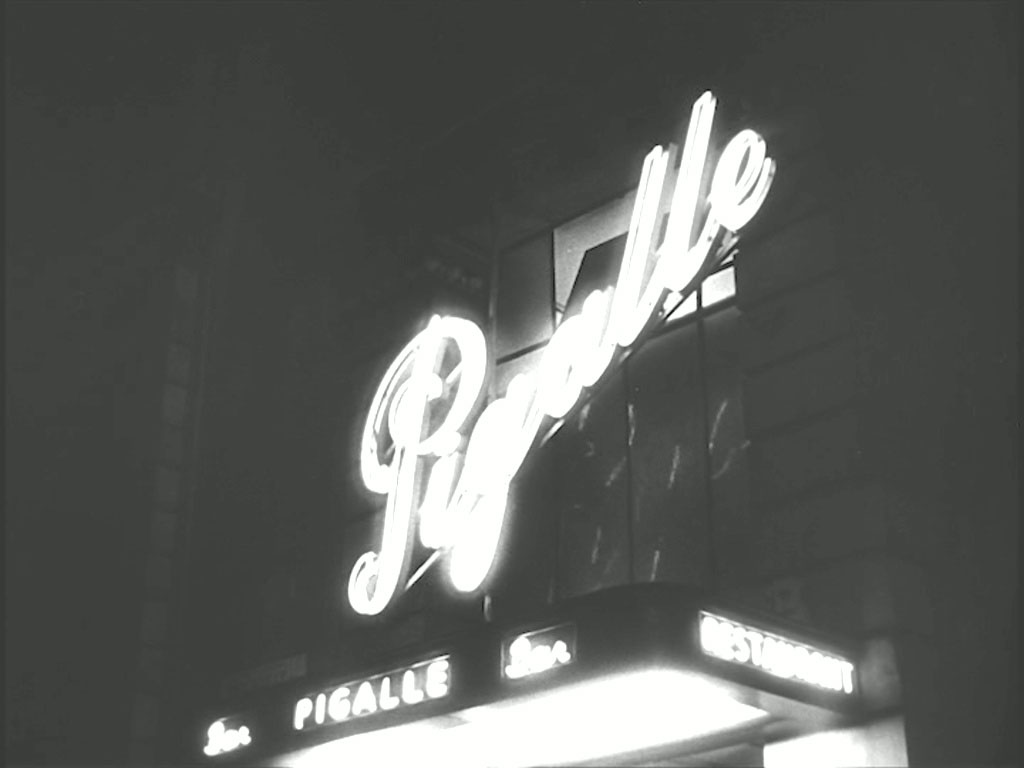
At the ‘Pigalle’ Night Club, 196 Piccadilly, W1 he meets with Vivienne (Nicole Maurey) who suggests that he visits her at ‘her place’, after work, that evening.
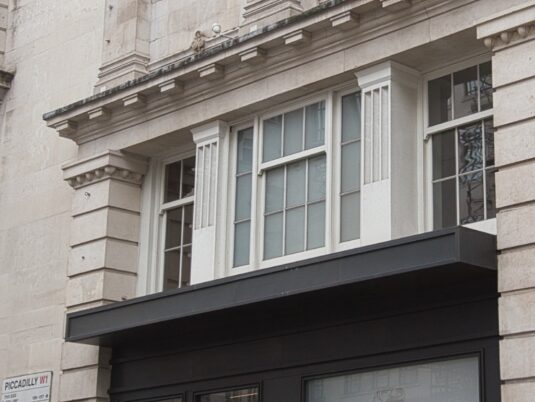
No inviting signage these days. (RL)
- Capture 82
- 03 May 2023
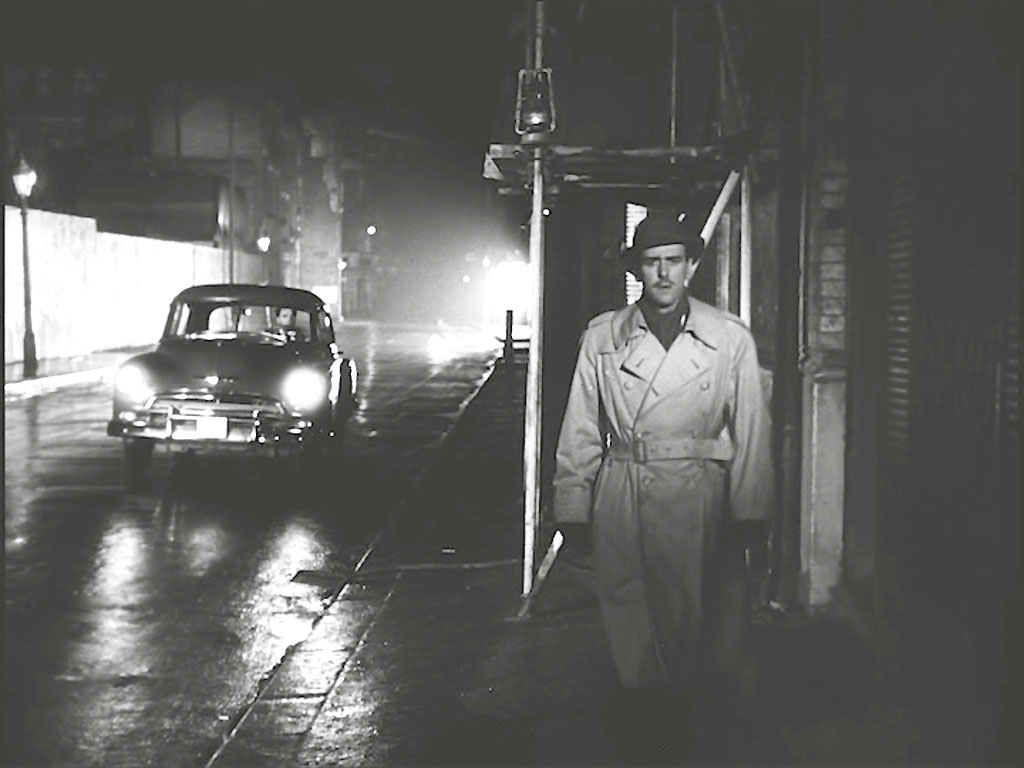
As Captain Andrews pulls up in his 1951 Chevrolet Styleline Special he sees Joshua outside as he leaves her home. Looking south on Whitecross Street, EC1, the scaffolding is on No 103, the property remains to this day. With sincere thanks to Dave W for resolving this one.
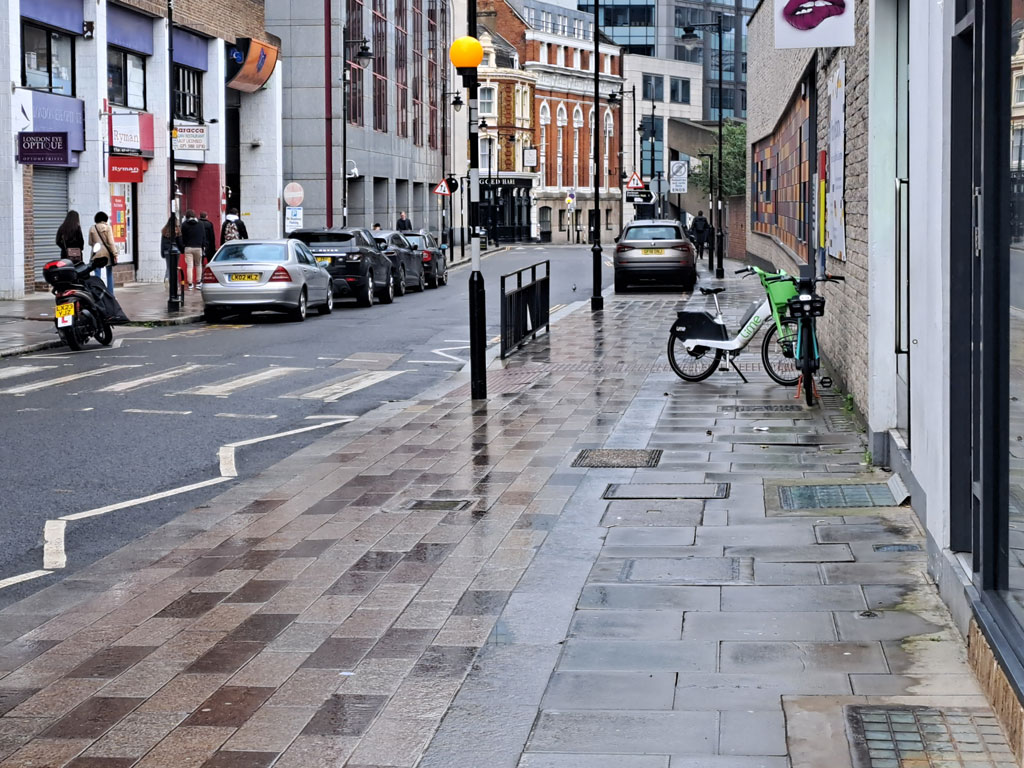
Paul was fortunate to find the pavement wet to draw a true comparative shot.
- Capture 83
- 03 May 2023
Whilst Andrews and Vivienne talk she is shot in the back as she stands by the window. Andrews looks out of the window to see Joshua running away. Looking south on Whitecross Street, EC1
There was no chance of Paul getting any higher than ground level.
- Capture 84
- 27 Dec 2017
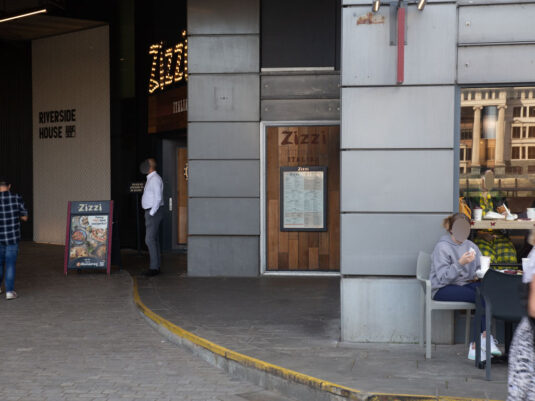
With Andrews having returned his fire from the window Joshua seeks the security of a shadowed doorway. Ray and Ron Glenister Hmmmm’d and Aaar’d then added angst and hours of exploration to find this to be Shad Thames, SE1 and what is now Pizza Express.

A Google Earth View from Ron and Ray to support.
- Capture 85
- 03 May 2023
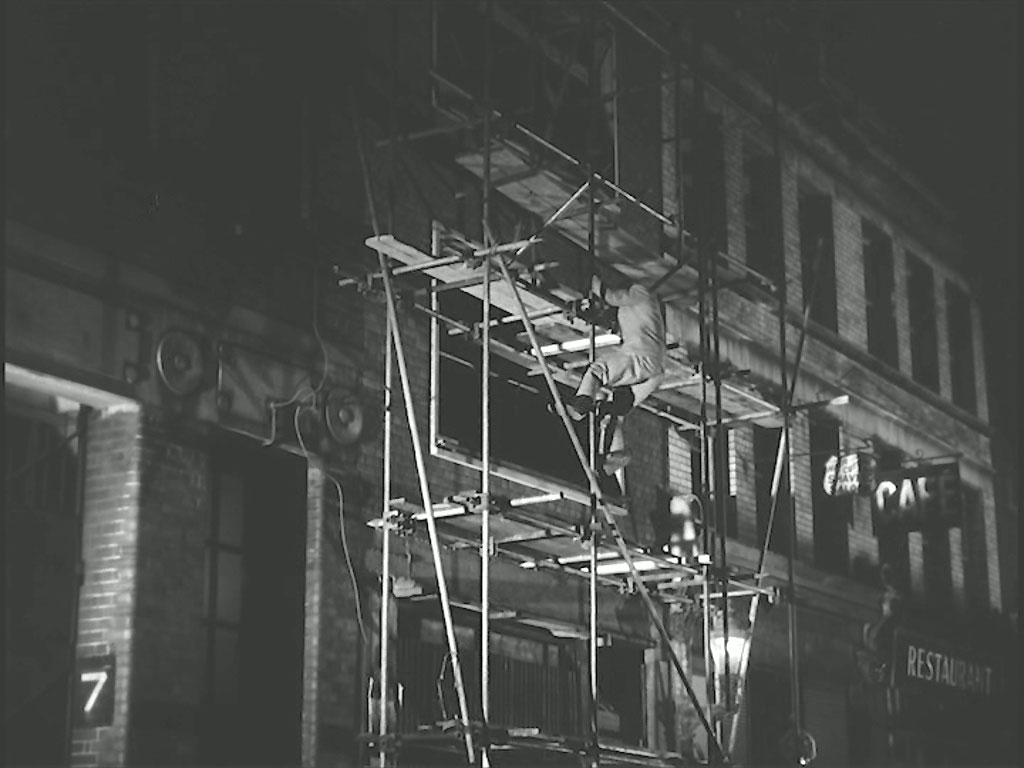
As a fit US Army officer should, Andrews descends through the scaffolding with ease. 103 Whitecross Street, EC1
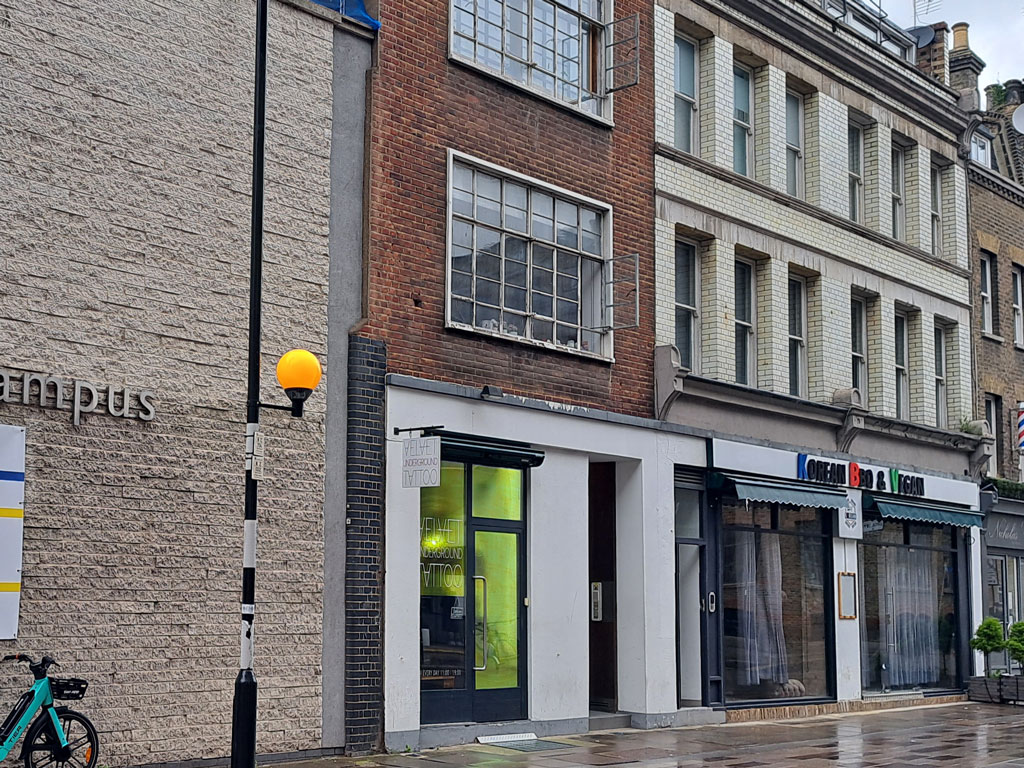
So little change made it much easier for Paul to take this comparative shot.
- Capture 86
- 27 Dec 2017
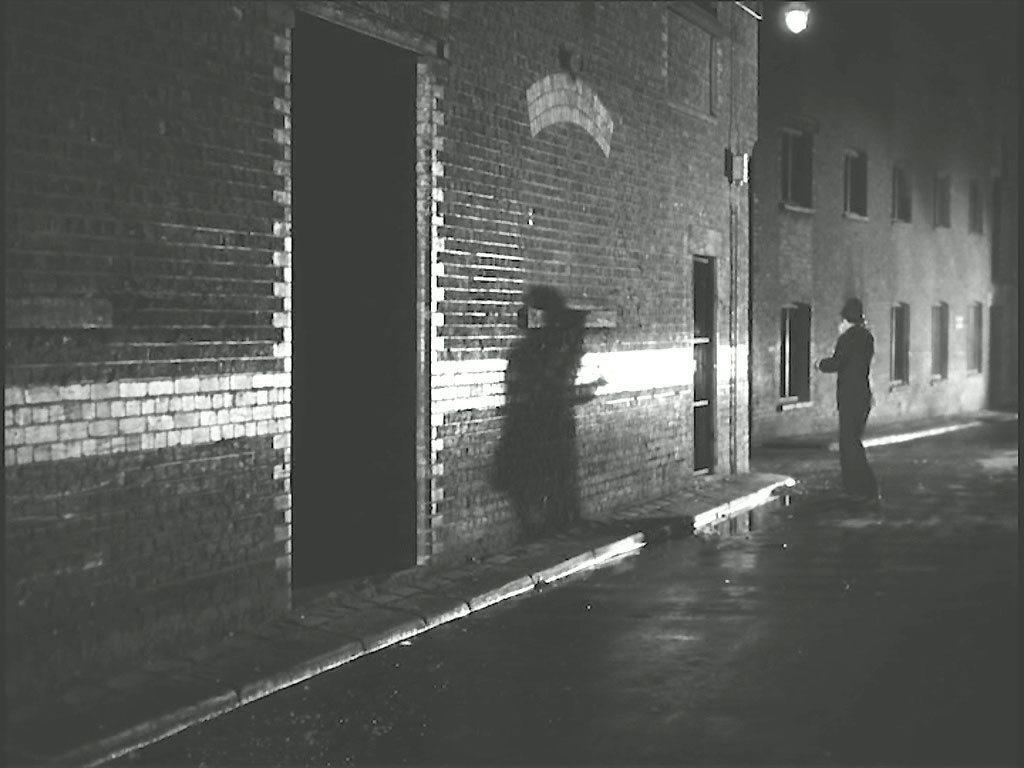
A policeman hears the gun shots and blows his whistle. Once again say Ron and Ray, Shad Thames.

The distinctive glazed brickwork remains as evidenced by this Google Earth capture from Ray and Ron. The bricked up window has been opened up and the background changed but essentially it remains as was.
- Capture 87
- 29 Sep 2023
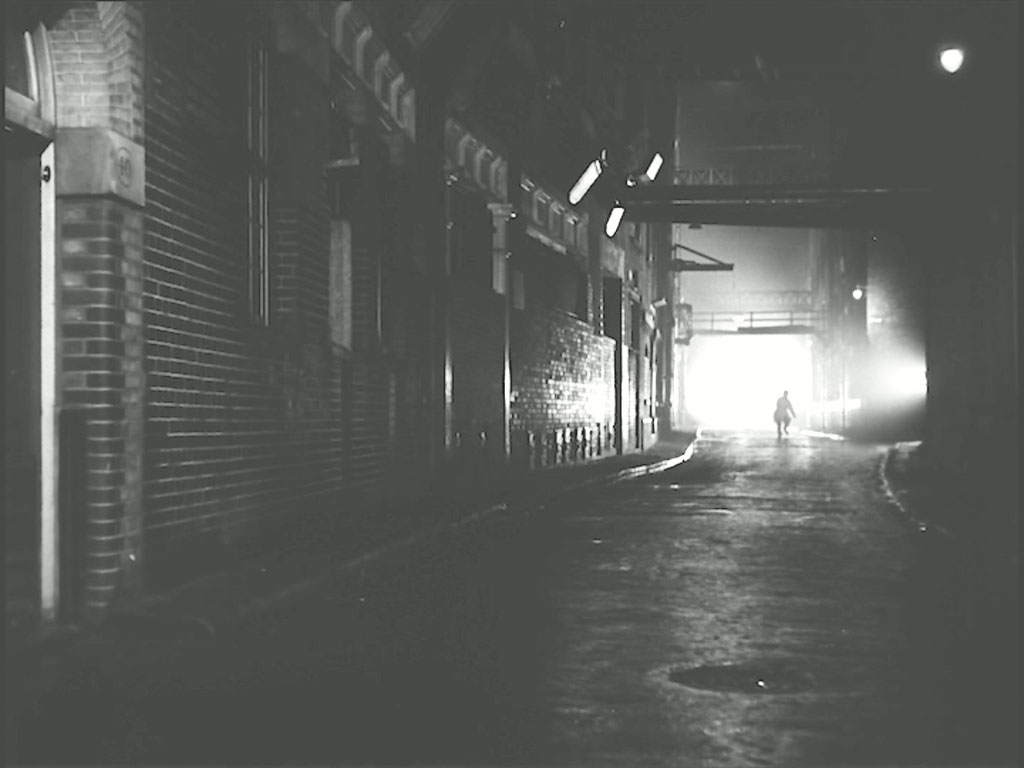
Joshua can be seen running for safety. Again, Ray and Ron further Humm’d and Harr’d over this one and changed their minds with the benefit of further evidence and research. Shad Thames, SE1 once again, the No 40 on the column was the street number for Anchor Brewery.
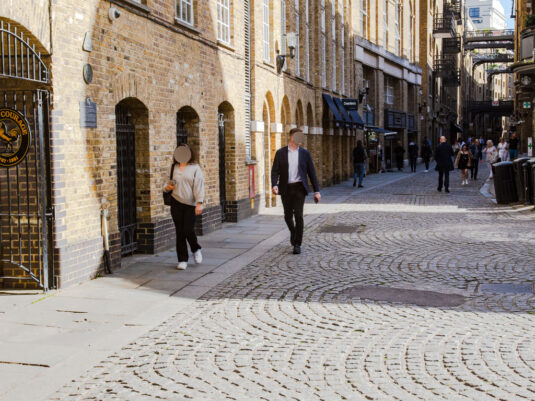
Replacing the Google Earth View from 2017 that confirmed Ray and Ron's findings.
- Capture 88
- 29 Sep 2023
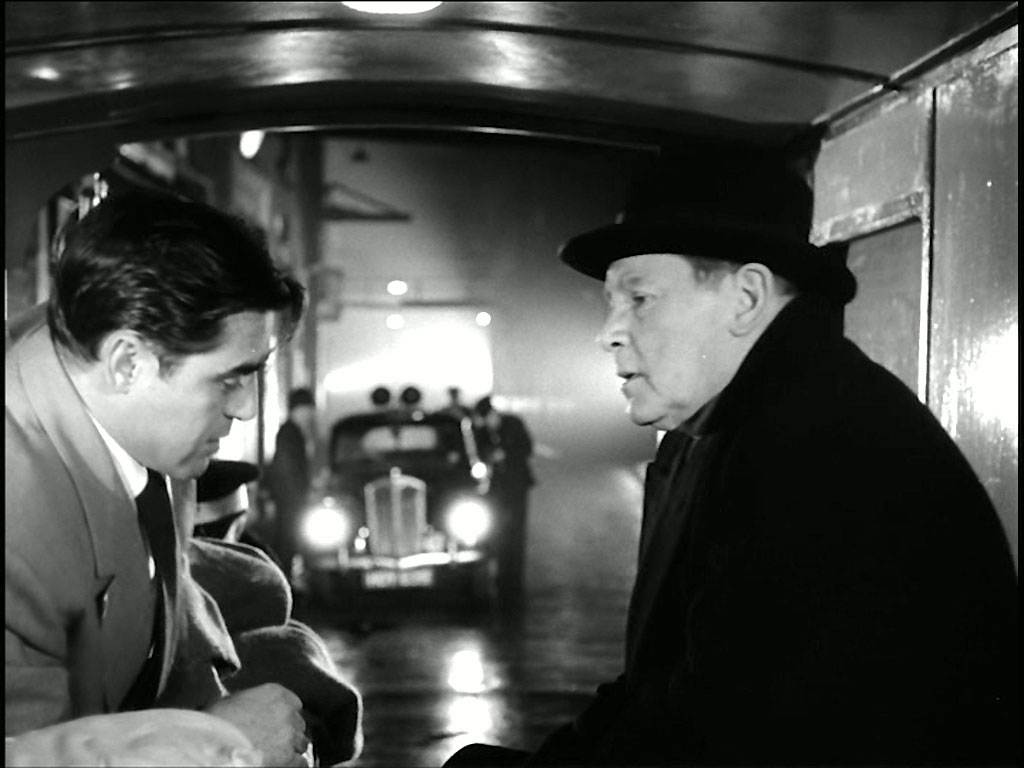
Andrews catches up with Joshua, their fight being interrupted by the policeman, but surprisingly Andrews comes off the worst. Having been attended to by the Ambulance Service he discusses the situation with Supt. Mackenzie. Ray and Ron confirm the location as virtually that of the previous capture given the gantry in the background.
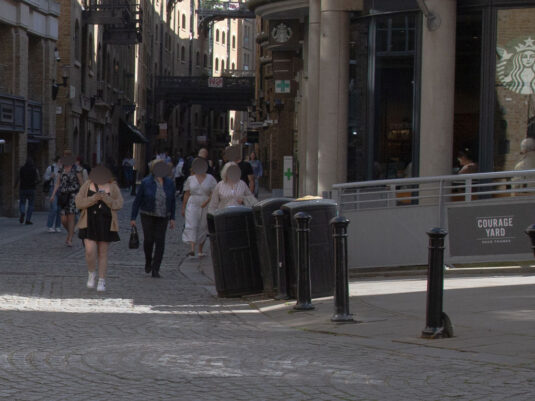
Less tension in air during my visit.
- Capture 89
- 'Now' required
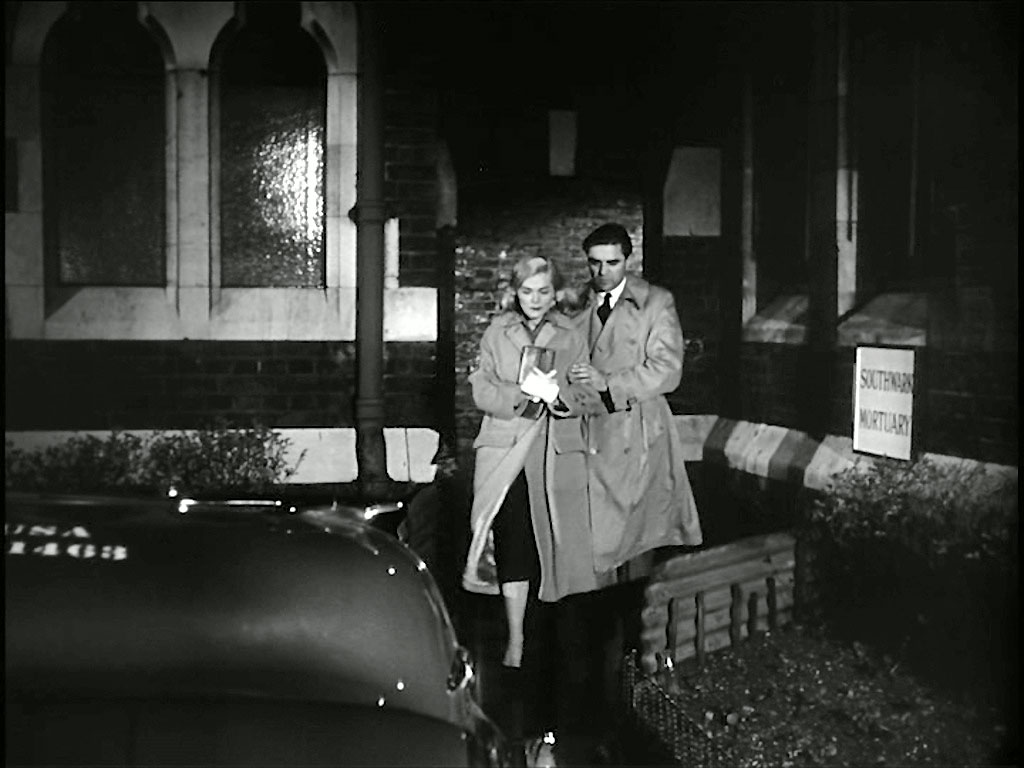
There is a report of a boys body meeting Erik’s description having been retrieved from the river. Elsa and Andrews visit the mortuary to identify the body, but it is not that of Erik. Unidentified location.
- Capture 90
- 'Now' required
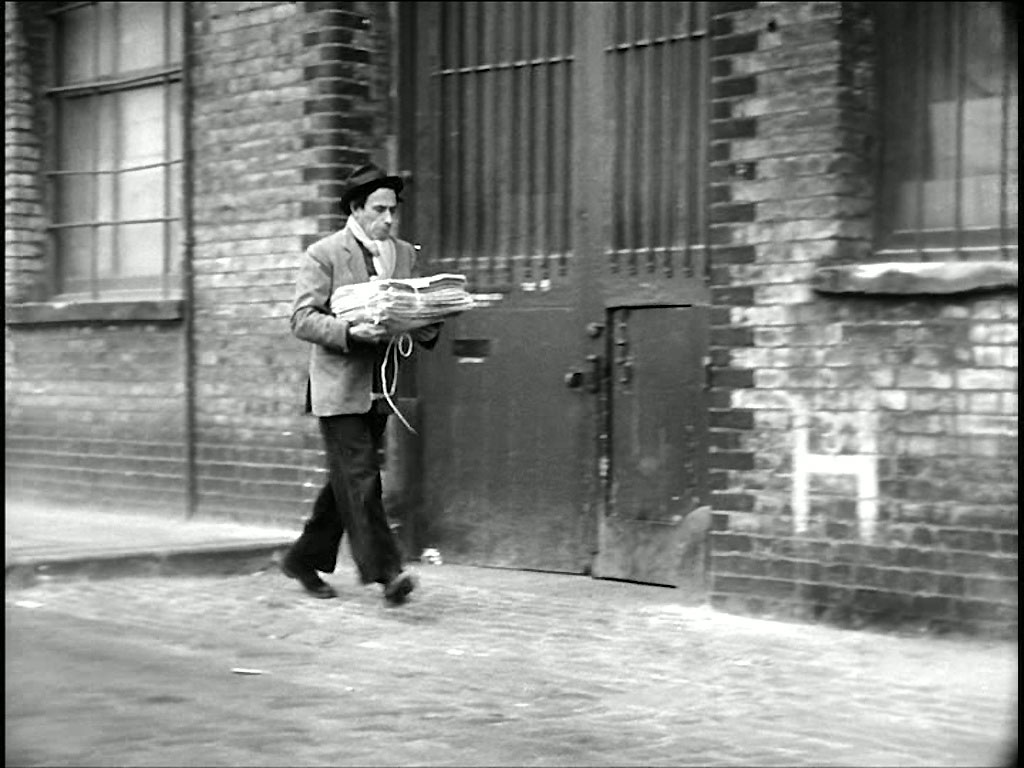
A newspaper vendor brings the morning papers to his stand. Found by Ray and Ron to be Bankside just before he turns into Horse Shoe Alley, SE1, now totally built over. (September 2023 the location is totally shrouded in a builders barrier as revealed in Capture 93 and a comparative shot will have wait further.)
- Capture 91
- 'Now' required
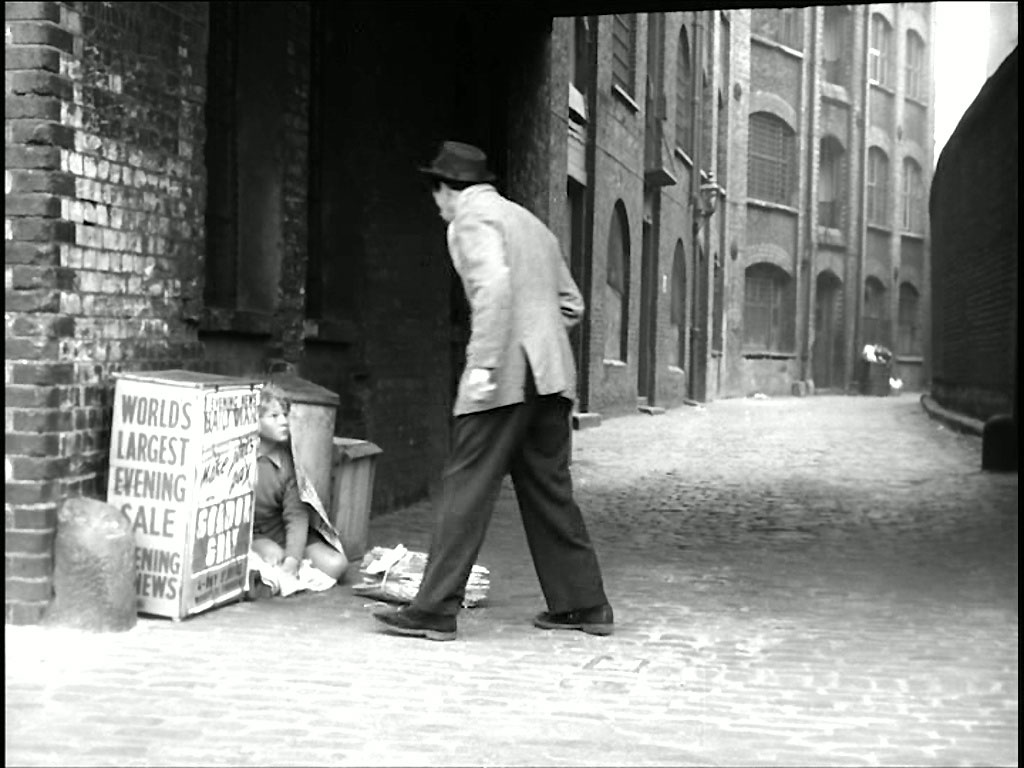
Arriving at his stand he finds Erik sheltering. Horse Shoe Alley, SE1 (September 2023 the location is totally shrouded in a builders barrier as revealed in Capture 93 and a comparative shot will have wait further.)
- Capture 92
- 09 Dec 2017
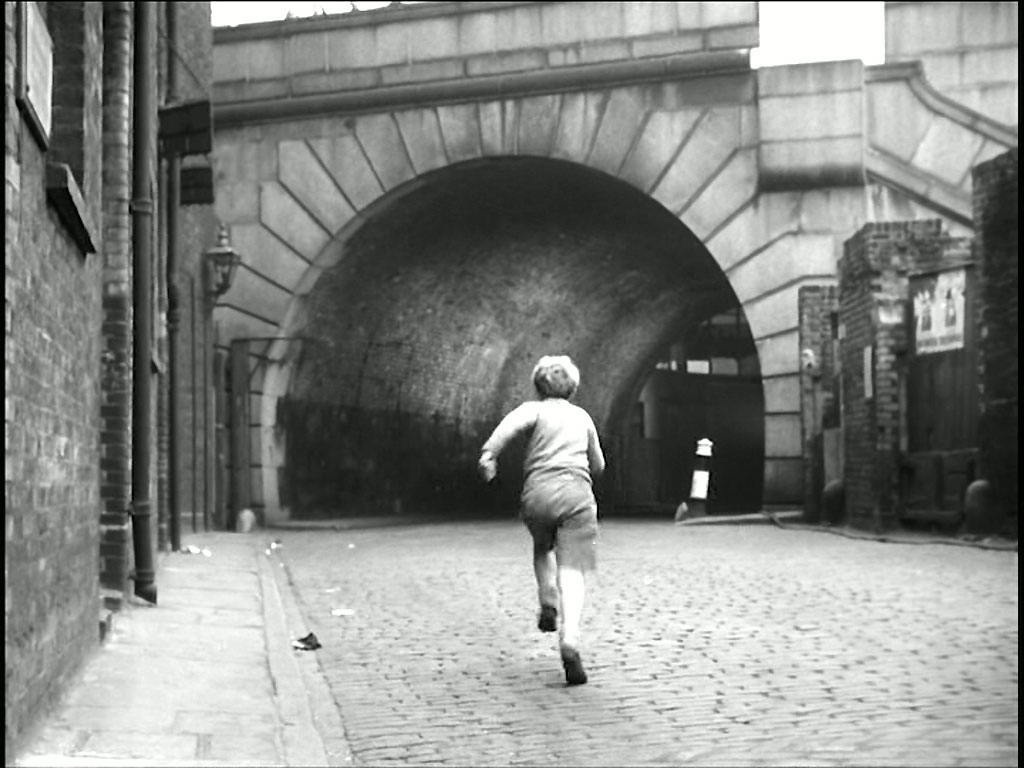
Not surprisingly, Erik makes a run for it. The south side of Southwark Bridge, Bankside looking West says Ron and Ray. (September 2023 the location is totally shrouded in a builders barrier as revealed in Capture 93 and a comparative shot impossible currently.)

A Google Earth View to confirm.
- Capture 93
- 29 Sep 2023
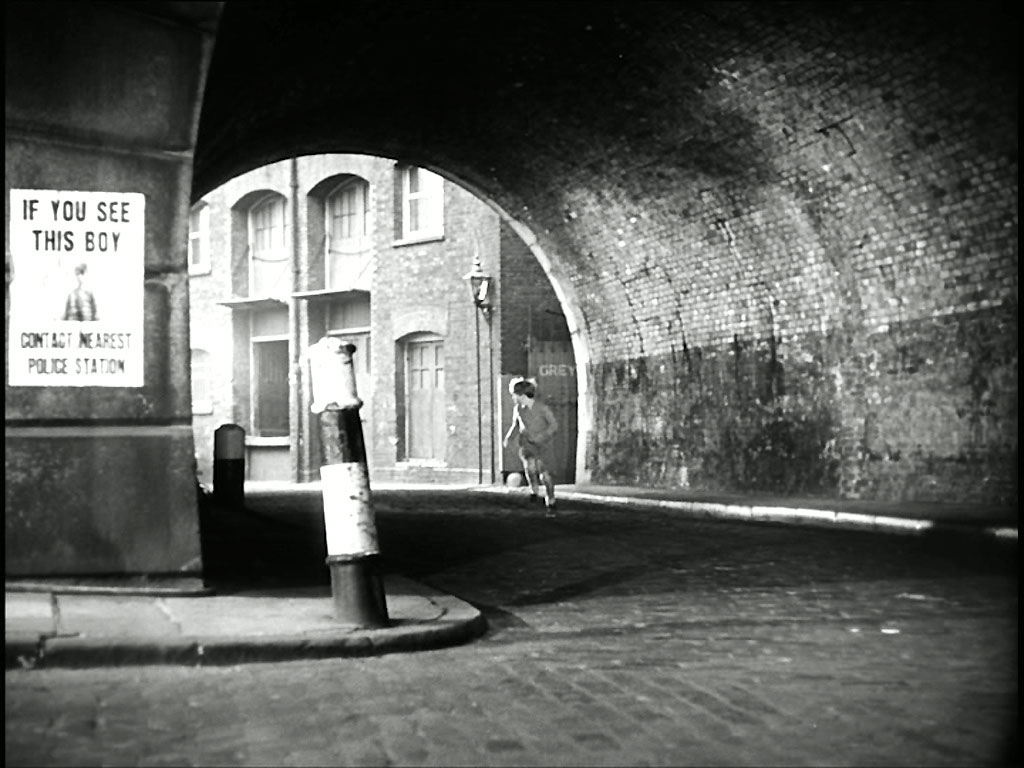
His journey continues except that this is a reverse POV of the previous capture. The south side of Southwark Bridge, Bankside looking East.
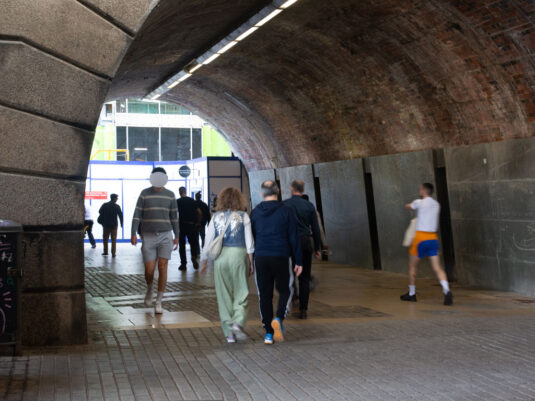
The hindering barrier to previous shots here clearly visible.
- Capture 94
- 'Now' required
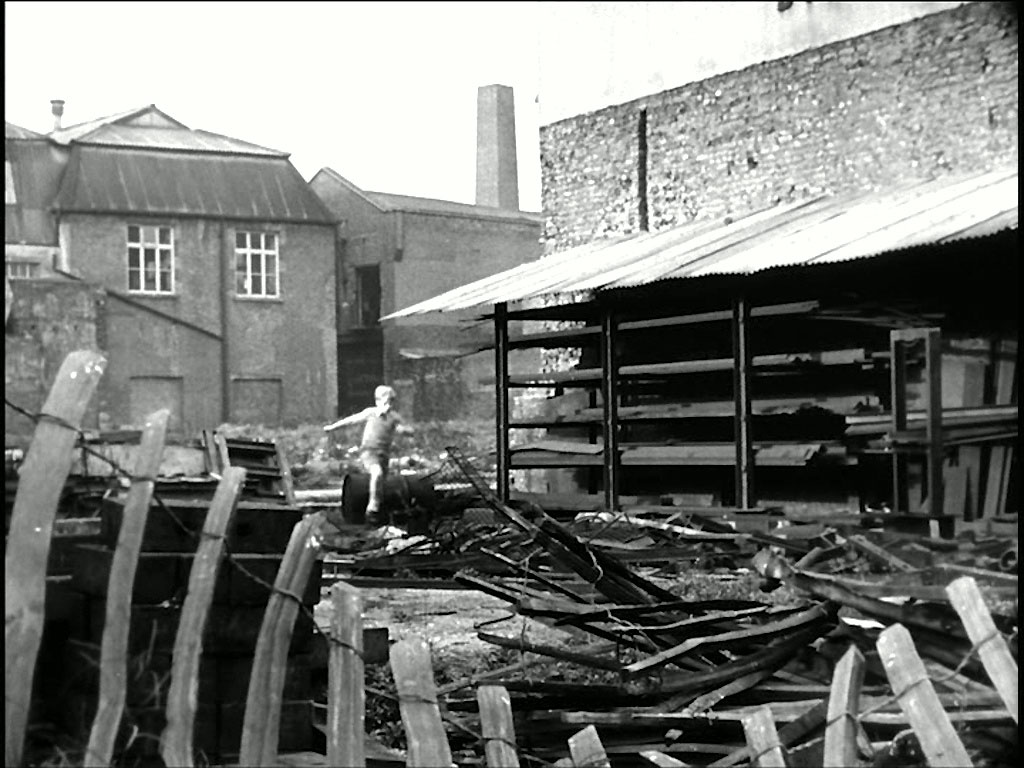
Picking his way through ruins ………… Ray and Ron Glenister have located the spot to be near Emerson Street, SE1. See Header Section for the link to their findings.
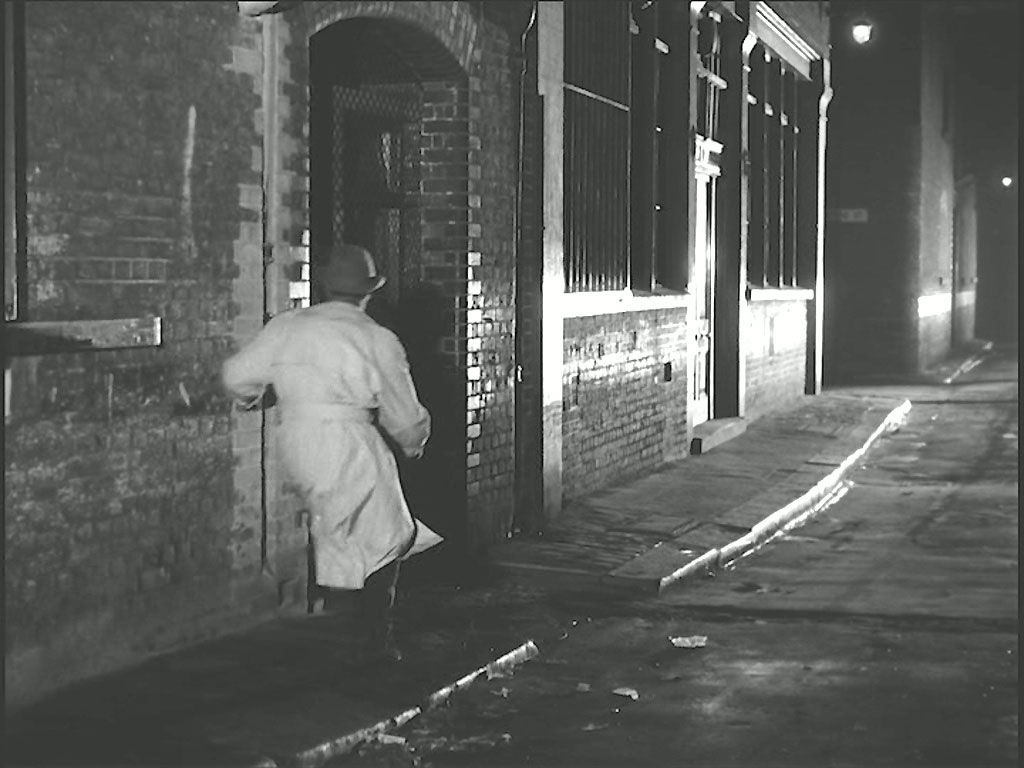
- Capture 95
- 29 Sep 2023
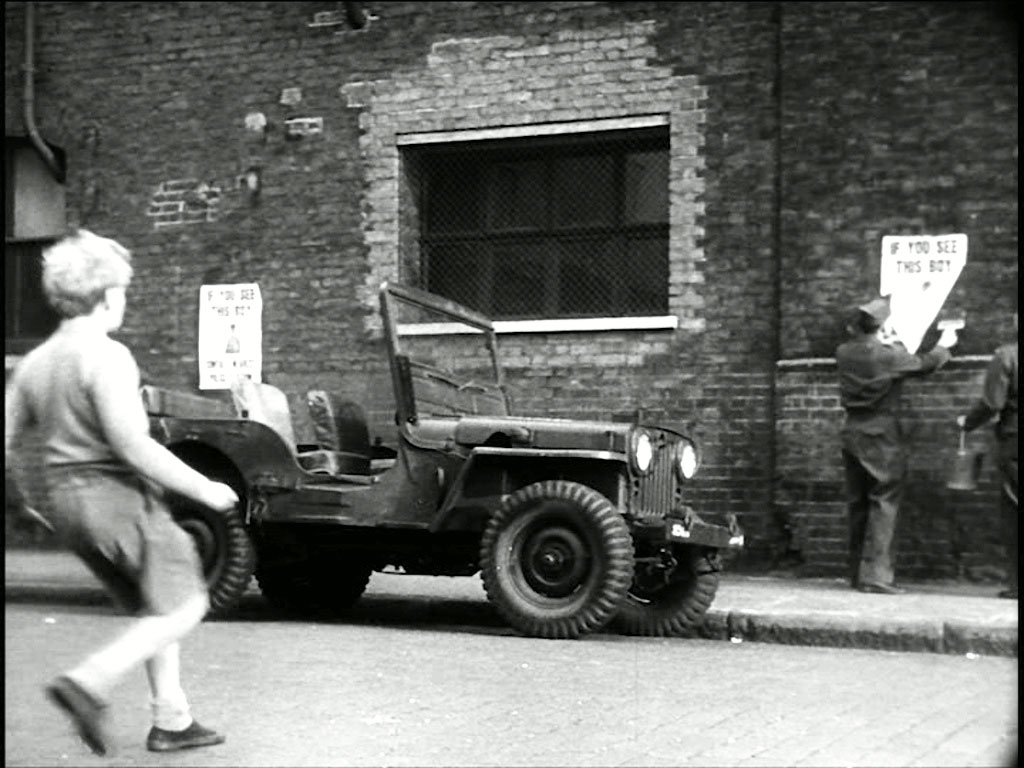
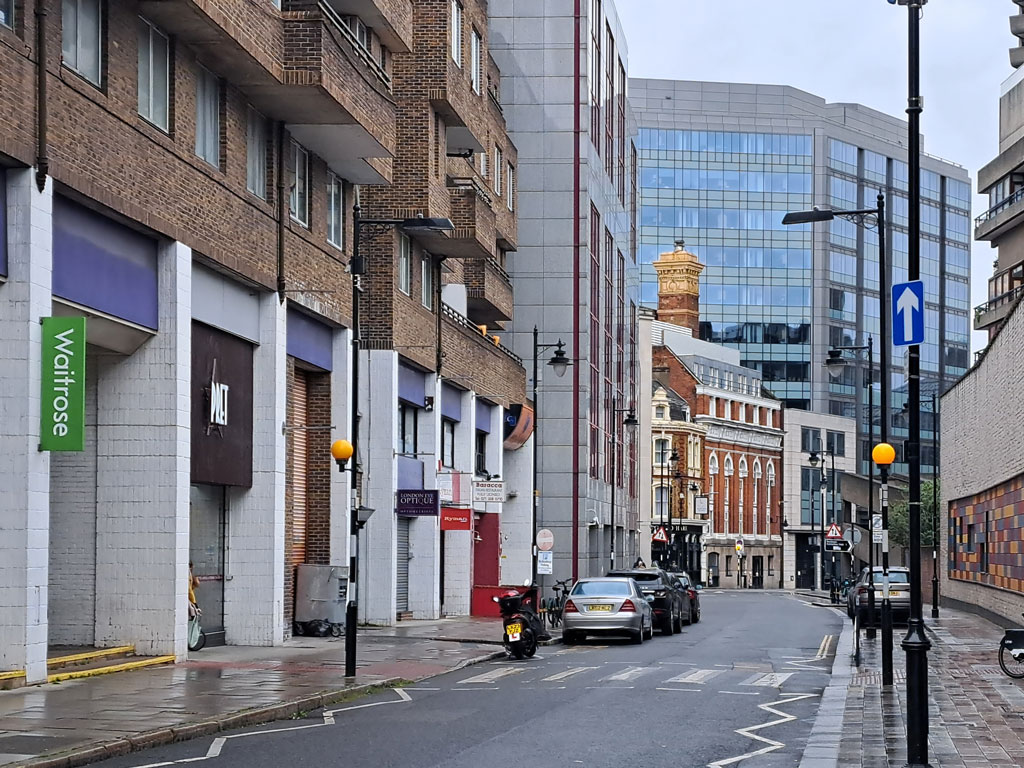
………..Erik finds himself in Emerson Street…………
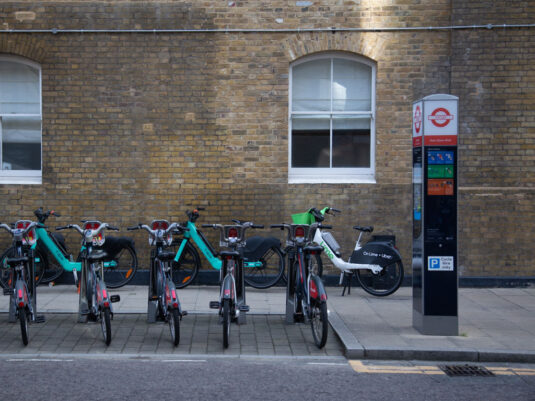
Bicycles have clearly replaced Jeep's as the required mode of transport.
- Capture 96
- 04 Jun 2019
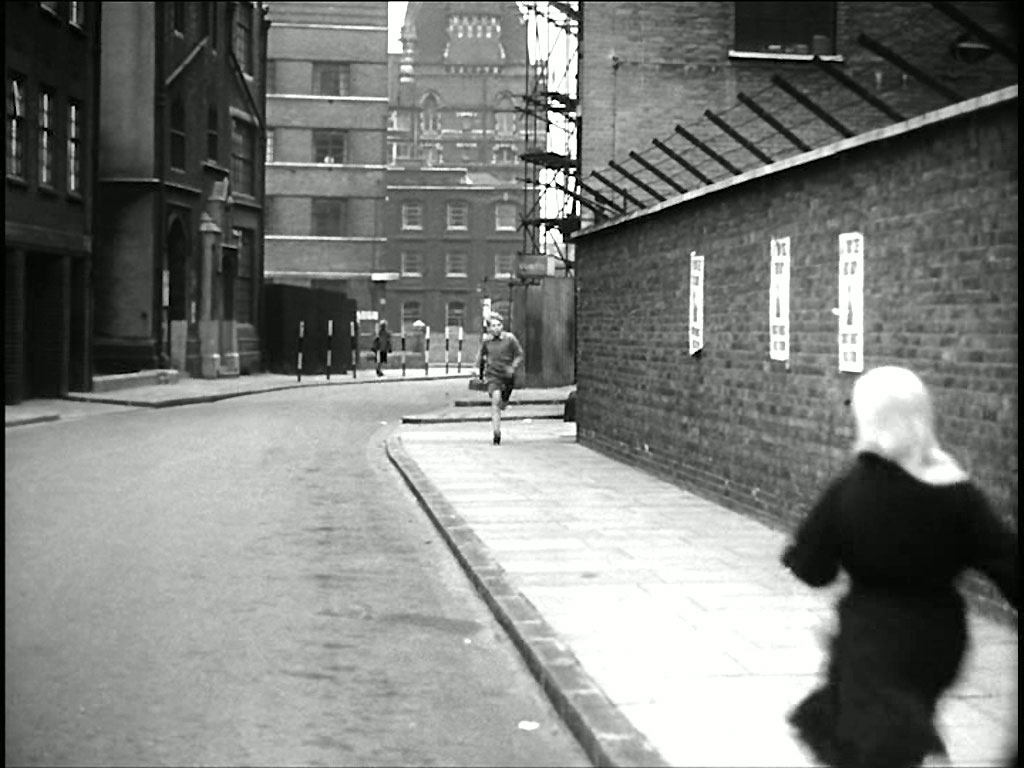
………..and then in…..Ron Glenister tells us that this is his ‘Swan Song’, having, over a period of time, resolved many problematic locations for us, he exits with Lambeth High Street, SE1 looking towards Black Prince Road. It has confounded many of us for a long time, let us hope that he will be able to occasionally resist keeping his hand in.
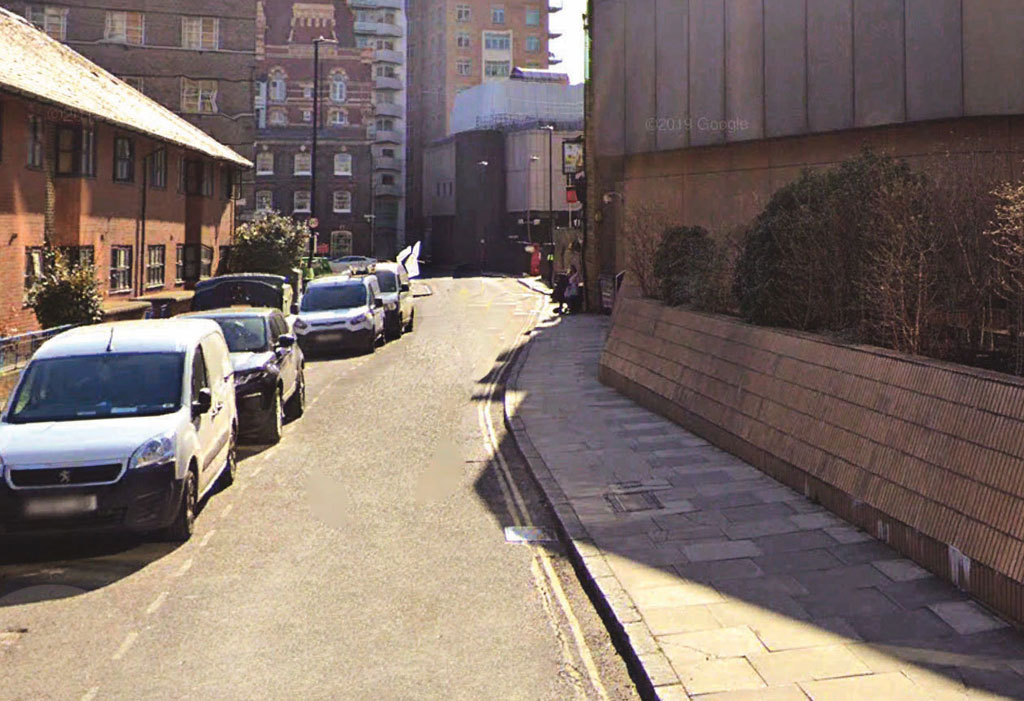
In the background we can see the redbrick Southbank House, the old Doulton Building built in 1871, which was seen in 'Hot Enough for June' and 'Just Ask for Diamond'. SJ
- Capture 97
- 18 Nov 2015
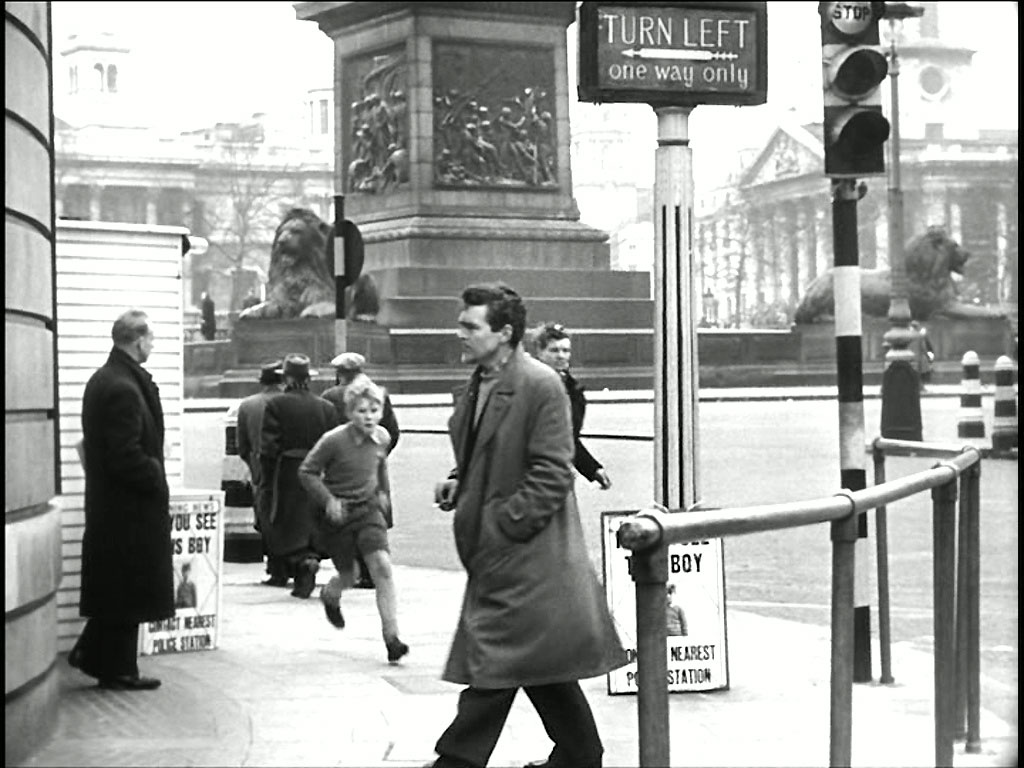
Shortly to find himself in the West End of London. Trafalgar Square, WC2 on the corner to The Mall.

Well, he was too young for a Freedom Pass then but he might have one now.
- Capture 98
- 18 Nov 2015
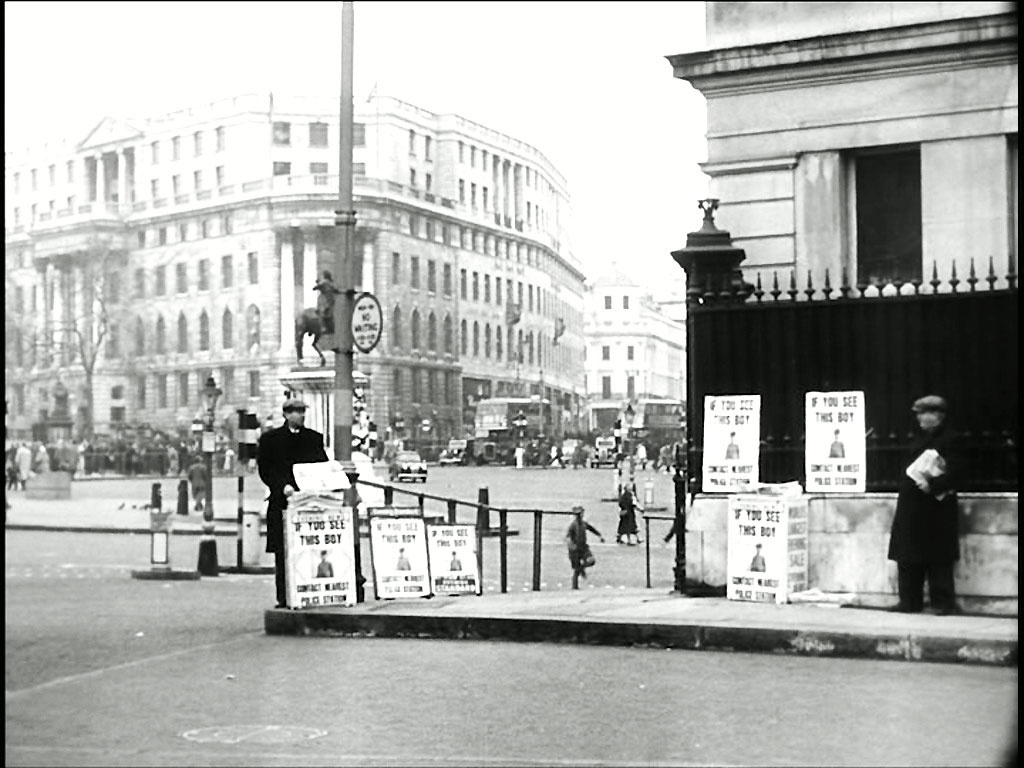
Seen here approaching Drummonds Bank, 49 Charing Cross, Admiralty Arch, SW1 with South Africa House corner of the Strand in the background.

For once, less clutter now.
- Capture 99
- 29 Sep 2023
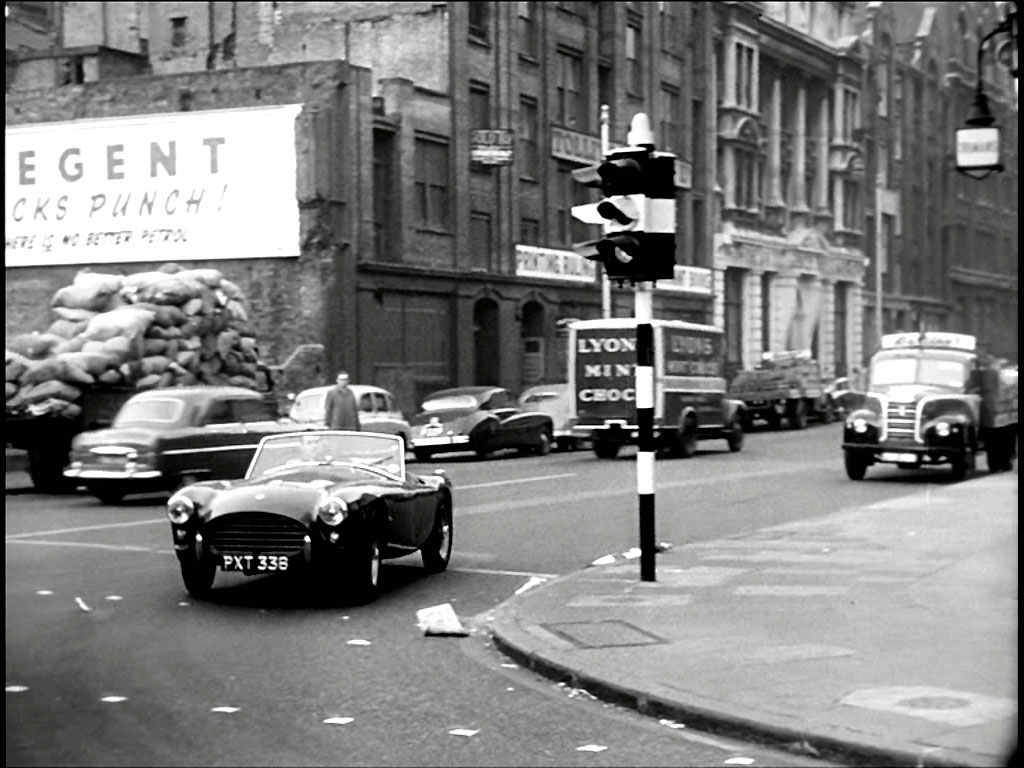
Meanwhile we find Joshua driving his car in Southwark Street looking north into Southwark Bridge Road, SE1. Found by Christopher Matheson.
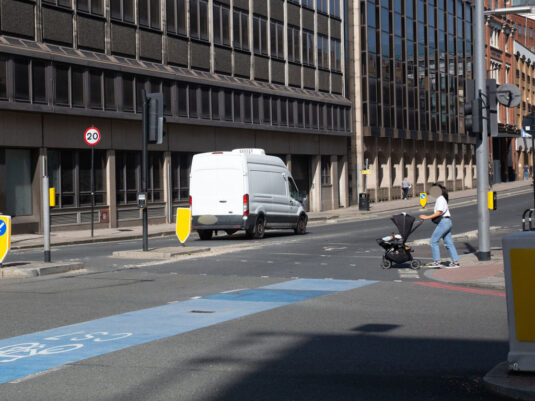
Replacing the 2017 Google Earth View that supported Christopher's finding.
- Capture 100
- 10 Dec 2017
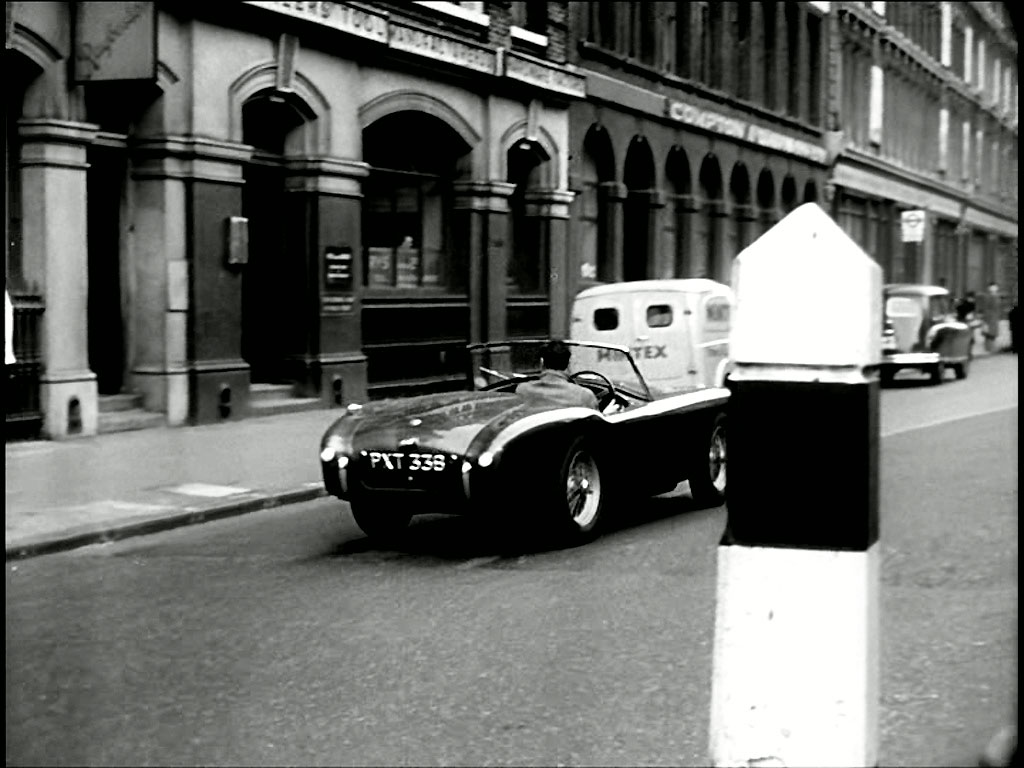
He turns the corner, Christopher says, here the junction at Southwark Bridge Road looking east along Southwark Street towards Thrale Street, SE1.
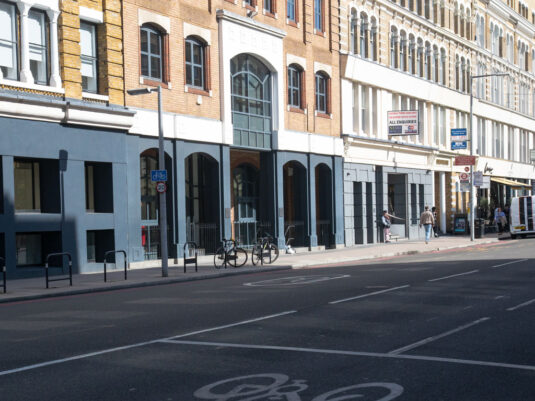
Replacing the Google Earth View from 2017 that supported the finding and it continues to show that whilst the buildings have survived the shop fronts have not.
- Capture 101
- 04 Dec 2015
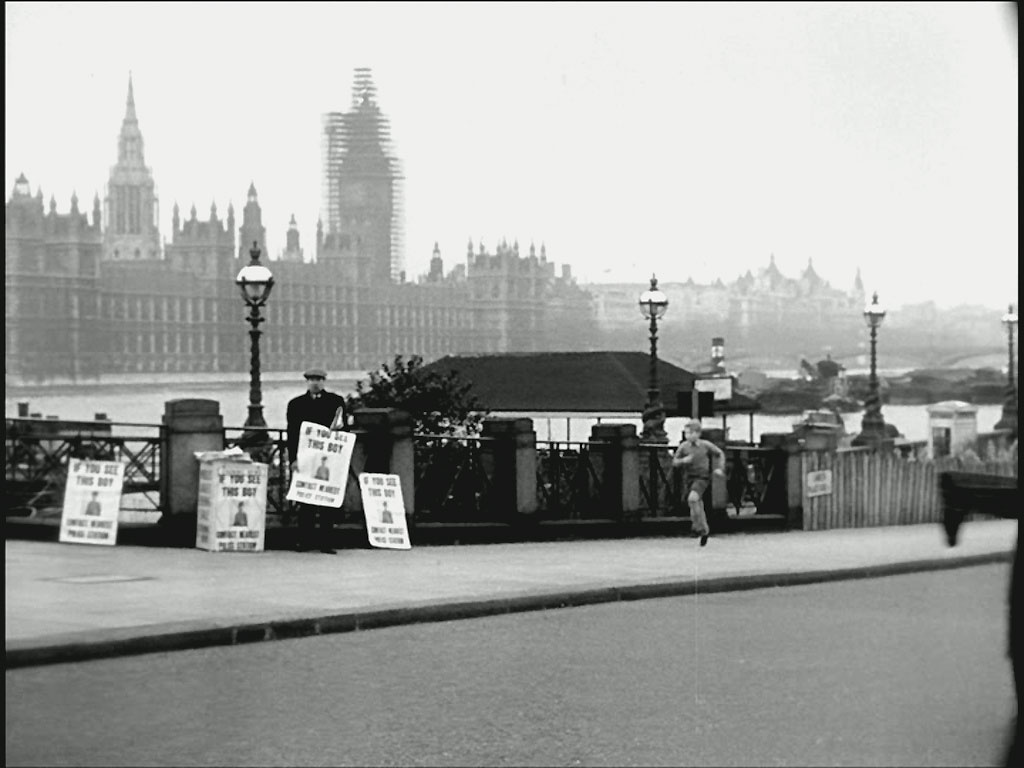
Continuing his travels Erik is now the south side of Lambeth Bridge, Lambeth Palace Road.

Peter took this shot as it is now.
- Capture 102
- 04 Dec 2015
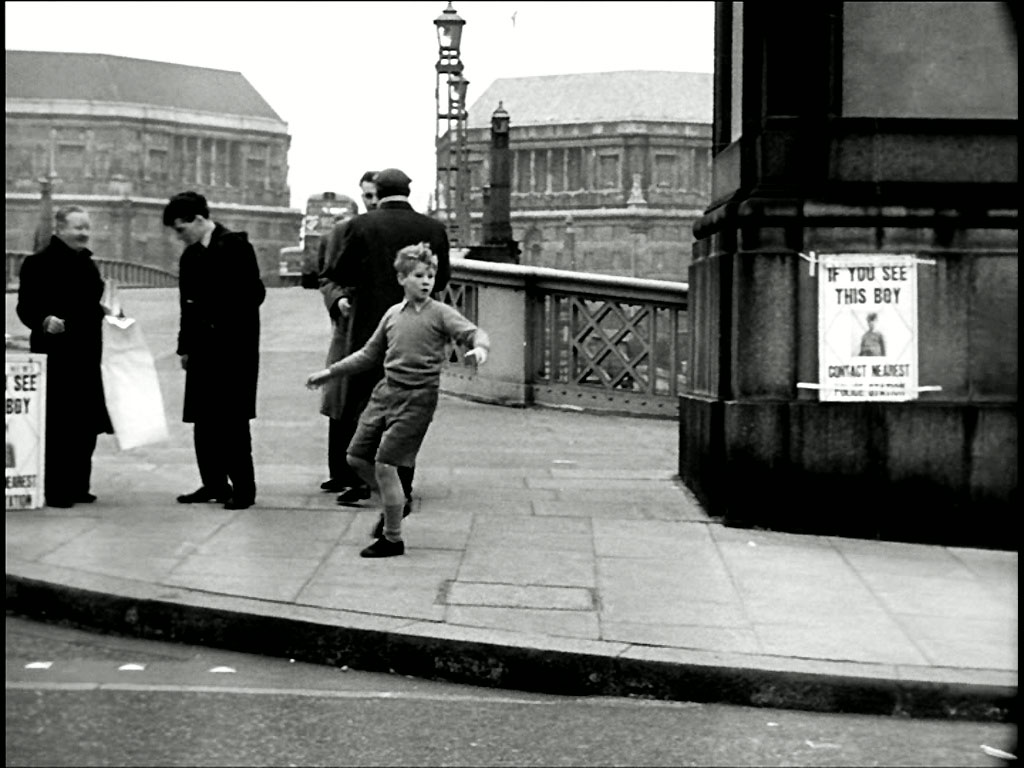
At the entrance to the Bridge he stops to look behind. In the background is Millbank, SW1. Thames House to the background left and Imperial Chemical House background right.

And Peter was there.
- Capture 103
- 04 Dec 2015
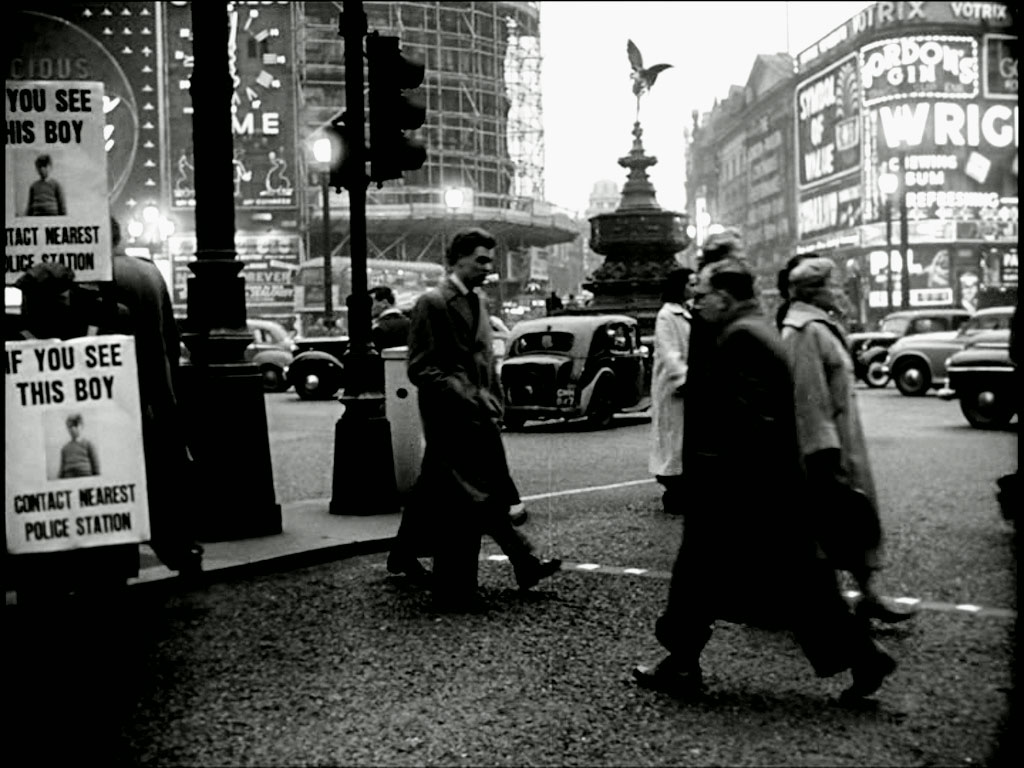
As the daylight fades Erik is back in the West End. Piccadilly Circus.

Peter found himself in Piccadilly Circus too.
- Capture 104
- 03 May 2023
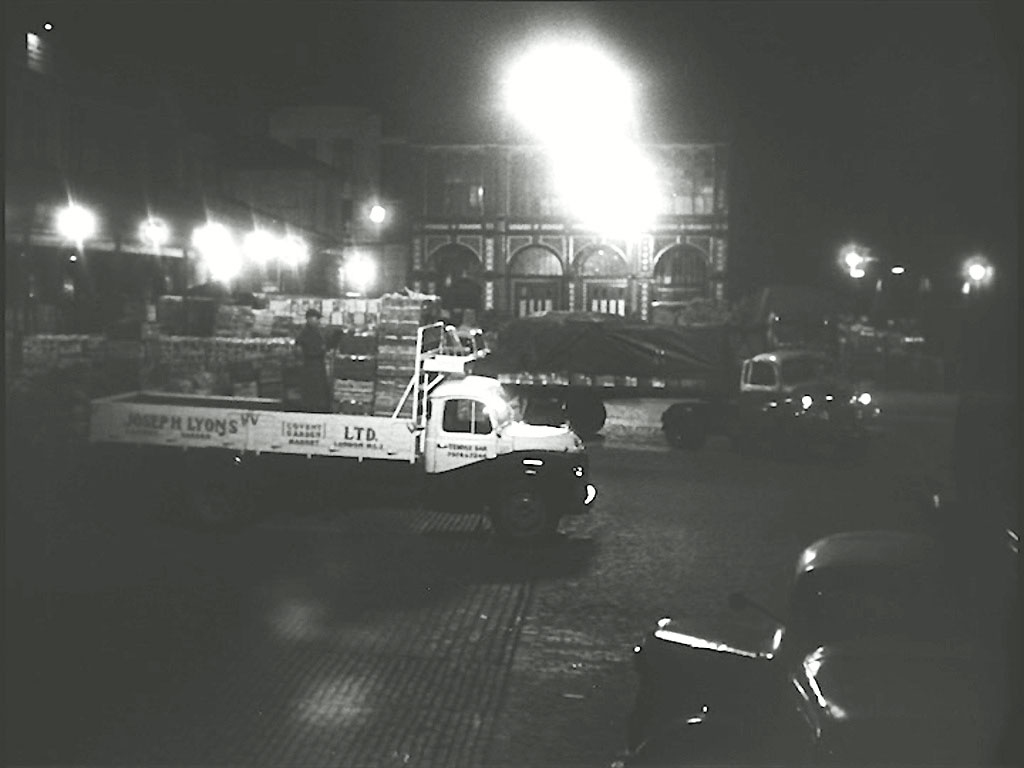
To make his way to Covent Garden. Floral Hall (southern portico), Royal Opera House in the background.
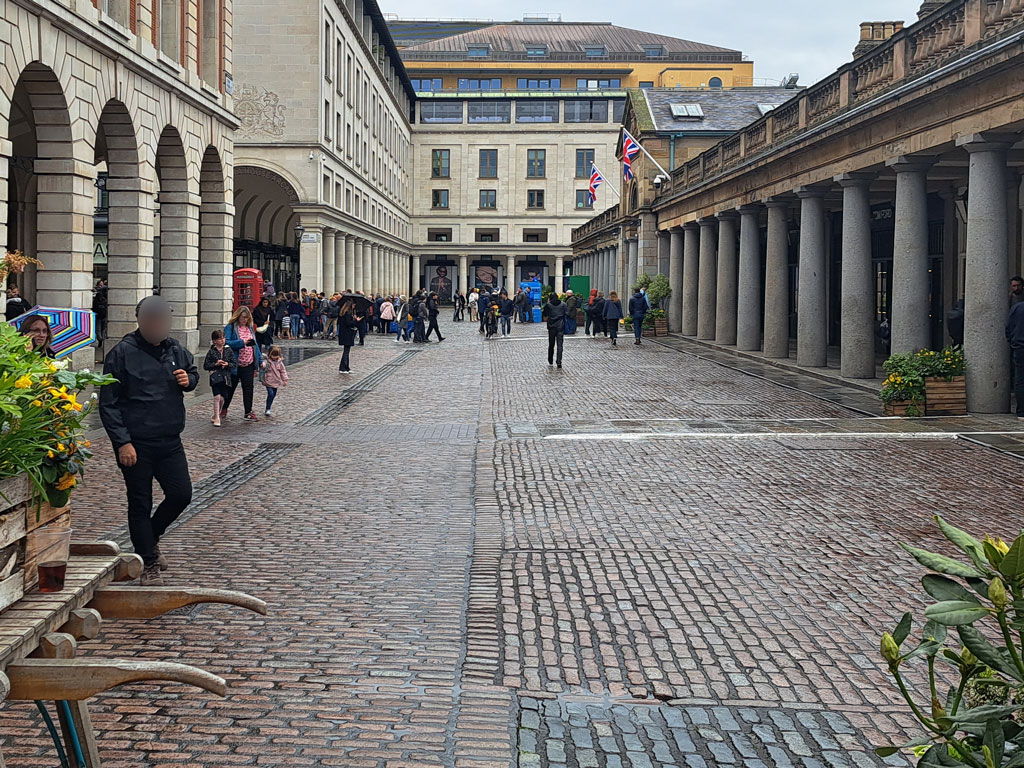
The loss of the Market and the Floral Hall left Paul with a rather different view.
- Capture 105
- 03 May 2023
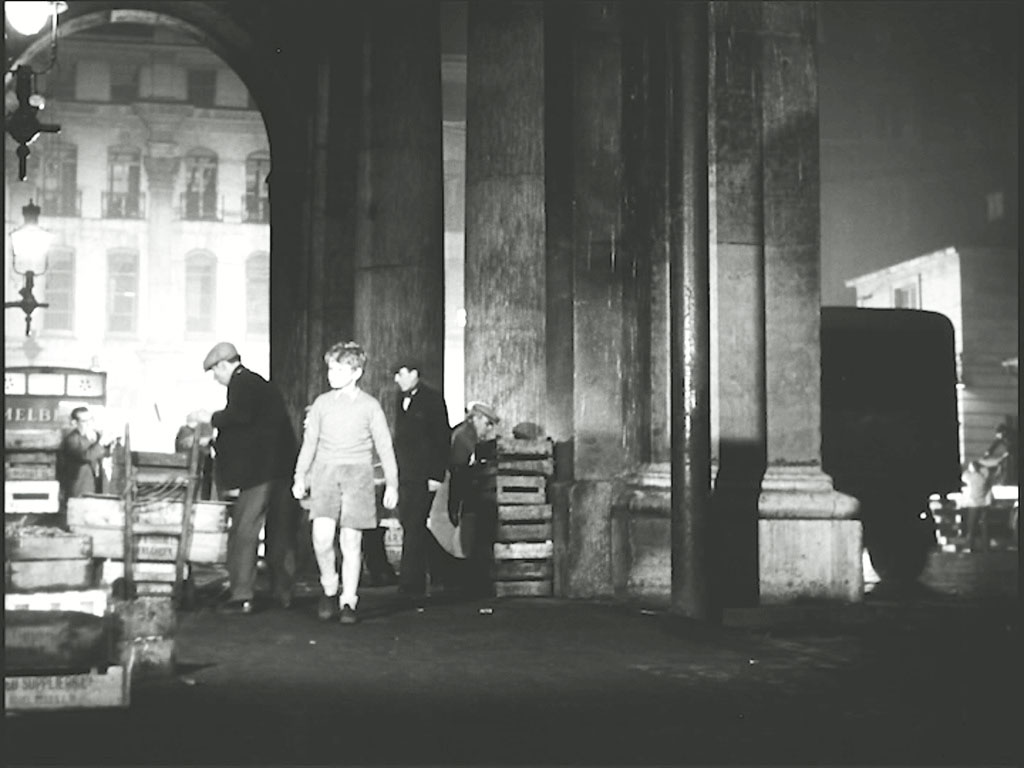
Anxious to find food or money…….. The portico of St. Paul’s Church, Covent Garden looking towards King Street.
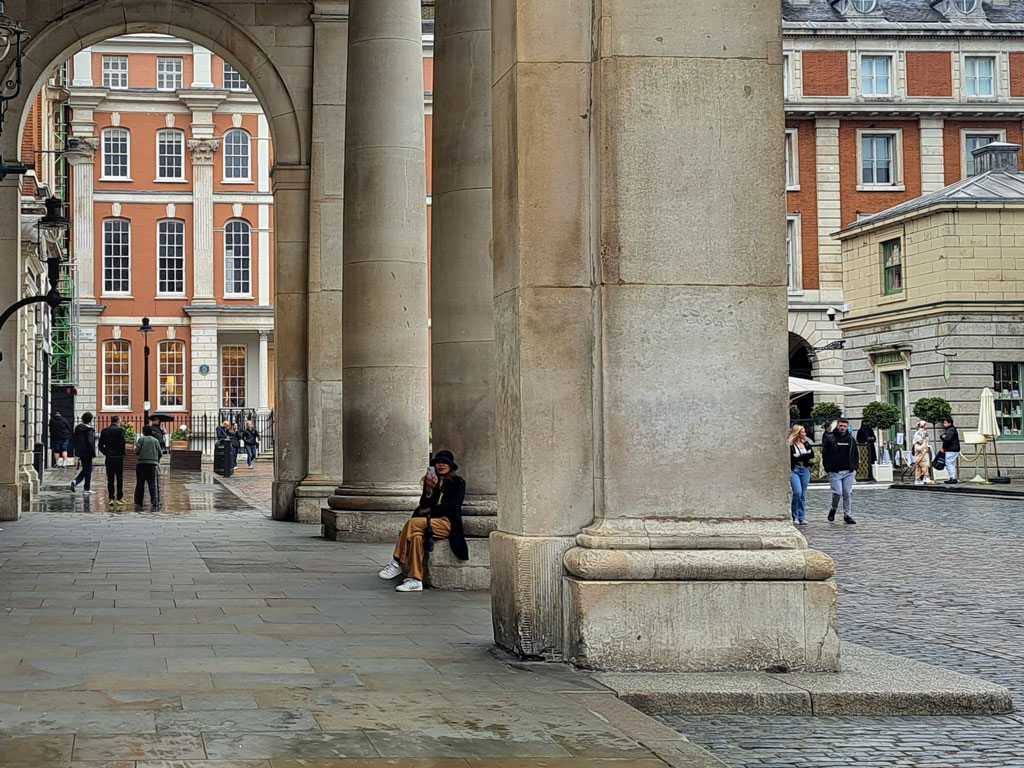
Now a location to use one's mobile Paul found.
- Capture 106
- 03 May 2023
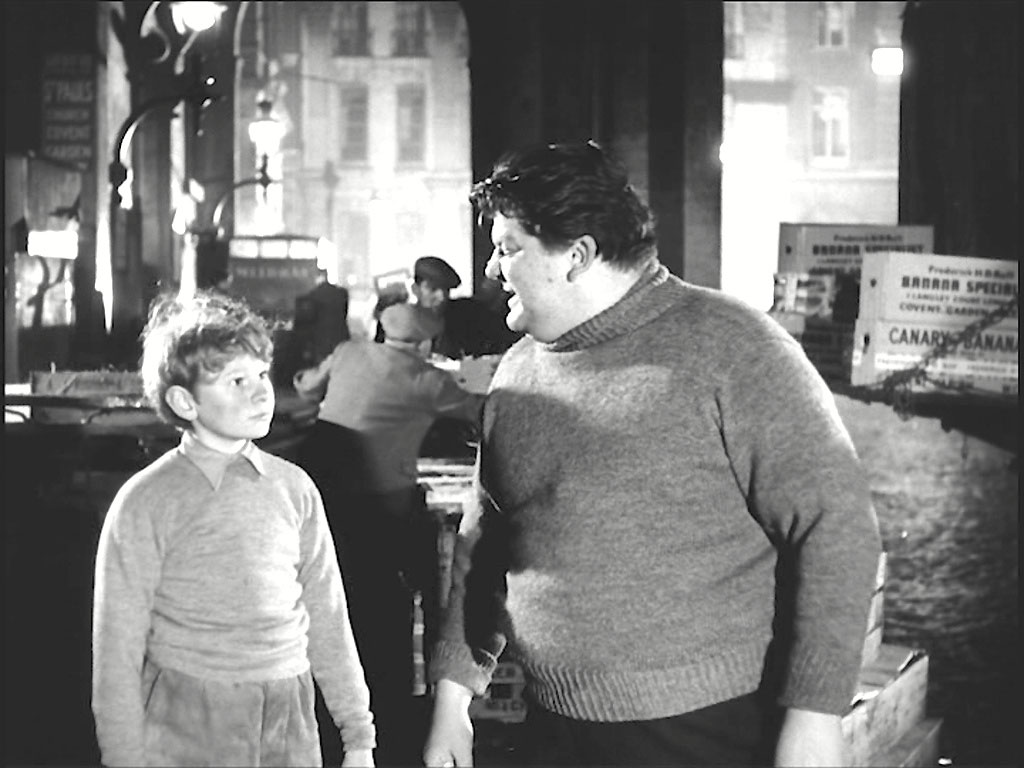
…… he is befriended by a market trader who ‘employs’ him for 6d and then buys him a sandwich.
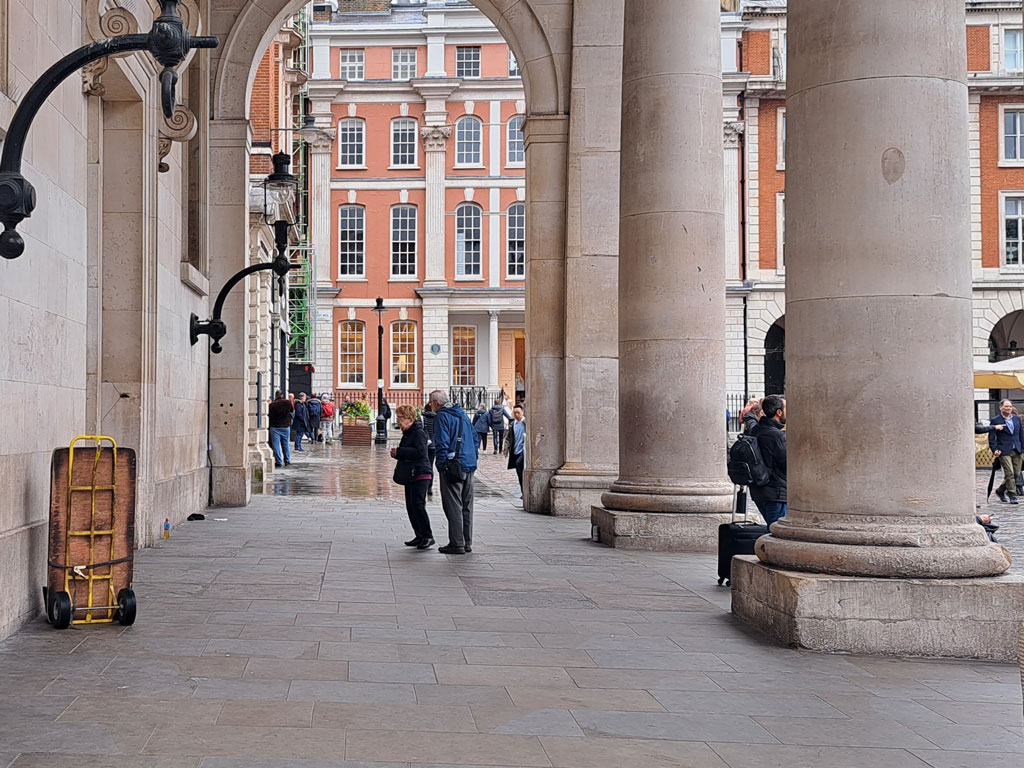
Paul assures me that he didn't park that token barrow there as a prop.
- Capture 107
- 12 Jul 2016
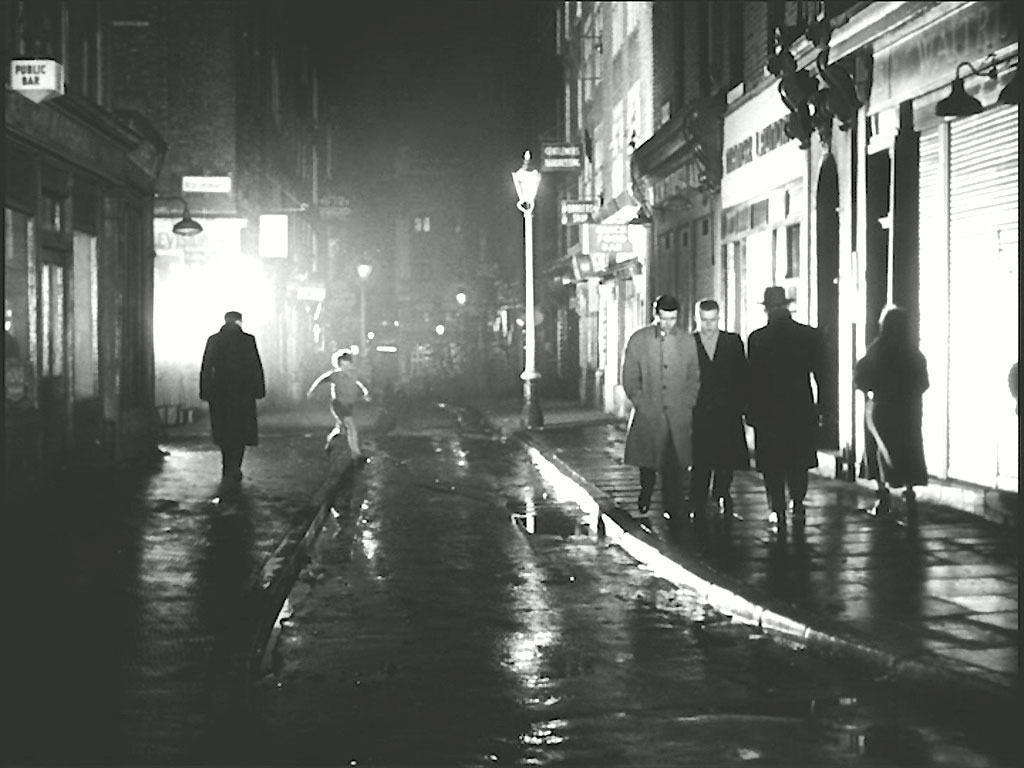
Hearing a radio announcement about himself Erik runs away once again. New Row with Bedfordbury WC2 to the left states Peter.

And to prove his point Peter captures the same scene in daylight nearly 60 years on.
- Capture 108
- 03 May 2023
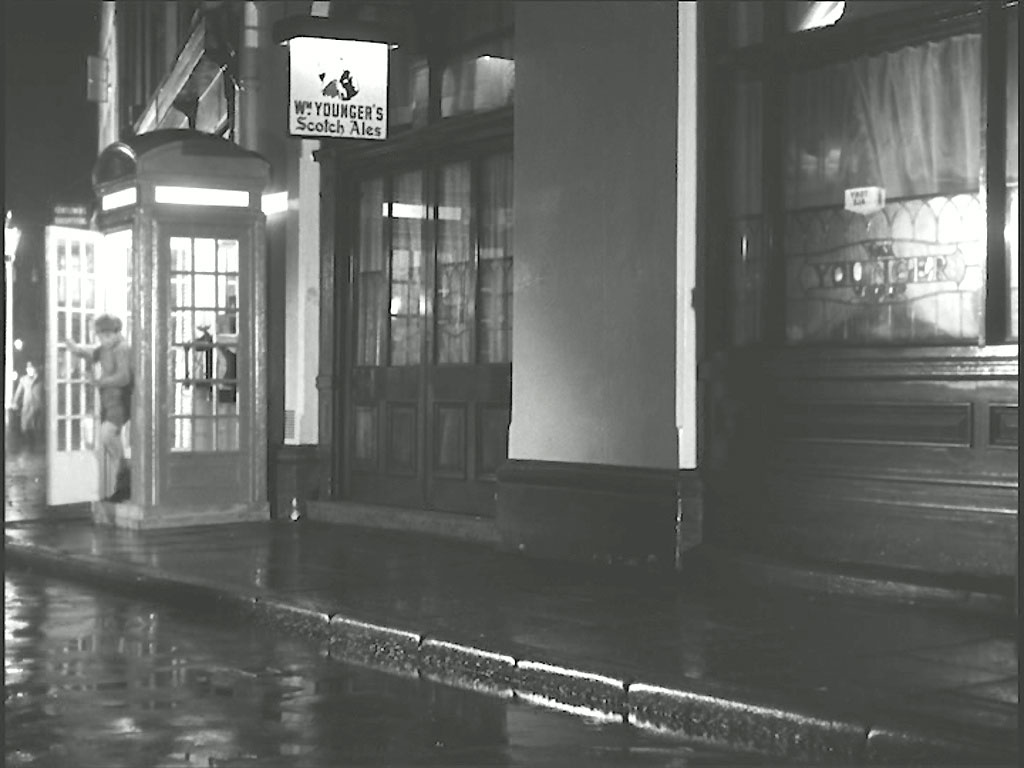
Seeing a telephone box he decides to call his mother. Peter says “It’s New Row at the junction of Garrick Street, WC2, the ‘White Swan’ public house to the left and ‘The Round House’ pub on the right. The phone box is a prop”.
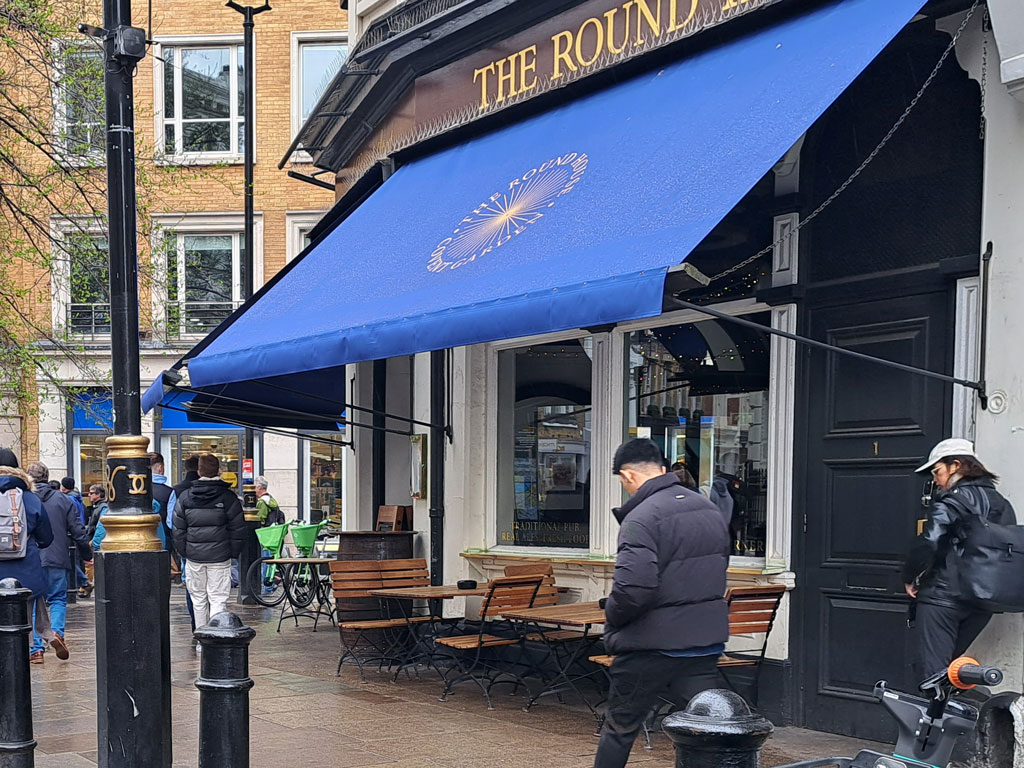
Paul did his best to replicate the much altered scene.
- Capture 109
- 'Now' required
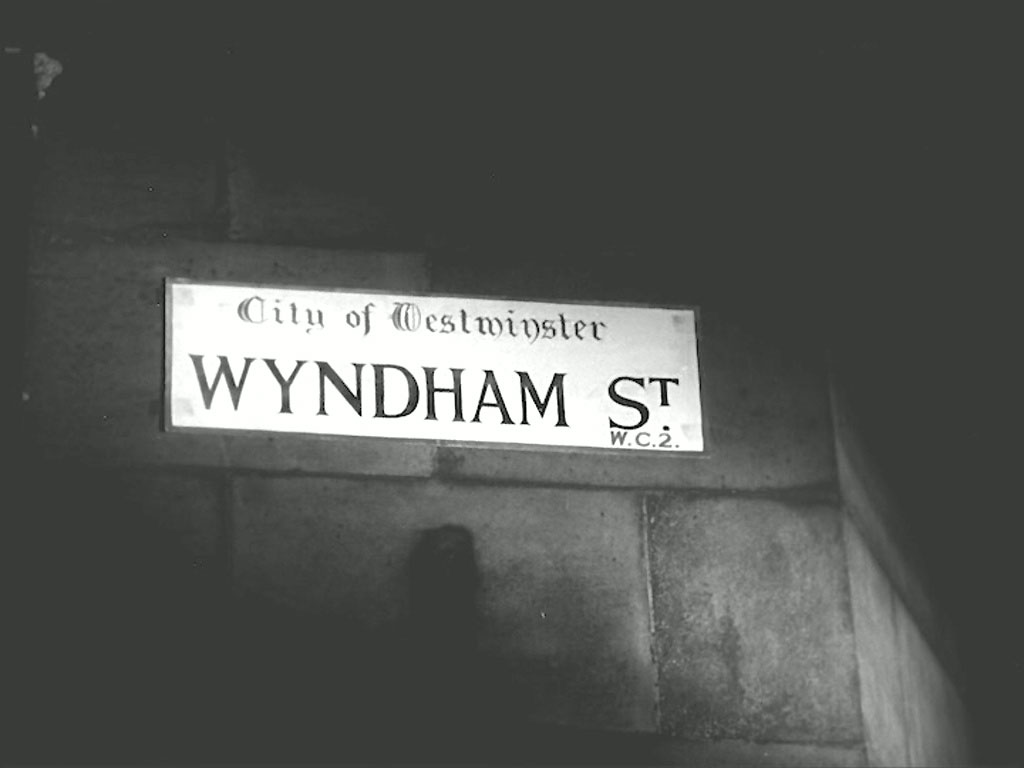
Erik tells his mother that he is at the corner ow Wyndham Street, but there never has been a ‘Wyndham St.’ in WC1 or WC2.
- Capture 110
- 'Now' required
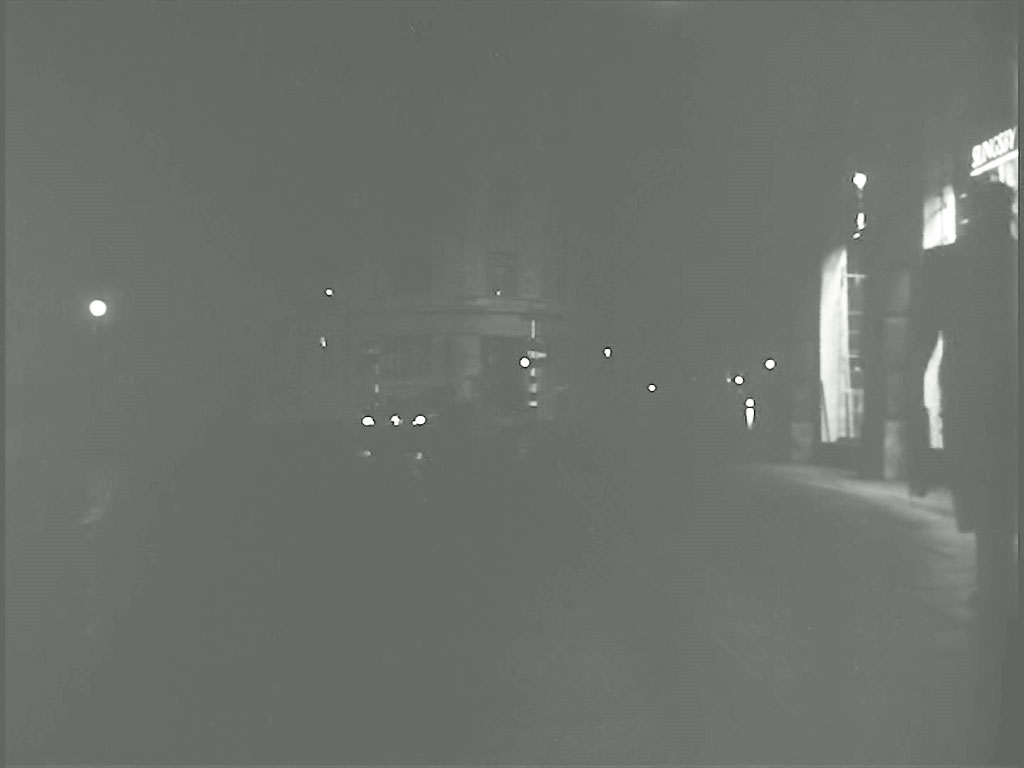
Joshua was having dinner with Elsa when she took Erik’s call and was anxious to ‘help’ her by picking him up in his car. Exiting Great Queen Street, crossing Kingsway into Remnant Street.
- Capture 111
- 12 Jul 2016
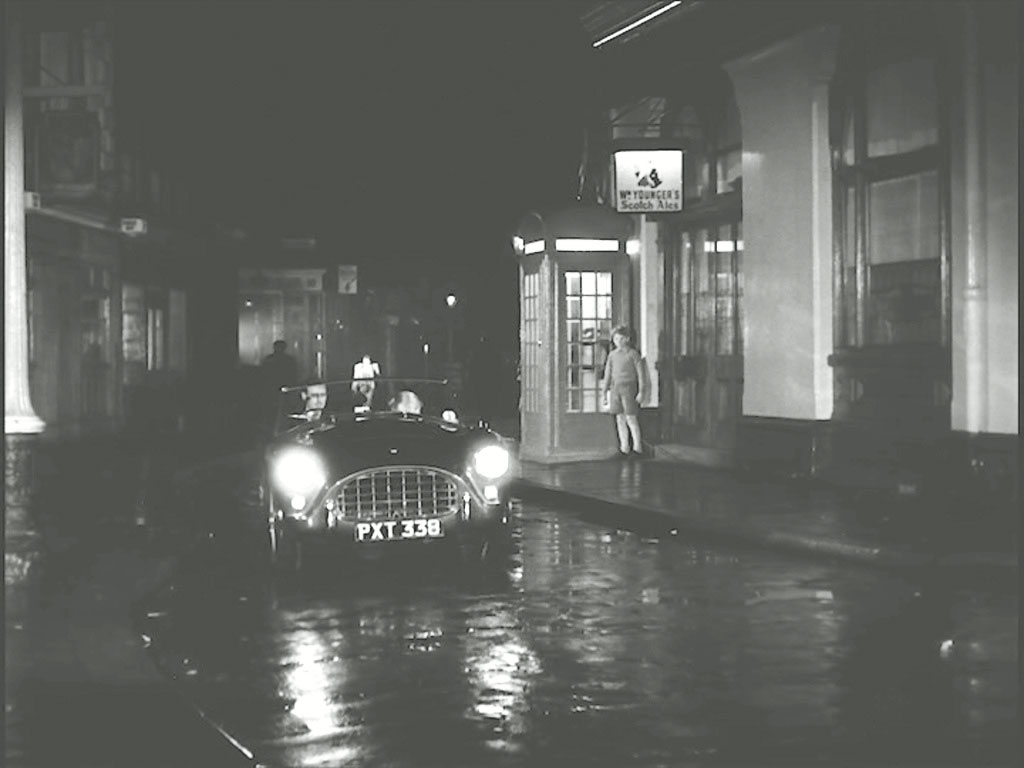
They pull up at the telephone box. New Row at the junction of Garrick Street, WC2

Peter proves that the council have done their best to get rid of the "wiggly bits" of yesteryear.
- Capture 112
- 06 Oct 2022
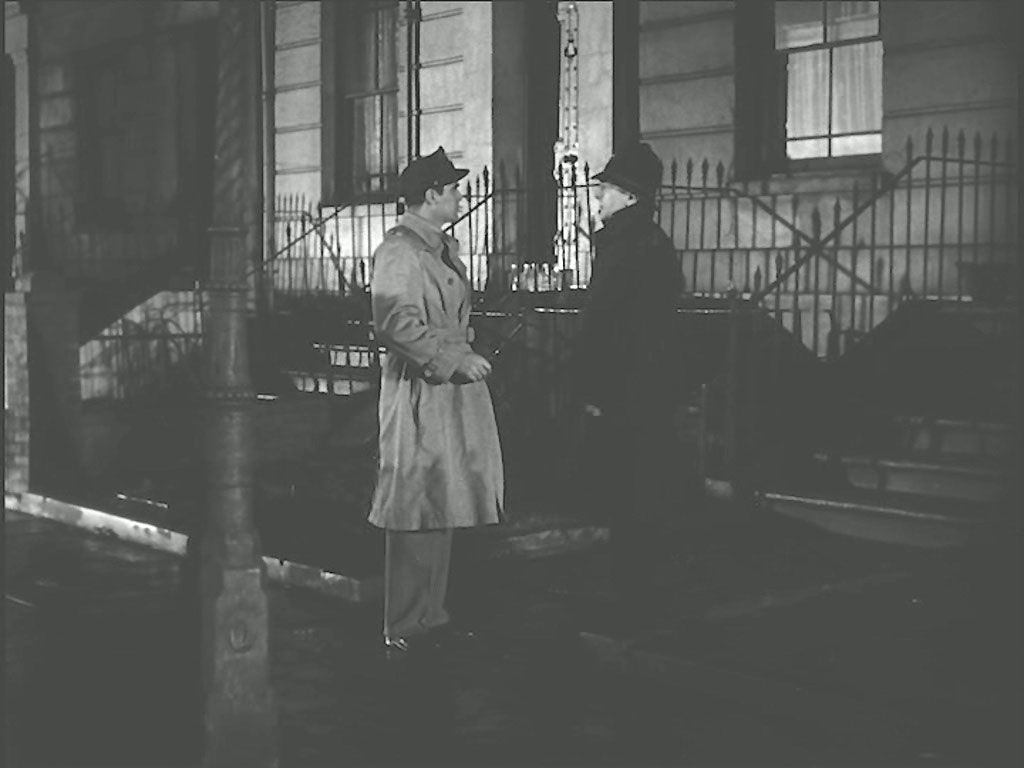
Captain Andrews calls to see Elsa…….
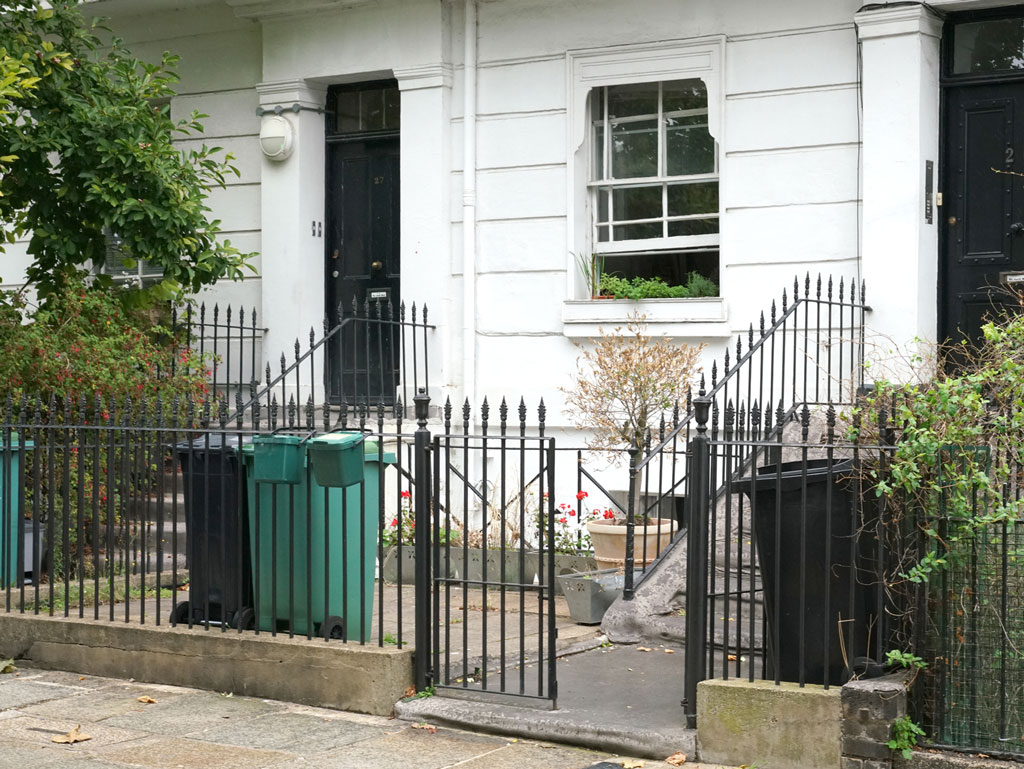
For the time being, Ray and Ron's identification was supported by a Google Earth View but now that is replaced by this shot from Denis Hoare.
- Capture 113
- 06 Oct 2022
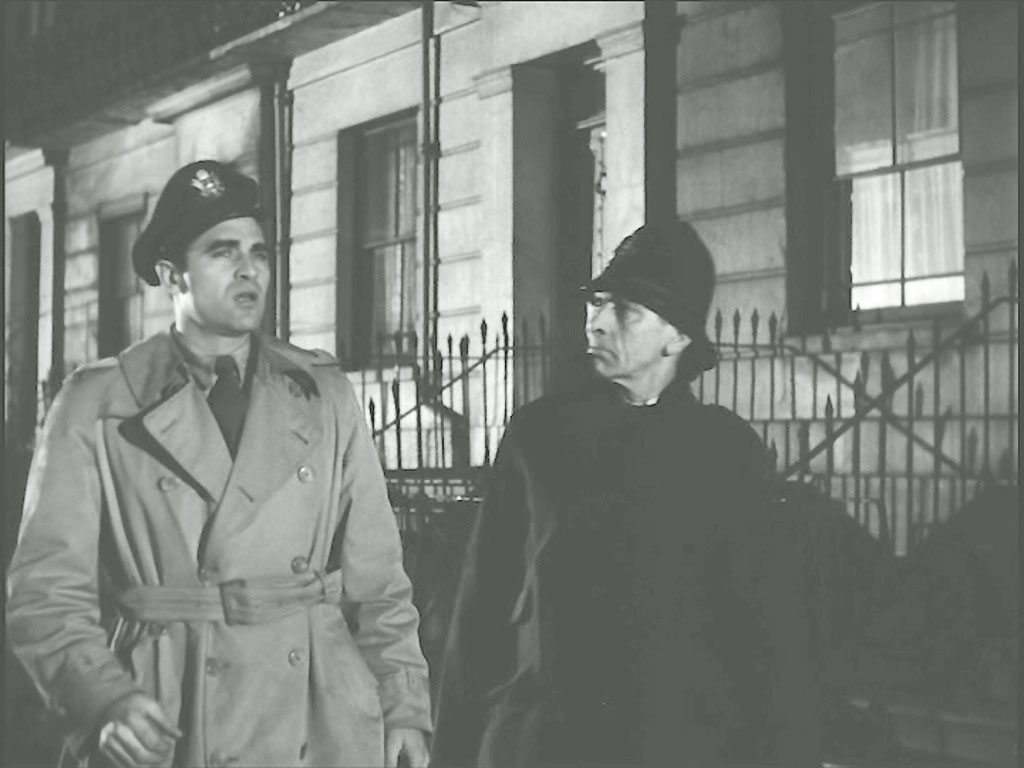
…….. but is told by the policeman that she went off with Joshua in his car. Outside No. 26 Mornington Terrace, NW1
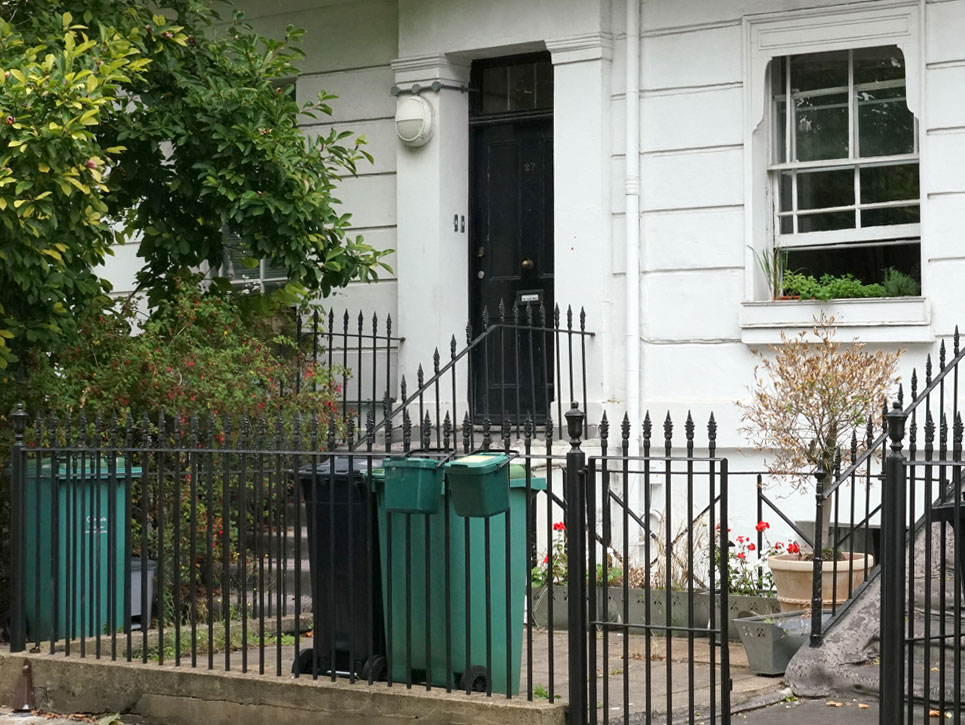
Denis provides a hastily captured shot given that the window was open.
- Capture 114
- 22 Dec 2017
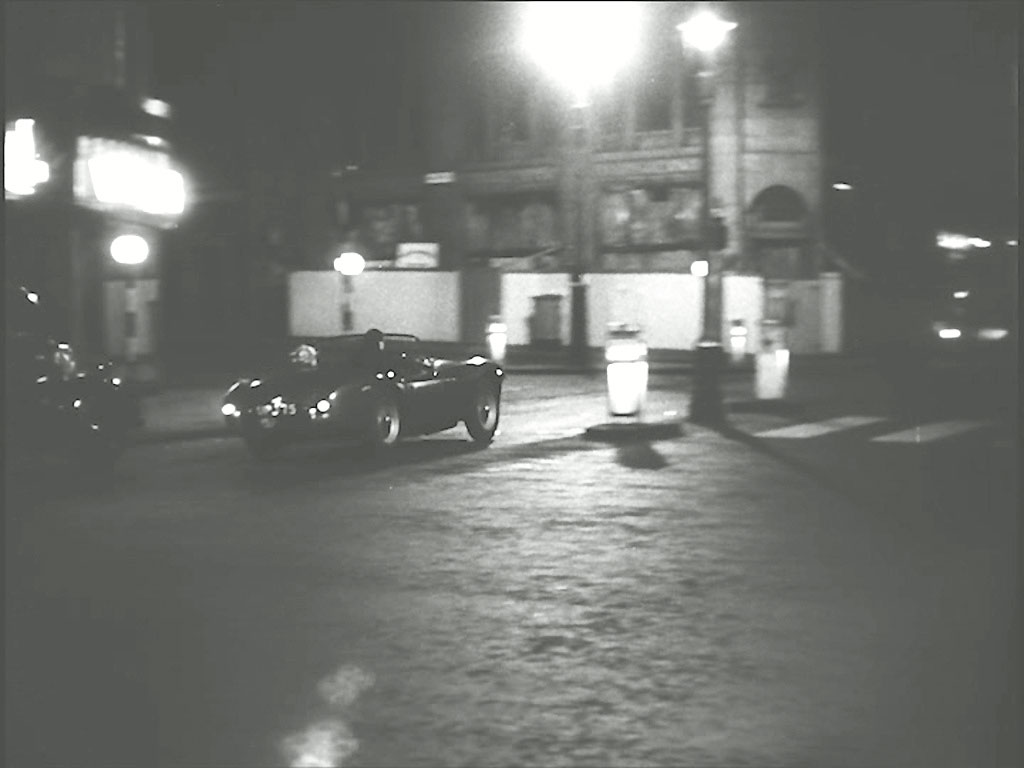
Erik tells Joshua that he hid the gun at the bomb site, they drive off at speed through London. 429 Strand on the corner of Agar Street clearly boarded up. Currently Zimbabwe House, this was previously Rhodesia House.

Peter captures the location in daylight.
- Capture 115
- 'Now' required
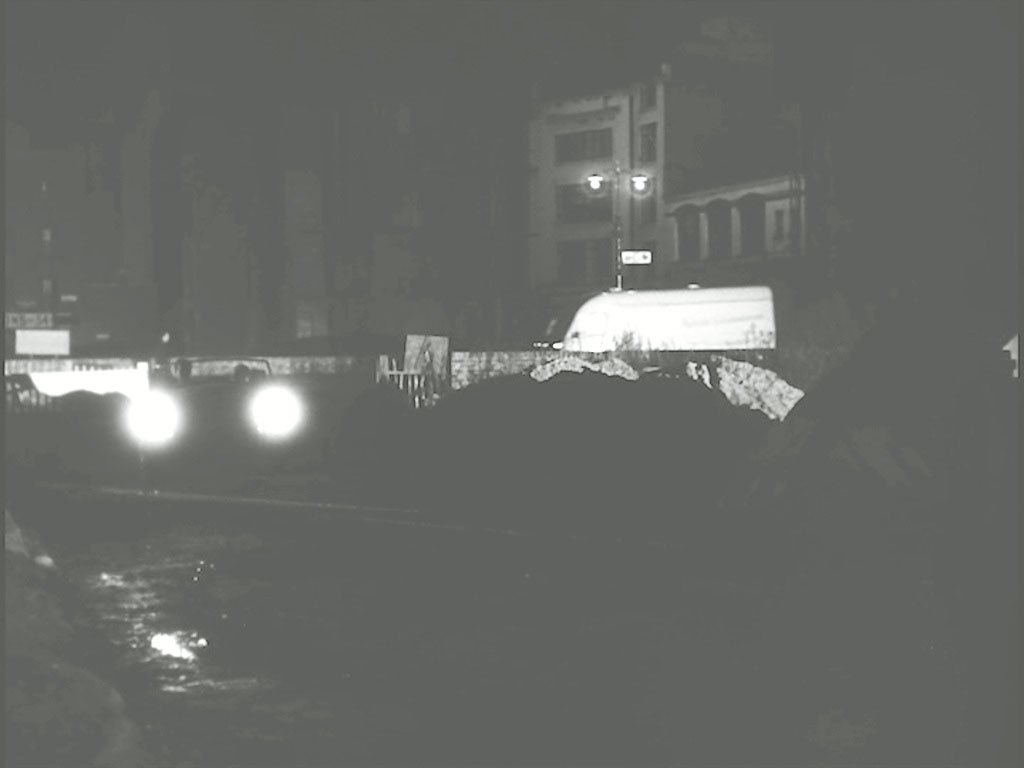
Joshua drives onto the uneven bombsite, Erik runs off, Joshua then jumps free of the car to chase Erik leaving Elsa in the uncontrolled car. Looking North West to Half Moon Court, EC1.
- Capture 116
- 'Now' required
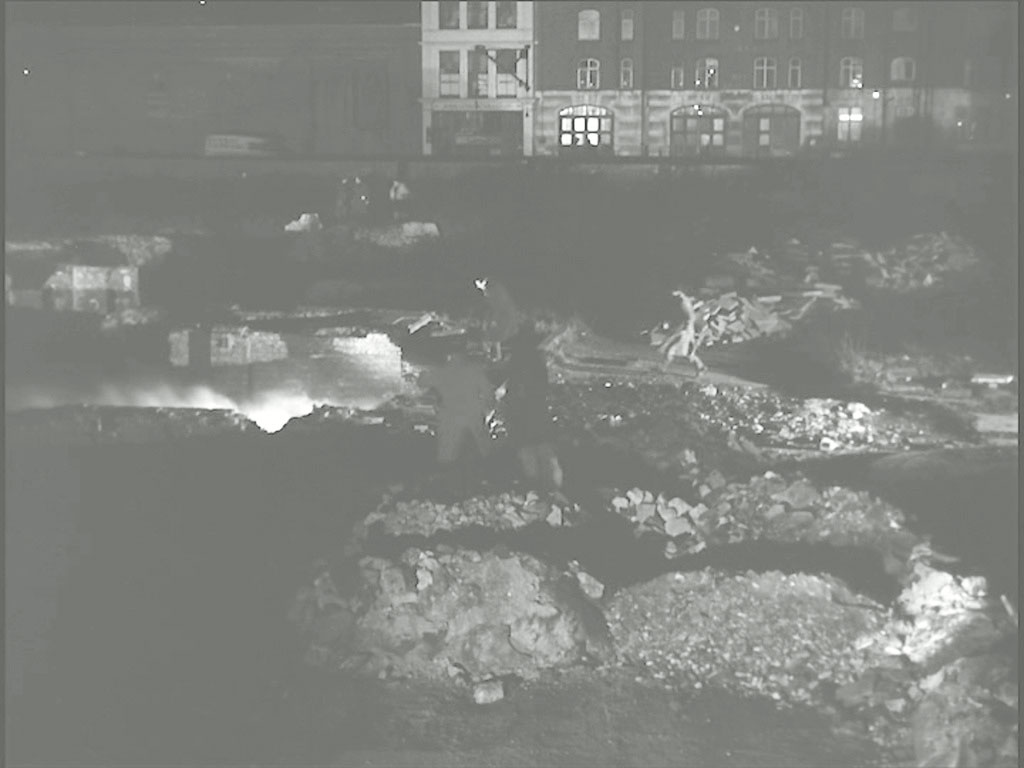
The car crashes and overturns and passers by rush to the scene. Red Cross Street fire station in the background.
- Capture 117
- 'Now' required
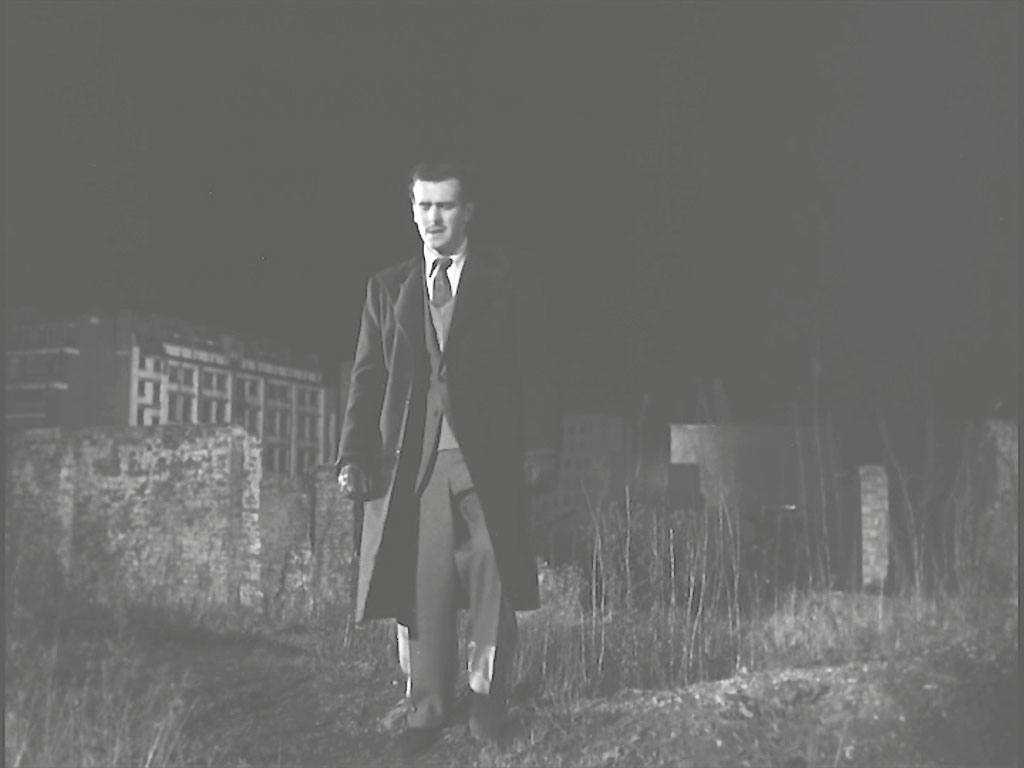
Joshua continues his search for Erick and the gun. Steve Randall advises this as Bastion 14 according to https://alondoninheritance.com/thebombedcity/bastion-14-cripplegate/ Ray Glenister confirms and clarifies "If today, George Cole would be in the garden of the Barber-Surgeons' Hall in Barbican and looking at its southern wall. Some 20m to his left and out of sight, stands part of the original Roman London Wall, Bastion 14. The distant building is the Telephone Exchange in Silver Street. The street in its entirety no longer exists."
- Capture 118
- 'Now' required
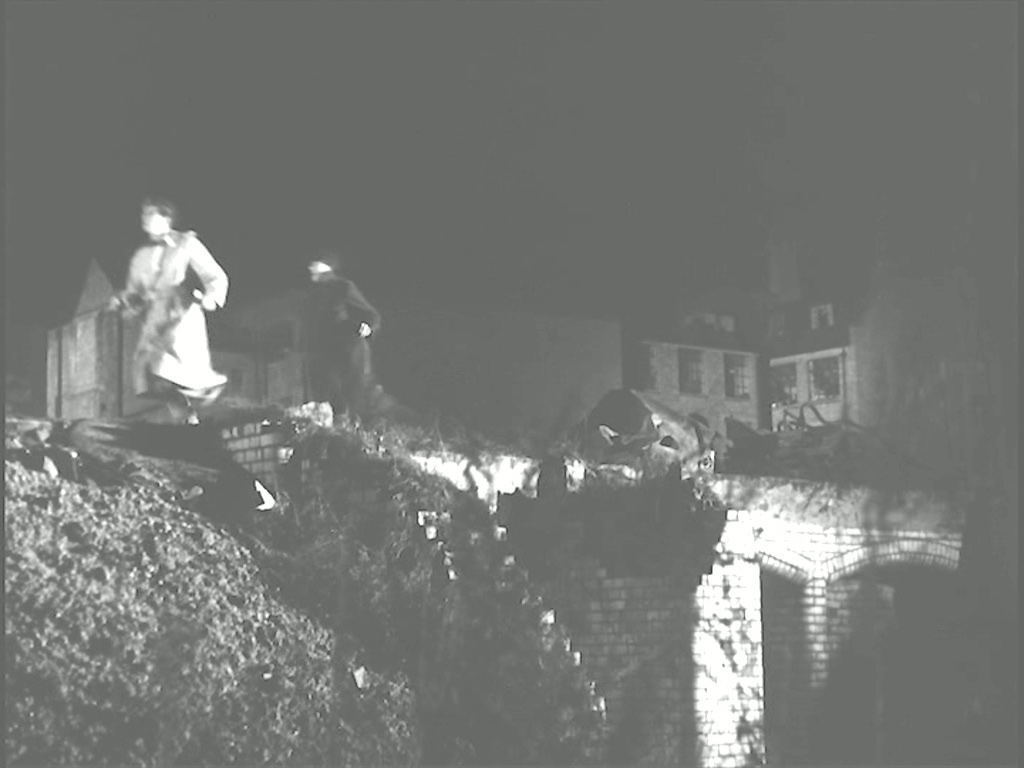
The policeman who left Andrews at Mornington Terrace ran back to him to tell him that Elsa had been involved in an accident returns to the bombsite. Some 3 miles! It didn't take Ray Glenister long to resolve this one "The police run west along Jewin Street where Edmund Place intersects. Behind them to the left, is part of Ironmongers Hall.
- Capture 119
- 'Now' required
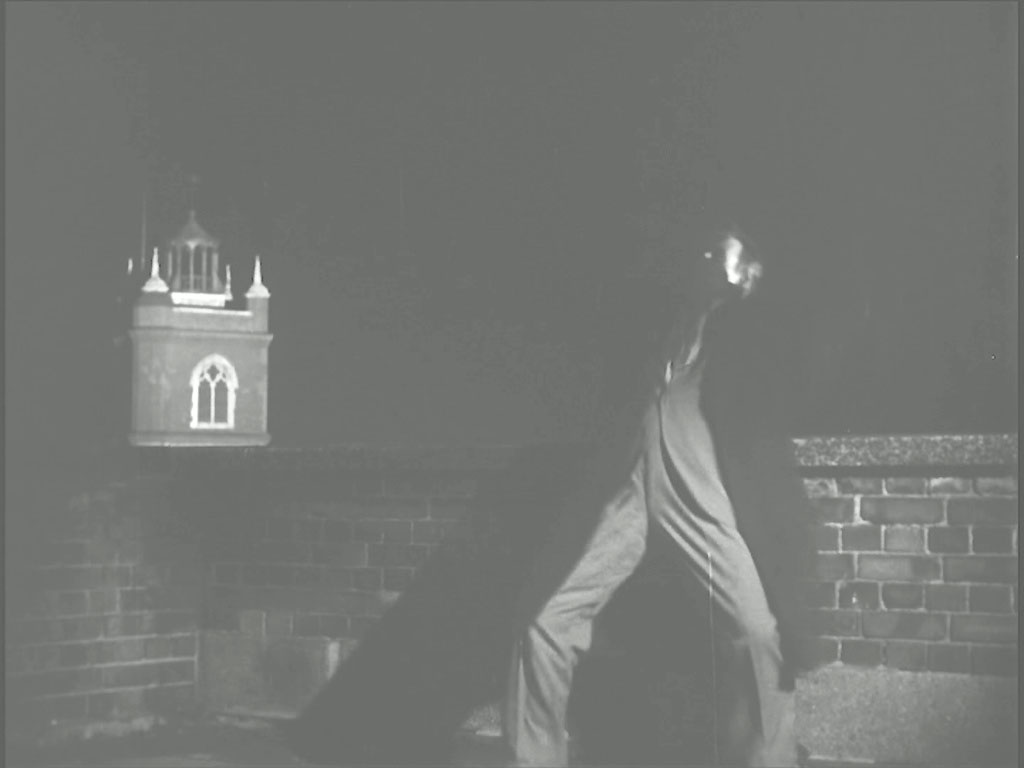
Seeing Joshua with Erik, Andrews runs after him and into the Jewin Street building where they fight….and Joshua falls to his death. The tower of St. Giles Cripplegate in the background.
- Capture 120
- 'Now' required
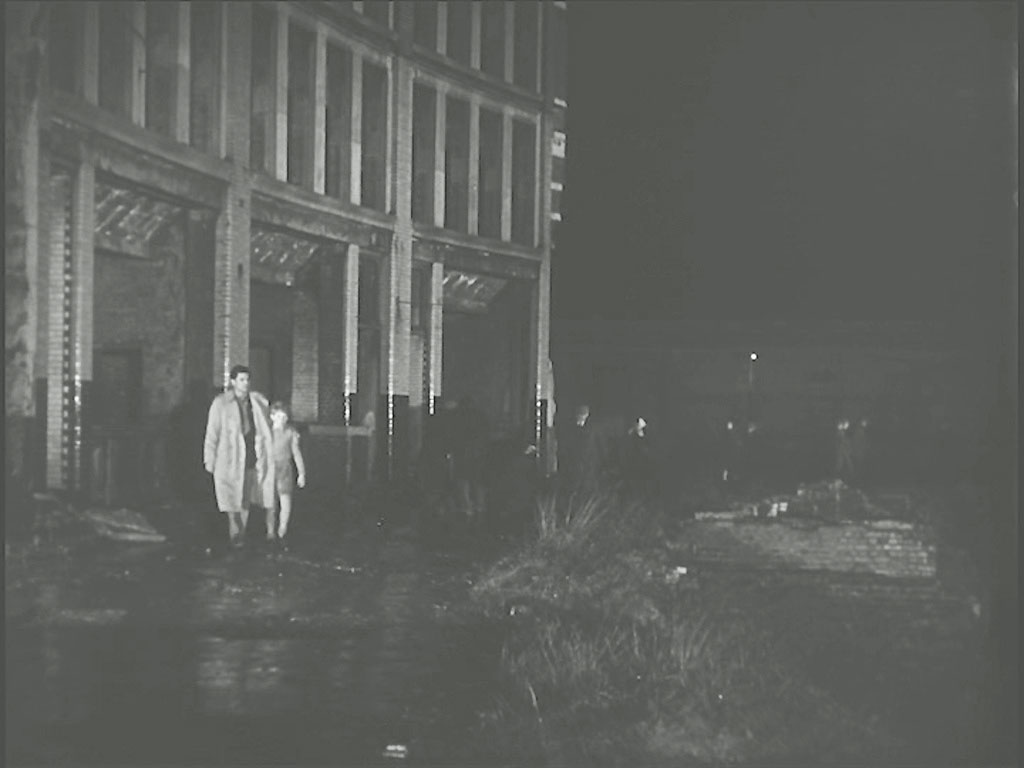
Capt. Andrews and Erik walk away to their future away from the only standing building in Jewin Crescent.